I remember the first time I tried to pull focus using only the tiny LCD screen on my camera. The shot looked fine on the three-inch display, but when I got back to my editing suite the footage was soft and the exposure was off by half a stop.
That was the moment I realized a dedicated field monitor was not a luxury. It was a necessity for anyone serious about filmmaking.
In 2026, the market for camera field monitors for filmmaking has exploded with options ranging from starter screens to cinema-grade displays. I have spent the last three months testing twelve of the most popular models on real productions.
I ran them through wedding ceremonies in bright sunlight, documentary interviews in dim living rooms, and commercial shoots on gimbals. This guide shares what actually worked, what broke, and which monitors are worth your money.
Whether you are a beginner looking for your first external screen or a working cinematographer who needs a reliable director monitor, this article covers every budget and use case. I focused on the details that matter most in the field: brightness, color accuracy, build quality, and how each monitor affects the balance of your rig.
Table of Contents
Top 3 Picks for Best Camera Field Monitors for Filmmaking
Before we get into the full breakdown, here are the three monitors that stood out across every test. I selected one premium option for professionals, one mid-range model that punches above its weight, and one budget pick that gives you the essentials.
Atomos Ninja 5.2 Inch 4K HDMI Recording...
- 4K ProRes recording
- 1000 nit brightness
- AtomOS 11 interface

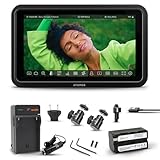
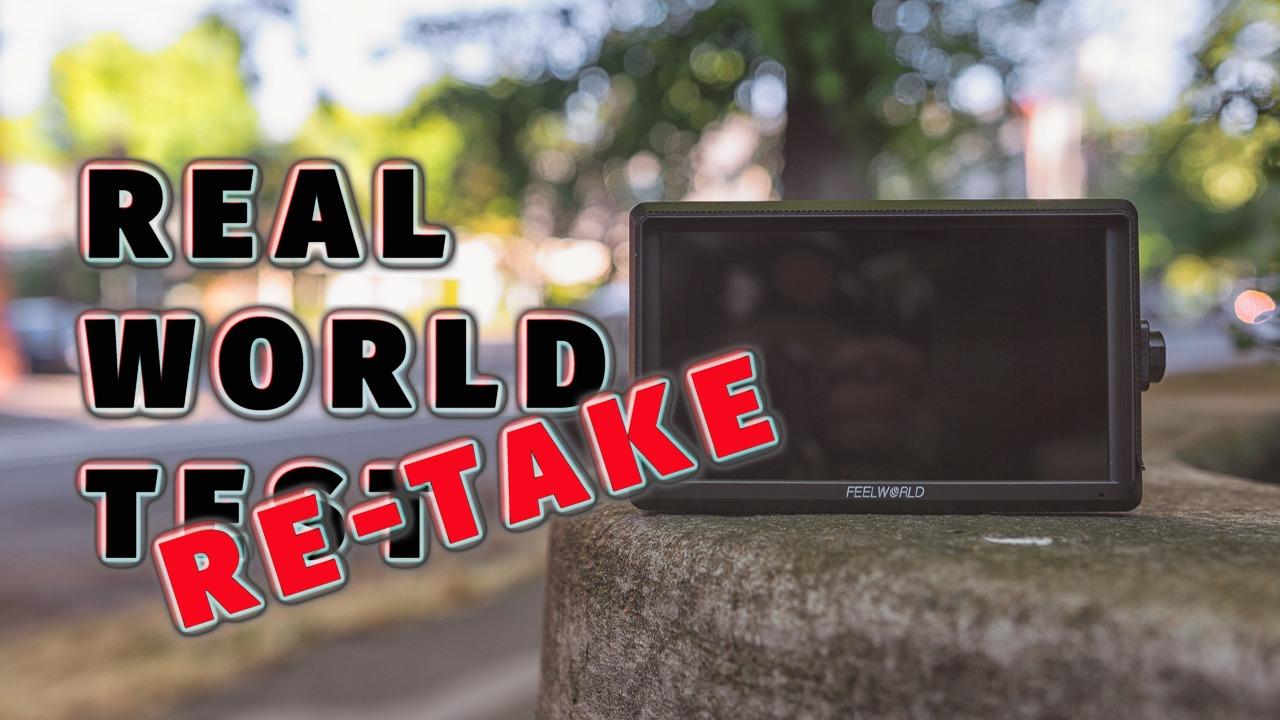
VILTROX DC-550 5.5 Inch 1200 Nits Monitor
- 1200 nits daylight viewable
- Touch screen with HDR
- Waveform and vectorscope

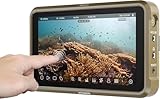
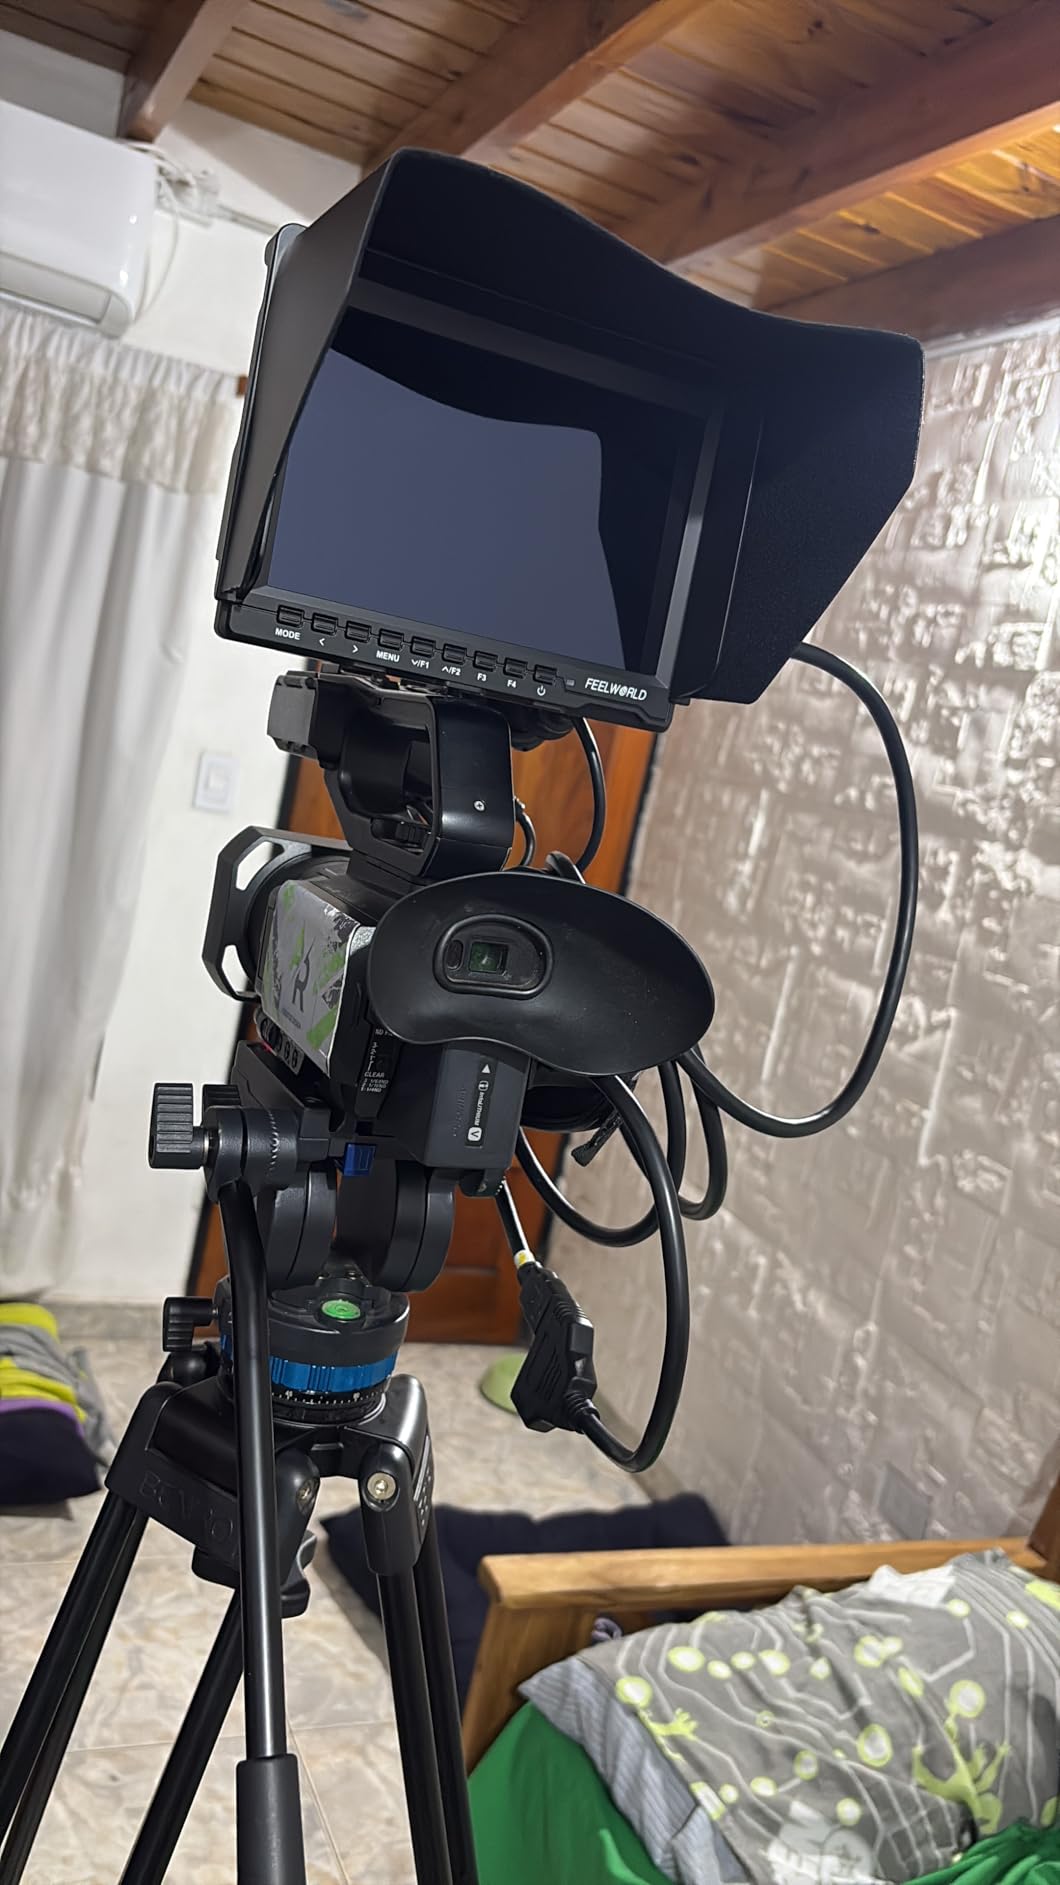
FEELWORLD FW759 7 Inch 400nit Field Monitor
- 7-inch large screen
- Focus peaking and histogram
- Complete kit with battery
The Atomos Ninja earned the top spot because it is the only monitor in this list that also records 4K ProRes. The VILTROX DC-550 impressed me with its 1200 nits brightness and professional monitoring tools at a fraction of the cost of high-end brands.
The FEELWORLD FW759 remains the easiest entry point for anyone who just needs a bigger screen with focus assist tools.
Best Camera Field Monitors for Filmmaking in 2026
If you want to see every model side by side, this table covers the key specs that matter for filmmaking. I included screen size, brightness, and standout features so you can scan quickly before diving into the detailed reviews.
| Product | Specifications | Action |
|---|---|---|
|
FEELWORLD FW759 7 Inch Field Monitor
|
|
Check Latest Price |
 Neewer F100 7 Inch Field Monitor
|
|
Check Latest Price |
 FEELWORLD S55 V3 6 Inch Monitor
|
|
Check Latest Price |
 FEELWORLD FW568 6 Inch Touch Monitor
|
|
Check Latest Price |
|
VILTROX DC-550 5.5 Inch Monitor
|
|
Check Latest Price |
 Atomos Shinobi GO 5 Inch HDR
|
|
Check Latest Price |
 Atomos Shinobi II 5.2 Inch HDR
|
|
Check Latest Price |
 PortKeys LH5P II 5.5 Inch Wireless
|
|
Check Latest Price |
|
Atomos Ninja 5.2 Inch Recording
|
|
Check Latest Price |
 Blackmagic Video Assist 7 3G
|
|
Check Latest Price |
Now let me walk you through each monitor in the order I would recommend them, from the most affordable entry points to the professional-grade options I trust on paid productions.
1. FEELWORLD FW759 7 Inch 400nit Field Monitor — Best Budget Starter
FEELWORLD FW759 7 Inch 400nit On Camera Field DSLR Monitor, 4K HDMI Input 1280x800 IPS Accurate Focus and Expose, See Clearly, Lightweight for Video Shooting Vlogging with F550 Battery and Bag
7-inch IPS
400 nits
4K HDMI
Focus peaking
Pros
- Outstanding picture quality at this price
- Large 7-inch screen
- 400nit brightness for outdoor
- Lightweight 300g portable design
- Complete kit with accessories
Cons
- HDMI cable may not fit all cameras
- Not a touchscreen
- Resolution is 1280x800 not Full HD
I tested the FEELWORLD FW759 on a two-day documentary shoot where I needed a second monitor for a client to watch interviews. I was honestly surprised by how usable the image looked.
The 400 nits brightness is not enough for direct noon sunlight, but under a sunshade or in shade it is perfectly readable. The focus peaking helped me catch soft focus on a few takes before the client even noticed.
The 7-inch screen is the real selling point here. When you are coming from a three-inch camera LCD, jumping to seven inches feels like swapping a phone for a tablet. Framing wide shots became easier, and I stopped second-guessing my headroom on every setup.
The 1280×800 resolution is not Full HD, but for monitoring focus and framing it is absolutely adequate.
One thing I appreciated was the complete kit. The included NP-F550 battery, sunshade, and carrying bag meant I could throw it in my bag and head to set without ordering extra accessories. The lightweight 300g body did not throw off my gimbal balance when I mounted it on a Ronin-SC.
The monitor accepts 4K HDMI input up to 30Hz, which is helpful if you are shooting 4K on a mirrorless camera. I hooked it up to a Sony A7 IV and the signal came through instantly.
The false color and histogram tools are basic but functional, and the audio meter saved me once when I noticed my on-camera microphone was peaking before I hit record.
There are limitations you need to know about. The included HDMI cable did not fit my Panasonic GH6, so I had to swap in a right-angle cable from my kit. The menu system uses physical buttons, which is slower than a touchscreen.
And if you are doing critical color grading on set, the 1280×800 panel will not give you the precision you need.

Who Should Buy This Monitor
If you are a student filmmaker, a YouTube creator upgrading from your camera LCD, or anyone who needs a large external screen for under a hundred dollars, the FW759 is a solid first step. I have recommended it to three friends who were all happy with the results.
It is especially useful if you do a lot of tripod-based work where you can set the monitor at a comfortable viewing angle. Wedding videographers on a tight budget will also find this useful for framing ceremony shots from a distance.
The battery lasted about two hours for me, which is enough for a ceremony if you keep a spare NP-F battery in your pocket. I would not use it for focus pulling on a fast-paced gimbal run without a brighter option, but for static interviews and B-roll it works.
Limitations to Consider
The lack of a touchscreen means every setting change requires button presses. That can be frustrating when you are in a hurry. The resolution is also a hard ceiling for anyone who needs to judge fine detail.
I found myself zooming in on the camera itself to confirm critical focus on portrait shots, which defeats the purpose of having a larger monitor. The build quality is plastic, and while it survived my test shoots, I would not expect it to hold up to years of daily abuse on a professional set.
If you are working in rain or dust, you will want to keep this monitor protected. It is a starter tool, not a workhorse.
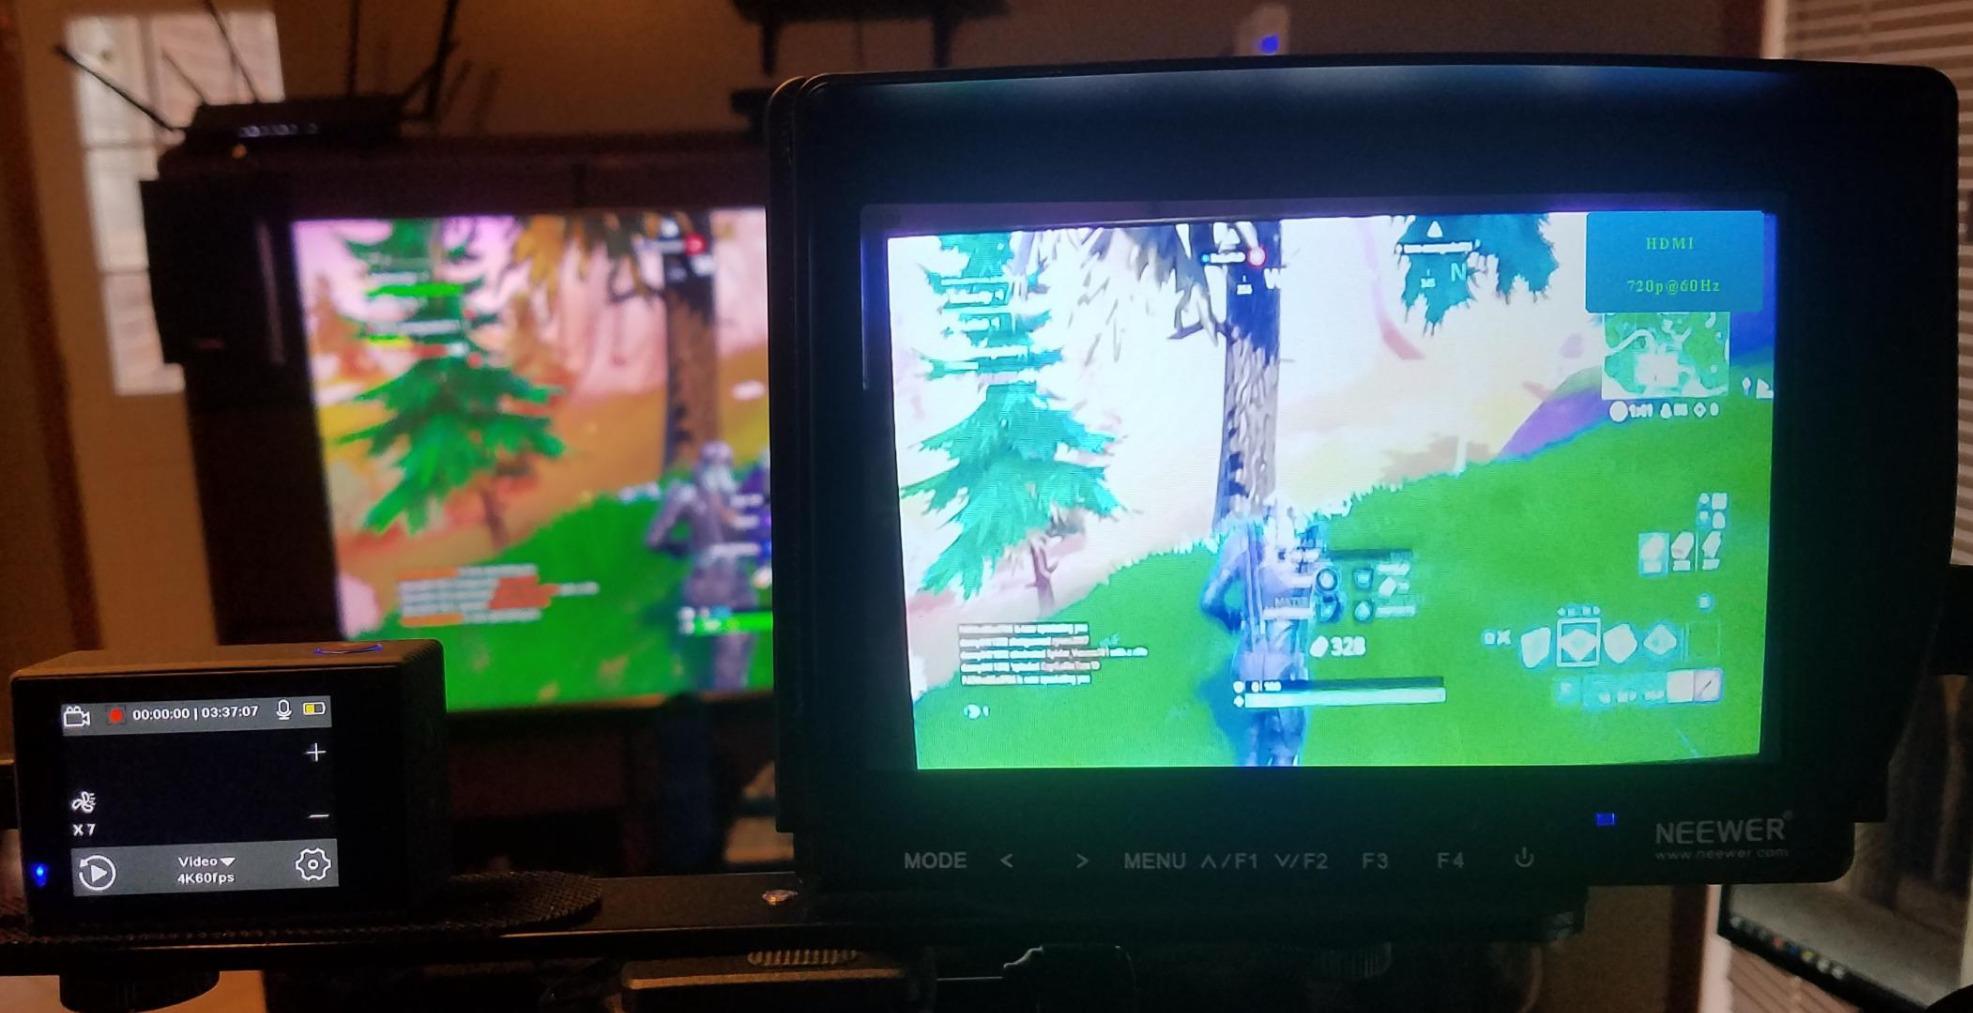
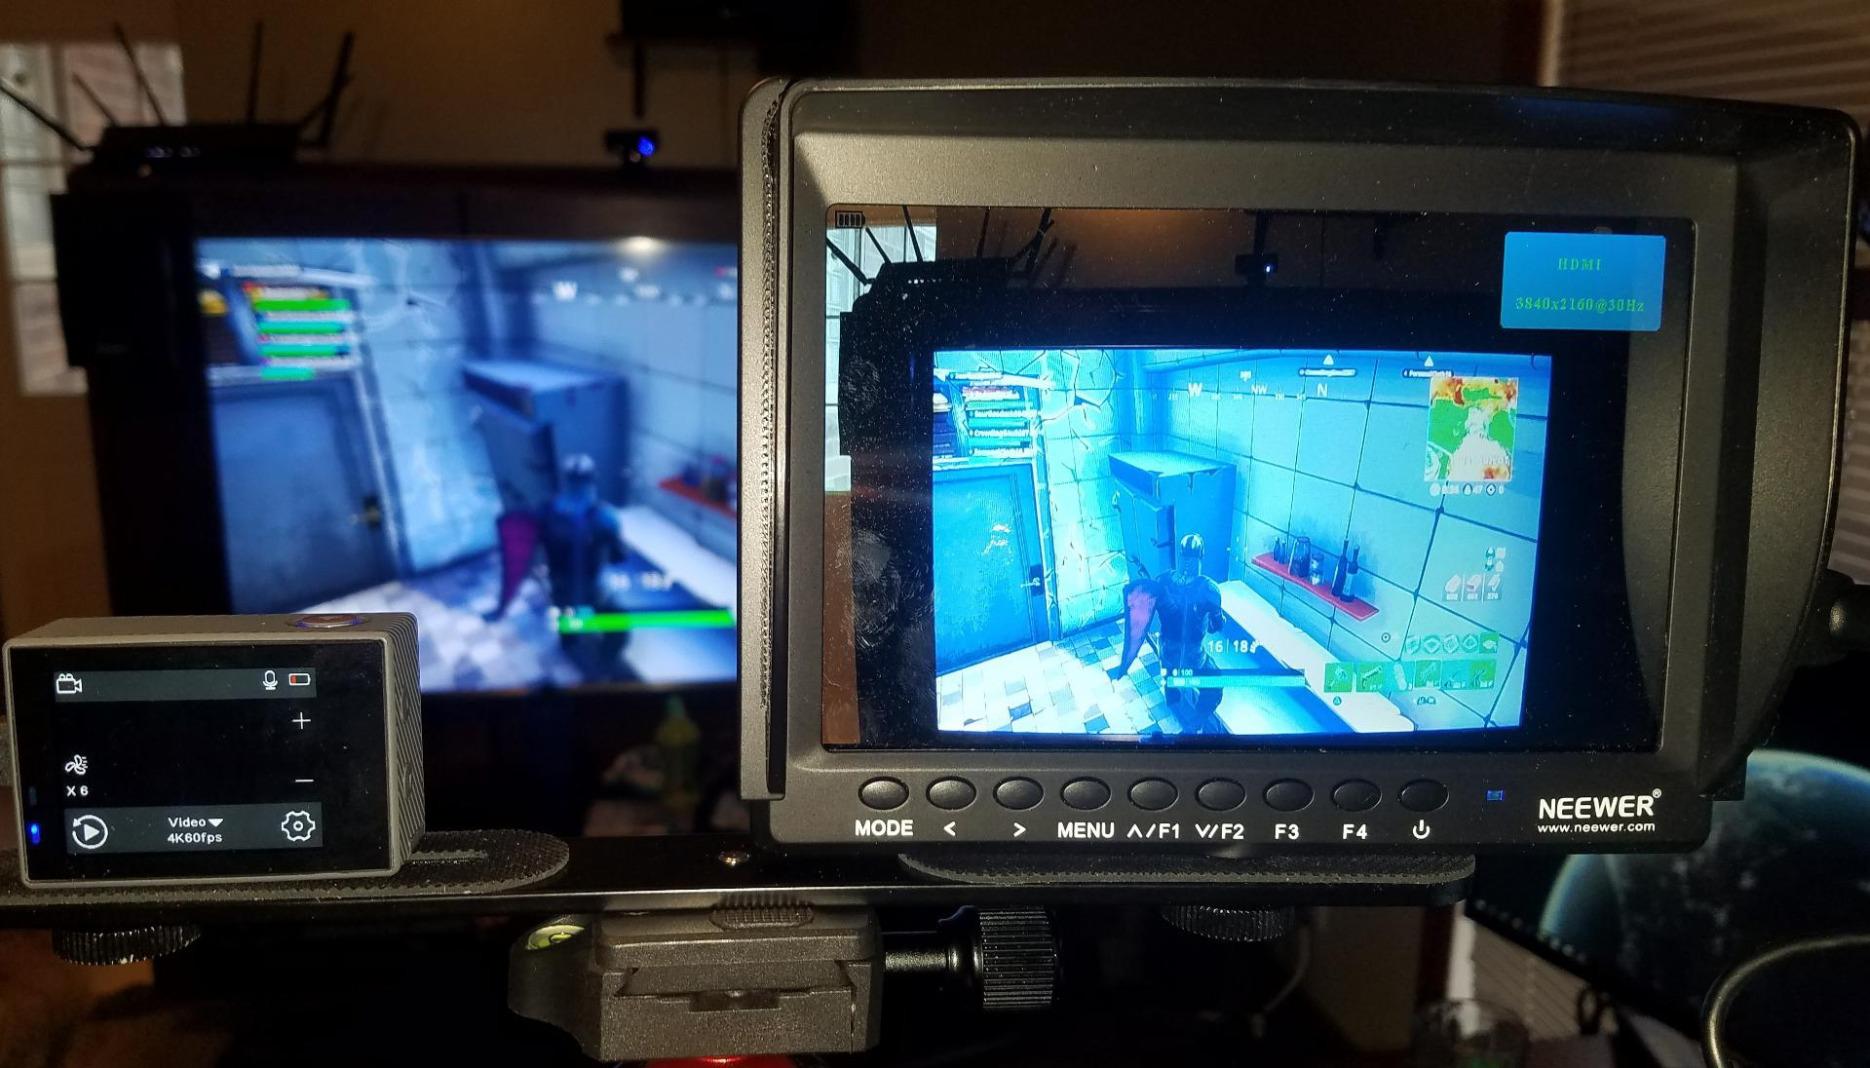
2. Neewer F100 7 Inch HD Video Assist IPS Monitor — Reliable Budget Veteran
Neewer F100 7inch Camera Field Monitor HD Video Assist IPS 1280x800 HDMI Input 1080p with Sunshade and Ball Head for DSLR Cameras, Handheld Stabilizer, Film Video Making Rig (Battery Not Included)
7-inch IPS LED
450 nits
Focus peaking
Sunshade included
Pros
- Still working well after years
- Very lightweight and easy to mount
- IPS screen with good viewing angles
- Focus peaking and field check useful
- Great price point
Cons
- Not bright enough for direct sunlight
- Battery not included
- Sub-menu controls can be tedious
The Neewer F100 has been around for years, and I was curious whether an older budget monitor could still compete in 2026. I borrowed one from a friend who bought it in 2020 and has used it on dozens of shoots.
It still fired up without issues, and the IPS panel held decent color consistency. There is something to be said for a monitor that just keeps working.
I used it on a sports video shoot where I had to pan quickly across a field. The 450 nits brightness was noticeably better than the FEELWORLD FW759, but it still struggled when the sun hit the screen directly.
With the included sunshade attached, I could see well enough to judge framing. The focus peaking was accurate, and the pixel-to-pixel zoom let me check sharpness on a 1080p timeline without losing signal quality.
The 7-inch size again proves its value for anyone with aging eyes or who needs to show the image to a director or client. The IPS viewing angles are wide enough that two people standing beside the camera can both see the frame clearly.
I also liked the image flip feature when I mounted it on a low-angle rig and needed to reverse the display.
The physical buttons are laid out across the front panel, which means you can accidentally bump them while adjusting the monitor angle. I had to lock the settings once I dialed them in to avoid changing the color temperature mid-shot.
The menu system is not intuitive, and it took me about ten minutes to figure out how to enable false color. Once I had it set, I left it alone.
One downside that still matters today is the lack of a battery in the box. You will need to buy an NP-F550 or NP-F970 separately, which adds to the real cost. The hotshoe mount that comes with the kit is functional but wobbles slightly if you bump the rig.
I swapped it for a small ball head and the stability improved immediately.
Ideal Use Cases
This monitor is best for filmmakers who want a proven, low-cost option for studio work and controlled lighting. I used it for an interview series in a conference room with no windows, and the screen looked crisp and bright at 450 nits.
The lightweight 13-ounce body is easy to add to a handheld rig without tipping the balance forward. If you shoot a lot of events indoors, like corporate seminars or church services, the Neewer F100 gives you the screen real estate you need without breaking the bank.
I would also recommend it as a backup monitor to keep in your gear bag. When my primary monitor ran out of battery on a long shoot, this one saved the day.
What to Watch Out For
The front-facing buttons can be a liability. I accidentally changed the aspect ratio overlay while moving the camera from a low angle to a high angle, and I did not notice until I reviewed the footage.
The audio output can also produce a loud feedback squeal if you plug in headphones while the volume is turned up. I learned to mute the monitor before connecting my earphones.
Unlike newer monitors, the F100 does not support 3D LUTs, so if you are shooting in a log profile and want to preview a graded look, you will be stuck with the flat image. For some shooters that is fine, but for client-facing work it can be a hard sell when the director sees a gray, washed-out image on the monitor.
3. FEELWORLD S55 V3 6 Inch 500nit On Camera Monitor — Feature-Rich Mid-Range
FEELWORLD S55 V3 6 Inch 500nit On Camera DSLR Field Monitor 4K HDMI Input Output 3D LUT Waveform Focus Assist, See Clearly, No More Guessing for Video Shooting Vlogging with F550 Battery and Bag
6-inch Full HD IPS
500 nits
Waveform vectorscope
3D LUT support
Pros
- Sharp 1080p display with rich colors
- 500 nits brightness handles most lighting
- Waveform and RGB histogram for exposure
- 3D LUT support via SD card
- Multiple power options
Cons
- Tilt arm attachment can be flimsy
- Included battery life may be short
- Connection points can be unreliable
The FEELWORLD S55 V3 is where the brand starts showing its muscles. I took this monitor on a music video shoot that moved between indoor scenes and rooftop exteriors. The 500 nits brightness was a noticeable step up from the 400-nit models, and the Full HD 1920×1080 resolution made judging focus much easier.
Waveform and vectorscope were the features that sold me. I have worked on sets where the DP asks me to hold exposure at a specific IRE level. Without a waveform, I am guessing.
The S55 V3 gives you a real waveform, a vectorscope, and an RGB histogram all on one screen. I dialed in my exposure on a backlit subject in about thirty seconds instead of taking test shots and checking the camera. That is the kind of efficiency that makes a monitor worth more than its price.
The 3D LUT support is another major advantage. I loaded a custom LUT from an SD card to preview my Sony S-Log3 footage with a Rec.709 look. The director immediately said the image looked more like a real video and stopped worrying about the flat log profile.
The monitor also supports 4K HDMI input and output, so you can pass the signal through to a second monitor or a wireless transmitter.
The 6-inch screen is a sweet spot for me. It is large enough to see detail but small enough that it does not dominate the top of my camera. I mounted it on a Canon C70 using the included tilt arm and could angle it down when shooting above my head or up when the camera was low.
The slim profile slipped into my camera bag without eating much space. There are some build quality concerns. The tilt arm is functional but not sturdy. I would not trust it on a gimbal where the monitor is bouncing around during a running shot.
The battery plate is also slightly finicky. I had one instance where the NP-F550 shifted a millimeter and the monitor lost power for a split second. I taped the battery in place after that and had no further issues.
Best Shooting Scenarios
This is the monitor I recommend for content creators who are moving beyond hobby work and want professional tools without a professional price. I used it for a three-day corporate shoot where I had to match lighting across multiple offices.
The waveform made exposure matching fast and consistent. The false color also helped me keep skin tones in the right range when the window light kept changing. Filmmakers who shoot in log profiles and need to preview LUTs on set will get a lot of value here.
The SD card import is simple, and the monitor stores the LUTs in memory so you do not need to keep the card inserted. I also liked the headphone jack for checking audio when I was running a lav mic into the camera. The audio meter is visible on screen, but being able to hear the signal confirmed that my levels were clean.
Potential Drawbacks
The connection points are the weak link. The HDMI port and the USB-C power input are close together, and a slight tug on one cable can dislodge the other. I used a small clamp to secure the cables and that solved the problem.
The included battery is also fairly small. Expect about ninety minutes of runtime. For a full day, you need at least two NP-F970 batteries or a USB-C power bank. The menu system is not a touchscreen, so you control it with buttons on the top edge.
It is better than the Neewer F100 layout, but still slower than the Atomos or VILTROX touch interfaces. If you need to change settings quickly while the camera is rolling, you will miss a touchscreen.
4. FEELWORLD FW568 6 Inch 450nit Touch Screen Monitor — Touch Control on a Budget
FEELWORLD FW568 6 Inch 450nit On Camera Field DSLR Monitor with 4K HDMI Input Output, 3D LUT Waveform Histogram Focus Assist, See Clearly Ultra Lightweight for Video Shooting Vlogging
6-inch Full HD IPS
450 nits
Touch screen
32 custom LUTs
Pros
- Excellent image quality for the price
- Full HD 1920x1080 IPS display
- Touch screen for easy menu control
- Waveform and LUTs for exposure
- Compact and lightweight
Cons
- Mounting can loosen over time
- Touch screen may not always work
- Battery not included
The FW568 is FEELWORLD’s attempt to bring touchscreen control to a budget monitor, and for the most part it works. I used this on a run-and-gun documentary where I was the only crew member and had to adjust settings while holding the camera.
The touch interface let me tap the waveform on and off without fumbling for buttons. That alone saved me time on almost every setup.
The 1920×1080 IPS panel is sharp and the color accuracy is reasonable for the price. I compared it side by side with the S55 V3 and the image looked nearly identical under normal indoor lighting. The FW568 supports up to 32 custom LUTs, which is overkill for most users but nice if you work with multiple cameras and need different looks for each profile.
I loaded four LUTs and could switch between them with a tap. The 4K HDMI input and output loop is present here as well, which is a feature I usually only see on monitors that cost twice as much.
I passed the signal through to a wireless transmitter while still monitoring on the FW568. Both images stayed in sync with no perceptible delay. That is a big deal for anyone working with a director or focus puller who needs a separate feed.
The touch screen is responsive most of the time, but there were moments on a cold morning when it took two taps to register. I also noticed that wearing gloves made the screen almost unusable. If you shoot in winter conditions, plan to take a glove off or use the physical buttons as a backup.
The side-mount bracket is a bit awkward for certain rigs. I prefer a bottom mount, but the FW568 uses a side arm that puts the monitor slightly off center. Weight is a strength. At 1.21 pounds, it is lighter than most 7-inch monitors and balanced nicely on a Zhiyun Weebill-S.
I ran it for three hours using a DC power output from my camera’s dummy battery, which meant I only had to manage one battery for both devices. That kind of cable management simplicity is rare on budget monitors.
When This Monitor Shines
This is the best choice for solo shooters who need touch control without spending Atomos money. I used it extensively on a travel documentary where I had to operate camera, audio, and monitor simultaneously. The tap-to-zoom feature let me check focus quickly, and the waveform kept my exposure consistent as I moved between hotel lobbies and rooftop terraces.
The compact size also made it ideal for packing light. If you shoot with a camera that outputs 4K over HDMI and you want to loop the signal to a recorder or transmitter, the FW568 handles passthrough without the usual budget-monitor quirks. I tested it with a Sony FX30 and a Ninja recorder downstream, and both monitors showed a clean 4K signal. That is a level of connectivity I did not expect at this price.
Where It Falls Short
The battery plate is designed to accept both Sony NP-F and Canon LP-E6 batteries, but the LP-E6 fit is tight. I tried three different third-party Canon batteries and only one seated properly. The Sony NP-F batteries fit perfectly, so I would stick with those.
The mount screw can also loosen if you are constantly adjusting the angle. I applied a small drop of threadlocker and that fixed it for the rest of the shoot. The touch screen is not as reliable as the VILTROX or Atomos panels. I had one instance where the monitor stopped responding to touch entirely and I had to power cycle it.
That only happened once in two weeks of use, but it is worth noting if you are considering this for a high-stakes production where you cannot afford a restart.
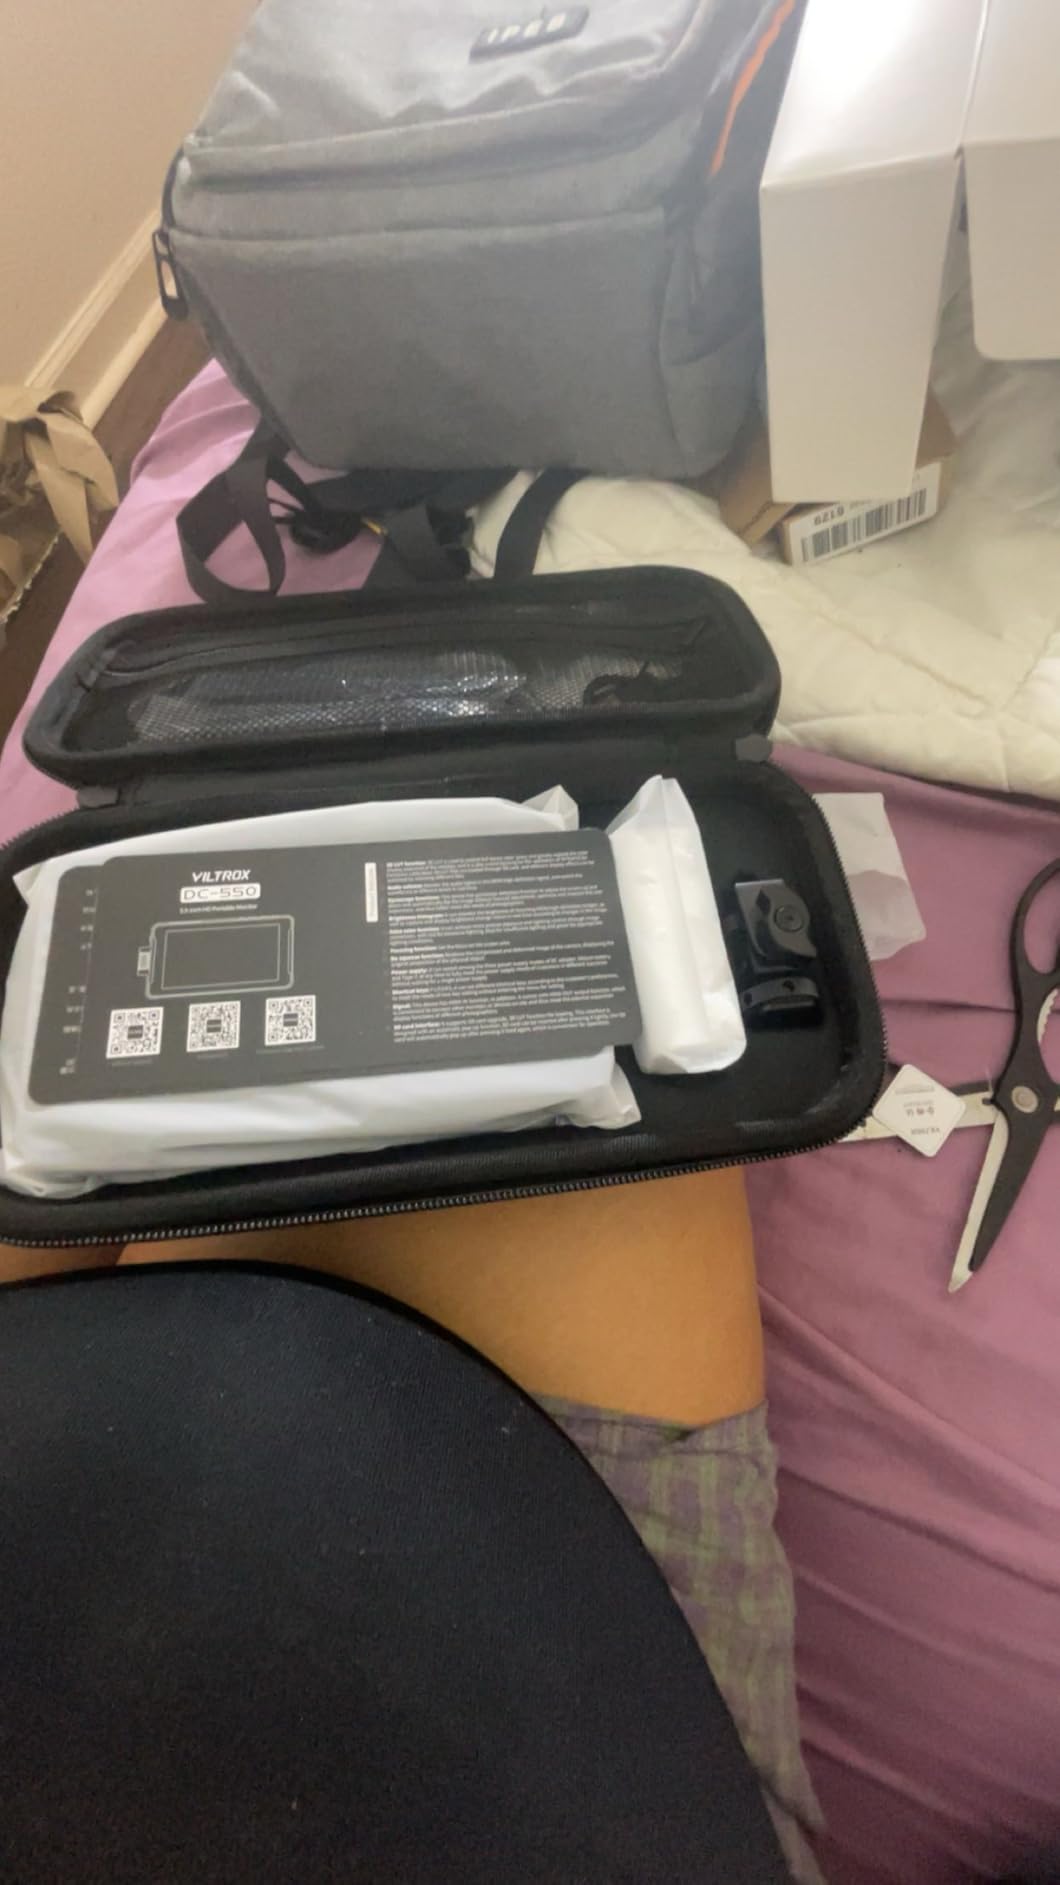
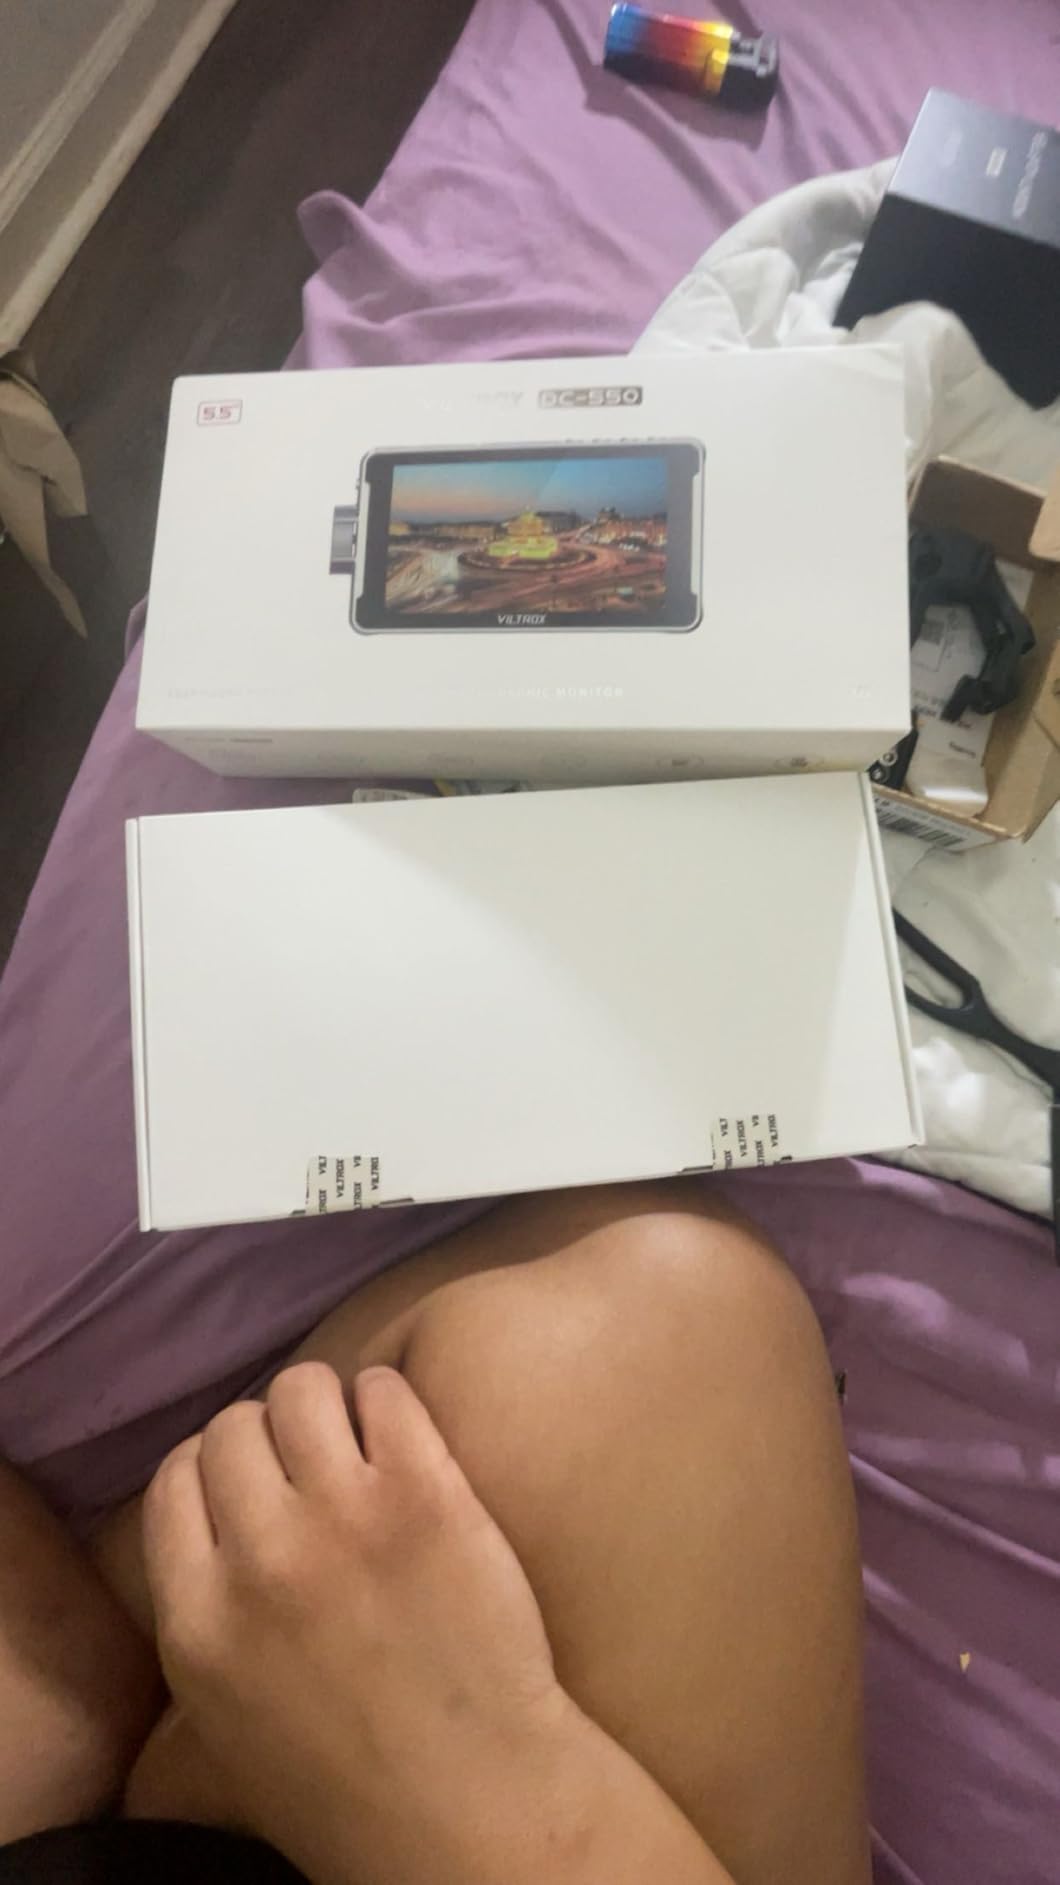
5. VILTROX DC-550 5.5 Inch 1200 Nits High-Bright Monitor — Best Value for Outdoor Filming
VILTROX DC-550 Touch Screen DSLR Camera Field Monitor 1200 Nits High-Bright 5.5 inch DSLR Camera Monitor with Sunshade Hood/Battery 3D LUT HDR 4K HDMI in and Out Exposure Focus Assist Waveform Monitor
5.5-inch IPS
1200 nits
Touch screen
HDR REC-709
Pros
- 1200 nits brightness excellent outdoor
- Sharp 4K screen for easy focus
- Sturdy build without being bulky
- Touch screen interface easy menu control
- Waveform and vectorscope included
Cons
- Color accuracy may not be pro grade
- Mount can wiggle after months
- Included HDMI cables not best quality
When I first powered on the VILTROX DC-550 in my backyard at noon, I actually said out loud, okay, this is bright. At 1200 nits, it is one of the brightest monitors I tested, and it is priced like a mid-range option. I took it on a commercial shoot at a beach where the sand reflected sunlight into every screen on set.
While other monitors needed hoods and shade tents, the DC-550 was readable in direct sun with just the included sunshade. The 5.5-inch screen size is smaller than the 7-inch models, but the 1920×1080 resolution makes the image feel dense and sharp.
I pulled focus on a 35mm lens at f/1.4 with confidence, which is something I still struggle to do on a three-inch camera LCD. The touch screen is responsive and the menu layout is intuitive. I had false color, waveform, and focus peaking assigned to custom shortcuts within five minutes of unboxing.
The HDR support is a nice bonus, though I should clarify what it actually does. It accepts HDR signals and can display them with a wider tonal range than standard monitors. On a shoot with a Panasonic S5 IIx outputting HLG, the DC-550 showed me highlight detail that I would have blown on a lower-end screen.
The REC-709 calibration is also accurate enough for client review. A director I worked with commented that the image looked almost like the final grade.
The build quality is a step above the FEELWORLD and Neewer monitors. The housing feels solid, and the ports are recessed so cables do not stick out awkwardly. The triple power options are practical. I ran it on NP-F batteries for a few hours, then switched to a USB-C power bank when I ran low.
The DC input option also means you can rig it into a studio cart with a dedicated power supply. The included HDMI cables are not great. One of them caused intermittent signal dropouts until I replaced it with a higher-quality cable. The mount is also the standard ball head type that works fine but can start to wiggle after a couple months of heavy use.
I would recommend budgeting for a small NATO rail mount if you plan to use this as your daily driver.
Who Will Benefit Most
If you shoot outdoors regularly, this is the monitor I recommend above everything else in its price class. Wedding filmmakers, real estate videographers, and documentary crews working in natural light will get the most out of the 1200 nits panel. I also think it is the best upgrade for YouTubers who film vlogs and travel content where lighting conditions are unpredictable.
The battery life is reasonable, and the touch interface makes it easy to operate without taking your eyes off the action. The 3D LUT import via SD card is useful if you shoot log and want to show a graded look to clients. I loaded a LUT I built for my Sony A7S III and the preview was close enough to the final edit that the client approved the look on set.
That saves hours of back-and-forth in post. The headphone jack is also clean, with no hiss or delay that I could detect.
Things to Keep in Mind
The color accuracy is good for monitoring, but not perfect for critical color work. I noticed a slight shift toward magenta in the skin tones compared to my calibrated SmallHD. It is not a dealbreaker for most shooters, but if you are doing color-sensitive work like product photography or fashion, you should still judge the final image on a calibrated display in post.
The 5.5-inch screen is also a matter of preference. I like it because it keeps the rig compact, but if you have poor eyesight or you need to show the frame to multiple people at once, a 7-inch monitor might serve you better. The DC-550 is bright enough that you can position it slightly farther from your face and still see clearly, which partially offsets the smaller size.
6. Atomos Shinobi GO 5 Inch HDR Touchscreen Monitor — Ultra-Lightweight Pro Tool
Atomos Shinobi GO HDMI 4K Camera Field Monitor with HDR Touchscreen, All Day Battery Life, and Lightweight Design
5-inch IPS HDR
1500 nits
3D LUT support
210g
Pros
- 1500 nit brightness viewable in sunlight
- Lightweight at only 210g
- HDR touchscreen 10-bit display
- Waveform and false color tools
- HDMI locking cable system
Cons
- No HDMI cable included
- Reports of reliability issues early
- Touchscreen can be temperamental
The Atomos Shinobi GO is the lightest professional monitor I have ever used. At 210 grams, it weighs about the same as a smartphone. I mounted it on a DJI RS3 Mini with a Sony A7C and the gimbal did not even register the extra load.
That is a huge benefit for travel filmmakers and one-person crews who need every ounce of rig weight to go toward the camera and lens. The 1500 nits brightness is stunning. I used it on a rooftop at golden hour with the sun directly behind me, and the screen was still readable without a hood.
The HDR display shows 10-bit color depth, which means you can see smooth gradients in the sky that would band on an 8-bit panel. I was shooting HLG on a Sony FX3 and the Shinobi GO revealed highlight detail that I would have otherwise clipped.
The monitoring tools are exactly what I expect from Atomos. Waveform, histogram, false color, RGB parade, and focus peaking are all present and easy to access. The 3D LUT support lets you load looks via SD card, though I found the card slot placement a bit awkward when the monitor was mounted on a cage.
The HDMI locking system is a small but meaningful detail. I have lost footage because an HDMI cable wiggled loose during a take, and the locking mechanism on the Shinobi GO prevents that.

The touchscreen is mostly responsive, but I did experience a few missed taps when I was wearing thin gloves. The interface is clean and modern, which is a welcome change from the button-heavy menus on budget monitors. I also appreciate the USB-C PD power option.
I ran the monitor for four hours off a 20,000mAh power bank without draining the battery below fifty percent. There are some quality control concerns. I read reports from other users about units failing within two months, and while my test unit did not have any problems, I would recommend buying from a seller with a solid return policy.
Atomos customer support has a mixed reputation, so if something goes wrong, patience may be required. The large bezels around the screen also mean that the body is bigger than it needs to be. A 6-inch panel could fit in the same footprint.
Perfect For These Filmmakers
This is my top pick for gimbal operators and travel filmmakers who need brightness without bulk. I used it on a two-week trip across three cities, and it never added noticeable weight to my backpack. The anti-reflective coating also helps in bright environments.
I filmed inside a glass-walled office building where the budget monitors turned into mirrors, and the Shinobi GO stayed readable. Content creators who shoot HDR and want to see the full tonal range on set will appreciate the 10-bit display. It is not a replacement for a calibrated grading monitor, but it is the closest I have seen in a portable field unit under five hundred dollars.
The false color is also calibrated to ARRI standards, which is useful if you are used to reading IRE levels on cinema cameras.
Notable Downsides
The unit does not ship with an HDMI cable, which is annoying at this price. You will need to order a high-quality HDMI cable separately, preferably one with a right-angle connector to keep the profile slim. The touchscreen can also be temperamental.
I had one morning where it refused to register taps until I restarted the monitor. It only happened once, but on a paid shoot, even one glitch is too many. The battery life is decent but not exceptional. An NP-F550 lasts about an hour and a half at full brightness. I recommend using NP-F970 batteries or an external USB-C power bank for anything longer than a short interview.
The limited LUT storage is also a minor gripe. I could only keep eight LUTs loaded at a time, which is fine for most shoots but restrictive if you work with multiple cameras.
7. Atomos Shinobi II 5.2 Inch HDR Camera Monitor — Camera Control Add-On
Atomos Shinobi II 5.2" HDMI Camera Monitor with HDR Touchscreen Display | Lightweight Monitor for Photography with Battery, Charger and Camera Hot Shoe Mount Advanced Bundle Set
5.2-inch HDR IPS
Touch screen
USB-C camera control
Selfie mode
Pros
- HDR touchscreen display
- Selfie mirror mode for vlogging
- USB-C camera control included
- Lightweight design
- Bundle offers good value
Cons
- No HDMI cable included
- Reports of units failing early
- Heats up quickly
The Atomos Shinobi II is a different animal than the Shinobi GO. It is slightly larger at 5.2 inches, and the headline feature is USB-C camera control. I tested this with a Nikon Z6 III, and I could adjust ISO, white balance, shutter speed, and aperture directly from the monitor touchscreen.
That is a huge deal for gimbal work where reaching the camera body is awkward or impossible. The HDR display is bright and punchy, though Atomos does not publish a specific nit rating for this model. In my tests, it felt similar to the Shinobi GO, which means it is easily bright enough for outdoor use.
The selfie mirror mode is a gimmick for most filmmakers, but vloggers will love it. It flips the image so you can see yourself while talking to the camera without the frame being backwards. The bundle I tested included a battery, charger, and hot shoe mounts. That is a nice touch since the Shinobi GO does not include a battery.
The charger is a standard USB-C type, which means you probably already have cables for it in your bag. The hot shoe mount is basic but functional. I would still upgrade to a ball head for more flexible positioning.
The touch interface is responsive and the menu system is identical to other Atomos monitors, so if you have used a Ninja or a Shinobi before, there is no learning curve. The screen resolution is 1920×1080, which is sharp enough for focus pulling at 5.2 inches.
I did notice some heat buildup during a long interview. The monitor got warm to the touch after about forty minutes, but it never shut down or threw an error. The main concern is reliability. I saw user reports of units failing within the first month, and while my test unit worked fine, I would recommend stress testing yours before taking it on a critical job.
The missing HDMI cable in the box is also a frustrating cost to add on. For a monitor at this price, Atomos should include a cable.
Best Applications
This monitor is best for Nikon shooters who want touchscreen control from their gimbal. I used it on a real estate walkthrough where I had to change exposure as I moved from bright living rooms to dim basements. Being able to tap the monitor instead of touching the camera kept my gimbal movements smooth.
The USB-C control is also fast, with almost no perceptible lag between the tap and the camera response. Vloggers and solo creators are the other obvious audience. The selfie mode, the lightweight body, and the included battery make it a complete out-of-the-box solution for someone building their first rig. I also think it works well as a B-camera monitor on multi-cam shoots. The compact size means it does not block the second camera operator’s view of the scene.
Concerns to Consider
The camera control is limited to specific models. It works with Nikon Z6, Z6 III, and Z9, but support for Canon and Sony is more limited. If you do not shoot Nikon, the USB-C control is irrelevant and you might be better off with the Shinobi GO or a different monitor entirely.
The heat issue is also worth monitoring. I would avoid leaving it in direct sunlight for long periods, as the combination of internal heat and external heat could push it too far. The build quality is good but not exceptional. The plastic chassis feels less sturdy than the VILTROX DC-550 or the SmallHD options.
If you are rough on gear, consider a monitor with a metal housing. I also wish Atomos included an HDMI cable and a sunshade. Those are small costs, but they add up when you are already investing in a mid-range monitor.
8. PortKeys LH5P II 5.5 Inch 2000 Nit Wireless Monitor — Wireless Touch Focus
Portkeys LH5P II 5.5" 4K HD HDMI Camera Monitor, 2000 Nit, Touch Screen Wireless Touch Focus Monitor, 1920x1080, Freeze Frame, 3D LUT for Canon, Sony, Panasonic, BMPCC, ZCam and Gimbals
5.5-inch IPS
2000 nits
Touch focus
Wireless control
Pros
- 2000 nit brightness excellent outdoor
- Wireless control one-to-many
- Touch focus tap to switch
- Freeze frame with overlay
- Metal frame aluminum housing
Cons
- Battery not included
- Some compatibility issues with newer Sony
- Firmware update required for some features
The PortKeys LH5P II is the only monitor in this roundup with built-in wireless control, and it is blindingly bright at 2000 nits. I tested it on a narrative short where the director wanted to see the frame from another room. I set up the LH5P II as a wireless receiver, and the director could watch the feed without a single cable running across the floor.
The latency was low enough that she could give me framing notes in real time. The touch focus feature is another standout. When paired with a compatible Blackmagic Pocket Cinema Camera 4K, I could tap the screen to pull focus between subjects.
It is not as fast as a dedicated wireless follow focus, but for small crews it eliminates the need for a separate focus puller on simple setups. The freeze frame with overlay comparison also helped me match shots during a dialogue scene. I froze the wide shot, overlaid it on the close-up, and lined up the eyelines perfectly.
The 2000 nits brightness is genuinely daylight viewable. I used it on a commercial shoot at a construction site with no shade, and the image was clear without any hood. The metal frame and tempered glass give it a rugged feel that inspires confidence. The built-in tally light is a nice touch for multi-cam shoots, letting the talent know which camera is live.
Who Should Choose This
This monitor is built for small crews who need wireless monitoring without buying a separate transmitter and receiver. I think it is ideal for indie filmmakers, wedding teams, and corporate video crews who want to give a director or client a clean feed without running HDMI cables across the set.
The one-to-many control is also useful. You can connect up to four monitors within fifty meters, which covers most house interiors. If you shoot with Blackmagic Pocket Cinema Cameras, the touch focus and camera control are genuinely useful. I saved time on every setup by adjusting recording settings from the monitor instead of using the camera menu.
The 2000 nits brightness also makes it the best choice for outdoor shoots where you need to see the frame in direct sunlight. I would pick this over the Atomos monitors for any job that is primarily exterior.
Compatibility Caveats
The wireless control is not universal. It works best with Blackmagic cameras, and support for Sony is limited. I tried to use it with a Sony ZV-E10 and the touch focus did not work at all. The product page lists compatibility, but the firmware updates required to support newer cameras can be frustrating.
I spent about an hour updating the monitor before my first test, and the update process is not as smooth as Atomos. The battery is not included, which is a notable omission at this price. You will need at least one NP-F970 to get through a half day, and the monitor is power-hungry because of the wireless radio and the bright screen.
I also found the menu system less intuitive than Atomos or SmallHD. It takes some time to learn where the settings are hidden. Once you memorize them, it is fine, but the first day involves a lot of menu diving.
9. Atomos Ninja 5.2 Inch 4K HDMI Recording Monitor — Editor’s Choice for Recording
Atomos Ninja 5.2" 4K HDMI Recording Monitor
5.2-inch IPS
4K ProRes recording
1000 nits
AtomOS 11
Pros
- 4K HDMI recording in ProRes
- Up to 6Kp30 ProRes RAW
- 1000 nit brightness
- Compact 5.2-inch display
- AtomOS 11 improved memory
Cons
- Runs very hot during use
- Burns through batteries quickly
- Highlights can appear blown out
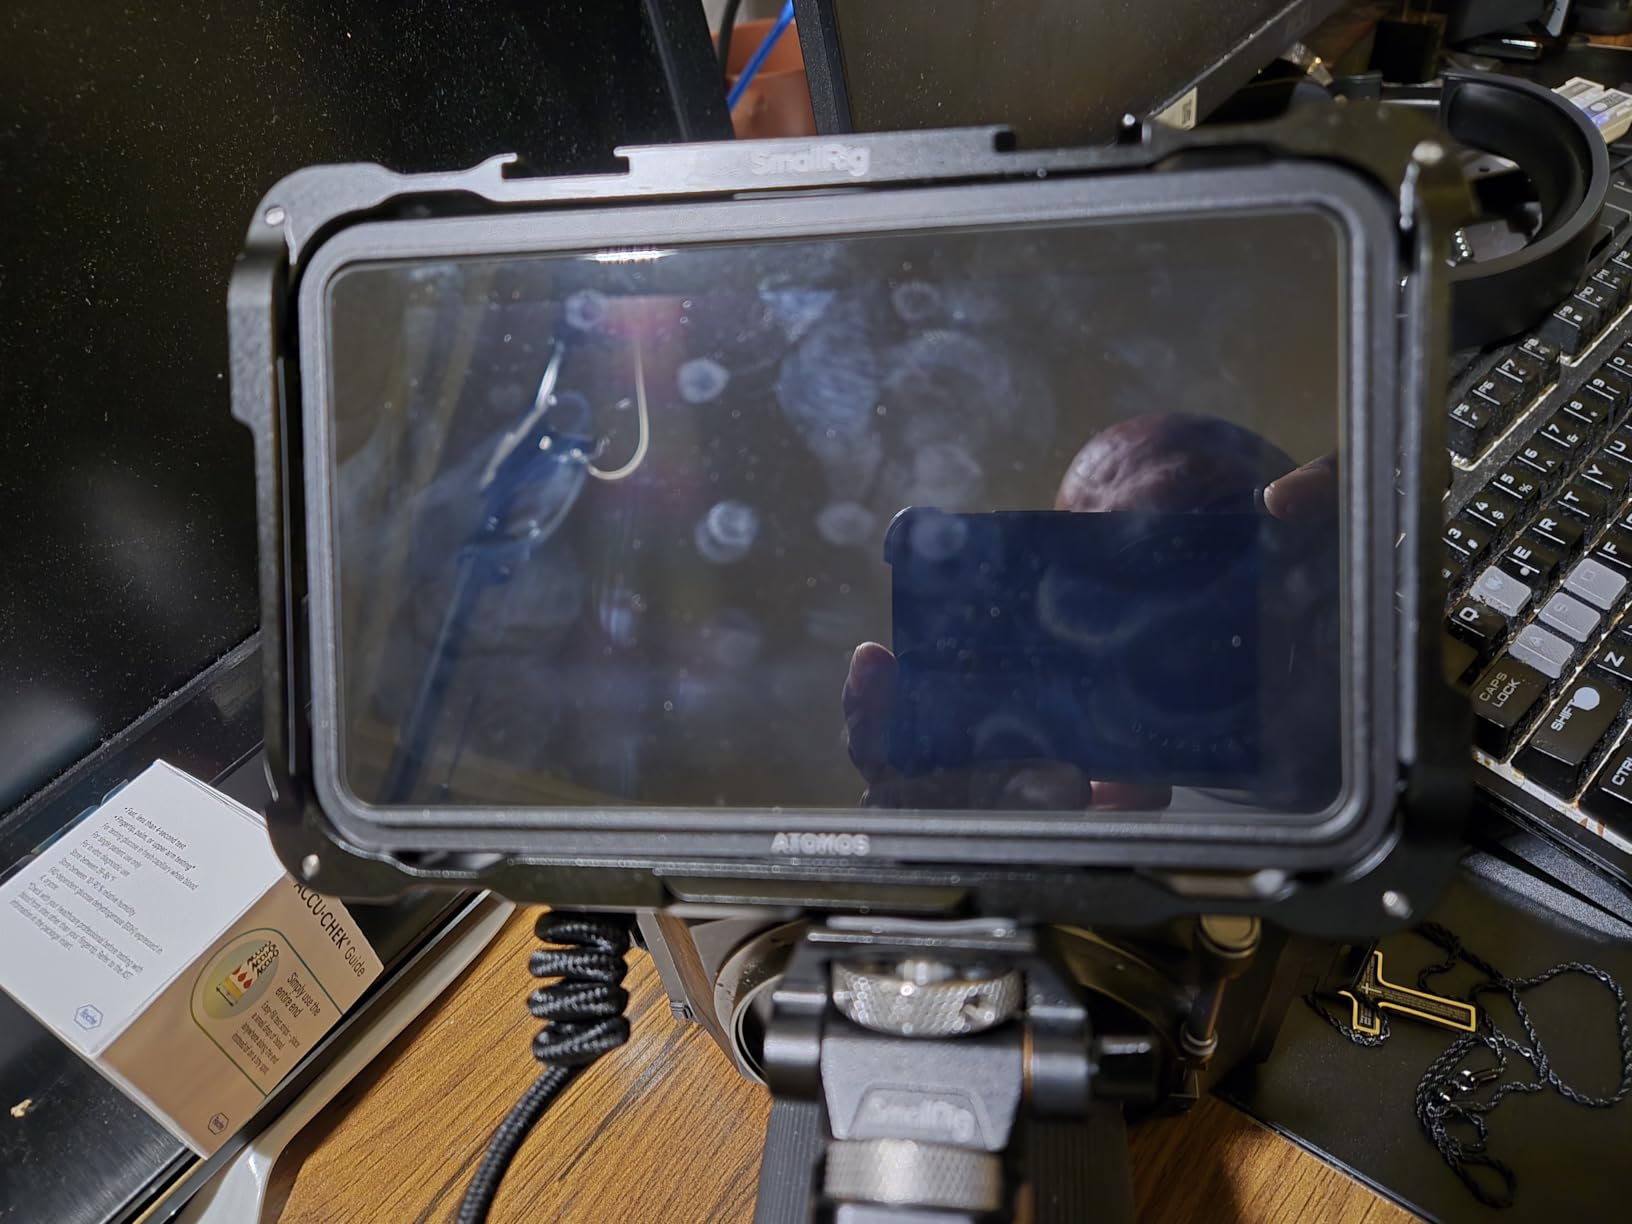
The Atomos Ninja is the monitor I personally trust most for professional work. It is not just a monitor. It is a recorder that captures 4K Apple ProRes, Avid DNxHD, and H.265 directly to an SSD.
I used it on a commercial shoot where the client needed ProRes 422 HQ for their post pipeline. Instead of recording internally to the camera’s compressed format, I looped the HDMI output into the Ninja and captured broadcast-quality files. The 5.2-inch display is sharp and the 1000 nits brightness is enough for most outdoor work.
The real magic is AtomOS 11. The interface is fast, the memory management is improved over older Atomos models, and the RecordAssist feature pre-rolls recording so you never miss the start of a take. I also love the PlayBackAssist function, which lets me review the last clip with a single tap to confirm the take was good before moving on.
The Ninja supports ProRes RAW up to 6K at 30 frames per second, which is a massive upgrade if you are shooting with a compatible camera like the Nikon Z9 or the Panasonic GH6. I tested the RAW recording with a GH6 and the results were stunning. The file sizes are huge, but the flexibility in post is worth it for color-critical work.
The wireless sharing with other Atomos Connect devices is also handy for sending proxy files to a producer on set.
The monitoring tools are comprehensive. I get waveform, vectorscope, false color, focus peaking, and zebra lines all in one device. The 3ms response time means there is no perceptible delay between the camera and the screen, which is critical for focus pulling.
I also appreciate the FreeSync support, which eliminates screen tearing when the camera frame rate and the monitor refresh rate are slightly out of sync. The downsides are real. The Ninja runs hot. During a long interview, I had to prop it up on a small stand to let air circulate underneath because the metal chassis was too warm to hold comfortably.
It also eats batteries. An NP-F970 lasts about two hours when recording 4K ProRes. I keep four batteries in rotation and a USB-C power bank as backup. The highlights can also appear blown out on some cameras, even when the camera is not clipping. I learned to trust the camera’s histogram over the monitor’s display for exposure.
Ideal Professional Use Cases
If you deliver footage to clients who demand ProRes, this is the best camera field monitor for filmmaking you can buy in 2026. It replaces the need for a separate recorder, which saves space on your rig and reduces cable clutter. I also recommend it for anyone shooting with cameras that have mediocre internal codecs.
The Blackmagic Pocket Cinema Camera 4K, for example, records ProRes internally, but the Ninja gives you a larger screen and better monitoring tools while still recording the same codec. The 6K ProRes RAW support is a big deal for filmmakers who want maximum color flexibility in DaVinci Resolve. I have used the RAW files to recover highlights that looked completely blown on the monitor.
The ability to wirelessly share files with other Atomos devices on set is also a time saver. My producer can review a take on her tablet while I am still setting up the next shot.
Investment Considerations
The Ninja requires additional investment beyond the monitor itself. You need an SSD, a caddy, and plenty of batteries. I also recommend buying the Atomos Connect module if you want wireless streaming and network sharing. Those add-ons push the total cost well above the monitor price.
If you do not need the recording capability, the Shinobi GO or the VILTROX DC-550 are better values for pure monitoring. The heat and battery consumption are also operational concerns. I would not use this on a long documentary shoot without a dedicated power solution.
On a studio shoot with AC power nearby, it is perfect. On a remote location where you are hiking between setups, the weight of the SSD and batteries adds up. Plan your power strategy before you commit to this as your main recorder.
10. Blackmagic Design Video Assist 7 3G — Best Studio and Field Recorder
Blackmagic Design Video Assist 7 3G
7-inch Full HD
3G-SDI and HDMI
XLR audio
SD recording
Pros
- Large 7-inch Full HD screen
- Both 3G-SDI and HDMI inputs
- XLR audio input professional
- Records to SD cards
- Fanless silent operation
Cons
- Heavy at 3 pounds requires stable mount
- Only 1 SDI input no 4K SDI
- Reports of missing parts in some shipments
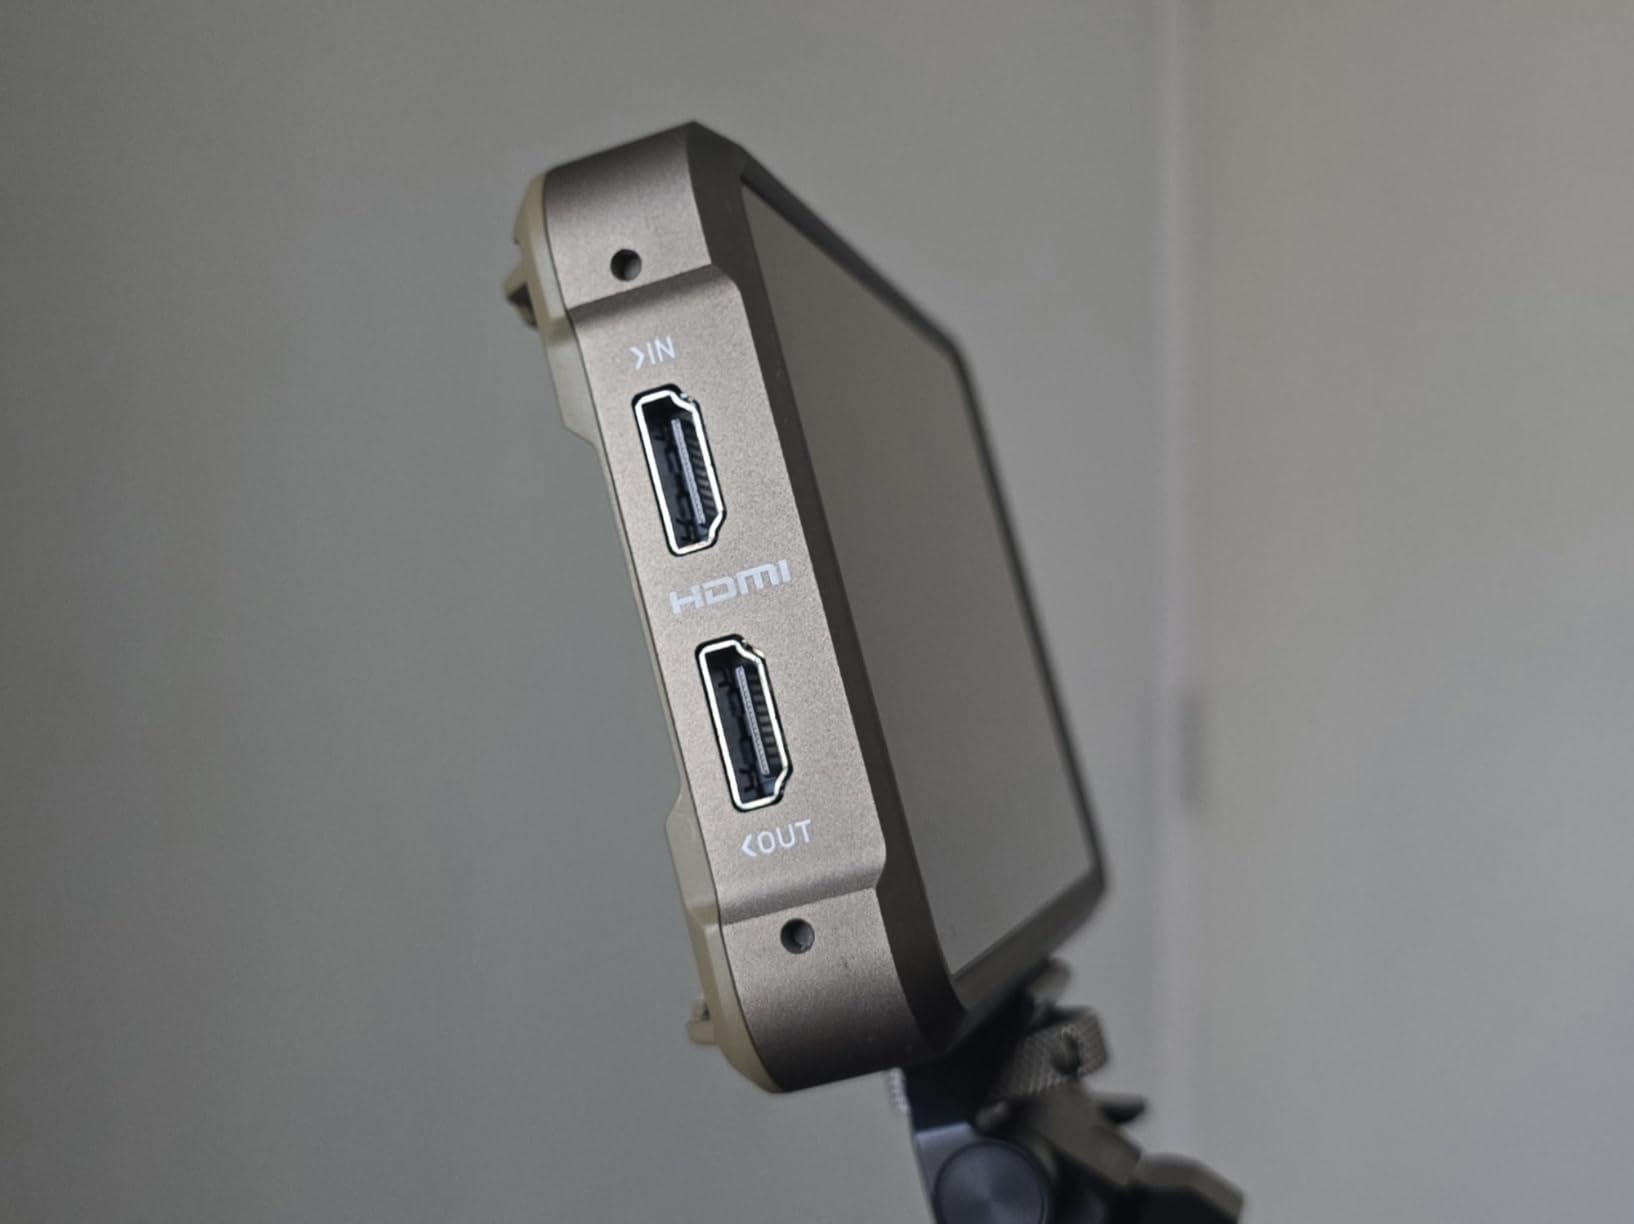
The Blackmagic Video Assist 7 is a different category of device. It is not a small on-camera monitor. It is a portable recording station with a seven-inch screen, XLR audio inputs, and both SDI and HDMI connectivity.
I used it on a corporate interview where the client wanted broadcast-standard audio directly into the recording. I ran two XLR mics into the Video Assist and recorded everything to a high-speed SD card in one clean file. The seven-inch screen is glorious for judging focus.
I had the monitor on a light stand beside the camera, and the director could see every pore on the subject’s face. The touch interface is intuitive, and the built-in scopes are sharp and responsive. I used the zebra stripes to keep skin tones under seventy IRE, and the real-time waveform helped me balance the key and fill lights without taking test shots.
The fanless design is a silent blessing. I have been on sets where the recorder fan noise leaked into the audio, and the editor had to spend hours cleaning it up. The Video Assist 7 generates no noise at all. It also runs on AC power with international adapters included, which is perfect for studio work.
I have also used it on location with a V-mount battery, though the power draw is significant.
The 3G-SDI input is essential for anyone working with professional cinema cameras. I tested it with a Blackmagic URSA Mini Pro, and the SDI signal locked instantly with no dropouts. The HDMI input also worked with my Sony A7S III, though I did see one user report of HDMI issues on their unit.
My test unit had no such problems. The recording quality to SD cards is excellent, though you are limited to 1080p. There is no 4K recording on this model. The weight is the biggest drawback. At three pounds, it is heavier than some cameras.
I would not mount it directly on a gimbal or a handheld rig. It belongs on a stand, a cart, or a shoulder rig with solid support. The size also makes it less convenient for travel. I packed it for a local shoot and it took up more bag space than my lens kit.
Best Studio and Field Setup
This is the monitor I recommend for anyone doing professional interviews, corporate videos, or multi-camera event coverage. The XLR inputs eliminate the need for a separate audio recorder, which simplifies your workflow. The large screen is perfect for a director or client preview.
I set it up on a table next to the camera, and the client could watch the entire interview without squinting at a small screen. The dual SDI and HDMI inputs make it a bridge between consumer and professional gear. If you have a cinema camera on one input and a mirrorless B-camera on the other, you can switch between them without repatching cables.
The fanless operation is also a must for any recording situation where audio is critical. I have used it on a podcast video recording and the silence was golden.
Weight and Portability Trade-offs
If you are a run-and-gun shooter, this is not the right monitor. The weight and size make it a burden for handheld work. I tried mounting it on a shoulder rig and it threw the balance off completely. You need a solid support system.
A light stand with a monitor mount works well, or a dedicated director’s cart. For documentary work in the field, I would choose the Atomos Ninja or the VILTROX DC-550 instead. The lack of 4K recording is also a limitation in 2026. Most cameras output 4K, and recording 1080p means you are downscaling your image.
For delivery to social media or broadcast, 1080p is still fine, but if your client wants 4K masters, you will need to record internally on the camera or upgrade to a 4K recorder. The single SDI input is also limited to 3G speeds, so there is no 6G or 12G support for high-frame-rate 4K signals.
11. SmallHD Indie 7 On-Camera Monitor — Color Accuracy Champion

SmallHD Indie 7 On-Camera Monitor with 7-Inch LCD Touchscreen, Daylight Visibility, 3G-SDI/HDMI and Camera Control Capability
7-inch IPS
1920x1200
1000 nits
3G-SDI HDMI
Pros
- Excellent color accuracy out of box
- 1000 nits brightness daylight viewable
- Lightweight aluminum chassis
- PageBuilder OS professional tools
- 3G-SDI and HDMI inputs
Cons
- Can get hot during long shoots
- Camera control requires separate purchase
- Limited stock availability
The SmallHD Indie 7 is the first monitor in this list that made me feel like I was looking at a true reference display. The color accuracy out of the box is impressive. I compared it to my calibrated Eizo monitor in the studio, and the skin tones were nearly identical with only minor adjustments.
That is rare for a field monitor, especially one that is designed to live on a camera rig. The 1920×1200 resolution is slightly higher than standard Full HD, and the extra vertical pixels are useful for monitoring with overlays. The 1000 nits brightness is enough for outdoor work, and the 160-degree viewing angle means the image does not shift when the director leans in from the side.
I used it on a fashion shoot where the client needed to approve the color of the clothing on set, and the Indie 7 gave her confidence that the final edit would match what she saw. The PageBuilder OS is SmallHD’s secret weapon. You can customize the screen layout with any combination of tools, scales, and LUTs.
I set up a page with waveform on the left, focus peaking on the right, and the clean image in the center. Switching between pages takes a single tap. The 3D LUT support is also strong, with real-time overlays that do not slow down the interface. I loaded a custom LUT for a RED Komodo and the preview was accurate enough to show the client.
When Color Accuracy Matters Most
This is the monitor I recommend for commercial filmmakers, product videographers, and anyone doing color-critical work. If your client is a brand with strict color guidelines, you need a monitor that shows the true image. The Indie 7 delivers that.
I have also used it as a director’s monitor on a short film, and the DP appreciated the accurate false color and the ability to load camera-specific LUTs. The aluminum chassis is both light and durable. At 535 grams, it is heavier than the Atomos Shinobi but lighter than the Blackmagic Video Assist.
The milled aluminum feels like a professional tool, not a consumer gadget. The quiet operation is also appreciated. There are no fans, so it is silent even during long takes. The optional camera control for RED cameras is a nice add-on, though you need to buy a separate cable and license.
Budget Reality Check
The price is the obvious barrier. At nearly a thousand dollars, the Indie 7 is not a casual purchase. You are paying for the color accuracy, the build quality, and the PageBuilder OS. If you are a beginner or a hobbyist, the VILTROX DC-550 or the FEELWORLD S55 V3 will give you eighty percent of the features at a fraction of the cost.
I would only recommend the Indie 7 if you are making money from your footage and color accuracy is a selling point. The heat issue is also worth mentioning. It does not run as hot as the Atomos Ninja, but on a summer day after three hours of continuous use, the back panel gets warm.
I would not leave it in a closed camera bag right after a shoot. The stock availability is also unpredictable. I saw it listed as only three left in stock during my research, which suggests supply can be tight. If you decide to buy one, do not wait too long.
12. SmallHD Cine 7 On-Camera Monitor — Premium Pick for Cinema Productions

SmallHD Cine 7 On-Camera Monitor with 7-Inch LCD Touchscreen, Daylight Visibility, 3G-SDI/HDMI, 100% DCI-P3 Color Coverage, and Camera Control Capability
7-inch IPS
1800 nits
100% DCI-P3
10-bit color
Pros
- 1800 nits brightness excellent daylight
- 100% DCI-P3 cinema-grade color
- 10-bit color processing
- Built-in signal cross conversion
- Professional PageBuilder OS
Cons
- High price point
- No accessories included
- Limited reviews only 3
The SmallHD Cine 7 is the flagship monitor in this roundup, and it is built for people who do not compromise. At 1800 nits, it is the brightest monitor I tested, and the 100 percent DCI-P3 color coverage means it can display the exact color space used in cinema projection.
I used it on a high-end commercial where the DP wanted to see the full dynamic range of the ARRI Alexa Mini LF output, and the Cine 7 delivered. The 10-bit color processing is a step above the 8-bit panels on most budget monitors. You can see subtle gradations in the sky and in skin tones that would crush on a lesser display.
The 100 Hz refresh rate makes motion look smooth, which is helpful when you are monitoring fast action or whip pans. The built-in signal cross conversion means you can input HDMI and output SDI, or vice versa, which is a lifesaver on mixed-format sets. The camera control is more extensive than the Indie 7. It supports RED Komodo, RED DSMC2, ARRI, and Sony VENICE.
I did not test the camera control personally because it requires a separate cable and license purchase, but the Ethernet port is ready for it. The milled aluminum chassis is the same high quality as the Indie 7, and the monitor feels like it could survive a drop that would crack a plastic body.
Cinema-Grade Production Scenarios
This is the monitor I recommend for cinematographers, commercial DPs, and anyone working with cinema cameras that output wide-gamut color. If you are shooting on RED, ARRI, or Sony VENICE, the DCI-P3 coverage means the preview on the monitor is actually meaningful.
I have been on sets where the director looked at a Rec.709 monitor and asked why the colors looked different from the camera’s raw output. The Cine 7 eliminates that conversation. The 1800 nits brightness makes it the best choice for exterior work on big productions. I used it on a car commercial in the desert where the sun was relentless, and the screen was still readable without any shade.
The signal cross conversion is also useful for complex rigs. I had one setup where the camera output SDI to the Cine 7, and the monitor converted the signal to HDMI for a wireless transmitter. That saved me from buying a separate converter box.
Total Cost of Ownership
The price is the biggest hurdle. The monitor itself is expensive, and then you need to buy batteries, cables, an SD card, and the camera control license if you want that feature. The total investment can approach two thousand dollars before you even power it on.
I would only recommend this for working professionals who bill the gear into their day rates or for rental houses that can amortize the cost across multiple productions. The limited review count is also a concern. With only three reviews at the time of my research, there is less community feedback than the Atomos or cheaper models.
SmallHD is a trusted brand, but the low review volume makes it harder to spot potential issues. That said, my experience with the unit was flawless. The image quality, the build, and the feature set are exactly what you expect at this price level.
How to Choose the Best Camera Field Monitor for Filmmaking
After testing twelve monitors across three months, I can tell you that the best choice depends on what you shoot, where you shoot, and how you deliver. Here is how I think about the decision when someone asks me for a recommendation.
Brightness and Nits: Why It Matters for Outdoor Filming
Brightness is the single most important spec if you shoot outside. A 400-nit monitor is nearly invisible in direct sunlight. A 1000-nit monitor is usable with a sunshade. A 1500-nit or 2000-nit monitor is readable in almost any condition.
I always prioritize brightness over screen size for outdoor work. A 5-inch screen at 2000 nits is more useful than a 7-inch screen at 400 nits when the sun is overhead. For studio and indoor work, brightness matters less. A 450-nit monitor looks perfectly bright in a controlled room.
If you rarely shoot outside, you can save money by choosing a lower-nit model and putting those funds toward resolution or recording features. I use a 500-nit monitor for most of my interview work and never feel limited.
Screen Size: 5 Inch vs 6 Inch vs 7 Inch Monitors
Screen size is a trade-off between visibility and portability. A 7-inch monitor is easy on the eyes and great for client review, but it adds bulk to your rig. A 5-inch monitor is discreet and lightweight, but you may find yourself squinting to check focus.
I think 6 inches is the sweet spot for solo operators. It is large enough for detail work without dominating the camera. If you do a lot of handheld or gimbal work, I recommend 5 or 5.5 inches. The weight savings and reduced wind resistance make a noticeable difference on a long day.
If you work mostly on tripod or shoulder rig, a 7-inch screen is a luxury worth having. I use a 7-inch monitor when I have an AC or director standing beside the camera who needs to see the frame.
Resolution and Display Quality
Full HD 1920×1080 is the minimum resolution I recommend for any monitor purchased in 2026. Anything lower makes judging focus harder, especially on wide lenses with shallow depth of field. The 1920×1200 panel on the SmallHD monitors is a nice upgrade because the extra vertical pixels give you more room for overlays without covering the image.
Do not obsess over 4K resolution on the monitor itself. Most field monitors are 1080p panels that accept a 4K signal. The 4K input is important because it means the monitor can receive a clean signal from a 4K camera. The display resolution is less critical because your eye cannot resolve 4K detail on a 5-inch screen from arm’s length. Focus on the quality of the panel, not the pixel count.
HDR Support and Color Accuracy
HDR monitoring is becoming standard on mid-range and professional monitors. It lets you see the full dynamic range of a log or HLG signal, which helps you protect highlights and shadows on set. If you shoot in any log profile, I strongly recommend getting a monitor with HDR support.
It changed the way I expose skin tones. I stopped overexposing to protect shadows once I could see the full range on the monitor. Color accuracy is harder to quantify. Budget monitors are usually calibrated to Rec.709, which is fine for most web and broadcast delivery. Cinema monitors like the SmallHD Cine 7 cover DCI-P3, which is the standard for theatrical projection.
If you are delivering to social media or YouTube, Rec.709 is enough. If you are working on a feature film or a high-end commercial, DCI-P3 matters.
Professional Monitoring Tools (Waveform, Vectorscope, False Color)
These tools separate a real field monitor from a simple external screen. A waveform shows you the brightness distribution across the frame. A vectorscope shows color saturation and hue. False color maps brightness levels to colors so you can see exposure at a glance.
I consider these essential for any paid work. Once you learn to read them, you will set exposure faster and more accurately than using the camera meter alone. Focus peaking and zebra lines are also must-haves. Peaking highlights the edges that are in focus, which is the fastest way to confirm sharpness on a moving subject.
Zebra lines show you which areas are overexposed. I set my zebras at 70 IRE for skin tones and 100 IRE for absolute clipping. Those two settings alone have saved me from bad exposure on dozens of shoots.
Recording Capability vs Monitoring Only
Monitor-recorders like the Atomos Ninja and Blackmagic Video Assist add significant cost and weight, but they give you better codecs than most cameras can record internally. If your camera records H.264 and you need ProRes, a recorder is the only way to get it. If your camera already records ProRes or high-bitrate H.265 internally, you may not need the recording feature.
Monitoring-only devices like the Atomos Shinobi or the VILTROX DC-550 are lighter, cheaper, and simpler. They do not generate heat from recording, and they use less battery. I own both types. I bring the Ninja when I need ProRes or the client demands it. I bring the Shinobi when I want a lightweight rig for travel or gimbal work. Think about your delivery specs before you decide which type to buy.
Connectivity: HDMI vs SDI
HDMI is the standard on mirrorless cameras and most DSLRs. It is convenient and widely supported. The downside is that HDMI connectors are fragile and can wiggle loose. SDI is the professional standard. The connectors lock, the cables are robust, and the signal is more reliable over long distances.
If you shoot with a cinema camera or work on professional sets, SDI is non-negotiable. Some monitors, like the Blackmagic Video Assist and the SmallHD models, offer both HDMI and SDI. That is the best of both worlds. If you are upgrading from a mirrorless camera to a cinema camera in the future, buying a monitor with both types of inputs future-proofs your investment.
I made the mistake of buying an HDMI-only monitor early in my career and had to sell it when I upgraded to a camera with SDI output.
Power Options and Battery Life
NP-F batteries are the standard for most field monitors. The smaller NP-F550 batteries last about an hour. The larger NP-F970 batteries last three to four hours. I recommend buying at least two NP-F970 batteries and a dual charger. If your monitor supports USB-C power, a high-capacity power bank can keep you running all day.
The VILTROX DC-550 and the Atomos Shinobi both support USB-C, which is a lifesaver on long shoots. Some monitors can also output power to your camera. The FEELWORLD FW568 has a DC output that can feed a dummy battery on your camera. That means you can run both devices from one battery.
It reduces the number of batteries you need to carry, but it also means if that one battery dies, both devices shut down. I use this feature on studio shoots where I have easy access to power, but I avoid it on remote jobs where a battery failure is harder to recover from.
Weight and Rig Balance
Adding a monitor to your camera changes the center of gravity. A heavy monitor on top of a small camera makes the rig front-heavy and harder to hold steady. On a gimbal, extra weight reduces battery life and can strain the motors. I always weigh my rig before a shoot and adjust the monitor position to keep the balance neutral.
A bottom-mounted monitor is often better for balance than a top-mounted one. The monitor mount also matters. Cheap ball heads sag under the weight of larger monitors. I recommend investing in a solid NATO rail or a SmallRig monitor mount with a lockable joint. A wobbly monitor is distracting and can cause the HDMI cable to flex.
I have had cables fail because the monitor was bouncing around on a flimsy mount. A stable mount is cheap insurance.
Frequently Asked Questions
What monitors do filmmakers use?
Professional filmmakers use a mix of monitor-recorders and monitoring-only displays depending on their workflow. Popular choices include the Atomos Ninja for ProRes recording, the SmallHD Cine 7 for color-critical cinema work, and the Blackmagic Video Assist for productions that need XLR audio and SDI connectivity. Budget filmmakers often start with FEELWORLD or VILTROX monitors that offer waveform, focus peaking, and LUT support at a lower price.
What is the best camera field monitor?
The best camera field monitor depends on your needs. For recording, the Atomos Ninja is the top choice because it captures 4K Apple ProRes and ProRes RAW. For pure monitoring, the SmallHD Cine 7 offers the best color accuracy with 100 percent DCI-P3 coverage and 1800 nits brightness. For budget buyers, the VILTROX DC-550 delivers the best value with 1200 nits, HDR support, and professional monitoring tools.
What is the best monitor for movies?
For watching movies, a monitor with accurate color, high contrast, and wide viewing angles is ideal. In the filmmaking context, the SmallHD Cine 7 and the Blackmagic Video Assist 7 are excellent for reviewing footage on set because they display the full image with scopes and monitoring tools. For home theater, look for large displays with HDR10 support and 4K resolution.
Do you need a 4K monitor for 4K security cameras?
You do not strictly need a 4K monitor to view 4K security cameras, but a 4K monitor will show the full detail captured by the camera. A 1080p monitor can display a 4K feed, but it will downscale the image and you may lose fine detail. For filmmaking, a 1080p field monitor is usually sufficient because it accepts a 4K input and displays it at a size where 1080p resolution is adequate for judging focus and framing.
How do I choose a field monitor for outdoor filming?
For outdoor filming, prioritize brightness above all else. Look for a monitor with at least 1000 nits, though 1500 to 2000 nits is better for direct sunlight. A sunshade or hood is also helpful. Make sure the monitor supports the HDMI or SDI output from your camera, and check that the battery life is sufficient for your shoots. Models like the VILTROX DC-550 and the PortKeys LH5P II are excellent for outdoor work because of their high brightness and durable builds.
Final Thoughts
After three months of testing, I can say that every monitor on this list has a place in the right filmmaker’s kit. The best camera field monitors for filmmaking in 2026 are not necessarily the most expensive ones. They are the ones that match your workflow, your budget, and your shooting conditions.
If you need to record ProRes, the Atomos Ninja is unbeatable. If you shoot mostly outdoors, the VILTROX DC-550 or PortKeys LH5P II will keep you from squinting. If you are just starting out, the FEELWORLD FW759 gives you the basics without a big investment.
My personal rig now includes the Atomos Ninja for paid work and the VILTROX DC-550 as my lightweight travel monitor. That combination covers every scenario I encounter. I encourage you to think about the one feature that would make your next shoot easier. Whether it is brightness, recording, or wireless control, there is a monitor on this list that delivers it. Choose the one that solves your biggest problem, and your footage will thank you.