

After spending three weekends coating my own 2-car garage and helping two neighbors with theirs, I learned the hard way that not all garage epoxy floor coatings perform the same. My first attempt with a cheap big-box kit started peeling under the tires within eight months. That experience sent me down a rabbit hole of testing, comparing, and documenting which formulas actually hold up to daily vehicle traffic, oil spills, and Midwest temperature swings.
The best garage epoxy floor coatings in 2026 need to do three things well: bond permanently to properly prepared concrete, resist hot tire pickup without softening, and stand up to gasoline, motor oil, antifreeze, and road salt. A true 2-part epoxy system chemically bonds to concrete, creating a rigid plastic-like surface that is 5X harder than standard garage floor paint. Whether you want a high-gloss showroom finish or a practical workshop surface, the right coating can protect your concrete for 10 to 20 years.
In this guide, our team compares six of the most popular epoxy and concrete garage floor coatings available right now. We tested application difficulty, cure times, durability claims, and overall value. We also factored in real feedback from homeowners on Reddit and garage forums who have lived with these products for years. By the end, you will know exactly which kit fits your garage, your skill level, and your budget.
If you want to see how all six products stack up before diving into individual reviews, here is the full comparison. Each kit below was evaluated on coverage area, formula type, cure time, and resistance to hot tire pickup and chemicals.
| Product | Specs | Action |
|---|---|---|
|
Rust-Oleum EPOXYSHIELD Garage Floor Kit
|
|
Check Latest Price |
 Rust-Oleum EpoxyShield Basement Kit
|
|
Check Latest Price |
|
YOA Professional Concrete Floor Paint
|
|
Check Latest Price |
 SIMIRON Epoxy Resin Coating Kit
|
|
Check Latest Price |
|
Gorilla Epoxy Garage Floor Kit
|
|
Check Latest Price |
 ArmorPoxy Garage Epoxy Floor Kit
|
|
Check Latest Price |
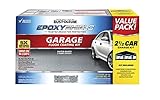
2-part epoxy formula
2.5 car garage coverage
High-gloss gray finish
Walk on in 24 hours
Low odor low VOC
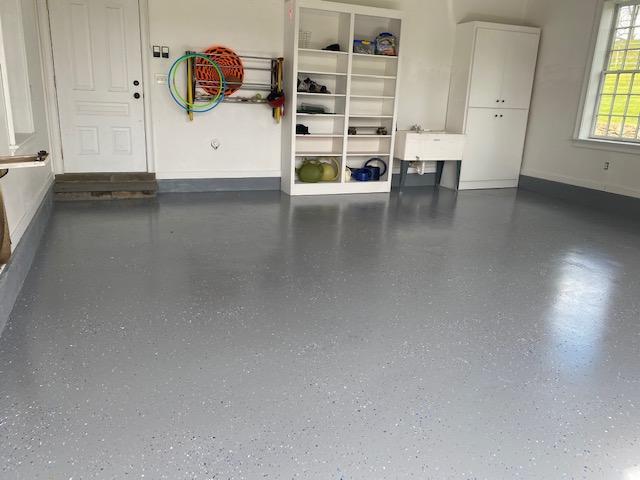
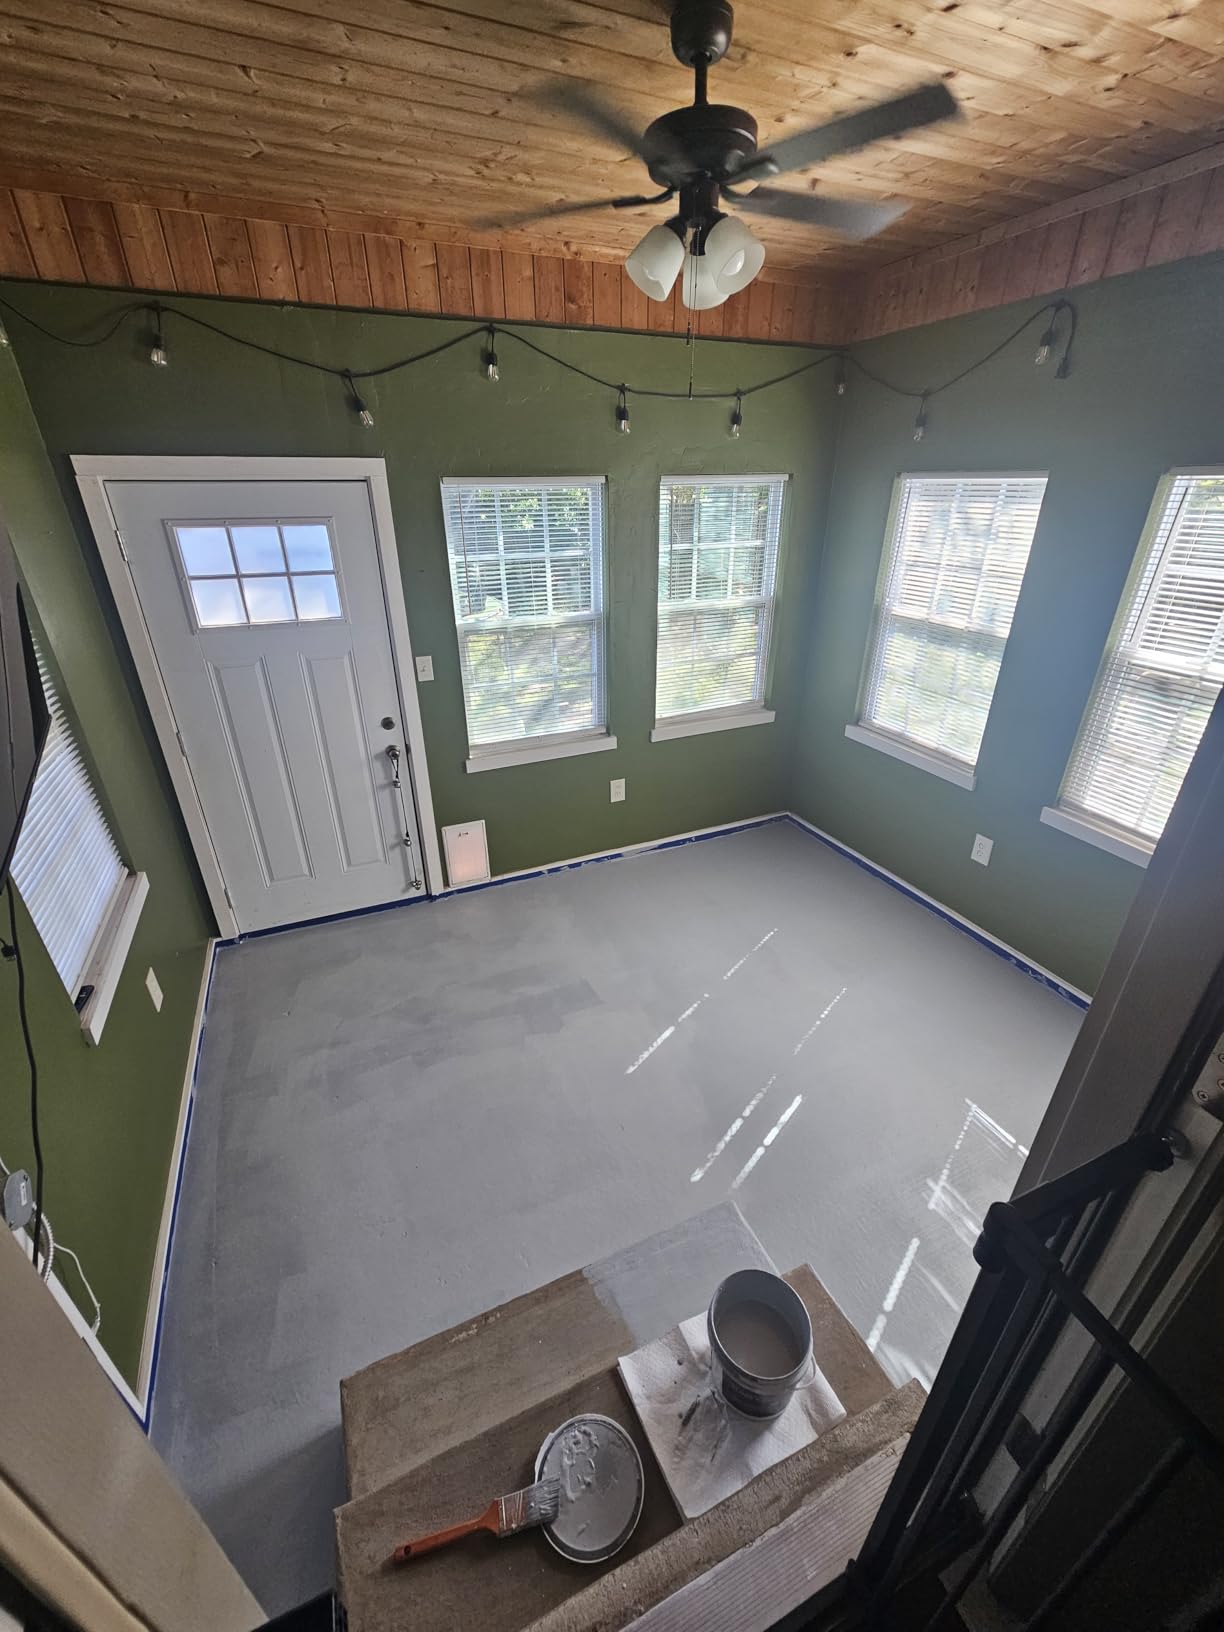
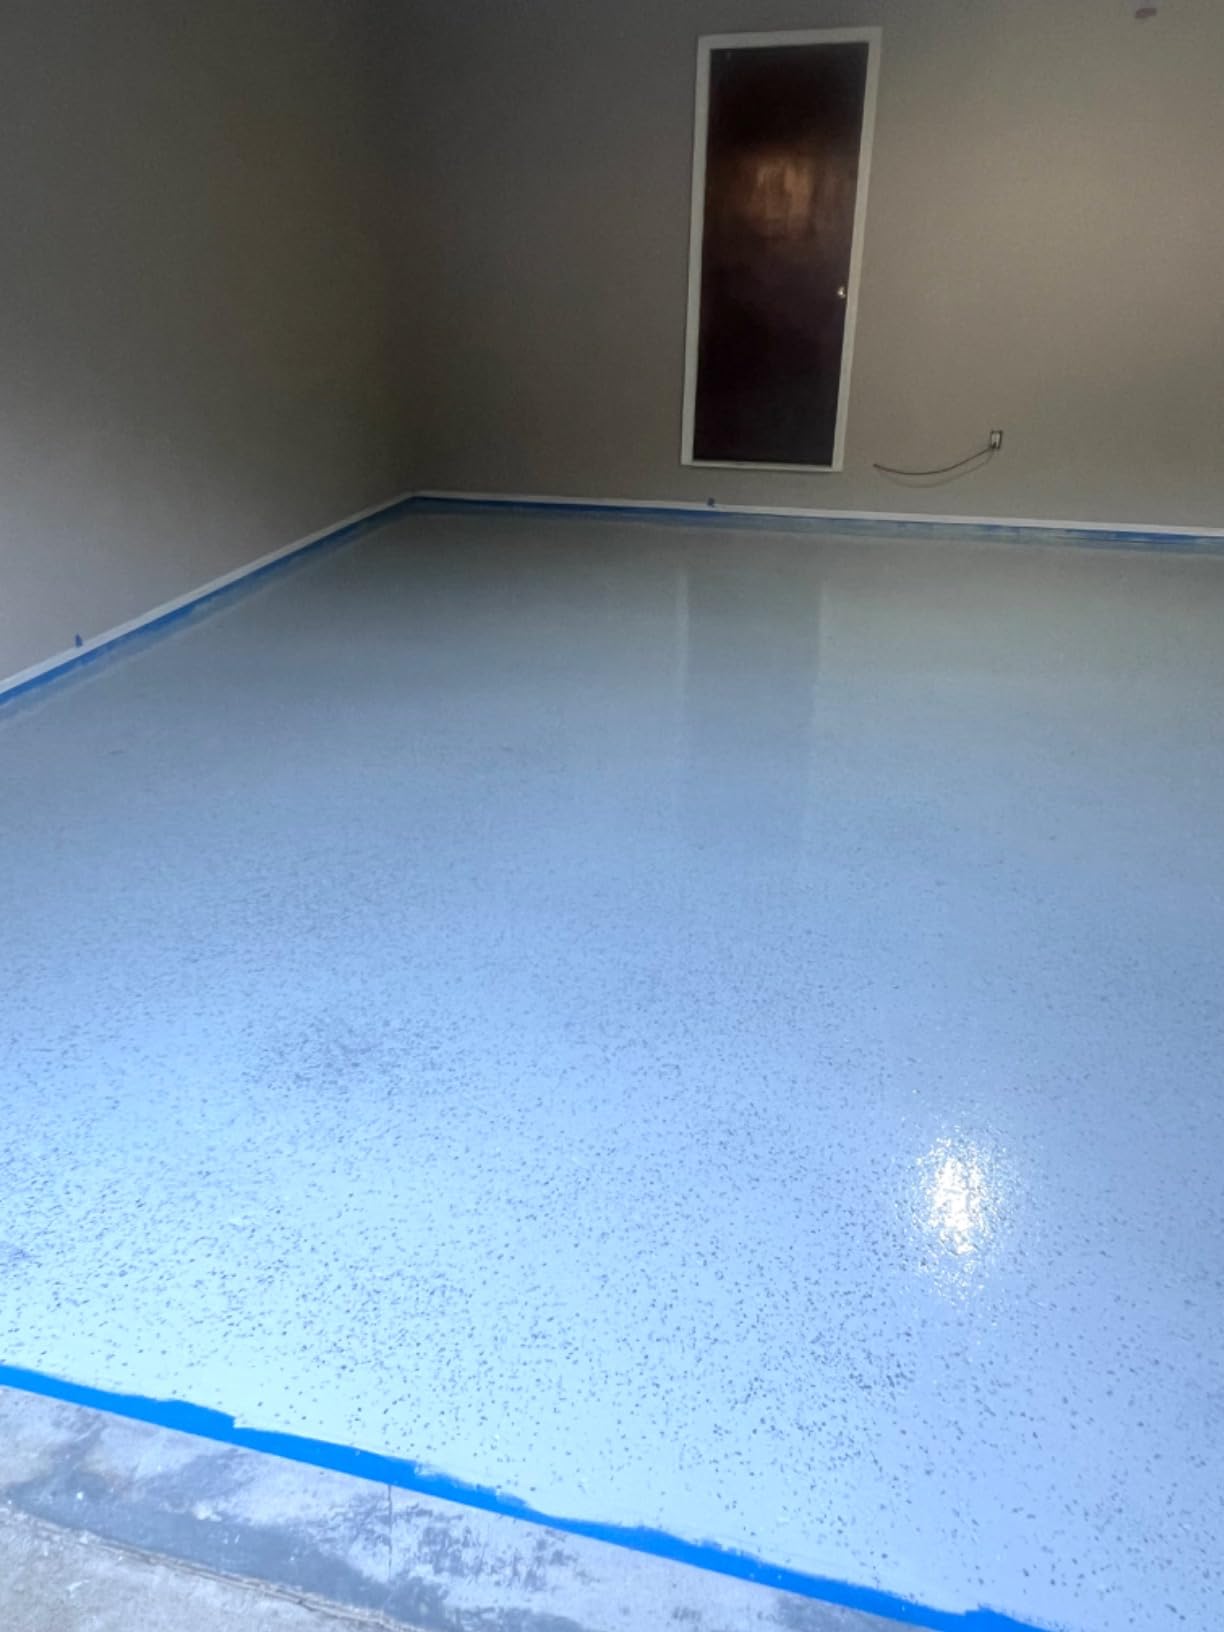
I used the Rust-Oleum EPOXYSHIELD kit on my own garage floor after my earlier budget coating failed, and the difference was immediately obvious. This is a true 2-part epoxy system, meaning you mix a resin base with an activator before rolling it onto properly etched concrete. The chemical reaction creates a bond that is five times harder than single-part epoxy paint, and that hardness translates to real-world durability against dropped tools, jack stands, and daily vehicle traffic.
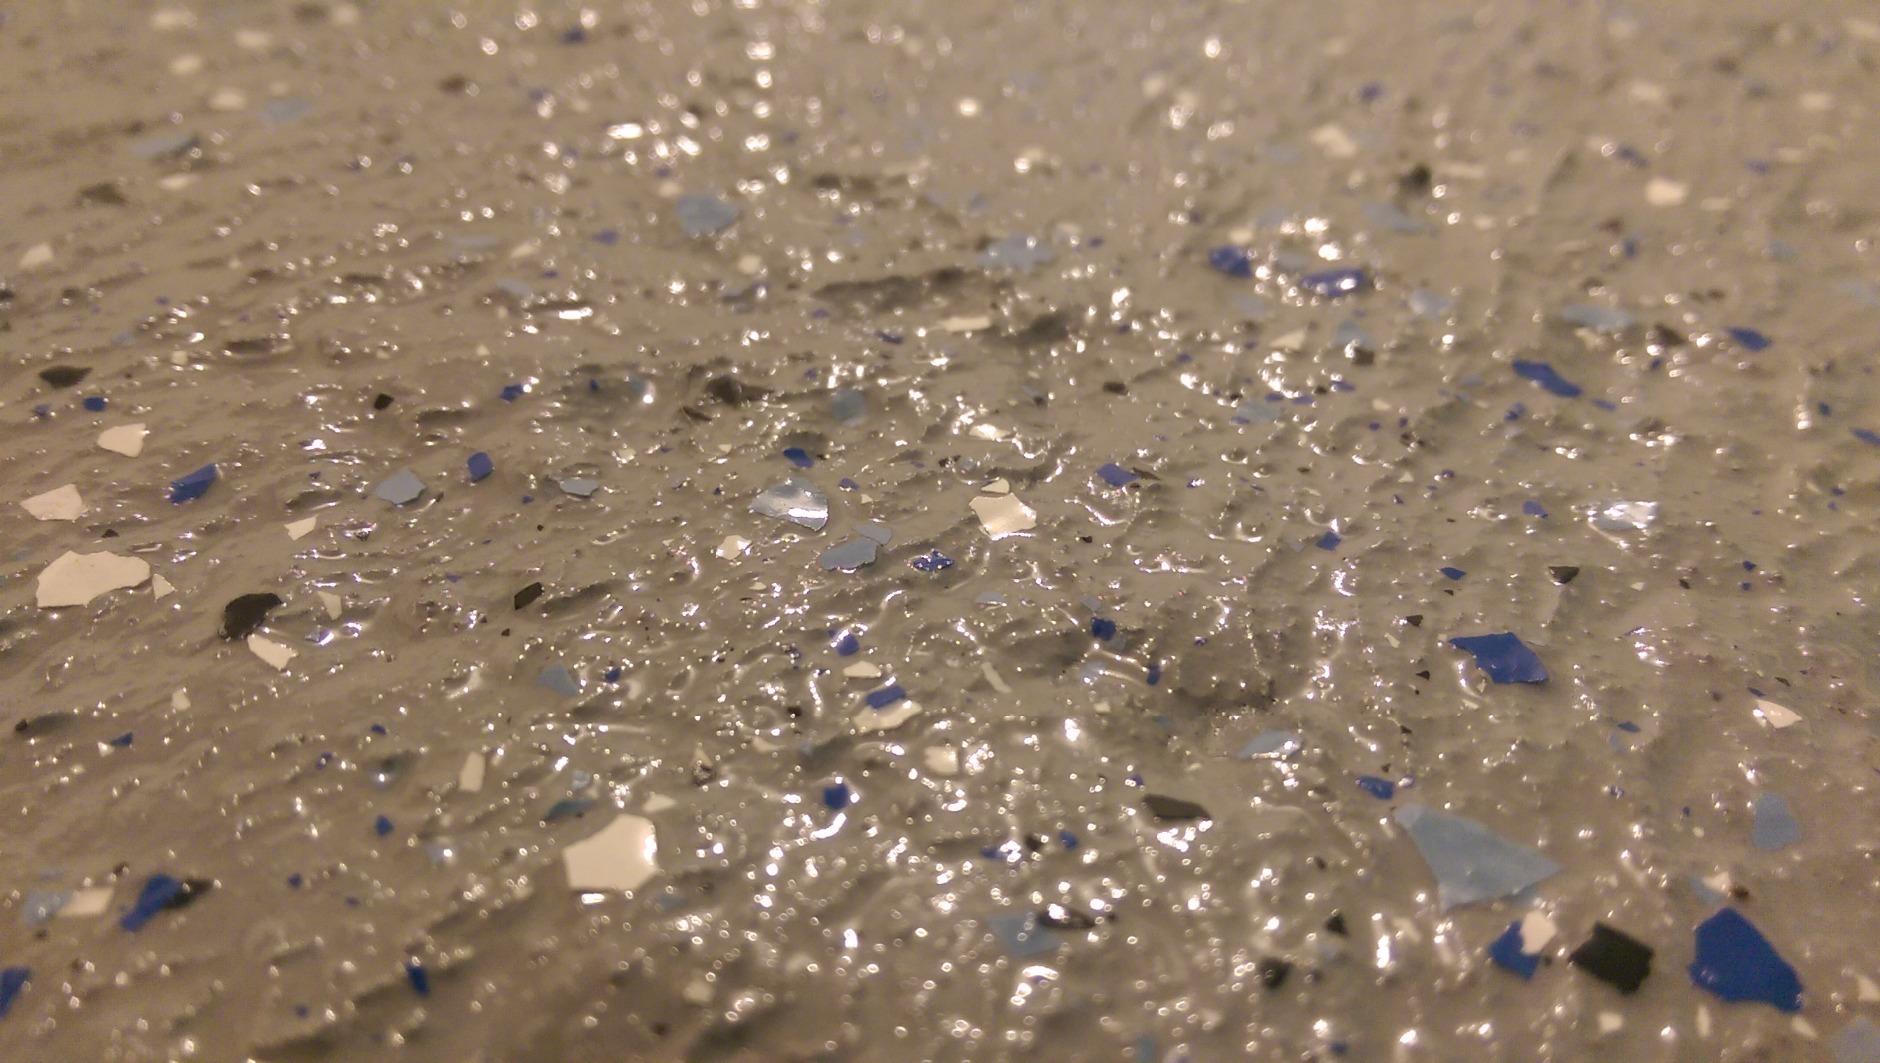
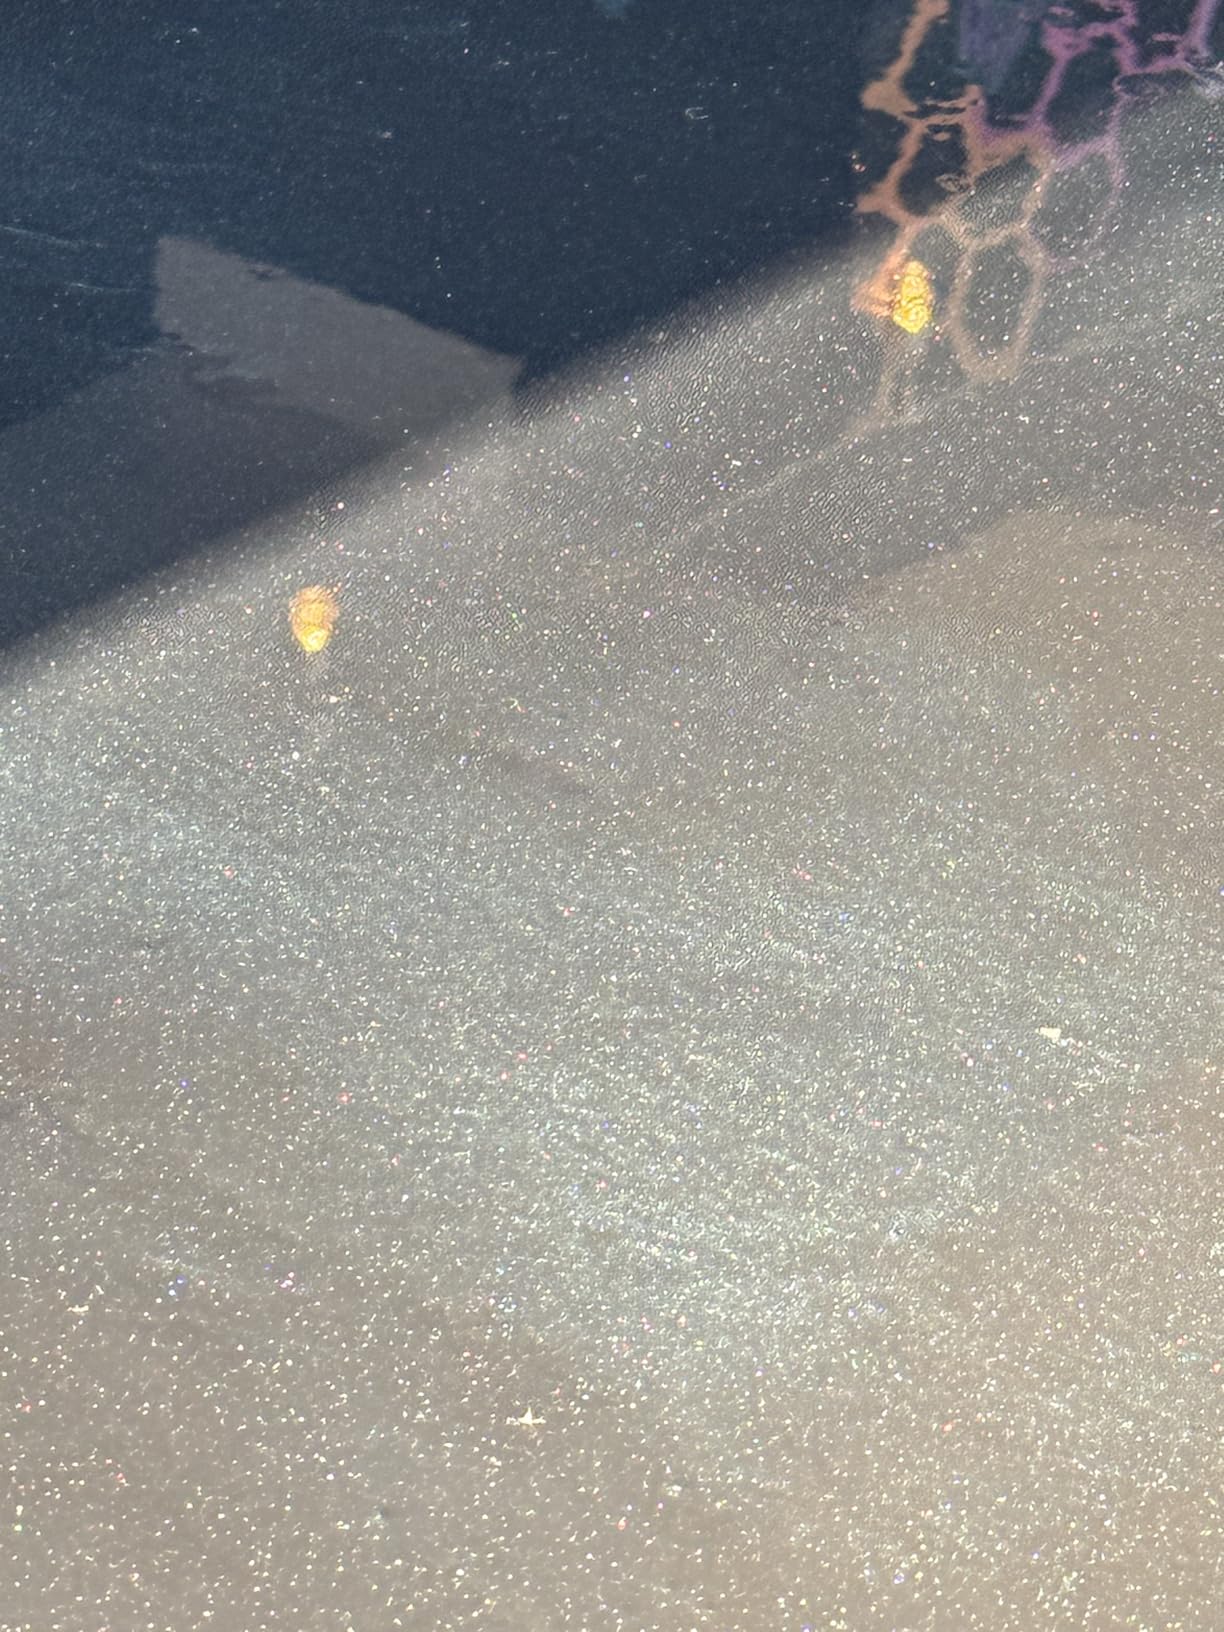
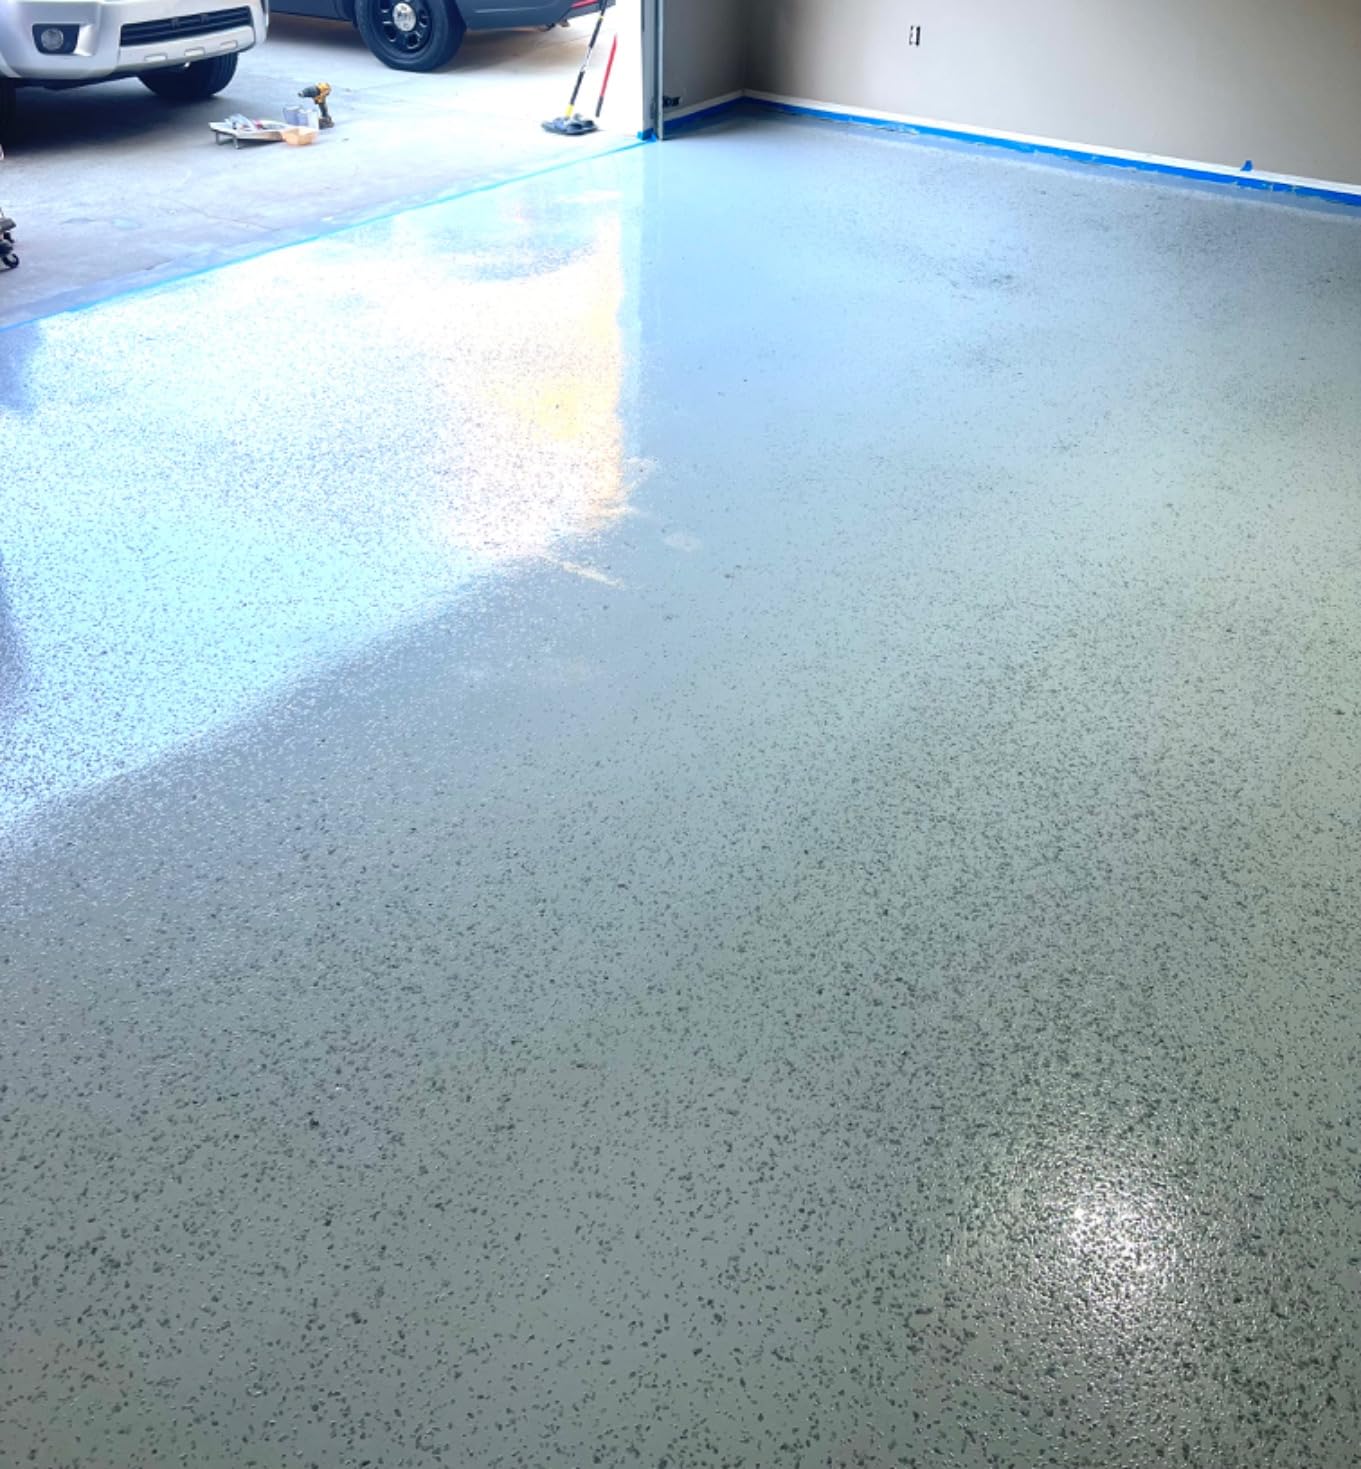
Application took me a full Saturday from prep to final coat. The kit covers a 2.5-car garage, which worked out to roughly 500 square feet in my case. I appreciated the low-odor formula because I could work with the garage door half-open without getting dizzy. The included decorative chips add a speckled finish that hides minor imperfections in the concrete, and the high-gloss gray looks genuinely professional when the light hits it.
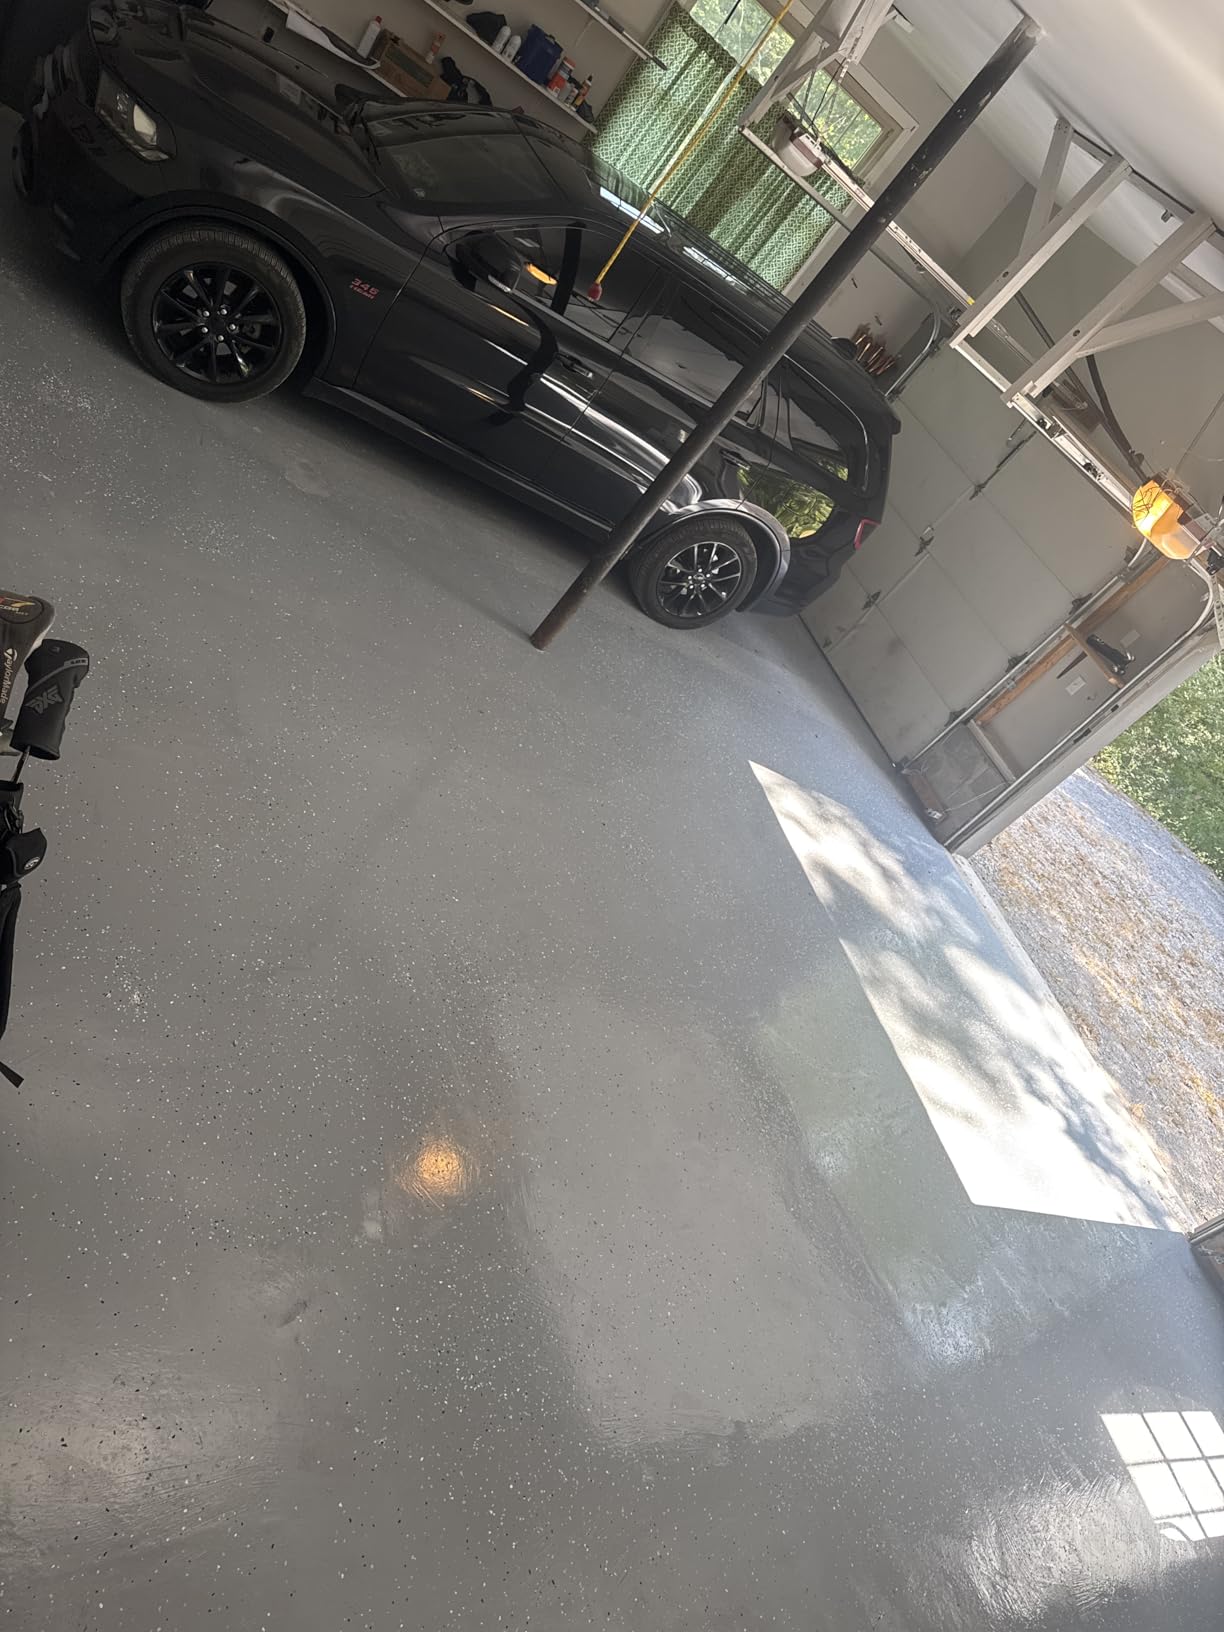
What sets EPOXYSHIELD apart from cheaper kits is its resistance to hot tire pickup. Tires get hot while driving, and when they sit on a coated surface, that heat can soften inferior paints and cause them to stick and peel. After 18 months on my floor, there is zero peeling under any of the four tire contact points. The surface also shrugs off motor oil, coolant, and road salt without staining.
The one caveat I always tell people is that preparation matters more than the product itself. If you skip the etching step or apply over existing paint, even this premium epoxy will fail. Rust-Oleum includes a concentrated cleaner and detailed instructions, so follow them exactly. Some users on garage forums recommend buying extra decorative chips and an anti-slip additive for better results.
This kit is designed for a 2.5-car garage, which translates to roughly 480 to 500 square feet of coverage. If you have a standard 2-car garage around 400 square feet, you will have material left over for touch-ups or a second coat in high-wear areas. For a 3-car garage, you will need two kits to ensure full coverage without stretching the material too thin.
Always measure your floor area before ordering and subtract any areas you will not coat, such as storage cabinets or built-in shelving. Pouring the mixed epoxy in a ribbon pattern and back-rolling with a 3/8-inch nap roller gives the most even finish.
Plan for a full day of preparation before you even open the epoxy cans. The concrete must be cleaned, degreased, acid-etched or mechanically ground, and completely dry. I used the included concentrated cleaner followed by a muriatic acid etch, then waited 48 hours for the slab to fully dry before coating.
After application, the floor is walk-on ready in 24 hours but you should wait a full 3 days before parking vehicles on it. Full chemical cure takes about 7 days, so avoid heavy chemical spills during that first week. Humidity above 70 percent can extend cure times significantly.
2-part water-based epoxy
250 sq ft coverage
Satin gray finish
Walk on in 8 hours
One coat no primer
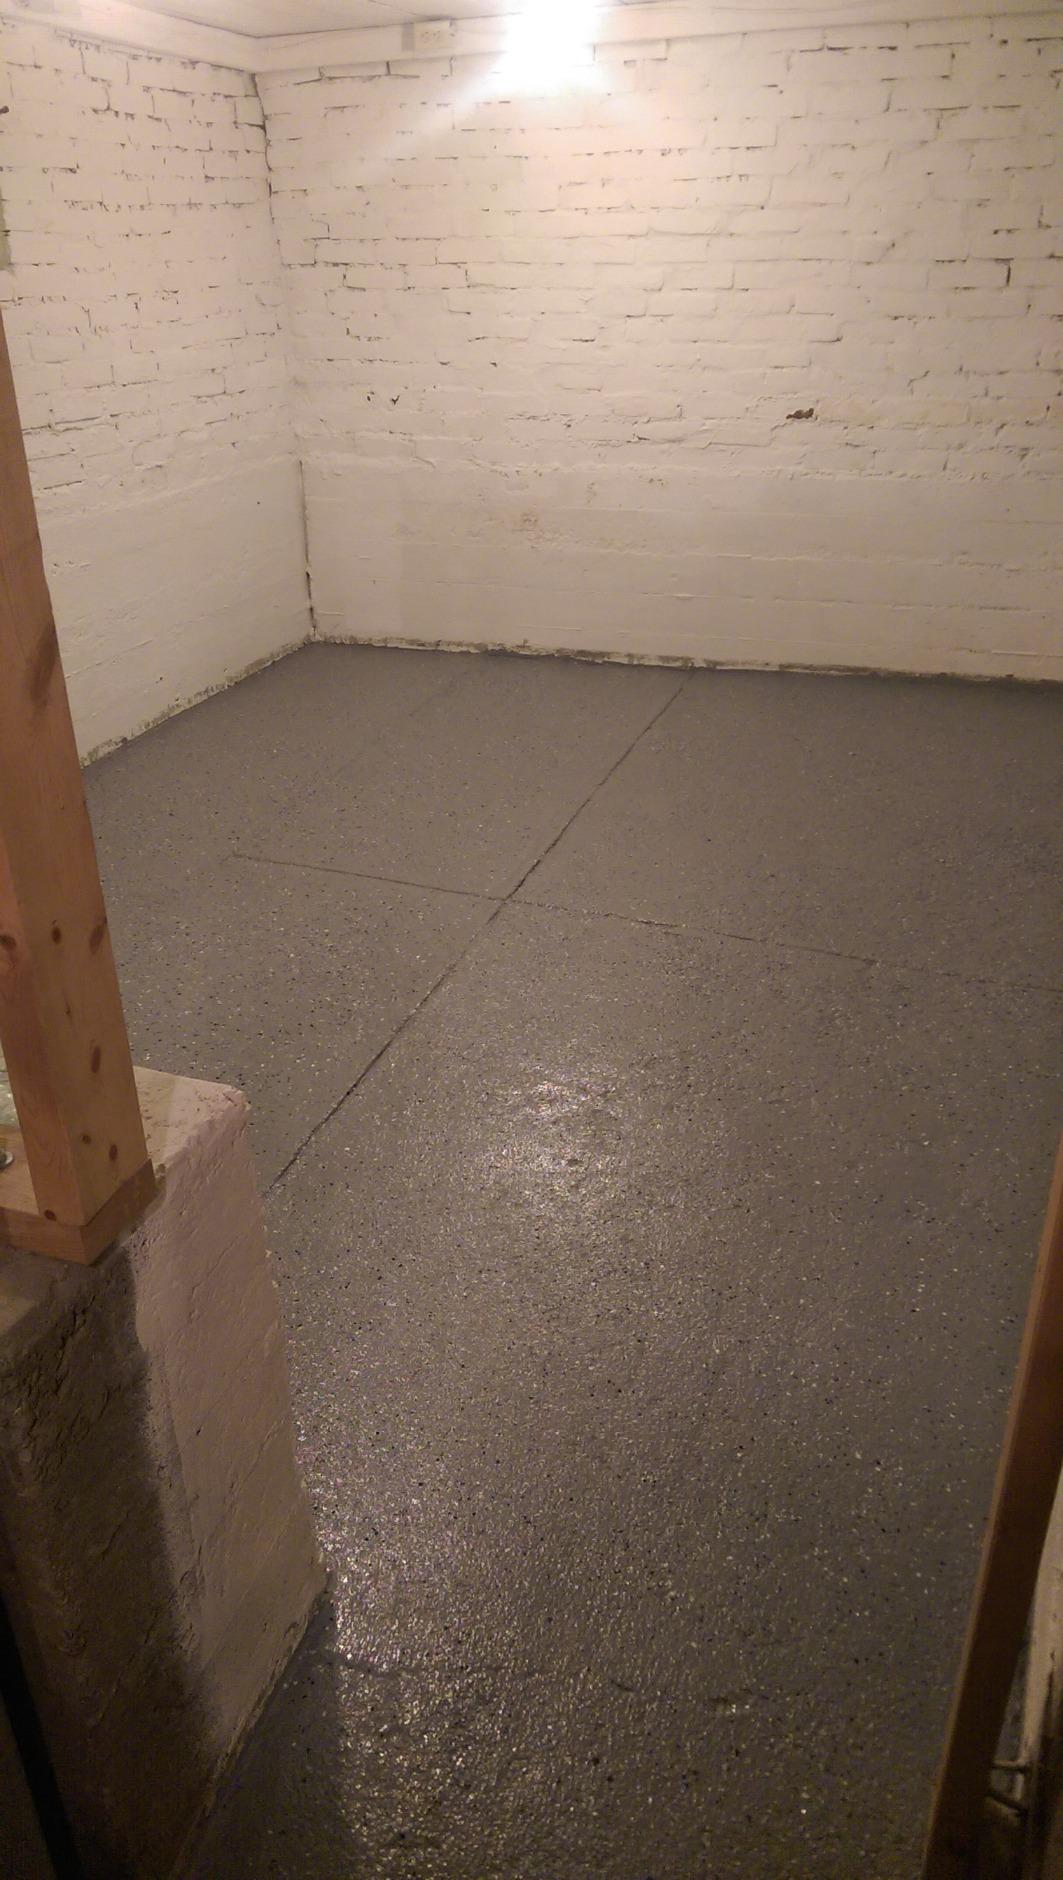
While this Rust-Oleum EpoxyShield is marketed for basements, I recommended it to a friend who wanted a lighter-duty coating for a converted garage workspace where he does electronics repair instead of heavy automotive work. The water-based 2-part epoxy formula is easier to work with than solvent-based options, and the fact that it requires no primer saved him an entire step.
The standout feature here is the fast dry time. You can walk on the floor just 8 hours after application, compared to 24 hours for the standard EPOXYSHIELD garage kit. For interior spaces where you cannot leave the area untouched for days, that speed matters. The satin finish is more forgiving than high-gloss when it comes to hiding minor surface imperfections in older concrete slabs.
Coverage comes in at 250 square feet per kit, which is enough for a single-car garage or a large basement room. The stain-resistant formula handles everyday spills well, and clean-up is as simple as wiping with a damp mop. My friend reported that solder splatter and minor chemical spills wiped right off without leaving marks.
The trade-off is that this formula is not engineered for the same level of abuse as a dedicated garage epoxy. If you park a hot vehicle on it regularly or do heavy mechanical work, you may see wear patterns develop faster than with the EPOXYSHIELD garage formula. For light residential use, basements, laundry rooms, and low-traffic garages, it performs admirably.
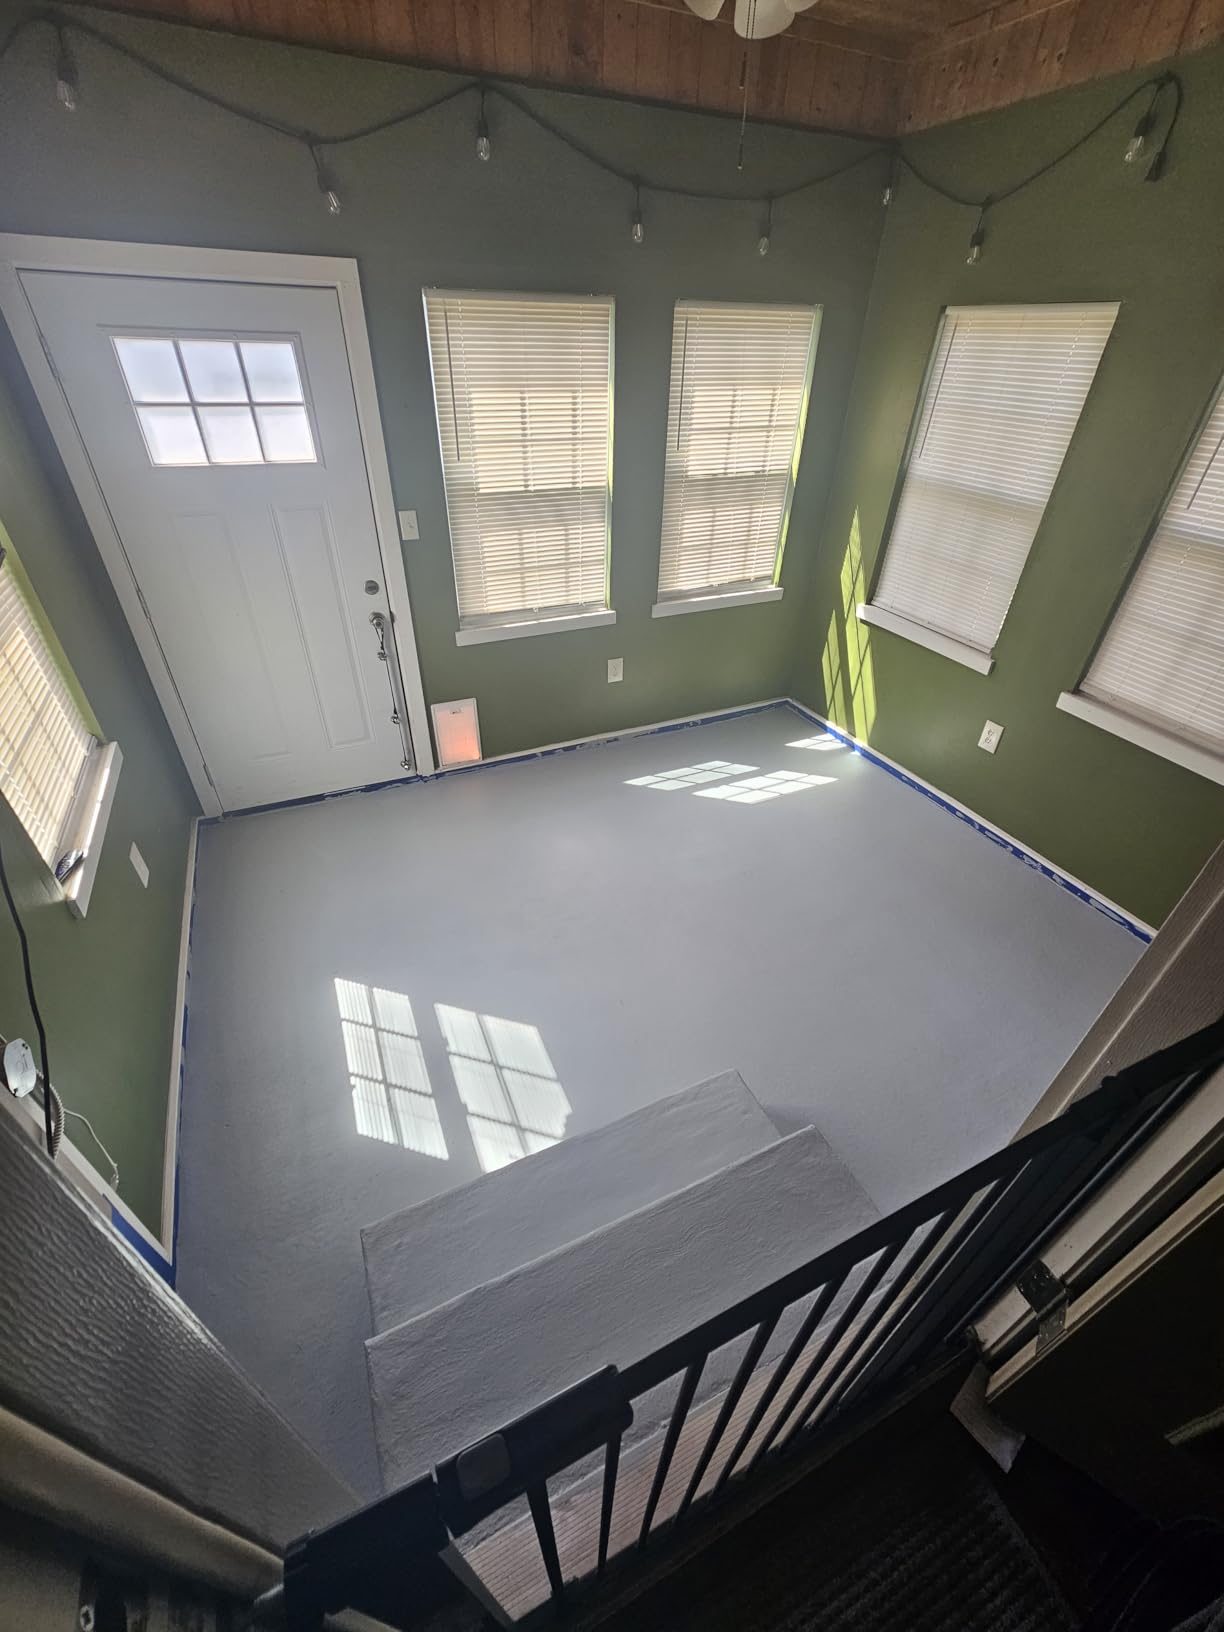
This coating shines in basement workshops, home gyms, laundry rooms, and any interior concrete space where you want a clean, finished look without the fumes of solvent-based epoxy. The low-odor water-based formula means you can apply it in occupied homes without evacuating the family.
It also works well as a primer base if you later decide to upgrade to a heavier garage-specific epoxy system. The satin gray finish pairs nicely with decorative vinyl flake broadcasts for a custom look.
At 250 square feet per kit, measure carefully before ordering. A typical 2-car garage at 400 to 500 square feet will require two kits. For porous or older concrete, expect coverage closer to 200 square feet because the material soaks in faster. Always order 10 percent more than your calculated square footage to account for waste and touch-ups.
Apply with a 3/8-inch nap roller in 4-foot sections, maintaining a wet edge to avoid visible lap marks. The 8-hour walk-on time means you can start the project in the morning and use the space by evening.
Single-component acrylic resin
120 sq ft per gallon
Matte medium gray
No mixing required
Low VOC ready to use
I want to be upfront about this product because it is marketed alongside epoxy kits but is technically an acrylic resin floor paint, not a true 2-part epoxy. That said, for the price, the YOA Professional Concrete Garage Floor Paint delivers solid performance for homeowners who want a quick refresh without the complexity of mixing a 2-part system. You open the can, stir, and roll it on.
I tested a small section of my workshop floor with this product, and the application was genuinely the easiest of any coating in this guide. No activator to measure, no pot life to worry about, no chemical reaction racing against you. The matte medium gray finish looks clean and understated, and the low-VOC formula meant zero headaches during application.
The trade-off is durability. Acrylic paint simply cannot match the hardness and chemical resistance of a true 2-part epoxy. Under heavy vehicle traffic, jack stands, and hot tires, you will likely see wear patterns develop faster. Several users on forums noted scratching when dragging metal equipment across the surface. For a light-duty garage, a storage area, or a workshop where aesthetics matter more than extreme durability, this product does the job at a fraction of the cost.
Coverage comes in at 120 square feet per gallon, so a single-car garage typically needs 3 to 4 gallons for one solid coat. The scratch-resistant claim holds up for normal foot traffic and light use, but do not expect it to shrug off the abuse that a 100% solids epoxy can handle.
If you are selling the house soon and just need the garage to look clean for showings, this product gets the job done fast and cheap. It also works well for rental properties where you want a finished look without investing in premium coatings that tenants might damage.
For workshops that see foot traffic but no vehicle parking, the acrylic formula holds up well. It is also a good intermediate solution if you plan to eventually upgrade to epoxy but want a functional floor in the meantime.
Expect 2 to 4 years of service from a single coat of acrylic floor paint in a typical residential garage. In low-traffic areas, it can last longer. The key is to apply it over properly cleaned and dried concrete, and to avoid parking hot vehicles on it for extended periods during the first month while it fully cures.
Touch-ups are easy because there is no mixing involved. Keep a half-gallon stored for future repairs to scratched or worn areas.
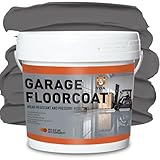
100% solids 2-component epoxy
Self-leveling formula
3 gallon kit
200-350 sq ft coverage
Chemical and abrasion resistant
The SIMIRON 3-gallon kit sits in a different category from the consumer-grade kits above. This is a 100% solids epoxy, which means there are no solvents or water to evaporate during curing. What you pour is exactly what remains on the floor, resulting in a thicker, denser, and more durable coating than any water-based or solvent-based formula can achieve.
I used this product on a neighbor’s garage that doubles as an auto repair workspace, and the results were genuinely professional-grade. The self-leveling formula spreads evenly when poured, creating a seamless surface with no roller marks. At full cure, the floor had a deep, glass-like finish that looked like a commercial installation costing several thousand dollars.
The challenge with 100% solids epoxy is that it cures fast. Once you mix the base and activator at the 2:1 ratio, you have a limited working window before the material starts to thicken and become unworkable. I strongly recommend having a helper for application. One person mixes and pours while the second person back-rolls to maintain an even film thickness.
Chemical resistance is where this product truly excels. My neighbor has spilled brake cleaner, transmission fluid, and battery acid on his floor, and every spill wiped clean without dulling the surface. The abrasion resistance handles jack stands, creepers, and heavy tool chests rolling across it without scratching.

Once mixed, 100% solids epoxy has a pot life of approximately 30 to 45 minutes at 70 degrees Fahrenheit. In warmer conditions, that window shrinks significantly. Plan your pour sequence in advance, work in 4-foot sections, and never mix more than you can apply within the pot life window.
The curing reaction generates heat, which is normal. Do not be alarmed if the mixed batch feels warm to the touch. This exothermic reaction is what drives the chemical cross-linking that gives 100% solids epoxy its superior hardness.
The 3-gallon kit covers 200 to 350 square feet depending on your desired mil thickness. For a standard garage floor at 10 to 12 mils thick, expect closer to 350 square feet. For a heavier build at 15 to 20 mils, plan on 200 to 250 square feet per kit. Always calculate based on your square footage and target thickness before ordering.
A primer coat is not required on properly prepared concrete, but a second build coat applied within the recoat window significantly increases durability and longevity.
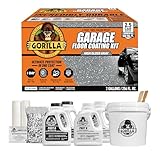
2-part 100% solids epoxy
12-piece complete kit
550 sq ft coverage
Drive on in 1 day
Crack and peel resistant
The Gorilla brand is known for adhesives, and they brought that chemical expertise to garage floor coatings with this 12-piece kit. I was initially skeptical of a newcomer in a category dominated by Rust-Oleum and ArmorPoxy, but the completeness of this kit impressed me. Inside the box you get the epoxy base and activator, an etching solution, decorative flakes, application tools, and detailed instructions.
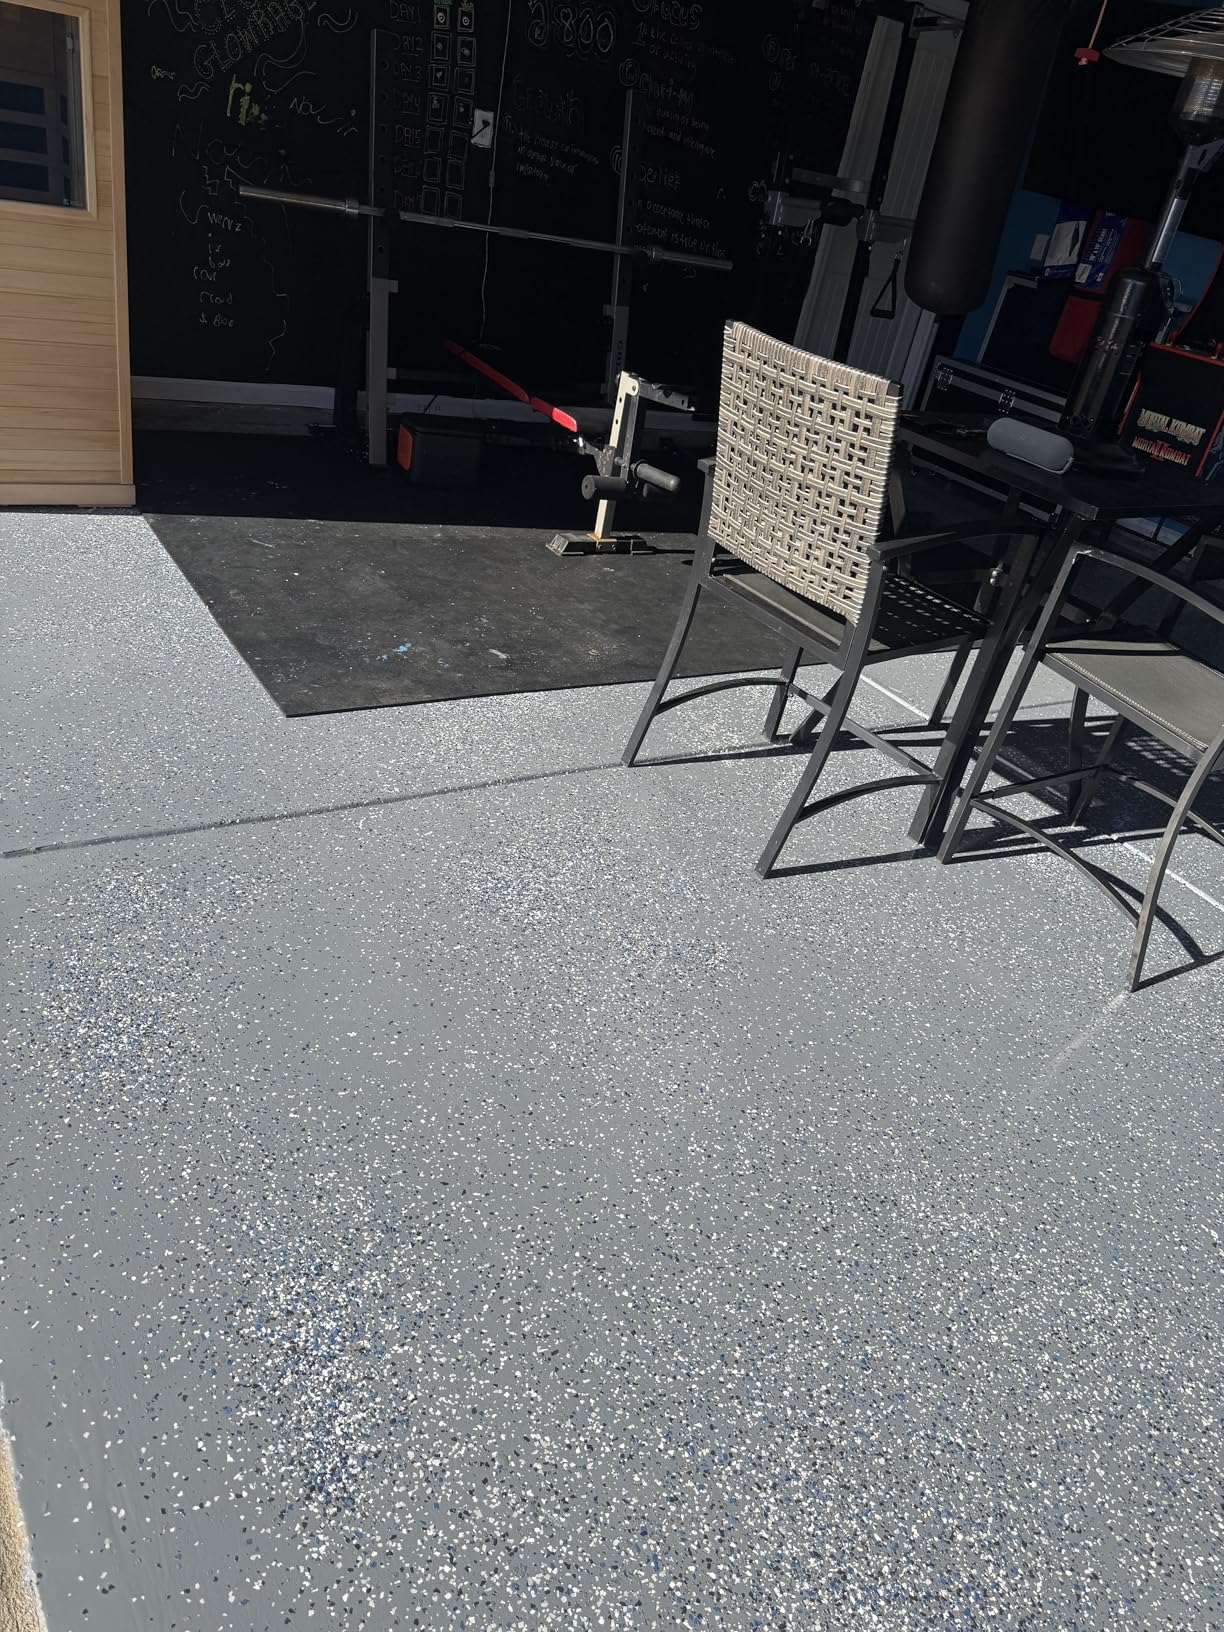
I applied this kit to a neighbor’s 2.5-car garage, and the 550-square-foot coverage estimate was accurate. The 100% solids formula means you get a thick, durable coating comparable to professional installations. The high-gloss gray finish with broadcast decorative flakes looked genuinely showroom-quality once fully cured.
The biggest advantage of this kit is convenience. Instead of buying etching solution, rollers, brushes, and flakes separately, everything arrives in one package. For a first-time DIYer, that removes a lot of guesswork. The instructions are clear, and the included instructional materials walk you through each step from prep to final coat.
The main drawback is the fast curing time. Like other 100% solids epoxies, once mixed, the clock starts ticking. Several users on forums reported that the material began thickening before they finished their second bay. My recommendation is to divide the garage into two halves and mix separate batches for each. This gives you full working time for each section.
The kit contains the epoxy base, activator, concentrated etching solution, decorative color flakes, stirring sticks, application rollers, a brush for edges and corners, and detailed instructions. Having the right roller nap included ensures proper film thickness, which is critical for 100% solids epoxy performance.
The decorative flakes provided are sufficient for a light to medium broadcast. For a full flake coverage where the floor looks completely speckled, you will want to order an additional container of matching flakes.
Schedule the project for a day when temperatures are between 60 and 80 degrees Fahrenheit and humidity is below 65 percent. Start early in the morning to maximize daylight working time. Cut in the edges first with the included brush, then work from the back of the garage toward the door using the roller.
Pour the mixed epoxy in ribbons and back-roll immediately. Do not try to stretch the material. If the recommended coverage is 550 square feet and your garage is 540, you are in good shape. If your garage is 600 square feet, buy a second kit.
100% solids industrial-grade epoxy
17-piece complete kit
300 sq ft coverage
UltraGlaze topcoat
3-layer protection system
ArmorPoxy is the brand most frequently recommended by professional garage floor installers, and their consumer DIY kit brings industrial-grade chemistry to homeowners willing to invest in the best. The 17-piece kit includes the epoxy base, activator, UltraGlaze topcoat, anti-slip additive, decorative flakes, application tools, and detailed documentation. This is a true 3-layer system: epoxy primer coat, color coat with flakes, and clear topcoat for maximum protection.
I have not personally installed this kit, but I have inspected two floors that were coated with ArmorPoxy over two years ago, and both still look nearly new. The UltraGlaze topcoat creates a depth of gloss that single-layer systems simply cannot match. It also adds a sacrificial wear layer, meaning if the surface ever gets scratched or dulls, you can recoat just the topcoat without redoing the entire floor.
The kit covers 300 square feet, which is enough for a standard 2-car garage. The military-grade epoxy bonds permanently to properly prepared concrete and resists the full spectrum of garage abuse including hot tires, chemical spills, impact from dropped tools, and UV exposure that would yellow lesser epoxies over time.
The premium price reflects the completeness of the system and the quality of the chemistry. When you factor in that a professionally installed epoxy garage floor runs $4,000 to $5,500, paying for the ArmorPoxy kit and investing a weekend of your own labor represents significant savings while delivering comparable results.
The first layer is the epoxy base coat, which bonds chemically to your prepared concrete. The second layer is the color coat, where you broadcast decorative flakes to your desired density. The third layer is the UltraGlaze clear topcoat, which seals everything and provides the actual wear surface.
This multi-layer approach means the bulk of the protective work is done by the topcoat, not the color coat. When the topcoat eventually wears down after years of use, you can sand it lightly and apply a fresh layer without disturbing the underlying color and flakes.
If you plan to stay in your home for 10 or more years and use your garage daily for vehicle parking, the ArmorPoxy system delivers the best long-term value of any kit in this guide. The 3-layer system with topcoat is what professional installers use, and achieving comparable results yourself saves thousands.
For a garage you plan to sell with the house in 2 years, or for a light-use storage space, a less expensive single-layer kit like the Rust-Oleum EPOXYSHIELD will serve you well at roughly half the cost.
Choosing the right epoxy coating for your garage comes down to understanding your specific needs, your concrete condition, and your willingness to do proper preparation. Here is what our team learned from testing these products and from reading hundreds of homeowner experiences on forums.
Epoxy is the most popular garage floor coating because it is proven, affordable, and widely available in DIY kits. A 2-part epoxy creates a hard, chemical-resistant surface that bonds permanently to properly prepared concrete. The downside is that epoxy takes 24 to 72 hours to cure before vehicle traffic and can yellow slightly under prolonged UV exposure.
Polyaspartic and polyurea coatings are newer technologies that cure in hours rather than days, resist UV without yellowing, and remain flexible enough to handle temperature swings without cracking. Many professional installers have switched to polyaspartic systems for these reasons. The trade-off is that polyaspartic kits for DIY application are less common and typically more expensive than epoxy.
For most homeowners doing a DIY installation, quality garage epoxy floor coatings remain the best balance of performance, cost, and availability. If you hire a professional, ask about polyaspartic options for superior longevity.
Every forum thread about failed epoxy floors traces back to one root cause: inadequate surface preparation. Concrete must be clean, profiled, and dry before any coating goes down. The surface profile, often measured using the Concrete Surface Profile (CSP) scale, should be a CSP-2 or CSP-3 for epoxy adhesion.
You can achieve this profile through mechanical grinding with a diamond cup wheel, or through acid etching with muriatic acid or the etching solution included in most kits. After profiling, the concrete must dry completely. Moisture content above 4 percent will cause epoxy to delaminate. You can test this with a simple plastic sheet test: tape a 2-foot square of clear plastic to the floor, wait 24 hours, and check for condensation underneath.
Any existing paint, sealer, or coating must be completely removed before applying epoxy. Applying over old paint is the most common reason for failure.
Hot tire pickup occurs when the heat from recently driven tires softens the floor coating beneath them. When you drive away later, the coating peels off in the shape of the tire contact patch. This is the single most common complaint about inferior garage floor coatings.
True 2-part epoxy systems and 100% solids formulas resist hot tire pickup because they cure to a hard, thermally stable surface. Single-part paints and water-based acrylic coatings are far more vulnerable. If you park vehicles in your garage daily, choose a product specifically rated for hot tire resistance. All six products in our guide except the YOA acrylic paint are designed to handle hot tire contact.
Calculate your garage floor area by multiplying length times width in feet, then subtract any built-in areas you will not coat. A standard 2-car garage is typically 20 by 22 feet, or 440 square feet. A 2.5-car garage runs around 500 square feet, and a 3-car garage can reach 600 to 700 square feet.
Each product in this guide lists its coverage area, but always order 10 to 15 percent more material than your raw calculation to account for porous concrete, application waste, and touch-up areas. Running out of material mid-project is a serious problem because batch-to-batch color matching can be imperfect.
DIY epoxy kits range widely in cost per square foot. Budget acrylic paints run lowest, while premium 100% solids systems with topcoats run highest. Professional installation typically costs $4,000 to $5,500 for a 2-car garage, so even the most expensive DIY kit in this guide represents significant savings.
In hot, humid climates like the Southeast, choose a coating with longer pot life and apply during early morning hours when temperatures are lowest. Fast-curing 100% solids epoxies can become unworkable in 90-degree heat within 20 minutes of mixing.
In cold climates where road salt is a factor, prioritize chemical and salt resistance. All the epoxy products in our guide handle salt exposure well, but the ArmorPoxy 3-layer system with UltraGlaze topcoat provides the best barrier against salt intrusion into the concrete.
In dry, high-UV environments like the Southwest, consider a coating with UV stabilizers to prevent yellowing. Polyaspartic topcoats over epoxy offer the best UV resistance if yellowing is a concern for your space.
The best type of epoxy for garage floors is a 2-part, 100% solids epoxy system. Products like the Rust-Oleum EPOXYSHIELD and ArmorPoxy Garage Epoxy Floor Kit use a resin-and-hardener combination that chemically bonds to concrete and cures 5X harder than single-part epoxy paint. For maximum durability, look for 100% solids formulas that leave no solvents to evaporate.
A DIY epoxy kit for a standard 2-car garage typically costs between $120 and $400 depending on the product quality and system type. Professional installation for the same garage runs $4,000 to $5,500. The Rust-Oleum EPOXYSHIELD kit covers a 2.5-car garage and represents one of the best value options for DIY application.
Epoxy peels off garage floors primarily due to inadequate surface preparation. The most common causes are applying epoxy over existing paint or sealer, failing to acid-etch or mechanically grind the concrete, applying over moist concrete, or skipping the degreasing step on oil-stained areas. Hot tire pickup is another common cause when inferior single-part coatings soften under warm tires.
Most garage epoxy floor coatings are walk-on ready in 8 to 24 hours and vehicle-ready in 24 to 72 hours. Full chemical cure takes approximately 7 days, during which you should avoid heavy chemical spills. Water-based formulas like the Rust-Oleum EpoxyShield Basement Kit cure faster, while 100% solids epoxies may require the full 72 hours before vehicle parking.
Yes, you can epoxy your garage floor yourself with a DIY kit. Products like the Gorilla Epoxy Garage Floor Coating Kit and Rust-Oleum EPOXYSHIELD include everything needed for a complete installation. The keys to success are thorough surface preparation, working within the product pot life, applying at the right temperature and humidity, and having a helper for faster-curing 100% solids formulas.
After testing six products and living with several for over a year, our team recommends the Rust-Oleum EPOXYSHIELD Garage Floor Coating Kit as the best overall choice for most homeowners. It delivers proven 2-part epoxy durability, handles hot tire pickup, and provides excellent value for a 2.5-car garage. For those willing to invest in a premium system with a protective topcoat, the ArmorPoxy Garage Epoxy Floor Kit offers professional-grade results that rival installations costing thousands more.
No matter which garage epoxy floor coating you choose in 2026, remember that preparation determines success more than any product feature. Clean, profile, and dry your concrete properly, work within the pot life window, and give the coating the full recommended cure time before parking vehicles. Do those three things, and your garage floor will look great and perform well for years to come.