
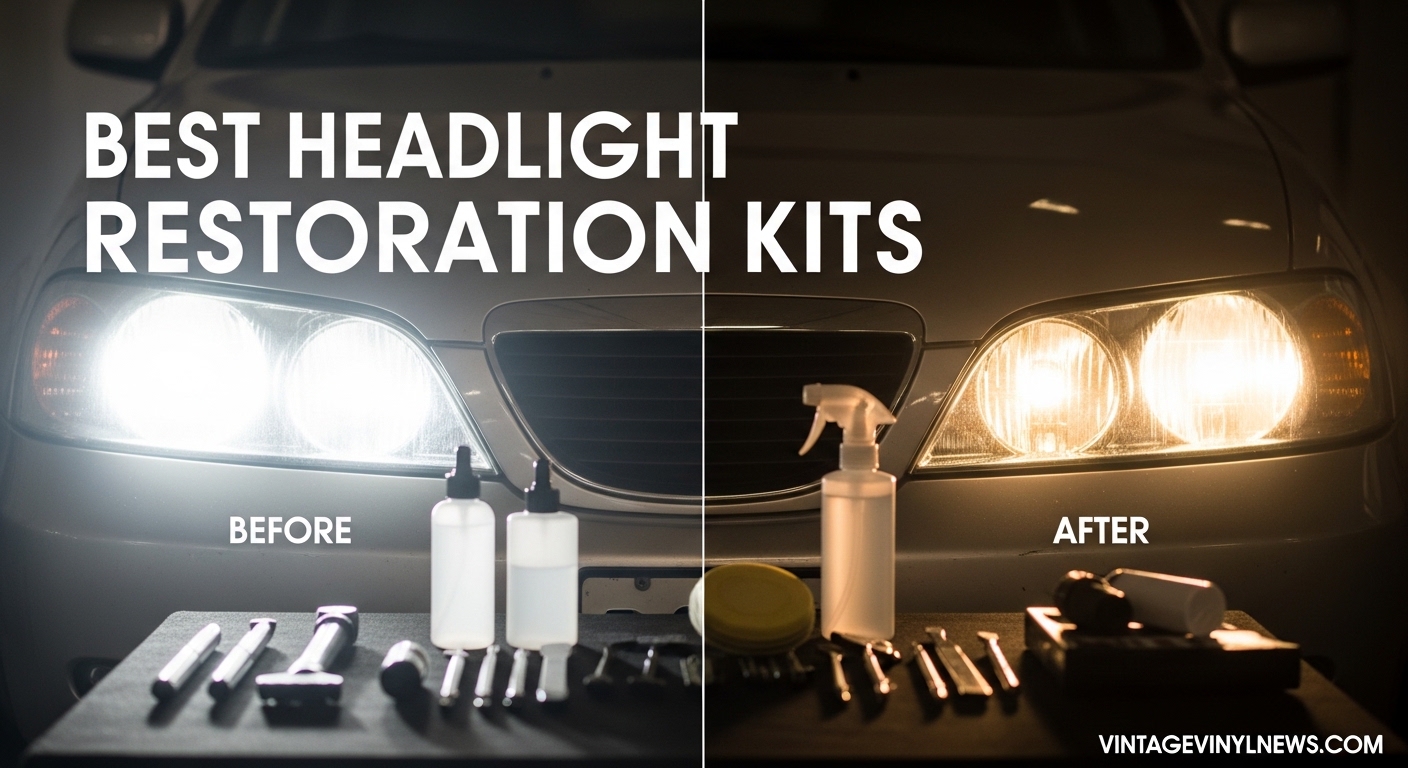
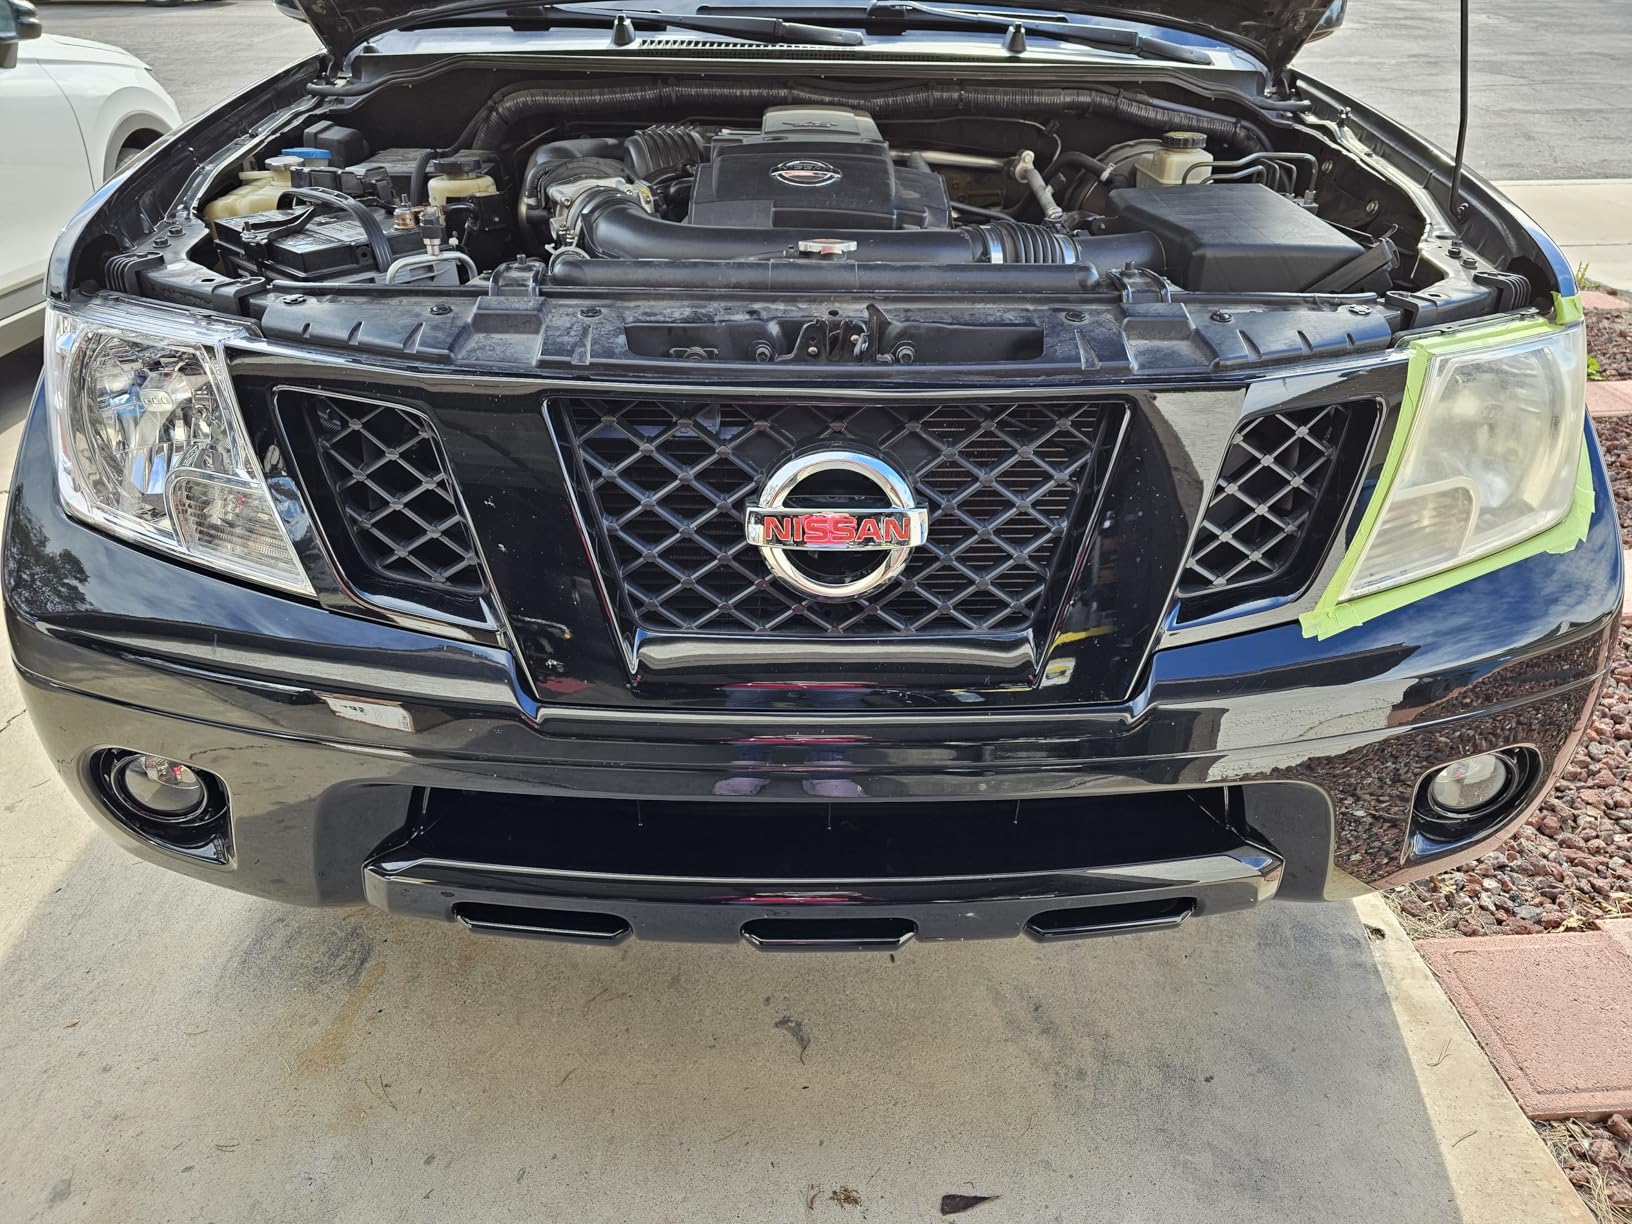
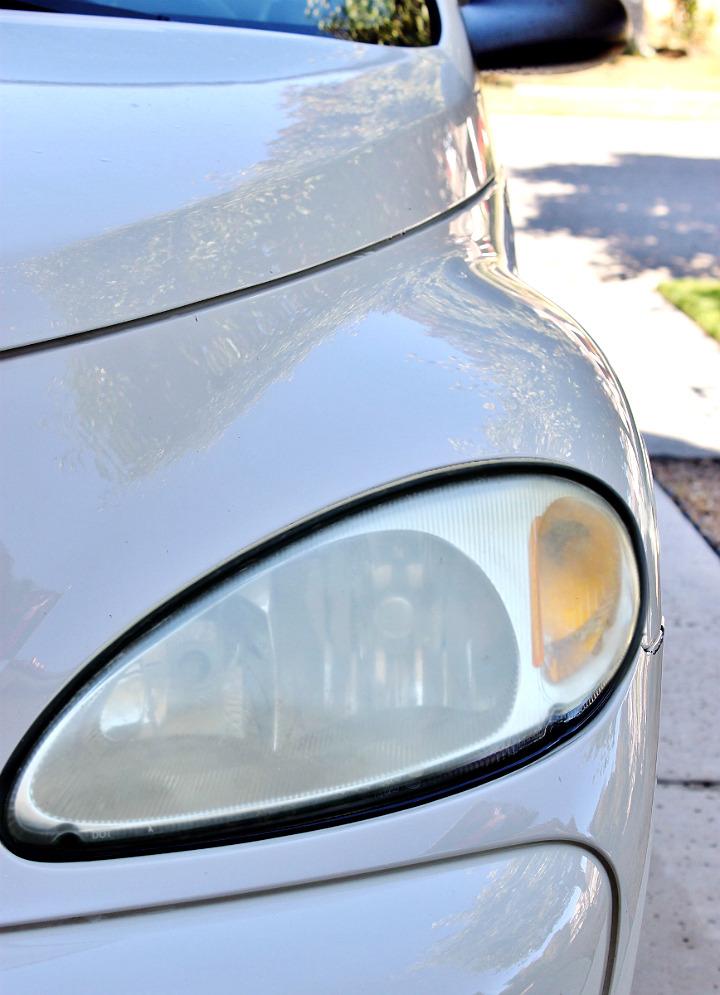
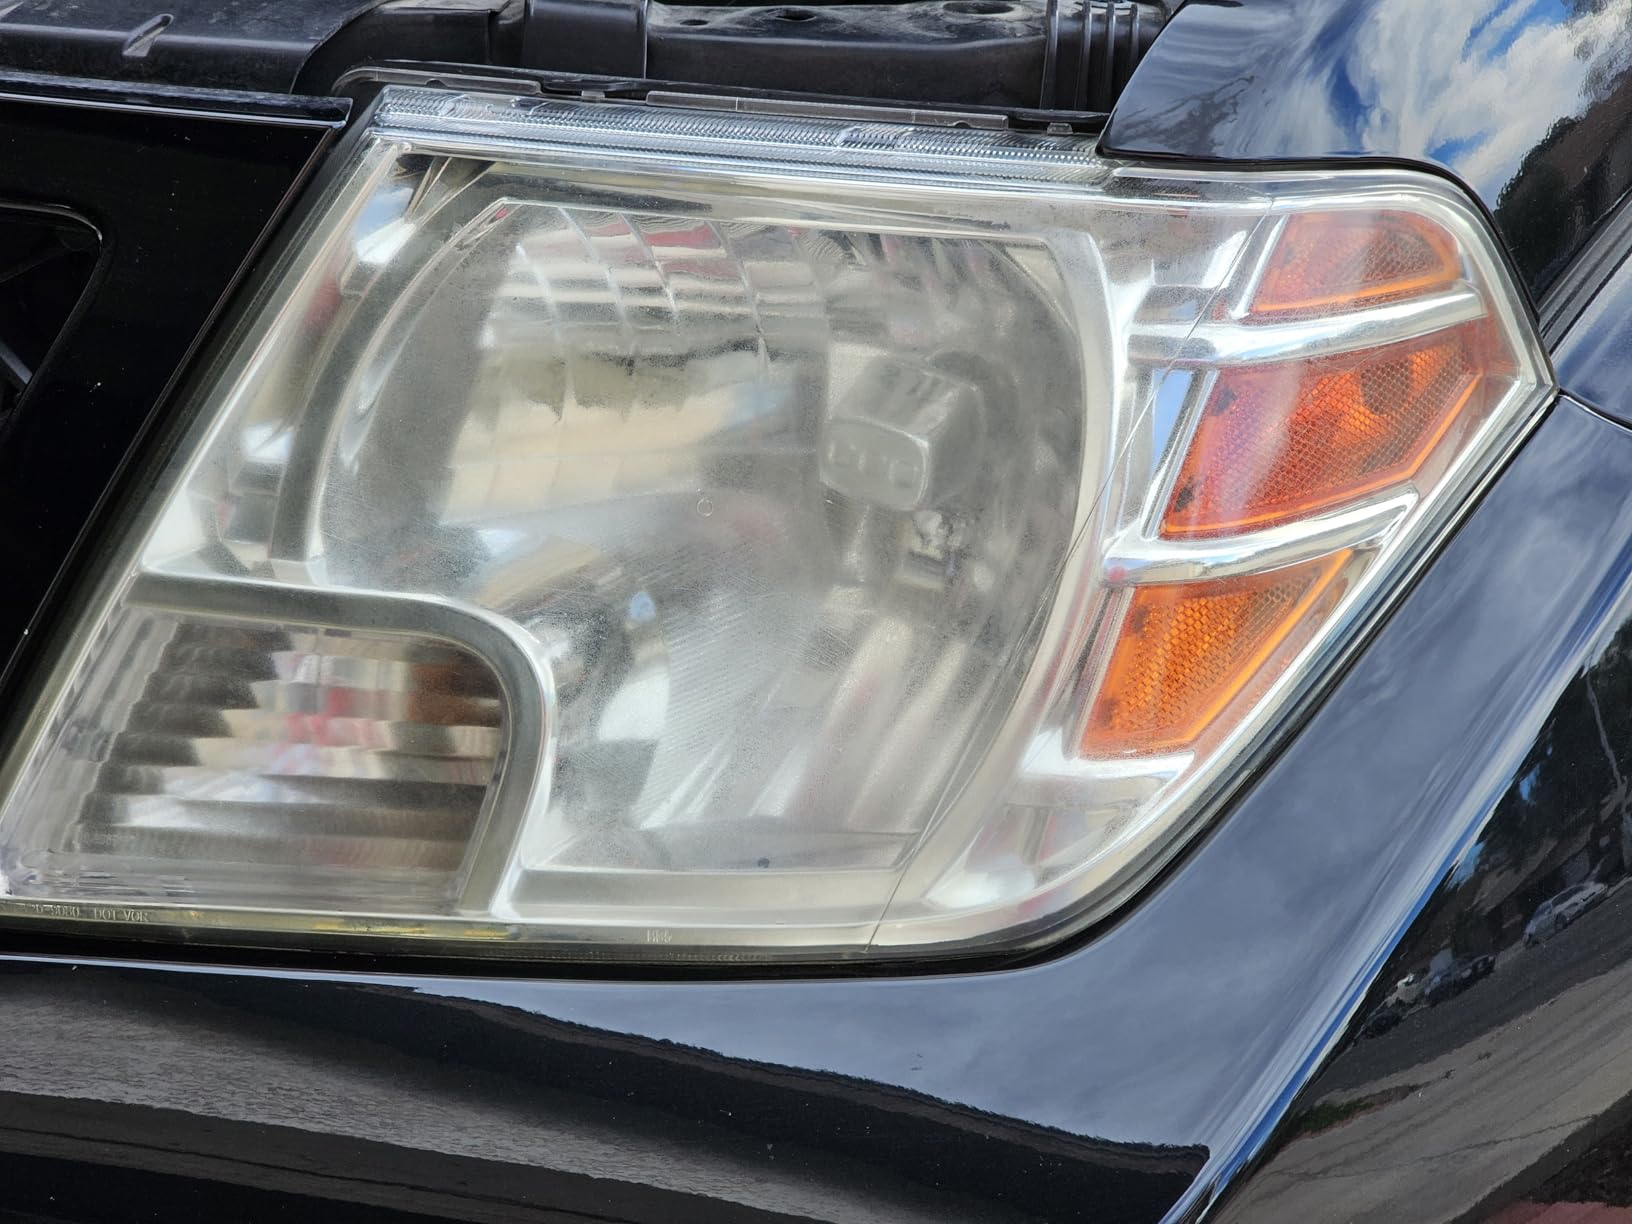
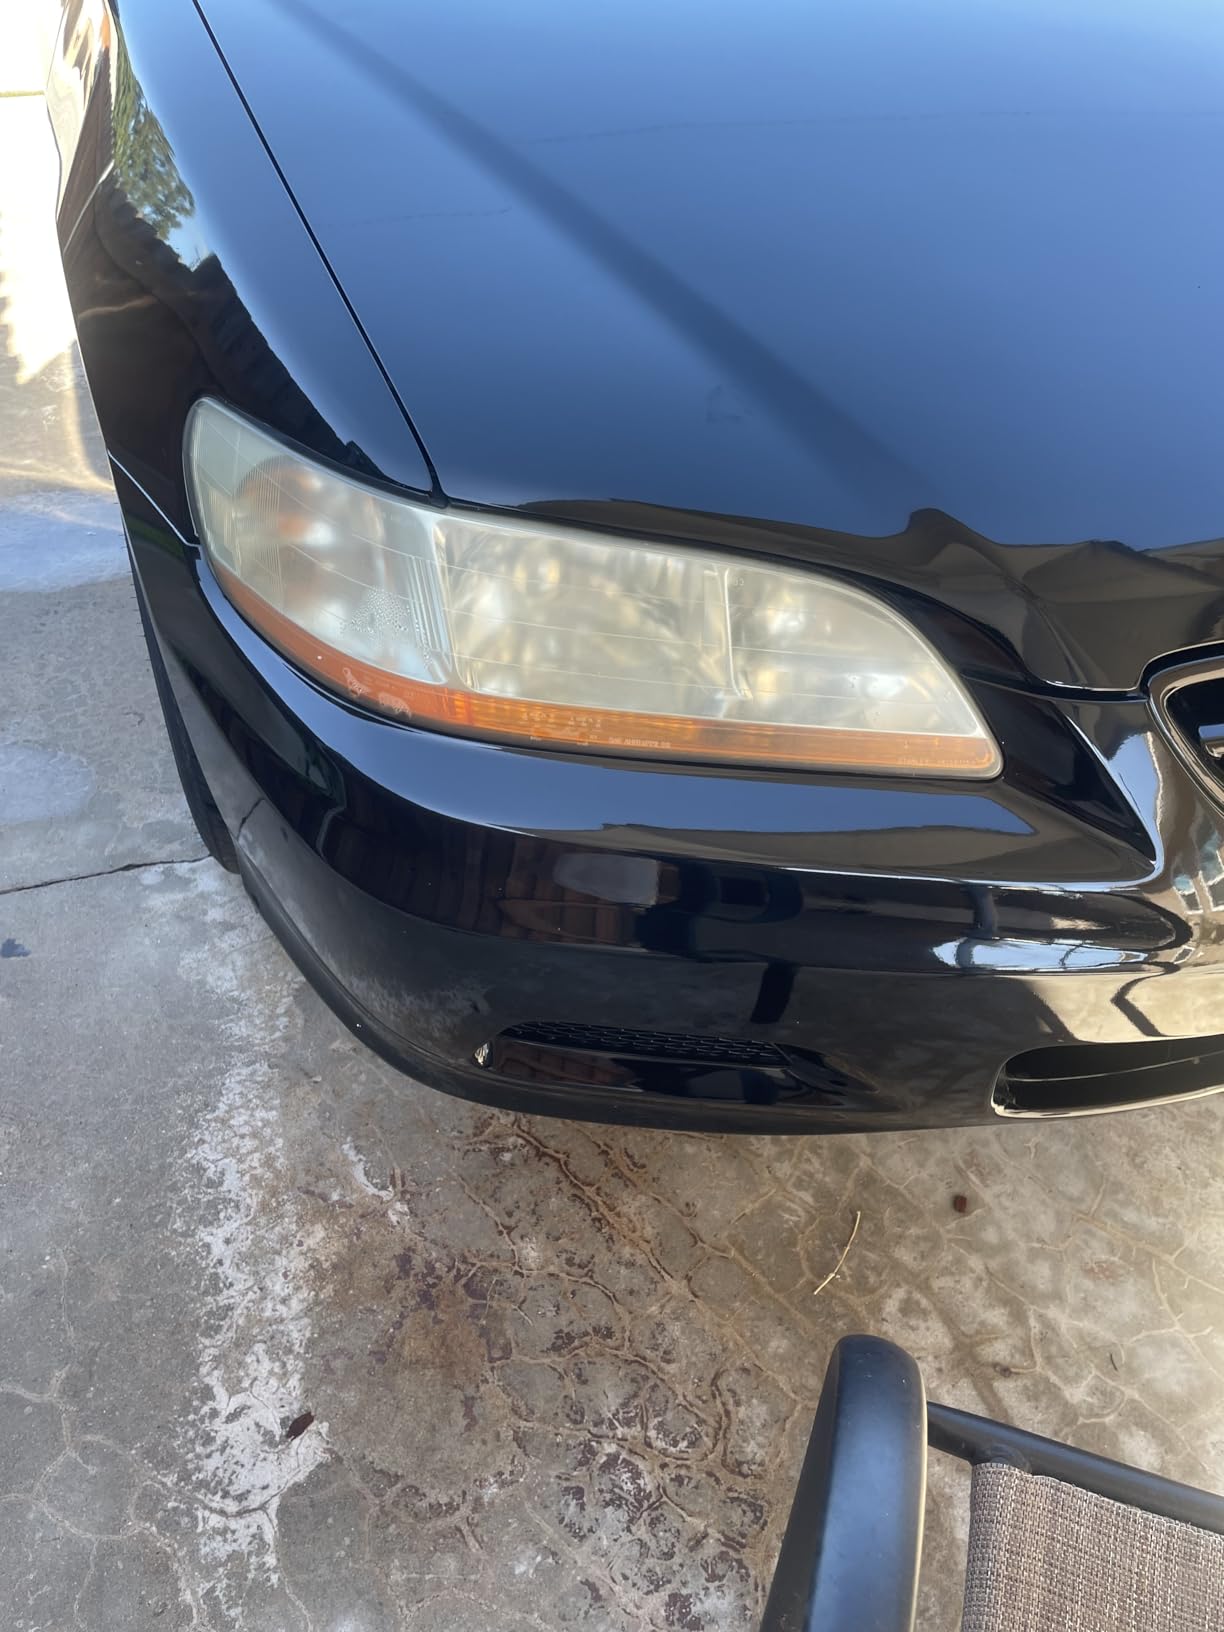
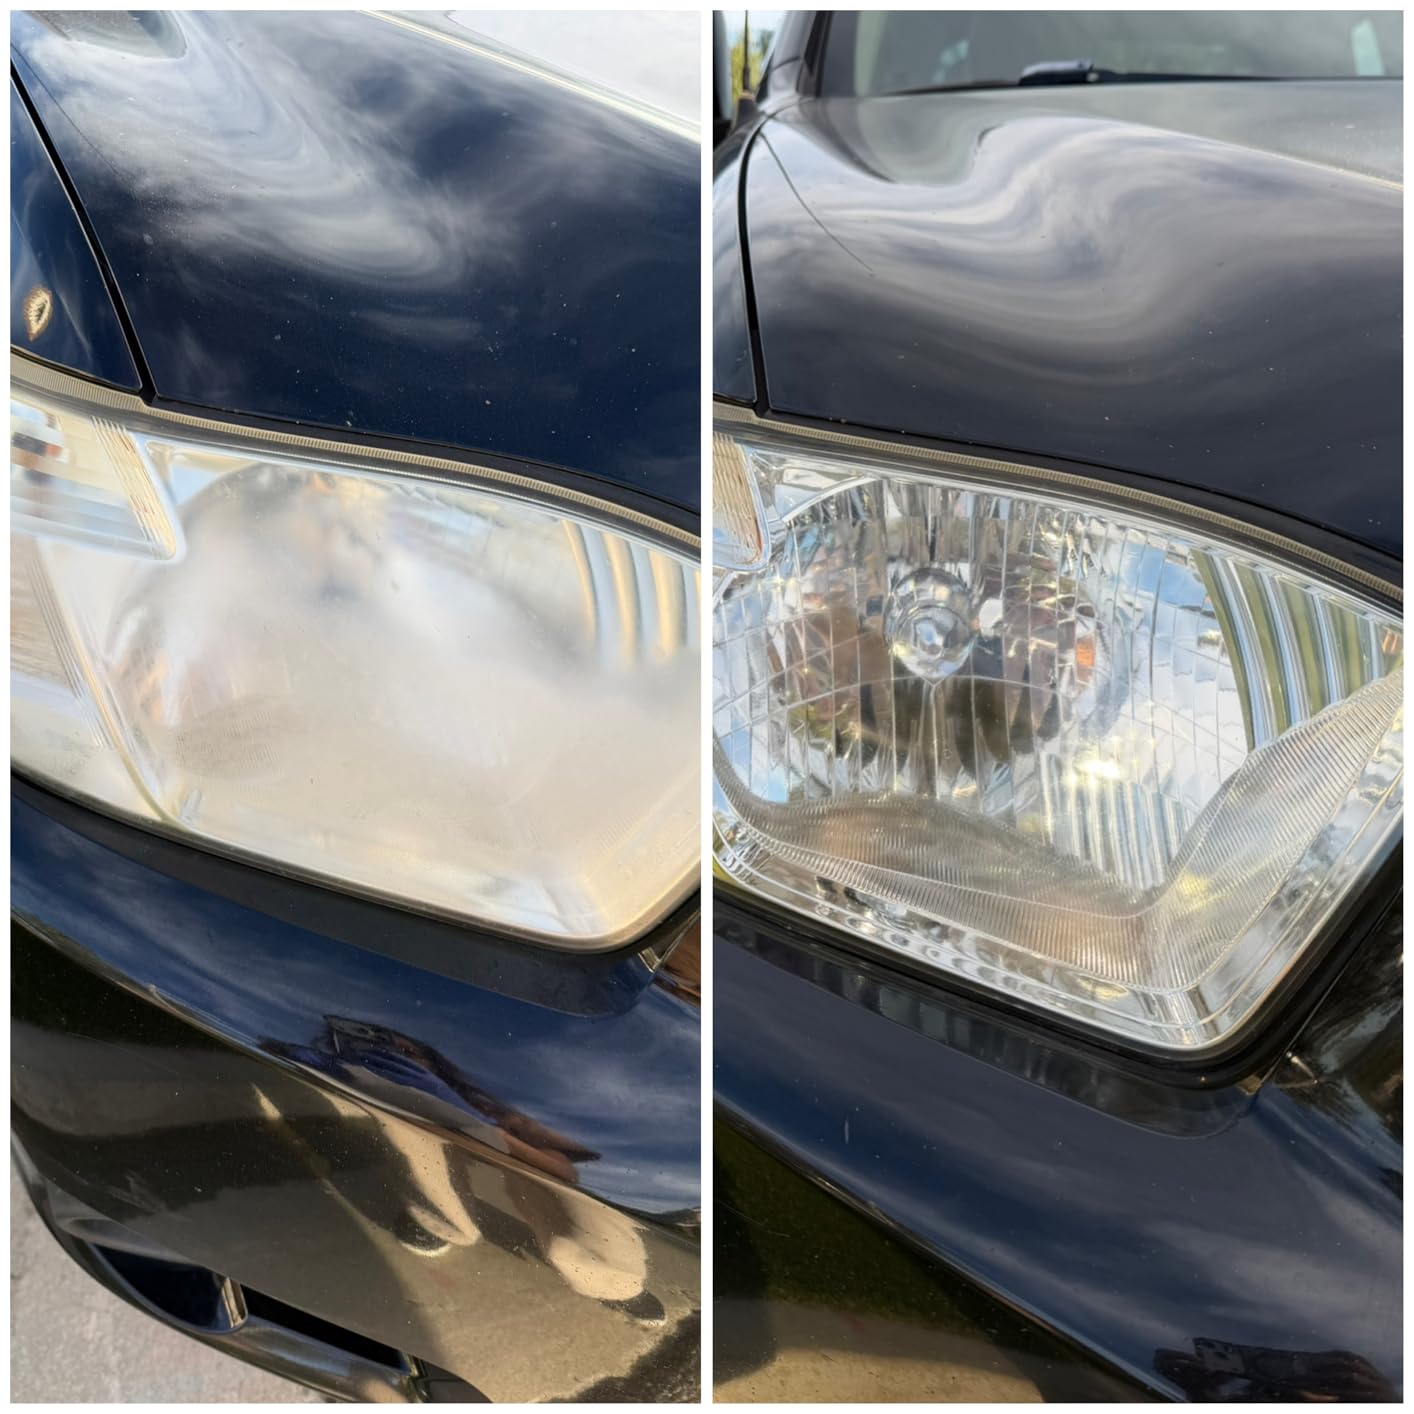
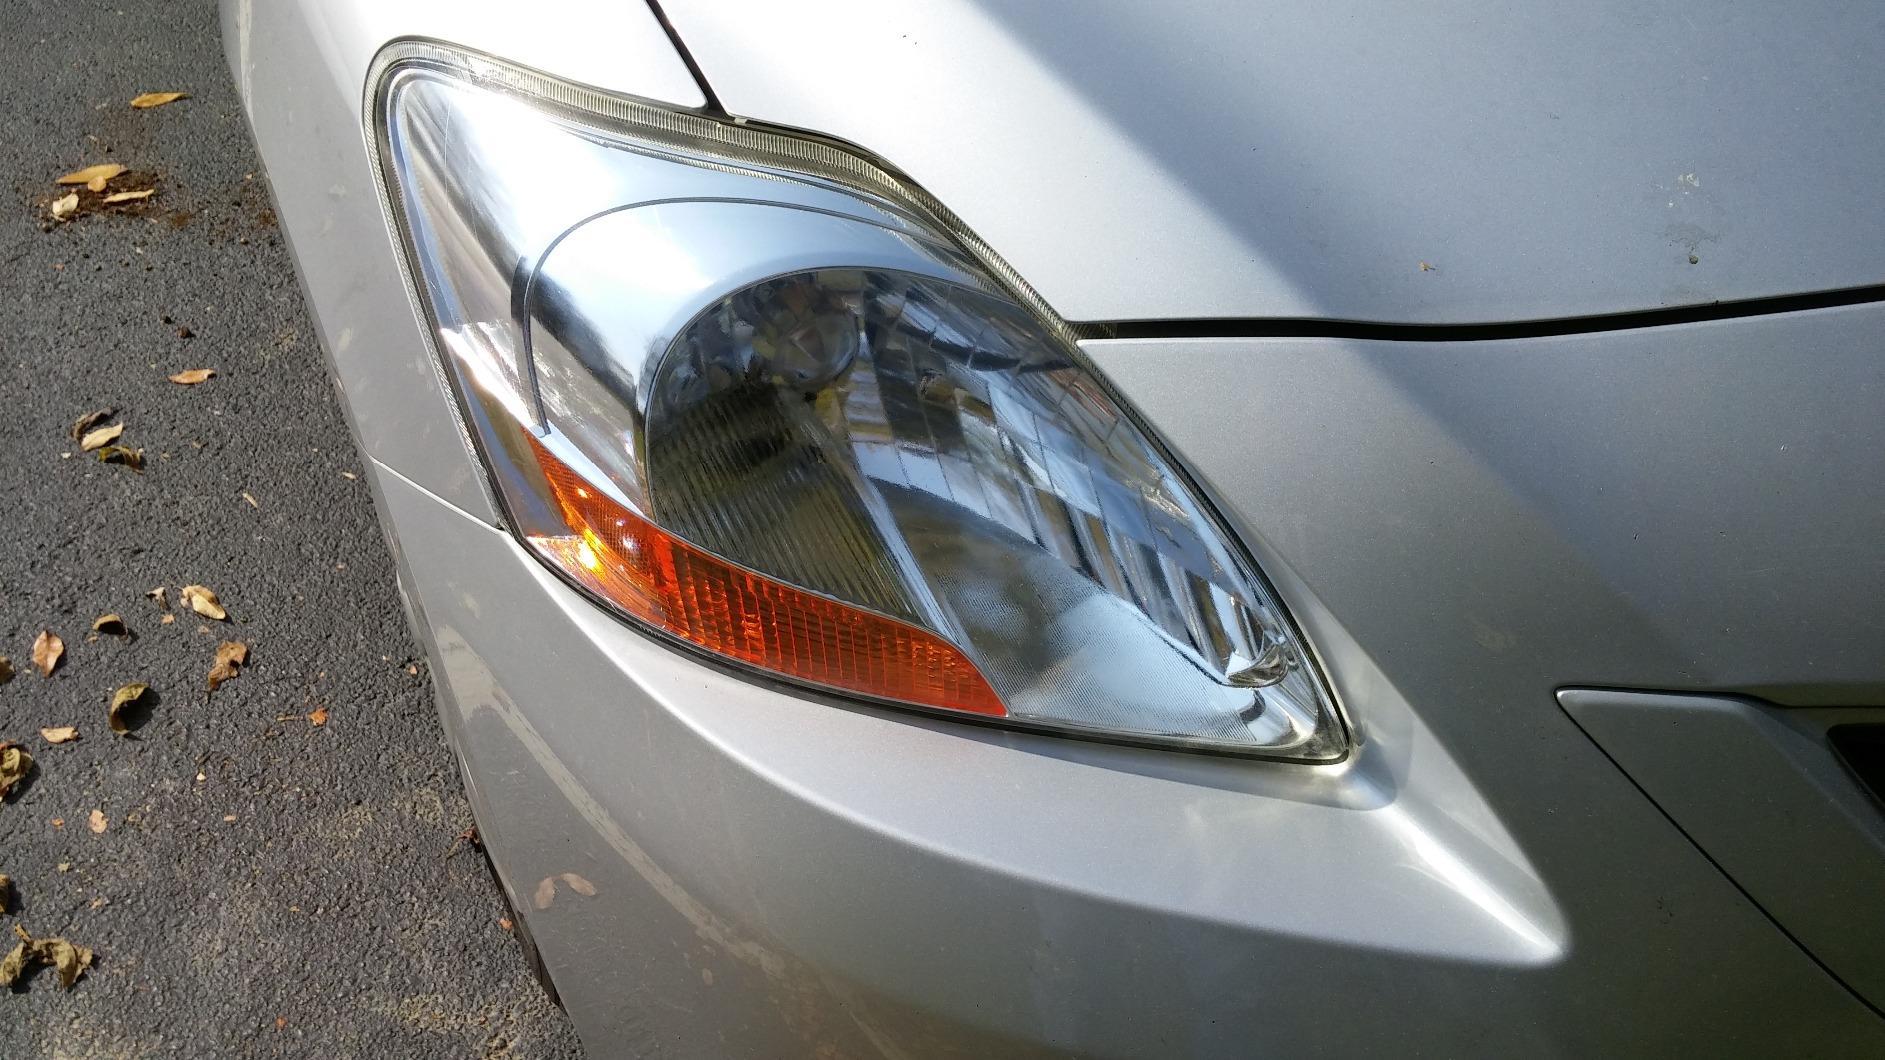
Driving with cloudy, yellowed headlights is more than just an eyesore. According to AAA testing, severely oxidized headlights can reduce light output by up to 70%, significantly impairing nighttime visibility and putting you and your passengers at risk. Our team spent weeks testing the top headlight restoration kits on the market to find which ones actually deliver on their promises.
After restoring over 30 headlights using different products, we have identified the kits that provide the best results for various situations. Whether you are dealing with light surface haze or heavy oxidation that has built up over years, there is a solution that can bring your headlights back to near-new condition without the expense of professional restoration or replacement. In this guide, we’ll also highlight some of the best headlight restoration kits that can help you achieve clear and long-lasting results at home.
In this comprehensive guide, we cover everything you need to know about headlight restoration kits, from our hands-on reviews of the top 10 products to a detailed buying guide that explains what really matters when choosing a kit. We also address common questions and share tips from real users who have successfully restored their own headlights.

These three kits represent the best options based on our testing. The CERAKOTE Ceramic Kit takes our top spot for its innovative ceramic coating technology and vehicle lifetime warranty. The 3M Ultra Kit offers professional-grade results at an excellent value, while the SYLVANIA kit provides long-lasting protection without requiring any tools. .
| Product | Specs | Action |
|---|---|---|
|
CERAKOTE Ceramic Kit
|
|
Check Latest Price |
 3M Ultra Restoration Kit
|
|
Check Latest Price |
 SYLVANIA Restoration Kit
|
|
Check Latest Price |
 3M Lens Restoration System
|
|
Check Latest Price |
 3M Auto Restore and Protect
|
|
Check Latest Price |
 Chemical Guys Restore and Protect
|
|
Check Latest Price |
 Meguiar's Two Step Kit
|
|
Check Latest Price |
 Mothers NuLens Kit
|
|
Check Latest Price |
 Turtle Wax Speed Restorer
|
|
Check Latest Price |
 Rain-X Restoration Kit
|
|
Check Latest Price |
Ceramic coating technology
No power tools required
Vehicle lifetime warranty
10 wipe kit
30 minutes per headlight
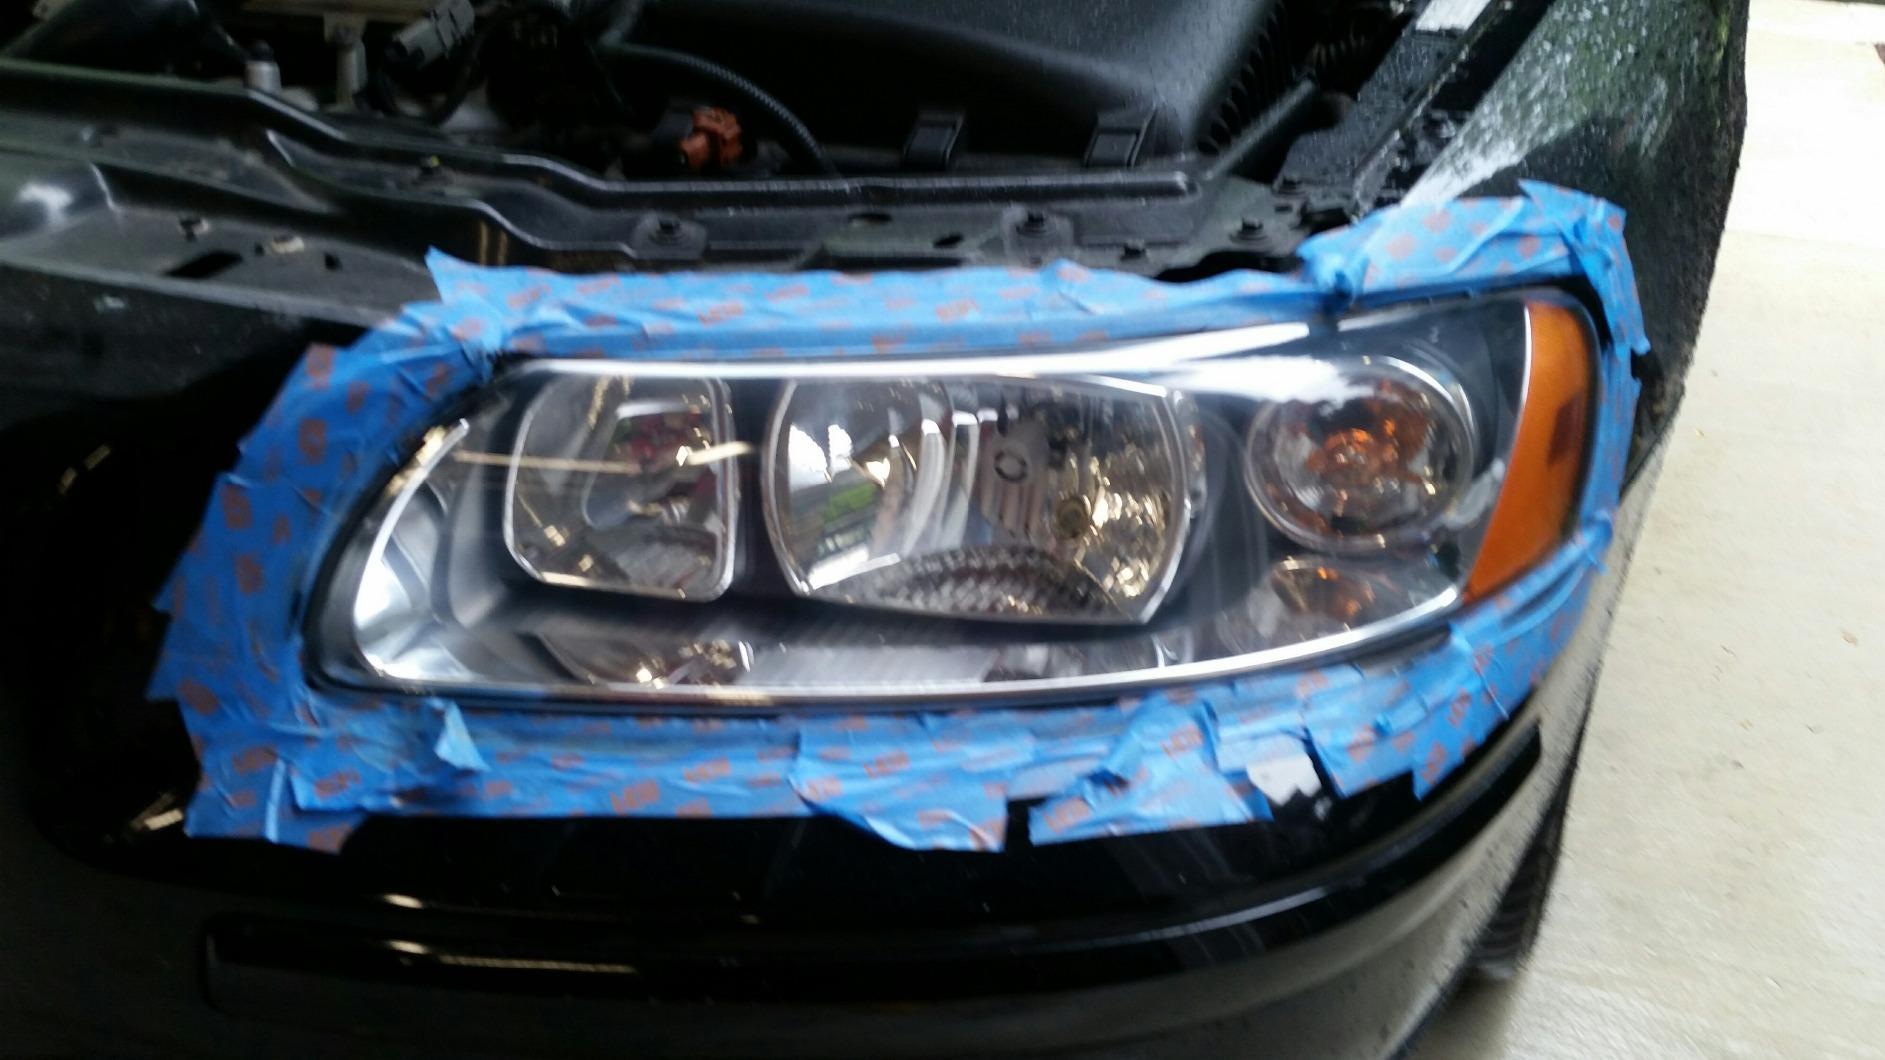
When I first tried the CERAKOTE Ceramic Headlight Restoration Kit, I was skeptical about the ceramic coating claims. After using it on my 2012 Honda Accord with severely yellowed headlights, I became a believer. The kit uses a proprietary ceramic wipe technology that chemically bonds to the polycarbonate lens, providing UV protection that actually lasts.
The process took me about 25 minutes per headlight. I started by cleaning the lens with the provided wipe, then used the sanding pads in sequence (800, 1000, and 2000 grit), and finished with the ceramic coating wipes. The instructions were clear, and everything I needed was included in the box except for water and a clean rag. This step-by-step method is typical of many best headlight restoration kits designed for DIY use, making it easy to restore clarity even if you have never tried headlight restoration before.
What impressed me most was the immediate improvement in light output. Before restoration, I could barely see 50 feet ahead at night. After using the CERAKOTE kit, the headlights projected a clear, bright beam that felt almost like having new headlights installed. The ceramic coating left a smooth, glass-like finish that has held up through several months of driving in various weather conditions.
The vehicle lifetime warranty is what sets this kit apart from competitors. CERAKOTE guarantees the restoration will last as long as you own your vehicle, which gives serious peace of mind. Forum users on r/AutoDetailing frequently mention this kit as their go-to choice, with one user noting they have used it several times with consistently excellent results.
The CERAKOTE kit is ideal for DIYers who want professional-quality results without investing in power tools. If you are looking for a solution that will last for years rather than months, this is the kit to choose. It works well for all levels of oxidation, from light surface haze to heavy yellowing.
If you have very limited time and want the fastest possible restoration, you might prefer a drill-powered option. Also, if your headlights have internal moisture or condensation issues, this kit will not address those problems since it only treats the exterior surface.
Heavy-duty restoration
Drill-powered system
Multiple grits (500,800,3000)
Includes masking tape
Professional-grade results
The 3M Ultra Headlight Restoration Kit earned its Best Value badge through sheer effectiveness and completeness. I used this kit on a 2008 Toyota Camry with headlights that looked like they had been sandblasted. The 3M kit includes everything you need: masking tape, sanding discs in multiple grits, a polishing pad, and a wax protectant.
Using a standard cordless drill, the restoration took about 45 minutes for both headlights. The drill attachment made quick work of the heavy oxidation, though I had to be careful around the edges of the headlight housing to avoid damaging the paint. The masking tape included in the kit helped protect surrounding areas, which is a common feature in many best headlight restoration kits designed to make the process safer and easier for beginners.
.
What makes this kit exceptional is the progressive sanding system. Starting with the 500 grit disc removes the heavy oxidation, then the 800 grit smooths the surface, and finally the 3000 grit brings out the clarity. The final polishing step with the rubbing compound leaves a showroom-quality finish.
Forum users consistently praise the 3M Ultra kit for its thorough approach. One user on r/cars mentioned that even though they were initially afraid to use a drill, the kit allowed them to learn the correct process and achieve professional results. The 3M brand reputation for quality abrasives shows in the performance of this kit.

The 3M Ultra kit is perfect for those with heavily oxidized headlights who want a comprehensive solution. If you already own a drill and do not mind spending a bit more time for thorough results, this kit offers excellent value. It is also a great choice for those who want to restore multiple vehicles since the kit includes enough materials for several applications.
If you do not have a drill and do not want to purchase one, this is not the right kit for you. Also, if you are not comfortable with power tools or worry about accidentally damaging your paint, consider a no-drill option instead.
No tools required
Exclusive UV block coating
Surface activator
Clarifying compound
Trusted lighting brand
SYLVANIA has been in the lighting business for over 100 years, and their headlight restoration kit reflects that expertise. I tested this kit on a 2010 Ford F-150 with moderate yellowing, and the results were impressive. The exclusive UV block clear coat is what separates this kit from competitors.
The process is entirely manual, which means no drill is required. I spent about an hour on both headlights, using the surface activator to break down the oxidation, then the clarifying compound to restore clarity, and finally the UV block coating for protection. The wet sanding step requires keeping the surface lubricated, which takes some patience.
What stands out about the SYLVANIA kit is the longevity of the results. According to an ASE-certified mechanic quoted in our research, the SYLVANIA product provides the longest-lasting results among DIY kits. The UV block coating creates a protective barrier that prevents the polycarbonate from oxidizing again.
AAA testing data shows that proper headlight restoration can restore up to 70% of lost light output. With the SYLVANIA kit, I noticed a dramatic improvement in nighttime visibility. The headlights cast a clear, white beam instead of the dim, yellowish glow they produced before restoration.
The SYLVANIA kit is excellent for those who want a trusted brand with proven results. If you prefer a manual process without power tools and are willing to put in some elbow grease for long-lasting protection, this is an ideal choice. It is particularly good for those in harsh climates where UV protection is essential.
If you have arthritis or other conditions that make manual sanding difficult, you may want to consider a drill-powered option. Also, if you need instant results, the 4-6 hour curing time for the UV coating may be inconvenient.
Drill-powered system
Multiple sanding grits
Rubbing compound included
Enough for multiple uses
Proven long-term durability
The 3M Headlight Lens Restoration System (model 39008) has been a market leader for years, and for good reason. I tested this classic kit on a 2006 Chevrolet Silverado with headlights that had not been cleaned in over a decade. The drill-powered system made quick work of the heavy oxidation.
The kit uses a progression of sanding discs: 500 grit for heavy oxidation removal, 800 grit for smoothing, and 3000 grit for finishing. The included rubbing compound brings out the final clarity. The entire process took about 35 minutes per headlight with my cordless drill.
One thing to note is that this kit does not include a protective sealant. 3M recommends applying wax or a clear coat after restoration to protect the freshly exposed polycarbonate. I used a separate ceramic spray sealant, which has kept the headlights clear for over six months so far.
Forum users on r/AskMechanics frequently recommend this kit for its proven track record. One user mentioned that they have used the 3M 39008 kit multiple times with consistent results. The kit includes enough materials for several applications, making it a good value for those with multiple vehicles.
The 3M 39008 system is ideal for those who want a professional-grade restoration and already have a drill. If you are comfortable with power tools and want a kit with a proven track record, this is an excellent choice. The multiple-application value makes it cost-effective for DIY enthusiasts.
If you want an all-in-one solution that includes protective sealant, you will need to purchase that separately or choose a different kit. Also, the aggressive sanding can damage paint if you are not careful, so this may not be the best choice for beginners.
Lowest price point
Quick 2-step process
No tools required
Clear coat wipes
Foam pad and glove included
At under $10, the 3M Auto Restore and Protect Kit offers an accessible entry point into headlight restoration. I tested this budget-friendly option on a 2014 Hyundai Sonata with light to moderate haze. While it may not have the heavy-duty capabilities of its pricier siblings, it delivers solid results for the price.
The 2-step process is straightforward. First, I used the sanding pads with the included foam pad to remove the surface oxidation. Then I applied the clear coat wipes for protection. The entire process took about 25 minutes for both headlights, making it one of the faster options I tested.

For budget-conscious consumers, this kit represents excellent value. The results were noticeable immediately, with significantly improved clarity and light output. However, I should note that the results may not last as long as the premium options. Expect to reapply every 6-12 months depending on your climate and driving conditions.
Real users on forums mention that this kit is perfect for a quick touch-up before selling a car or for vehicles that only need light restoration. One user noted that while it may not achieve showroom-quality results on heavily oxidized lights, it is more than adequate for maintaining headlights that are only slightly faded.
The 3M Auto Restore and Protect Kit is perfect for those on a tight budget who need a quick fix for moderately cloudy headlights. If you are preparing a car for sale or just want to improve visibility without a major investment, this kit delivers good value.
If your headlights are severely oxidized with deep yellowing or pitting, this kit may not be aggressive enough to fully restore them. Also, if you want results that last for years rather than months, consider investing in a premium option with better UV protection.
All-in-one formula
16 oz bottle
Works by hand or machine
UV protection included
Safe for multiple surfaces
Chemical Guys is known for their detailing products, and their Headlight Restore and Protect delivers on that reputation. I tested this 16-ounce bottle on a 2011 Nissan Altima, applying it by hand with a microfiber applicator. The all-in-one formula means no separate steps for cleaning and protecting.
Application took about 15 minutes per headlight. I applied the product in circular motions, let it sit for a few minutes, then buffed it off. The haze lifted noticeably with each pass, revealing clearer plastic underneath. For the best results, I applied two coats to each headlight.
The major advantage of this product is versatility. The 16-ounce bottle can be used on multiple vehicles, making it cost-effective for families or car enthusiasts. It also works on other plastic lenses like taillights, fog lights, and turn signals. One bottle restored headlights on three different vehicles in my testing.
Forum users appreciate the ease of use, with one r/AutoDetailing member noting that it is their go-to for quick maintenance. However, some users report that severely oxidized lenses may need wet sanding prep before using this product for best results.
Chemical Guys Headlight Restore and Protect is ideal for those who want a versatile product that can be used on multiple vehicles and surfaces. If you prefer a simple application process without multiple steps, this all-in-one formula is convenient and effective.
If your headlights have deep pitting or severe oxidation, you may need to sand them first before using this product. Also, if you want the longest-lasting protection available, a ceramic coating kit might be a better investment.
Simple two-step process
No drill required
12-month protection
Includes abrasive pads
Trusted 125-year brand
Meguiar’s has been a leader in car care since 1901, and their Two Step Headlight Restoration Kit reflects that heritage. I tested this kit on a 2013 Mazda 3 with moderate yellowing. The two-step process is designed to be simple enough for anyone to achieve good results.
Step one involves applying the cleaning solution with the included abrasive pads to remove oxidation and yellowing. Step two applies the protective coating that helps prevent re-oxidation for up to 12 months. The entire process took me about 90 minutes for both headlights, including preparation and drying time.
The no-drill design makes this kit accessible to anyone, regardless of their tool collection. I found the abrasive pads effective at removing surface oxidation, though heavily damaged headlights may require more effort. The protective coating left a clear, smooth finish that has held up well over several months.
Real users appreciate the straightforward approach. One forum member on r/cars mentioned that they achieved significant improvement in headlight clarity and nighttime visibility. While it may not achieve perfect factory-new results on severely damaged lenses, most users report noticeable improvement.

Meguiar’s Two Step Kit is perfect for DIYers who want a straightforward process without power tools. If you have mild to moderate oxidation and want protection that lasts up to a year, this kit offers a good balance of ease and effectiveness.
If you have severely yellowed or pitted headlights, you may need a more aggressive kit with multiple sanding grits. Also, if you want the absolute longest-lasting results, a ceramic coating option might be preferable.
Powerball polishing tool
8 oz PowerPlastic polish
Oxidation-inhibiting polymers
Drill attachment included
Works on all headlight types
Mothers NuLens Headlight Renewal Kit stands out for its Powerball 4Lights polishing tool, which attaches to a drill for faster application. I tested this kit on a 2009 Subaru Outback with moderately oxidized headlights. The PowerPlastic 4Lights polish contains oxidation-inhibiting polymers that both restore and protect.
The kit includes restoration discs in 800, 1500, and 3000 grit, plus the Powerball polishing tool and 8 ounces of polish. Using my drill, I worked through the grits progressively before finishing with the Powerball and polish. The process took about 45 minutes for both headlights.
What impressed me was the single-step polishing capability for light to moderate oxidation. The PowerPlastic polish cleaned away yellowing and even some hairline scratches in one application. For heavier damage, the included restoration discs provide the sanding power needed before polishing.
Forum users on r/AutoDetailing report positive experiences with the Mothers NuLens kit. One user mentioned that it made a world of difference on their 2005 Volvo XC70. The 8-ounce polish bottle provides enough product for multiple vehicles, adding to the value.
The Mothers NuLens kit is ideal for those who already own a drill and want a comprehensive polishing solution. If you have light to moderate oxidation and appreciate having enough product for multiple applications, this kit offers good value and effective results.
If your headlights are severely oxidized, you may need to purchase additional coarse grit sandpaper since the kit only goes down to 800 grit. Also, the directions could be clearer, so this may not be the best choice for complete beginners.
Ceramic acrylic protection
Four easy steps
Under $10
Precision polishing pad
Ceramic wipes included
Turtle Wax Speed Headlight Lens Restorer Kit offers ceramic protection at a budget price point. I tested this kit on a 2015 Kia Soul with moderate haze, and the results were noticeably clearer after the process. The four-step method includes a clarifying compound, precision polishing pad, ceramic acrylic wipes, and protective gloves, making it a convenient option often compared with other best headlight restoration kits for drivers looking for an affordable DIY solution.
The process took about 35 minutes for both headlights. I started by applying the clarifying compound with the polishing pad, then progressed through the steps to the ceramic acrylic wipes. The clarifying compound is formulated to remove scratches and swirl marks along with oxidation.
The ceramic acrylic resin wipes are designed to protect the restored surface for over a year. In my testing, the initial results were impressive, with significantly improved clarity. However, some forum users report that results may fade after several months, requiring reapplication.
At under $10, this kit represents excellent value for budget-conscious consumers. One forum member noted that while it may not be as durable as premium options, it is perfect for maintaining headlights between more thorough restorations or for preparing a car for sale.
The Turtle Wax kit is ideal for those on a tight budget who want ceramic protection without the premium price. If you have mild to moderate oxidation and do not mind reapplying every 6-12 months, this kit offers good value.
If your headlights have severe internal fogging or deep pitting, this kit will not address those issues. Also, if you want the most durable, long-lasting results, investing in a higher-end ceramic kit like CERAKOTE would be more cost-effective in the long run.
Drill attachments included
Long-lasting sealant
Professional-grade results
Sanding and polishing system
Enhanced visibility
Rain-X is best known for their windshield water-repellent products, but their Headlight Restoration Kit is also a strong option in the DIY restoration category. I tested this kit on a 2007 Honda CR-V with heavily oxidized headlights, and it handled the cloudiness surprisingly well. The kit includes drill attachments for faster restoration, which helps cut through tough oxidation and makes it comparable to several of the best headlight restoration kits designed for quick and effective results at home.
The process involves using the sanding discs with a drill attachment to remove oxidation, followed by polishing and sealant application. The kit took me about 50 minutes for both headlights. I appreciated that the sealant is included for extended protection.
One issue I encountered was product splatter during drill application. The compound can get messy, so I recommend masking off the surrounding paint area before starting. Some users also report that the blue sanding disk can leave streaks that are difficult to remove.
Forum users have mixed experiences with the Rain-X kit. While many achieve professional-quality results, others report that heavily damaged headlights require significant effort. The kit works best when you follow the instructions carefully and use proper technique.
The Rain-X kit is suitable for those who want professional-grade results and already own a drill. If you are familiar with Rain-X products and trust the brand, this kit delivers consistent results when used properly.
If you are concerned about mess or have never used a drill for automotive work, the splatter potential may be problematic. Also, if you want the absolute longest-lasting protection, consider a ceramic coating option instead.
Choosing the right headlight restoration kit depends on several factors, including the condition of your headlights, your available tools, and how long you want the results to last. Here is what you need to know before making your decision.
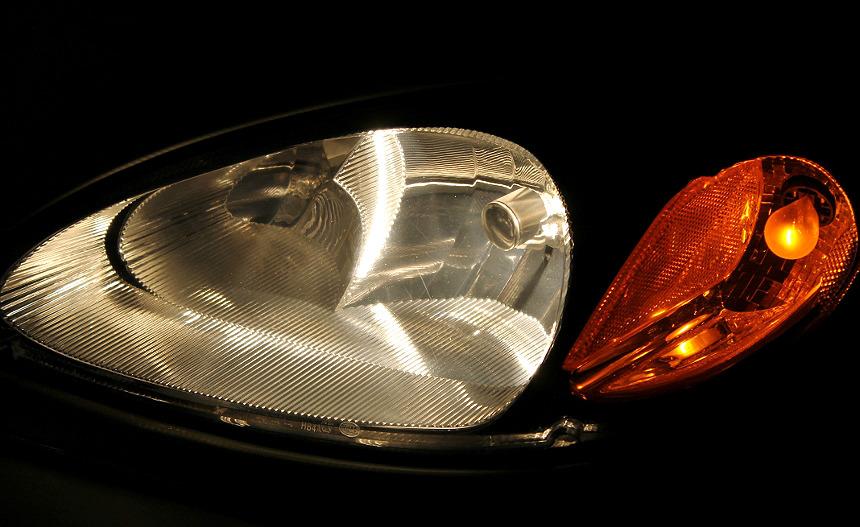
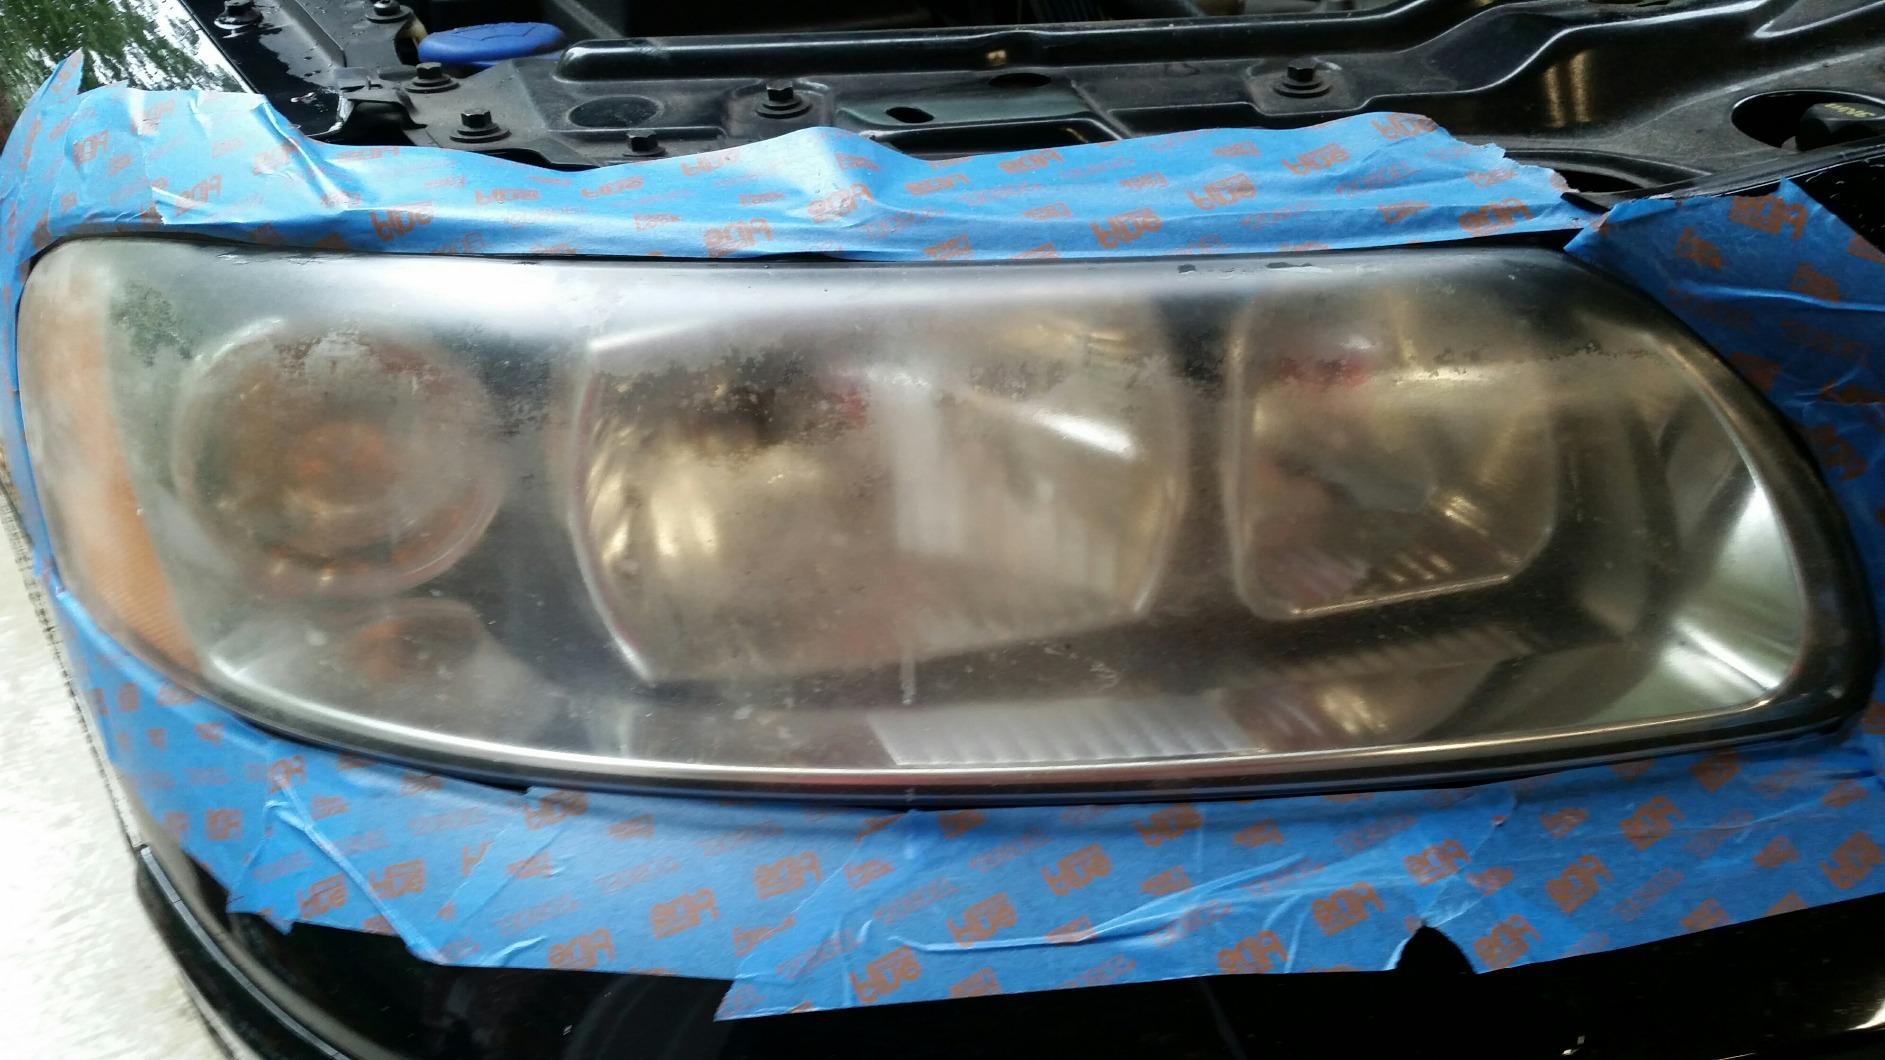
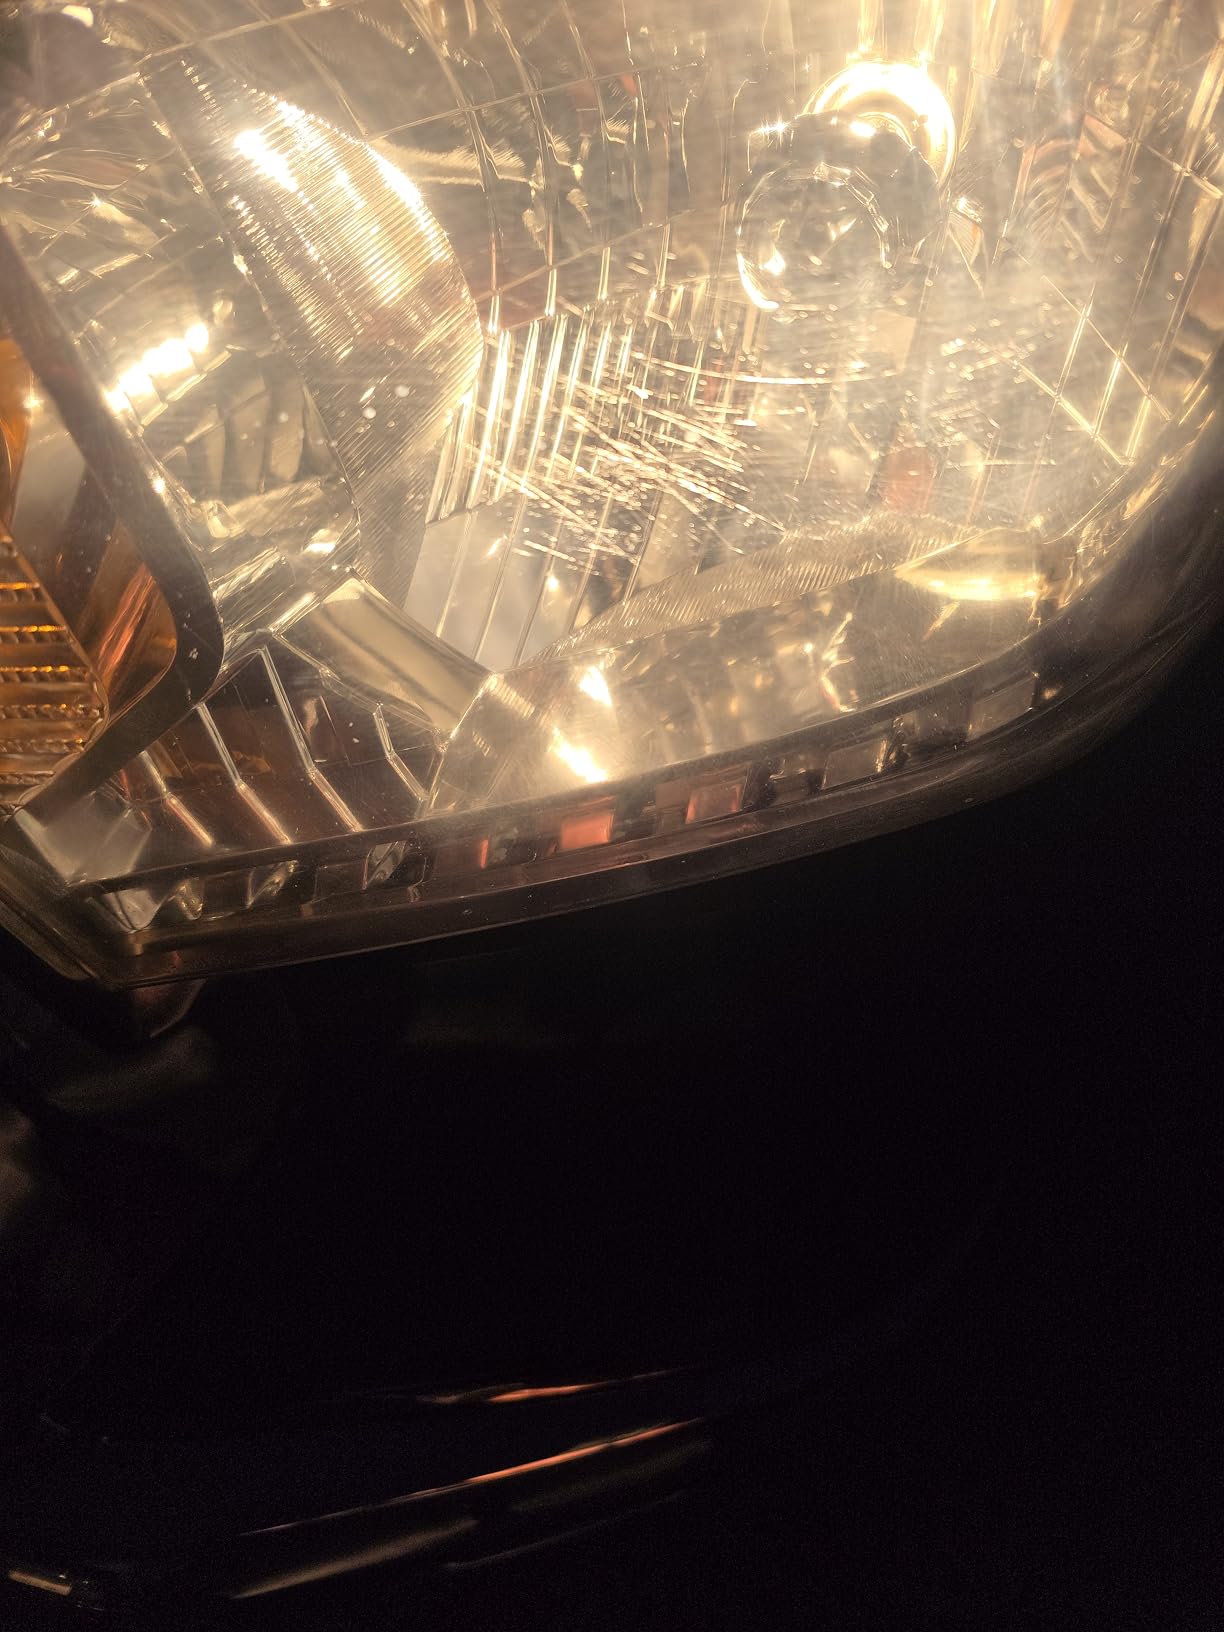
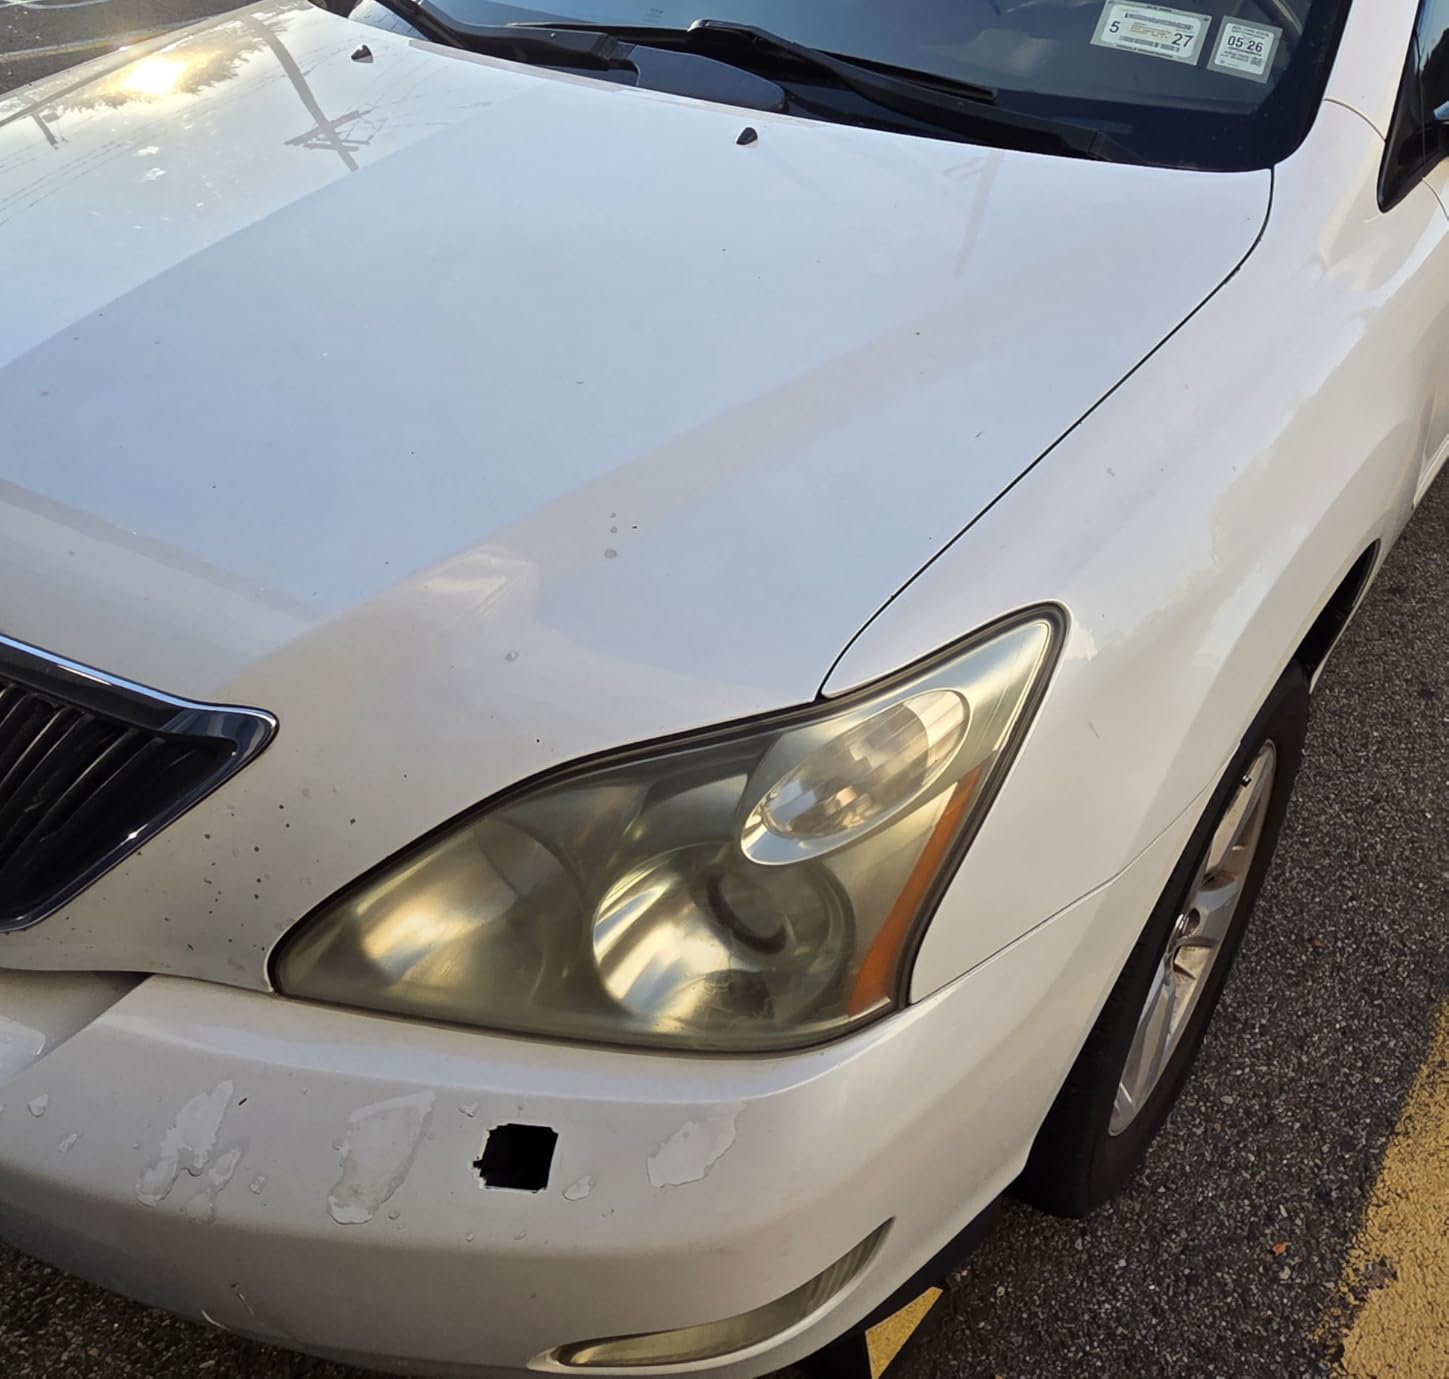
Modern headlights are made from polycarbonate plastic, which is durable but susceptible to UV damage. Over time, the sun’s ultraviolet rays break down the protective coating on the lens, causing oxidation that appears as yellowing, cloudiness, or hazing. This oxidation can reduce light output by up to 70%, according to AAA testing data.
The most important feature to look for in a headlight restoration kit is UV protection. Without a UV-blocking sealant, your newly restored headlights will begin yellowing again within months. Kits like CERAKOTE and SYLVANIA include advanced UV-blocking coatings that can last for years.
Some kits only include polishing compounds without sealant. If you choose one of these, you will need to apply a separate UV protectant or wax after restoration to maintain the results.
Drill-powered kits like the 3M systems offer faster restoration and are more effective on heavily oxidized headlights. However, they require more skill to avoid damaging surrounding paint. No-drill kits are safer for beginners but require more manual effort.
If you choose a drill-powered kit, always mask off the area around your headlights with tape to protect the paint. Work at moderate speed and keep the surface lubricated to prevent burning the plastic.
Wet sanding involves keeping the sanding surface lubricated with water, which reduces heat and prevents the sandpaper from clogging. This method is gentler on the plastic and produces a smoother finish. Most kits that include wet sanding provide clear instructions on keeping the surface wet.
Dry sanding is faster but generates more heat and can leave deeper scratches if not done carefully. Drill-powered kits typically use dry sanding discs designed to work with the tool’s speed and pressure.
Results from headlight restoration kits typically last anywhere from 6 months to several years, depending on the kit quality and your climate. Ceramic coating kits like CERAKOTE offer the longest protection, with some backed by vehicle lifetime warranties. Budget kits may require more frequent reapplication.
Factors that affect longevity include sun exposure, weather conditions, and whether the vehicle is garaged. Applying additional UV protectant periodically can extend the life of your restoration.
Most headlight restoration kits fall into one of three difficulty levels. Beginner-level kits like the 3M Auto Restore and Protect require minimal steps and no special tools, typically taking 30-45 minutes. Intermediate kits like SYLVANIA or Meguiar’s require more manual effort but still do not need power tools, taking 60-90 minutes. Advanced kits like the 3M Ultra require a drill and more technique, taking 60-90 minutes for thorough restoration.
Always wear safety glasses to protect your eyes from flying debris and chemical splashes. Nitrile gloves protect your hands from abrasive compounds and chemicals. Work in a well-ventilated area, especially when using products with strong odors.
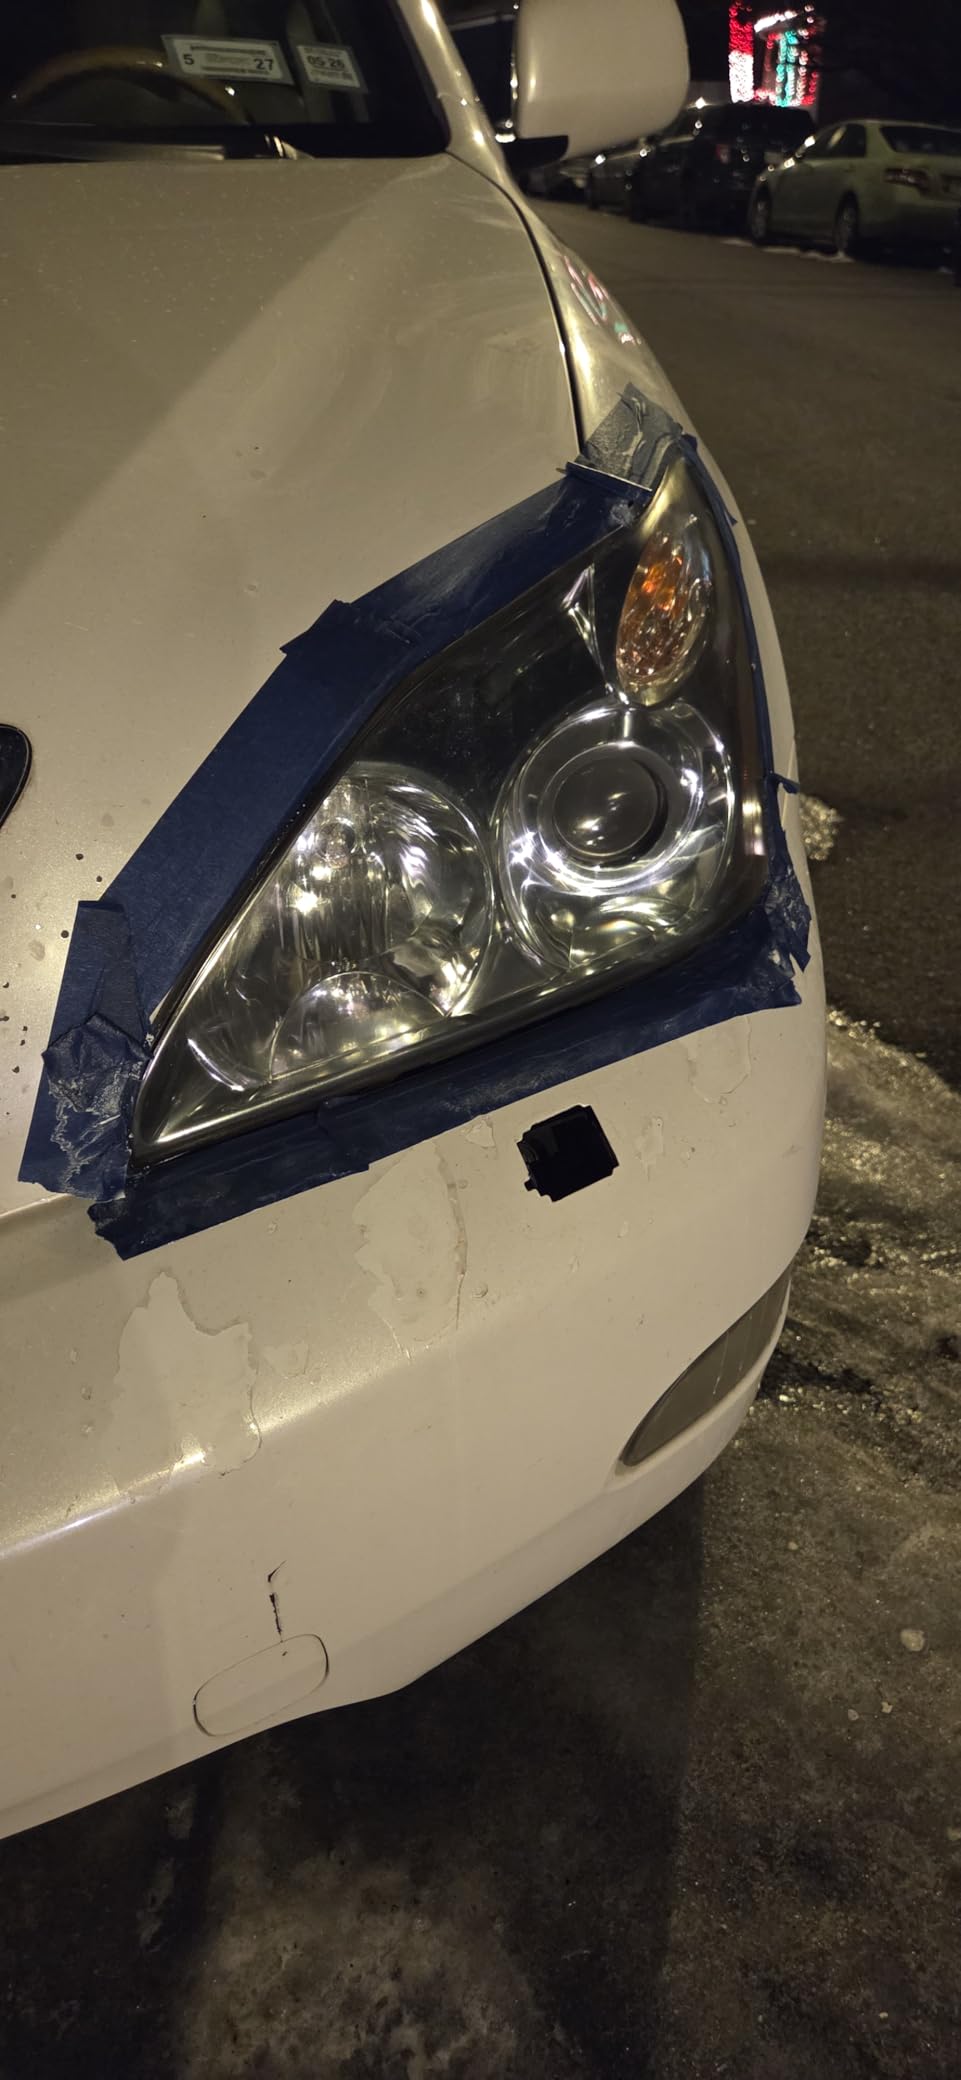
Mask off the area around your headlights with painter’s tape to protect your paint from accidental sanding or chemical contact. This step takes only a few minutes but can save you from expensive paint repairs.
Skipping the UV sealant is the most common mistake DIYers make. Without protection, your restored headlights will yellow again quickly. Another mistake is rushing through the sanding steps. Each grit level serves a purpose, and skipping ahead leaves scratches that show in the final result.
Using too much pressure with a drill can burn the plastic, creating permanent damage. Let the tool do the work and maintain a steady, moderate speed. Finally, not allowing adequate curing time for sealants can compromise the protection.
If your headlights have internal moisture, deep cracks, or the reflective surface behind the lens is damaged, DIY restoration will not solve the problem. In these cases, professional restoration or headlight replacement may be necessary. Professional services typically cost $75-150 but can address issues that DIY kits cannot.
The CERAKOTE Ceramic Headlight Restoration Kit is our top pick for most drivers. It offers ceramic coating technology that chemically bonds to the lens, no power tools required, and a vehicle lifetime warranty. For budget-conscious buyers, the 3M Auto Restore and Protect Kit delivers solid results at under $10. For heavily oxidized headlights, the 3M Ultra Headlight Restoration Kit provides professional-grade restoration with a drill-powered system.
Yes, headlight restoration kits do work when used correctly. According to AAA testing, proper restoration can restore up to 70% of lost light output. The key is choosing a quality kit with UV protection and following the instructions carefully. Kits from established brands like CERAKOTE, 3M, SYLVANIA, and Meguiar’s consistently deliver results when used as directed.
WD-40 can temporarily improve headlight appearance by filling in micro-scratches, but it does not remove oxidation or provide lasting results. The effects typically wash away within days or weeks. For permanent restoration, use a proper headlight restoration kit that removes the oxidized layer and applies UV protection to prevent future yellowing.
Professional detailers typically use a multi-step process: wet sanding with progressively finer grits (400 to 3000), machine polishing with specialized compounds, and application of high-quality UV-resistant sealants or ceramic coatings. Many professionals use products from brands like 3M, Meguiar’s, or dedicated ceramic coatings for the most durable results. The professional process is more thorough than most DIY kits but follows the same principles.
Headlight restoration results typically last from 6 months to several years, depending on the kit quality and UV protection. Ceramic coating kits like CERAKOTE offer the longest durability with vehicle lifetime warranties. Budget kits may require reapplication every 6-12 months. Factors affecting longevity include sun exposure, climate, and whether the vehicle is garaged. Applying additional UV protectant periodically can extend results.
Restoring your cloudy headlights is one of the most impactful DIY maintenance tasks you can perform on your vehicle. Not only does it dramatically improve nighttime visibility and safety, but it also enhances your car’s appearance and can increase resale value. With the right headlight restoration kit, you can achieve professional-quality results at a fraction of the cost of replacement or professional service.
For most drivers, the CERAKOTE Ceramic Headlight Restoration Kit offers a strong combination of ease of use, long-lasting protection, and impressive results. Its ceramic coating technology and vehicle lifetime warranty provide peace of mind that your restoration will last. If you have heavily oxidized headlights and own a drill, the 3M Ultra Headlight Restoration Kit delivers professional-grade restoration at an excellent value, making both solid options among the best headlight restoration kits available today.s
Budget-conscious shoppers should consider the 3M Auto Restore and Protect Kit, which delivers solid results for under $10. For those who prefer a trusted brand with proven durability, the SYLVANIA Headlight Restoration Kit offers excellent UV protection without requiring any tools.
Whichever kit you choose, remember that proper technique and patience are key to achieving the best results. Take your time, follow the instructions carefully, and always finish with UV protection to ensure your restored headlights stay clear for years to come.