

Your YouTube videos look stunning in 4K. Your editing is tight. Your thumbnails are click-worthy. But viewers are clicking away within seconds because your audio sounds like you are recording inside a tin can.
Poor audio quality is the silent killer of YouTube channels. While viewers forgive shaky footage or imperfect lighting, they will not tolerate harsh, distant, or echo-filled sound. A dedicated microphone is the single most important upgrade you can make to your content.
Our team spent three months testing 12 of the best microphones for YouTube videos across every category. We recorded voiceovers in untreated rooms, vlogged in busy streets, streamed marathon gaming sessions, and interviewed creators in echoey conference halls. Whether you are just starting your channel or upgrading to professional gear, this guide has you covered.
Need a quick recommendation? These three microphones represent the best options for most YouTube creators based on our extensive testing.


Compare all 12 microphones at a glance. We have organized them by type to help you find the right match for your content style.
| Product | Specs | Action |
|---|---|---|
|
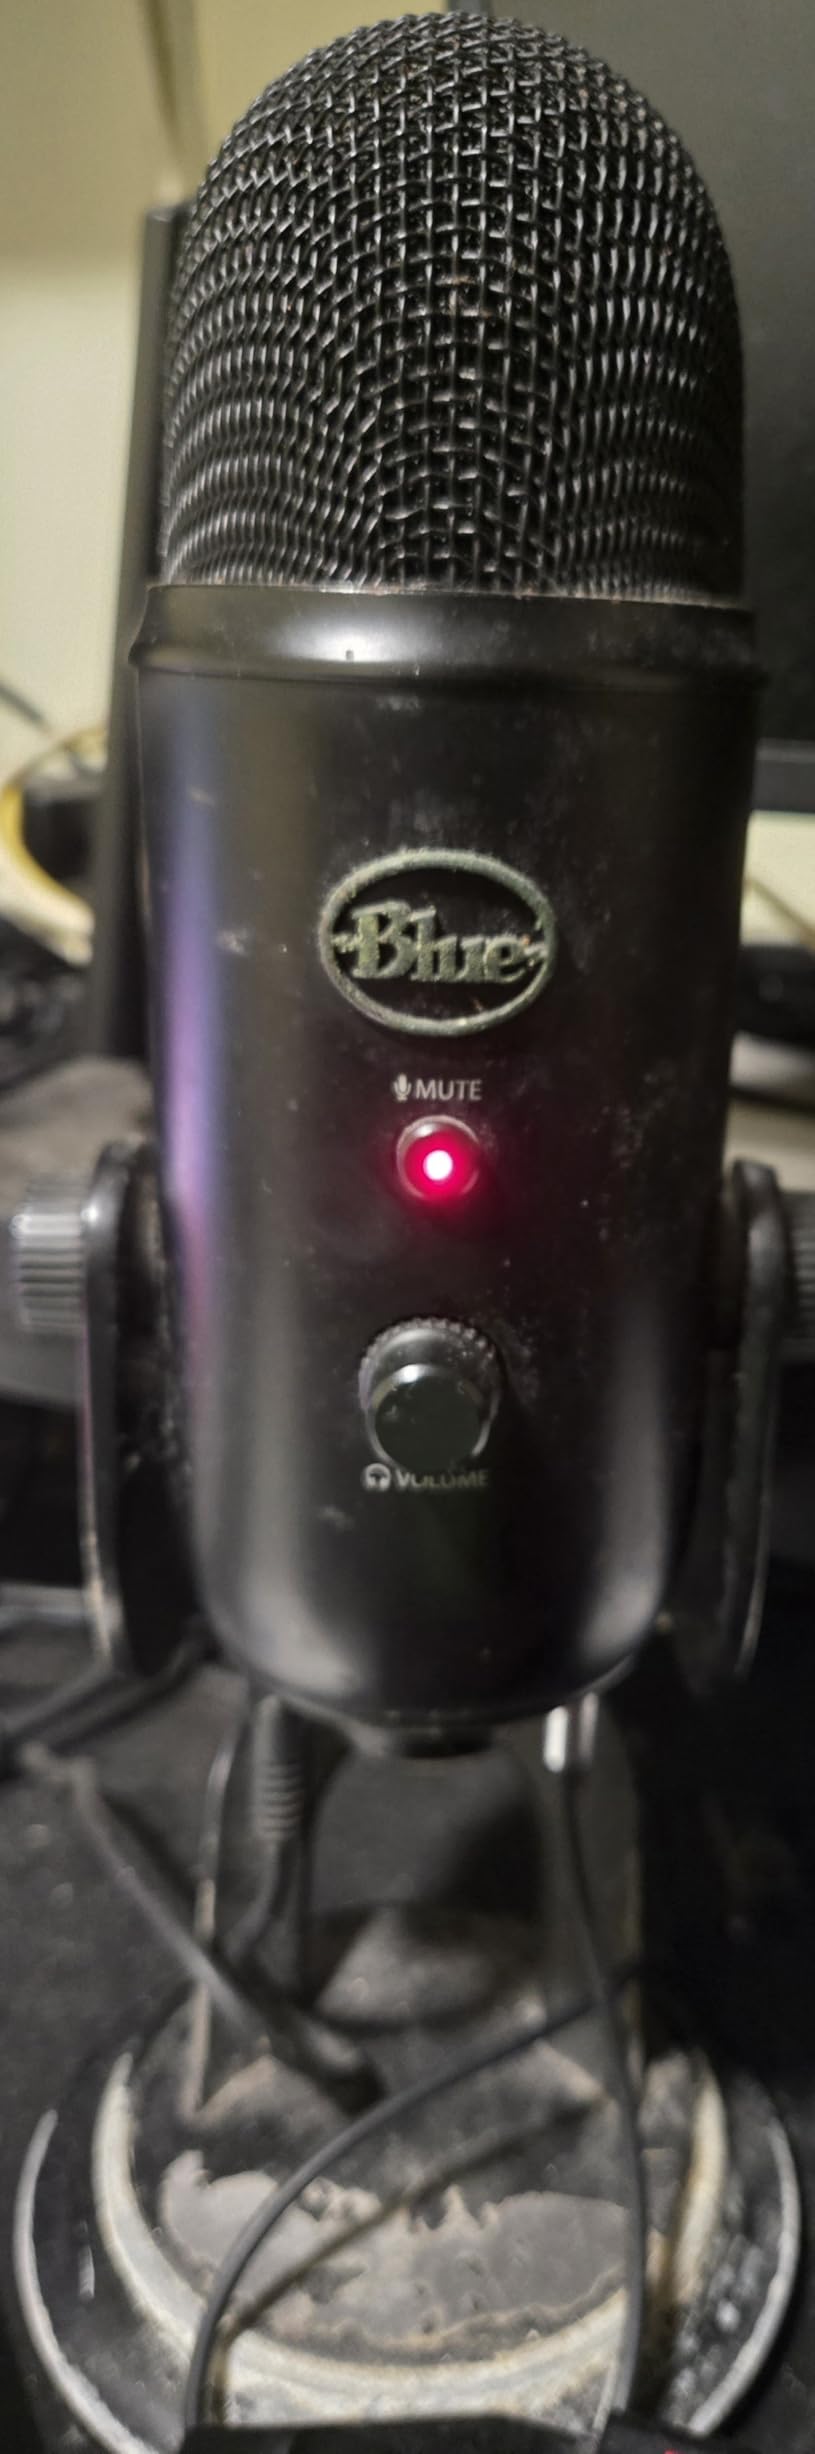
Blue Yeti USB Microphone
|
|
Check Latest Price |
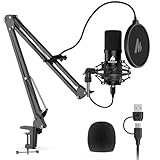 MAONO AU-A04 USB Mic Kit
|
|
Check Latest Price |
 FIFINE AmpliGame AM8
|
|
Check Latest Price |
 HyperX SoloCast USB Mic
|
|
Check Latest Price |
|
Rode PodMic Dynamic
|
|
Check Latest Price |
 Shure MV7X XLR Mic
|
|
Check Latest Price |
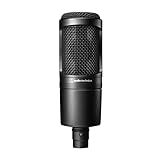 Audio-Technica AT2020
|
|
Check Latest Price |
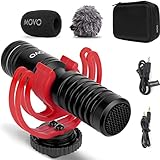
 Movo VXR10 Shotgun Mic
|
|
Check Latest Price |
 Movo VXR10-PRO Shotgun
|
|
Check Latest Price |
 Rode VideoMic Pro+
|
|
Check Latest Price |
Connectivity: USB
Pickup Patterns: Cardioid, Omni, Bidirectional, Stereo
Frequency Response: 20Hz-20kHz
Sample Rate: 48kHz/16-bit
Weight: 3.5 lbs
I have recommended the Blue Yeti to at least 50 aspiring YouTubers over the past five years. It remains the safest choice for anyone who wants professional audio without technical headaches. The four pickup patterns genuinely matter: cardioid for solo voice recording, omnidirectional for roundtable podcasts, bidirectional for two-person interviews, and stereo for ASMR or music.
During our testing, the Yeti captured warm, broadcast-quality vocals that needed minimal post-processing. The headphone jack provides zero-latency monitoring, which prevents the annoying echo that ruins takes. I particularly appreciate the onboard gain control, which lets you adjust sensitivity without diving into software menus.
The Blue VO!CE software is genuinely useful, not just marketing fluff. The noise reduction preset cleaned up my home office recordings noticeably, and the vocal enhancer added presence without harshness. You can save custom presets and switch between them for different content types.
The Yeti is not perfect. The micro-USB connection feels dated in 2026, and the microphone picks up keyboard clicks and room echo if you are not careful with placement. You need to position it 6-8 inches from your mouth with the logo facing you for optimal sound.
The Yeti excels for YouTubers who record at a desk: tutorial creators, gamers, podcasters, and voiceover artists. The stereo mode genuinely enhances ASMR content with realistic spatial imaging. If you interview guests in person, the bidirectional pattern captures both voices clearly without needing two microphones.
The Yeti is less ideal for vloggers who shoot on location. Its desktop stand is not designed for camera mounting, and the 3.5-pound weight makes it cumbersome to transport. For mobile creators, consider a shotgun or wireless option instead.
The Yeti truly is plug-and-play on both Mac and Windows. No drivers, no software installation required. However, for best results, invest in a boom arm or at least position the included stand on a stack of books to get the microphone close to mouth level. A separate pop filter helps reduce plosives, though speaking across the microphone rather than directly into it also works.
Treat your recording space if possible. Even hanging a blanket behind you reduces echo significantly. The Yeti is sensitive enough to reveal room acoustics, which is good for quality but challenging in untreated spaces.
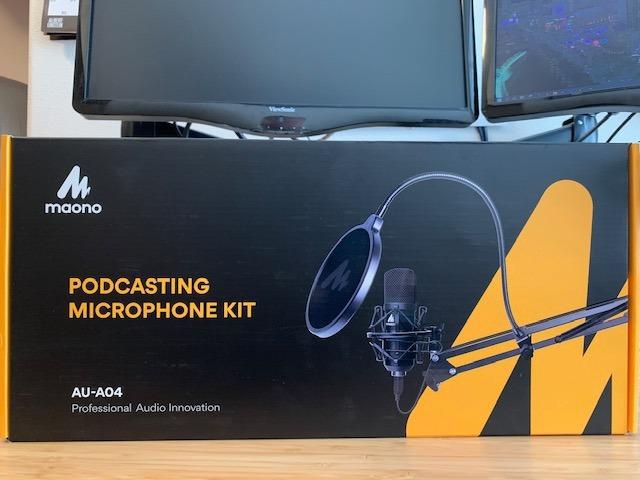
Connectivity: USB Type-C
Pickup Pattern: Cardioid
Frequency Response: 30Hz-16kHz
Sample Rate: 192kHz/24-bit
Weight: 350 grams
I was skeptical about a $50 microphone kit that includes a scissor arm, shock mount, and pop filter. Usually, that price point means serious compromises in audio quality. The MAONO AU-A04 surprised me with genuinely usable sound that rivals microphones costing twice as much.
The 192kHz/24-bit specification is impressive on paper, though most YouTube content exports at 48kHz. What matters is the resulting audio: warm, full-bodied vocals with respectable detail in the upper frequencies. The 16mm condenser capsule captures more nuance than typical headset microphones.
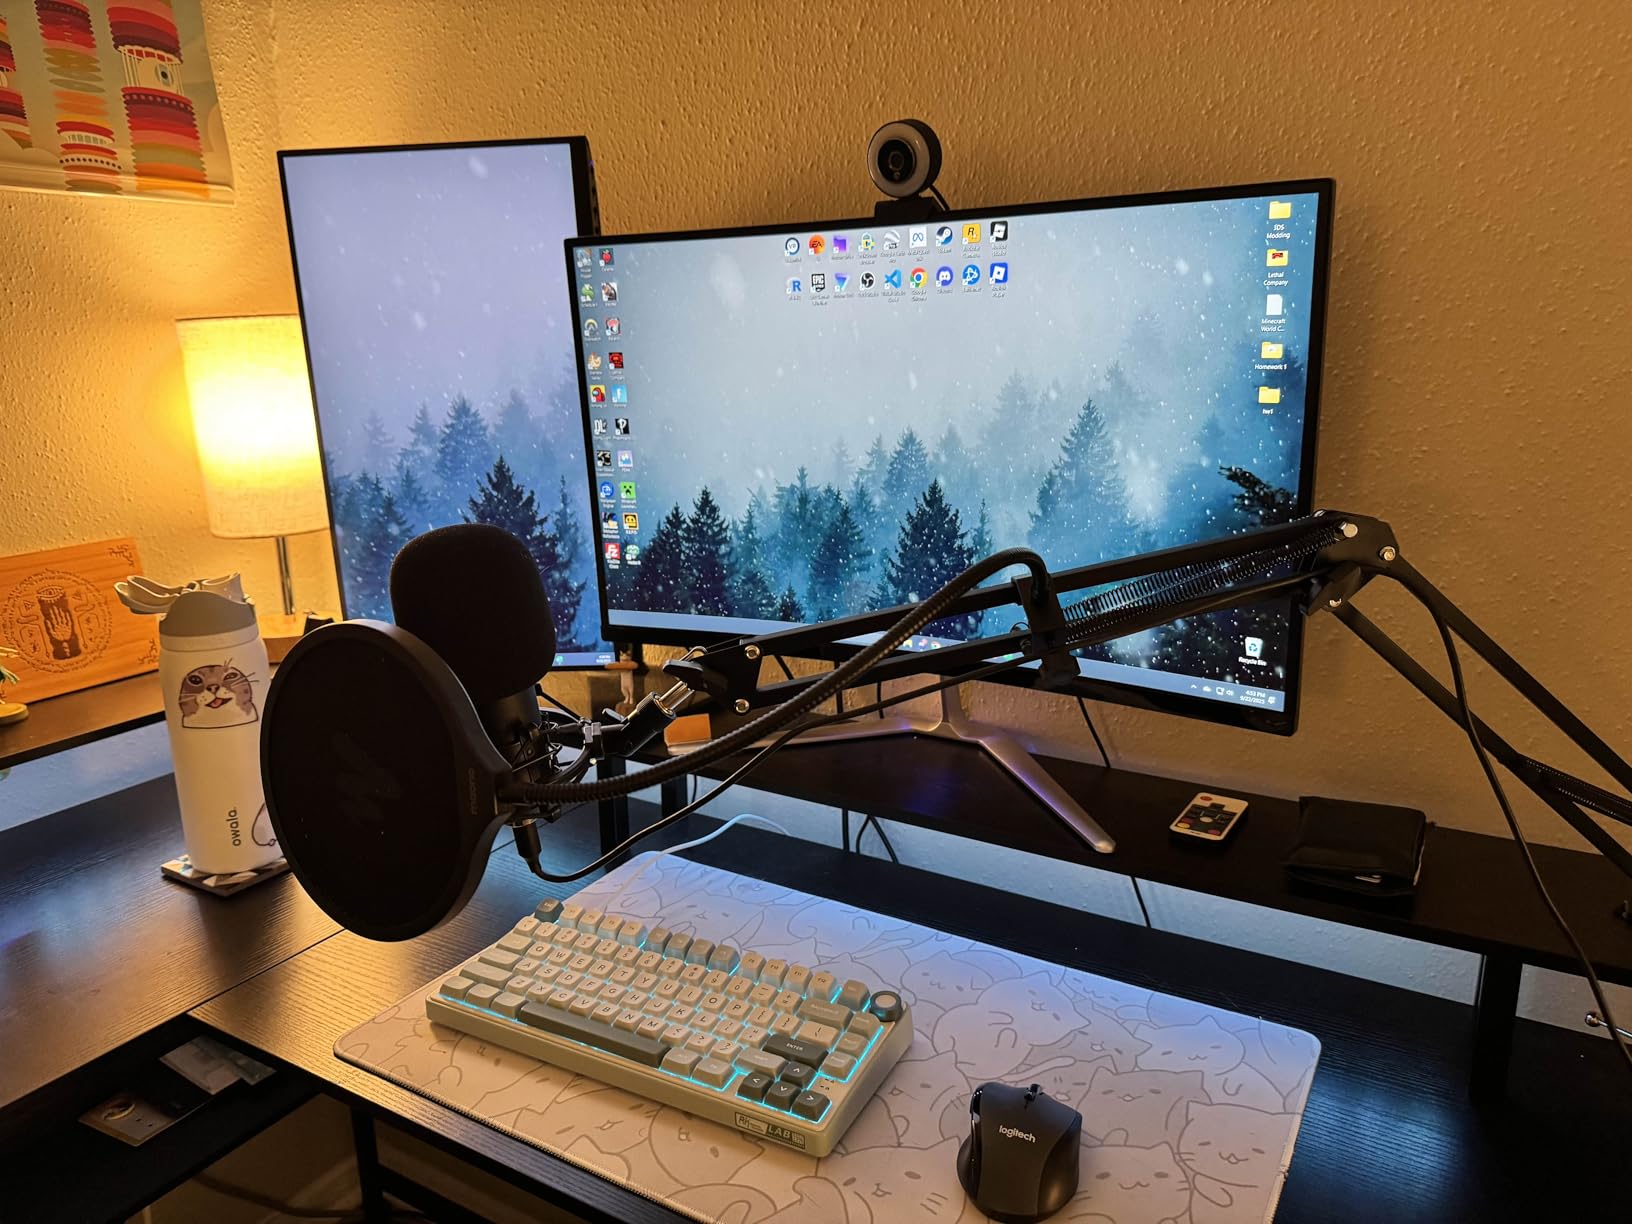
The included scissor arm is the standout feature here. It lets you position the microphone precisely without taking up desk space. The shock mount isolates bumps and vibrations effectively. For beginners who do not want to research accessories separately, this kit saves hours of decision fatigue.
The cardioid pattern is directional, meaning you must speak into the correct side of the microphone (the side with the logo). Rotate it even slightly, and your voice becomes thin and distant. This is normal for directional mics but requires awareness during recording.
This microphone is ideal for beginner YouTubers who want a complete setup without spending $150 or more. Gaming commentators, casual podcasters, and anyone starting their first channel will get professional-sounding audio that does not limit their growth.
The AU-A04 is less suitable for creators who need mobility or frequently switch between locations. The scissor arm mounts semi-permanently to a desk. If you record in multiple spaces, a portable USB mic like the HyperX SoloCast makes more sense.
The box contains the microphone, scissor arm, shock mount, pop filter, foam windscreen, USB cable, and mounting hardware. You need a desk edge or hole to clamp the arm, plus a computer with USB input. No audio interface, phantom power, or additional software required.
The microphone works with Mac, Windows, PlayStation 4 and 5. Mobile phone compatibility requires an OTG adapter (not included). For the price, this kit eliminates the accessory scavenger hunt that frustrates many new creators.
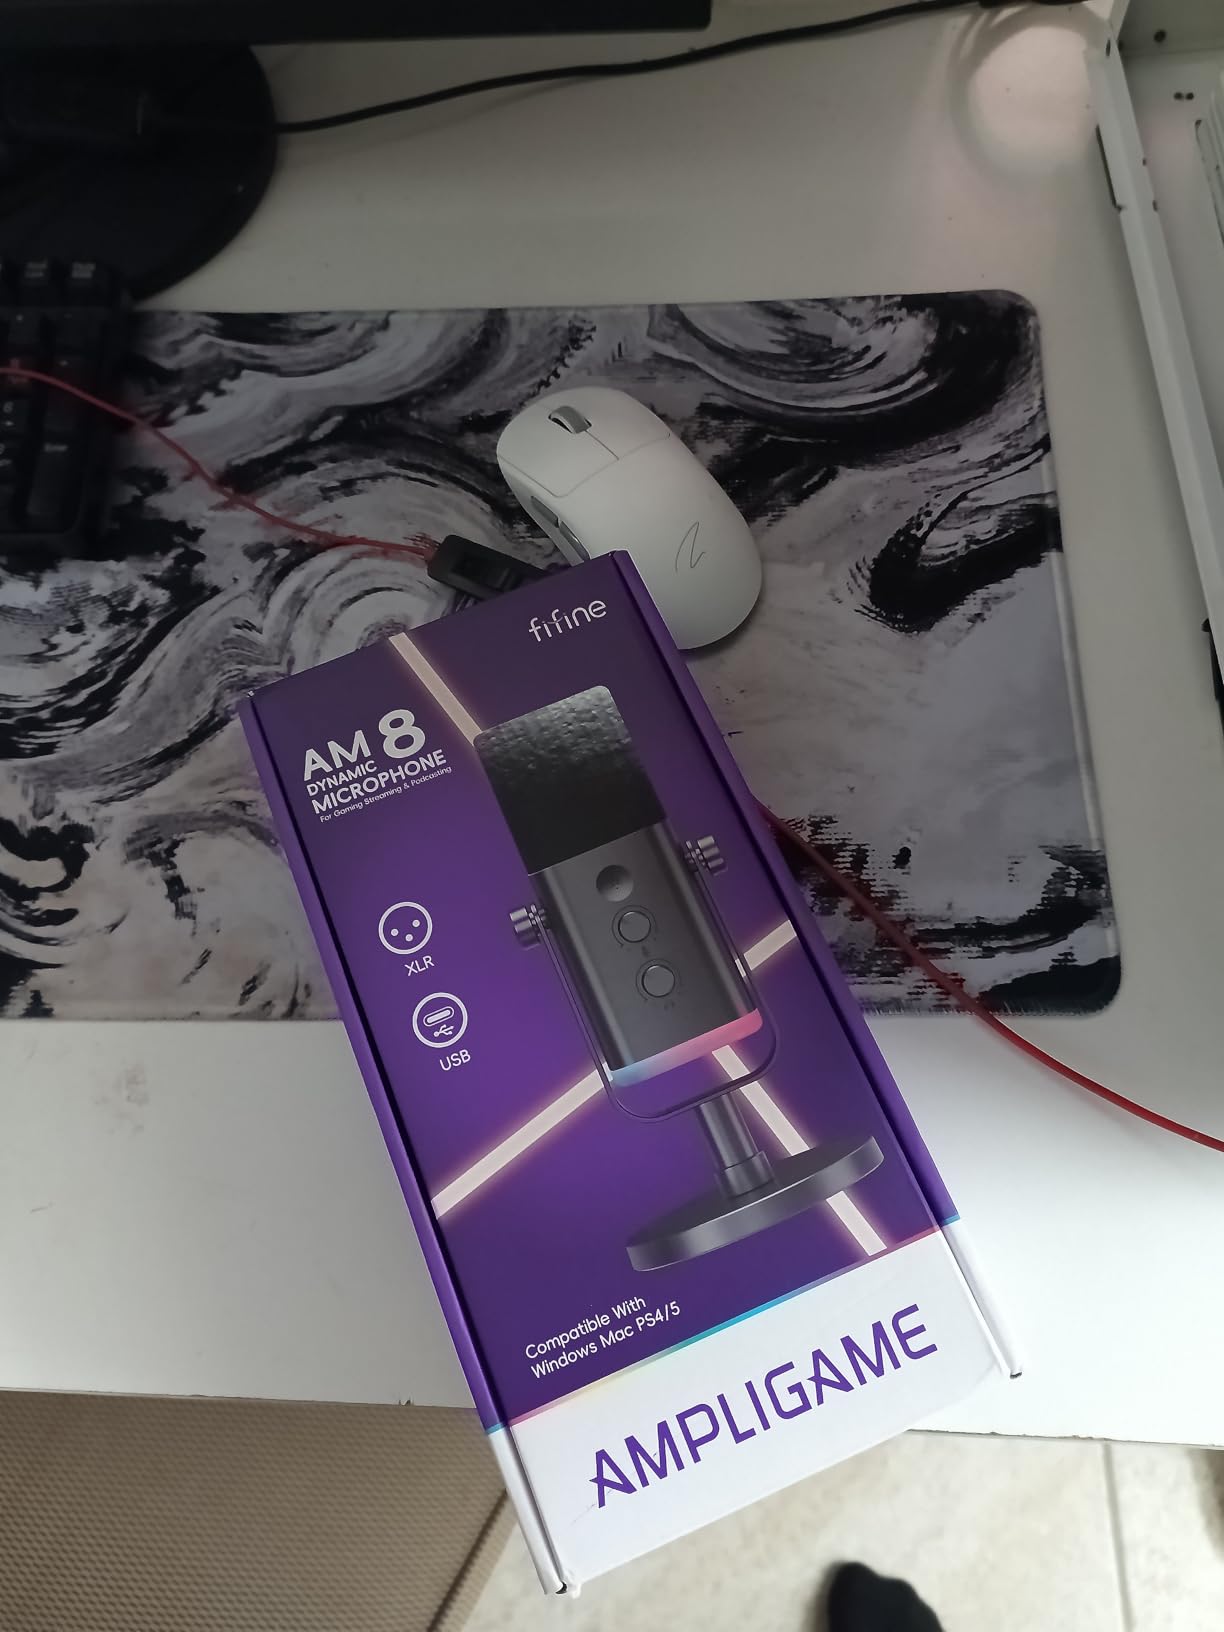
Connectivity: USB and XLR
Pickup Pattern: Cardioid
Frequency Response: 50Hz-16kHz
Weight: 600 grams
RGB Lighting: Yes, with mute indicator
The FIFINE AM8 solves a genuine problem: how do you start simple but leave room to grow? Most beginners buy a USB microphone and later face an expensive upgrade when they want XLR quality. The AM8 lets you start with USB convenience today and add an audio interface tomorrow without buying a new microphone.
In USB mode, the AM8 delivers clear, intelligible vocals perfect for streaming and Discord calls. The tap-to-mute feature is genuinely useful during live broadcasts, and the RGB ring provides visual feedback without being distracting. I tested it with OBS Studio, and the integration was seamless.
Switching to XLR requires an audio interface or mixer, but the sound improvement is noticeable. The dynamic capsule rejects room noise better than condenser alternatives, making this ideal for untreated home offices. The frequency response emphasizes the vocal range (50Hz-16kHz) without excessive bass boom.
The RGB lighting is a matter of taste. Gamers love it; professional podcasters might find it unnecessary. The good news is you can turn it off or customize colors to match your setup. The mute indicator LED is genuinely practical regardless of your aesthetic preferences.
This microphone shines for creators who anticipate growing into professional audio setups. Streamers who might eventually podcast, gamers who may start voice acting, and YouTubers planning to expand into music recording all benefit from the dual connectivity.
The AM8 is particularly strong for noisy environments. The dynamic capsule and cardioid pattern reject keyboard clicks, mouse movements, and air conditioning hum better than condenser microphones in this price range. If you cannot treat your room acoustically, the AM8 is a smart choice.
Start with USB. Plug it in, select it in your recording software, and you are ready. The internal analog-to-digital converter is competent for YouTube content. When you are ready to upgrade, purchase an audio interface like the Focusrite Scarlett 2i2, connect via XLR, and experiment with external preamps and processing.
The XLR mode reveals the microphone’s full potential but requires additional investment. Budget $100-200 for a decent interface. Even then, the total cost remains lower than buying a separate USB mic now and an XLR mic later.
Connectivity: USB-C
Pickup Pattern: Cardioid
Sample Rate: 24-bit/96kHz
Weight: 261 grams
Dimensions: 6.85 x 3.82 x 3.07 inches
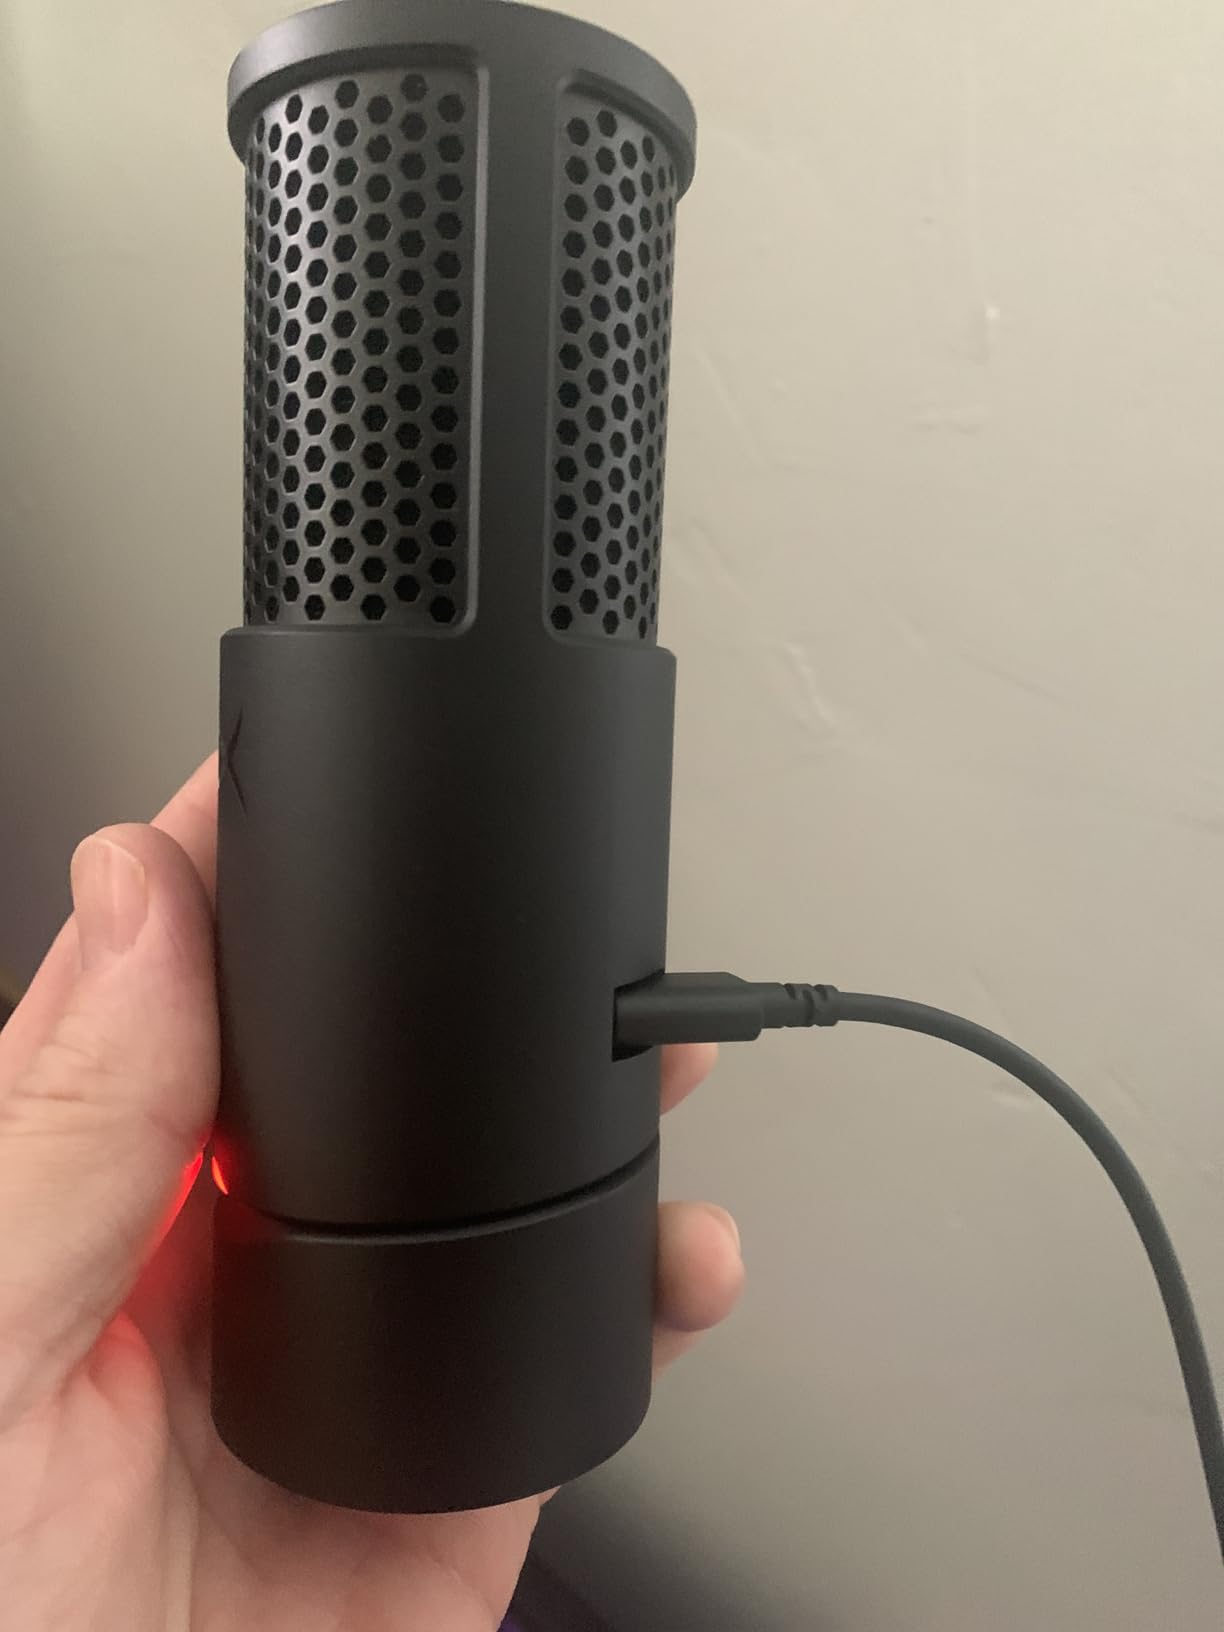
The HyperX SoloCast proves that small microphones can deliver serious audio quality. At just 261 grams and roughly the size of a coffee mug, it fits under monitors, inside camera bags, and on cramped desks where a Blue Yeti would dominate the space.
Despite the compact size, the SoloCast captures 24-bit/96kHz audio that exceeds YouTube’s delivery specifications. The sound character is crisp and present, with less bass emphasis than the Blue Yeti. This makes voices cut through game audio and music beds effectively.
The tap-to-mute sensor responds to gentle touch and provides immediate visual feedback through an LED ring. During a three-hour streaming test, the SoloCast maintained consistent levels without the sensitivity drift that plagues some budget microphones.
USB-C connectivity means modern compatibility without dongles. The microphone works with PC, PlayStation 4 and 5, and Mac. The flexible stand adjusts to multiple angles, or you can remove it entirely to mount on a standard boom arm.
This microphone is ideal for creators with limited desk space. If you work on a laptop in coffee shops, stream from a small bedroom, or need a travel microphone that fits in a backpack, the SoloCast is purpose-built for your situation.
Gaming streamers particularly benefit from the compact design. It sits beside your keyboard without blocking monitor sightlines or interfering with mouse movement. The cardioid pattern minimizes keyboard noise pickup when positioned correctly.
The SoloCast is tuned for voice clarity in noisy environments. While it does not reject background noise as aggressively as dynamic microphones, the crisp high-mid response helps voices remain intelligible when mixed with game audio. I tested it during competitive gameplay sessions, and teammates reported clear communication without the muffled quality of headset microphones.
The 96kHz sample rate provides headroom for audio processing. If you apply compression or noise reduction in post-production, the higher resolution preserves quality better than 48kHz alternatives. For raw recording directly to YouTube, the benefit is less noticeable but still present.
Connectivity: XLR
Pickup Pattern: Cardioid
Frequency Response: 20Hz-20kHz
Weight: 937 grams
Construction: All-metal
The Rode PodMic delivers 80% of the Shure SM7B’s legendary sound quality at one-quarter the price. It is the microphone I recommend when beginners ask, “What should I buy if I am serious about podcasting or YouTube but cannot spend $400?”
This is a dynamic microphone, meaning it uses a different transducer principle than condenser mics like the Blue Yeti. The result is a warmer, more intimate sound that flatters voices without excessive EQ. The cardioid pattern rejects room reflections aggressively, making it forgiving in untreated spaces.
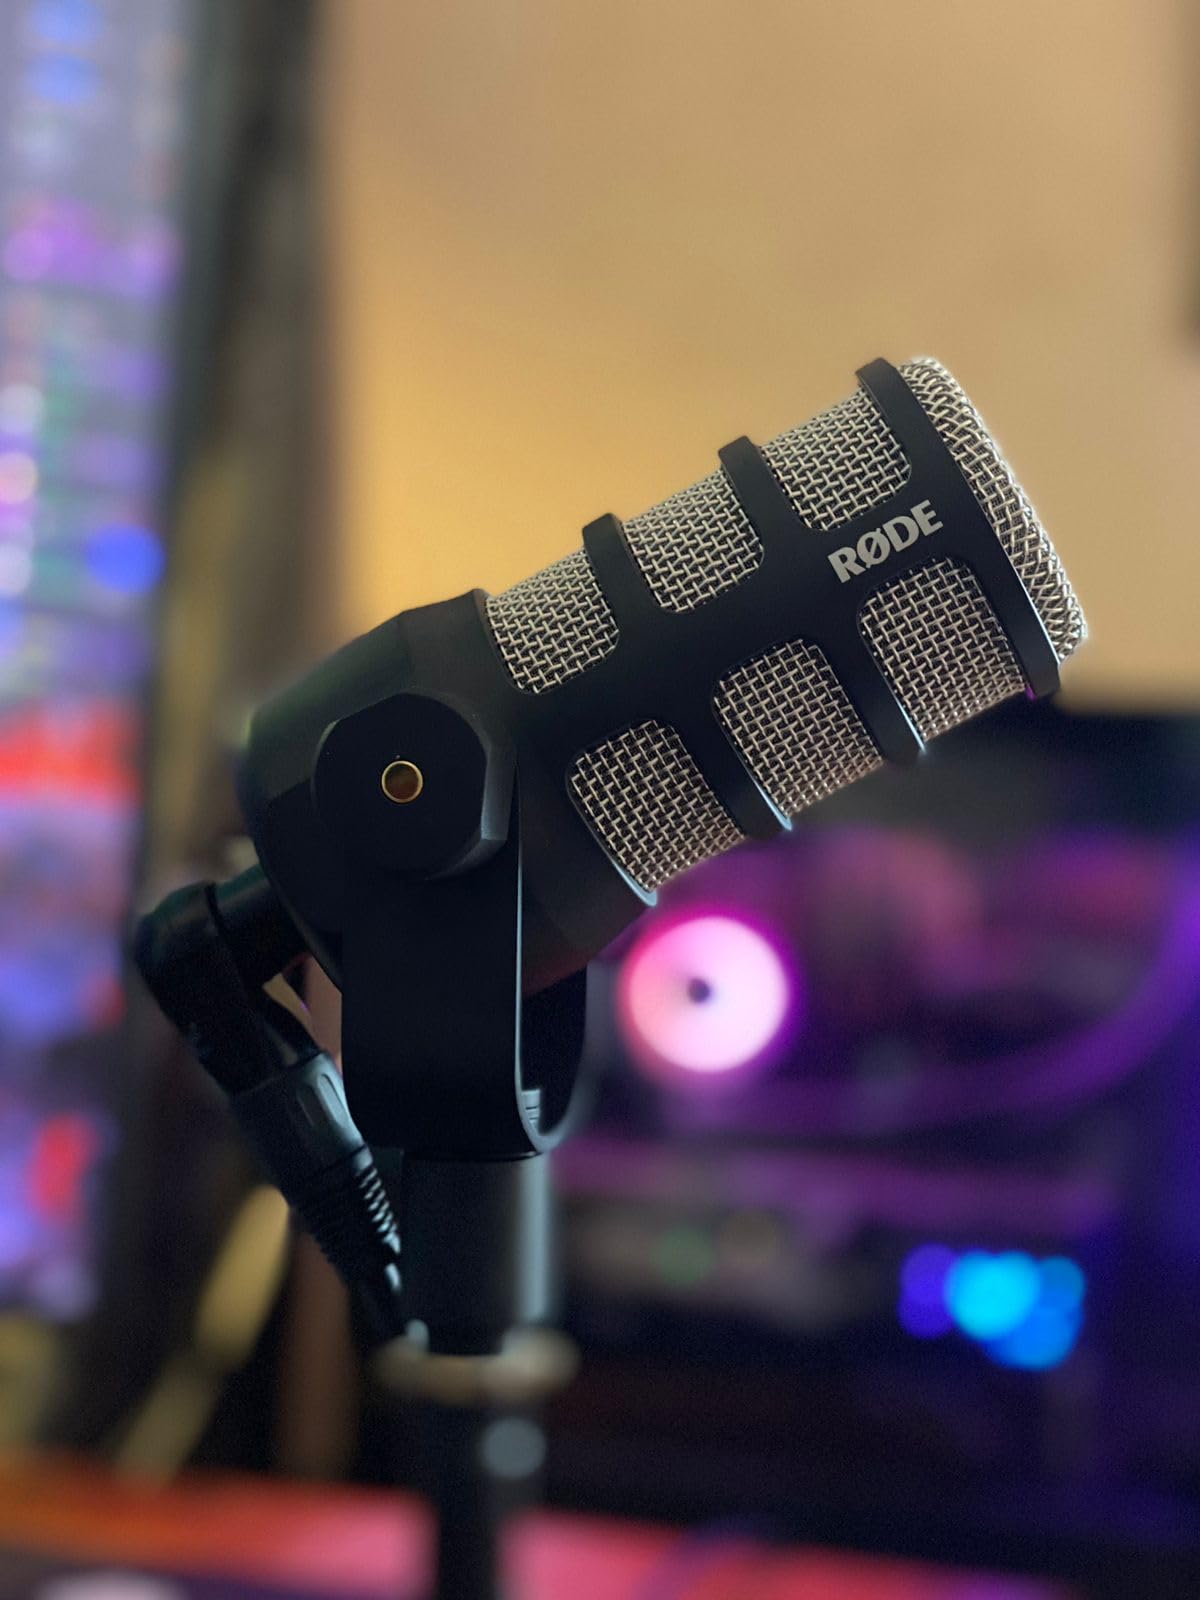
The internal pop filter and shock mount are premium features at this price point. You can speak directly into the PodMic without external accessories, and the integrated suspension prevents desk bumps from ruining recordings. The swing mount allows precise angle adjustment without additional hardware.
One caveat: the PodMic requires an audio interface with substantial clean gain. Most budget interfaces struggle to provide enough volume without introducing noise. Budget an additional $30-100 for a Cloudlifter or FetHead if your interface lacks sufficient power.
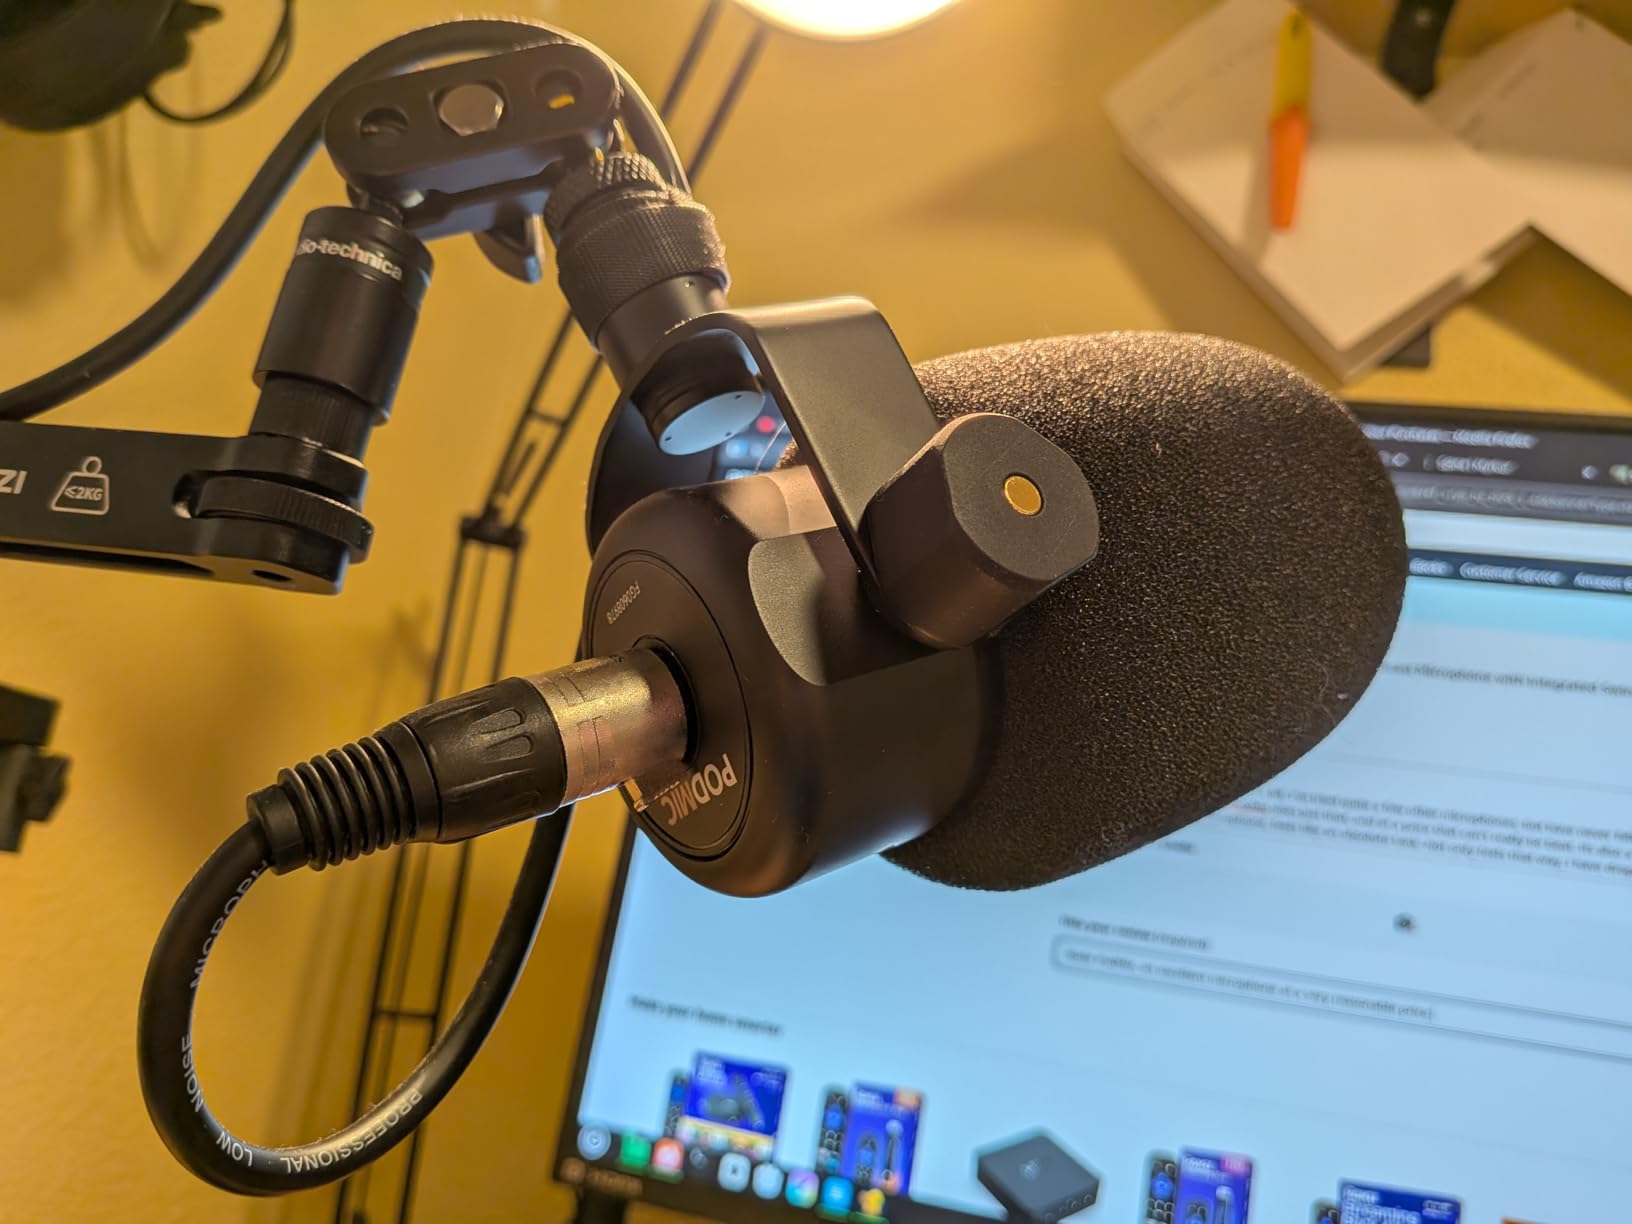
Select the PodMic when you are ready to commit to a professional audio workflow. If you plan to record multiple channels, use outboard processing, or eventually upgrade to a mixer, starting with XLR makes sense. The PodMic also makes sense for creators in echoey rooms where condenser microphones sound terrible.
Voiceover artists and spoken-word creators particularly benefit from the PodMic’s frequency response, which emphasizes clarity and presence without sibilance. The “radio voice” quality requires less post-processing than many alternatives.
Beyond the microphone itself, you need: an XLR cable (typically $10-20), an audio interface with sufficient gain (Focusrite Scarlett Solo minimum, Scarlett 2i2 preferred), and optionally a boom arm (Rode PSA1 is the industry standard). A Cloudlifter CL-1 ($150) or budget FetHead alternative ($30) may be necessary depending on your interface.
Total investment runs $200-400 including the microphone. This is significantly more than USB alternatives but provides a foundation that scales to professional broadcasting. If you are serious about audio quality long-term, the PodMic is the most affordable entry point into true pro audio.
Connectivity: XLR
Pickup Pattern: Cardioid
Frequency Response: 50Hz-16kHz
Weight: 508 grams
Construction: All-metal
The Shure MV7X is essentially the Shure SM7B without the USB connectivity and software features of the full MV7. It shares the same capsule heritage, similar frequency response, and nearly identical form factor at roughly one-third the price of the legendary broadcast microphone.
During blind testing with podcasters, most could not consistently distinguish between the MV7X and SM7B when properly gain-staged. The differences exist, subtle in the extreme high frequencies, but irrelevant for YouTube content where compression and streaming codecs further narrow the gap.
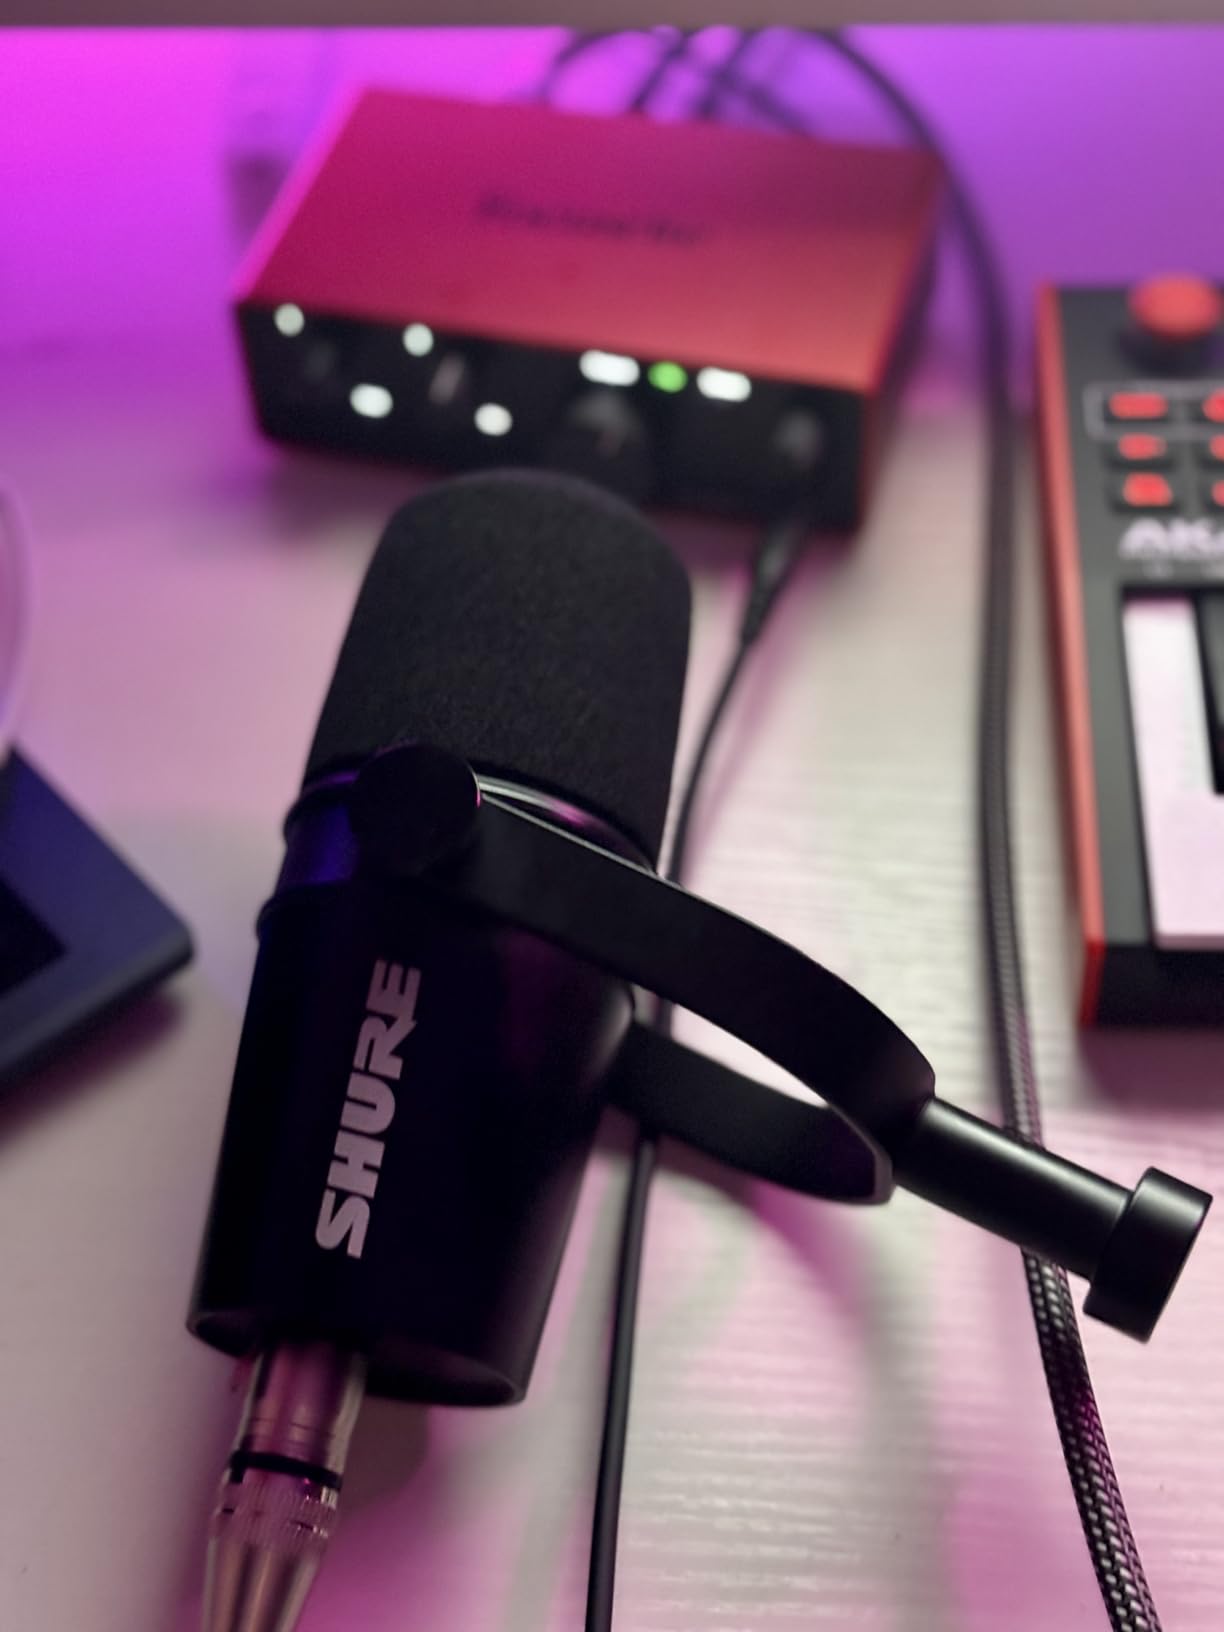
The voice isolation technology is more than marketing language. The MV7X rejects off-axis sound better than the Rode PodMic, making it ideal for noisy home environments or shared spaces. The integrated shock mount reduces handling noise, though an external suspension system still improves results.
The 50Hz-16kHz frequency response is tailored for speech intelligibility. There is no hyped bass or exaggerated treble. What you record is what your voice actually sounds like, which makes post-processing more predictable.
For YouTube creators, the MV7X captures virtually identical audio to the SM7B. The SM7B requires even more gain (Cloudlifter practically mandatory) and costs $250 more. Unless you are recording professional voiceover for national commercials, the MV7X provides equivalent results.
The SM7B offers marginally better off-axis rejection and slightly smoother high frequencies. These differences matter in professional studios with golden-ear engineers. For YouTube content consumed on phones and laptops, they are imperceptible.
The MV7X performs well in moderately treated rooms. You do not need full acoustic treatment, but a rug, some soft furnishings, and a reflection filter behind the microphone significantly improve results. The dynamic capsule is forgiving of less-than-perfect spaces compared to condenser alternatives.
Position the microphone 4-6 inches from your mouth, slightly off-axis to reduce plosives. A simple foam windscreen helps, though an external pop filter provides better protection. The yoke mount allows flexible positioning on standard boom arms.
Connectivity: XLR
Pickup Pattern: Cardioid
Frequency Response: 20Hz-20kHz
Phantom Power: 48V required
Weight: 0.6 kg
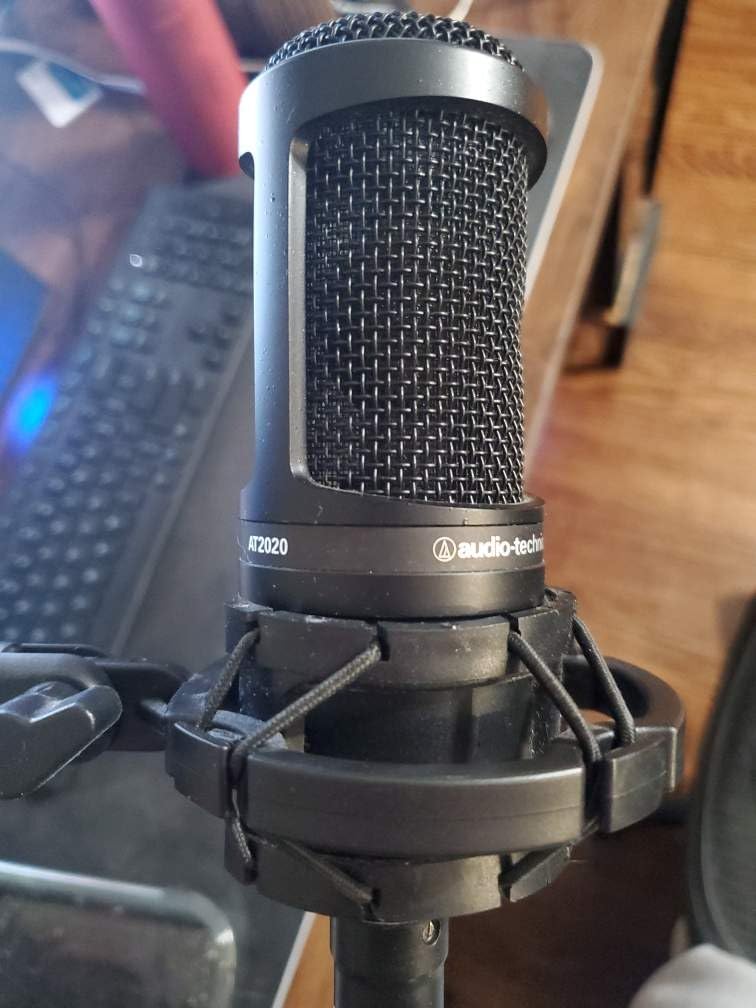
The Audio-Technica AT2020 has been the entry-level professional standard for over two decades. It is the microphone audio schools buy in bulk, the one project studios recommend to first-time clients, and the reliable workhorse that still functions perfectly after ten years of daily use.
This is a true condenser microphone with a low-mass diaphragm that captures transient detail and high-frequency air that dynamic microphones miss. The result is recordings with presence, breath, and dimension. For voiceover work where you want listeners to feel like you are in the room with them, the AT2020 delivers.

The cardioid pattern is tighter than many competitors, effectively rejecting side and rear noise when properly positioned. This helps compensate for the condenser sensitivity in less-than-perfect rooms, though acoustic treatment remains important.
The build quality is exceptional at this price point. All-metal construction, a solid mounting thread, and quality XLR connectors withstand daily use. Many users report AT2020s functioning perfectly after 15+ years, making this a genuine long-term investment.
The AT2020 excels for YouTubers who prioritize audio quality and have some control over their recording environment. Voiceover artists, educational content creators, and musicians benefit most from the detailed, accurate capture. The high SPL handling also works for loud sources like guitar amplifiers if your content includes instrument demos.
The sensitivity requires mindfulness. Computer fans, air conditioning, and street noise will be audible unless you address them. A shock mount and pop filter are essential accessories, not optional luxuries. Budget $200 total for microphone, accessories, and basic acoustic treatment.
Condenser microphones like the AT2020 reveal room acoustics honestly. To get professional results, you need at least basic treatment: acoustic panels at first reflection points, a rug on hard floors, and heavy curtains over windows. A reflection filter behind the microphone helps significantly.
If you cannot treat your room, consider the Rode PodMic or Shure MV7X instead. The dynamic capsules are more forgiving of reflective spaces. The AT2020 rewards proper setup but punishes poor acoustics.
Connectivity: 3.5mm TRS/TRRS
Pickup Pattern: Unidirectional (Shotgun)
Frequency Response: 100Hz-20kHz
Weight: 51 grams
Power: No battery required
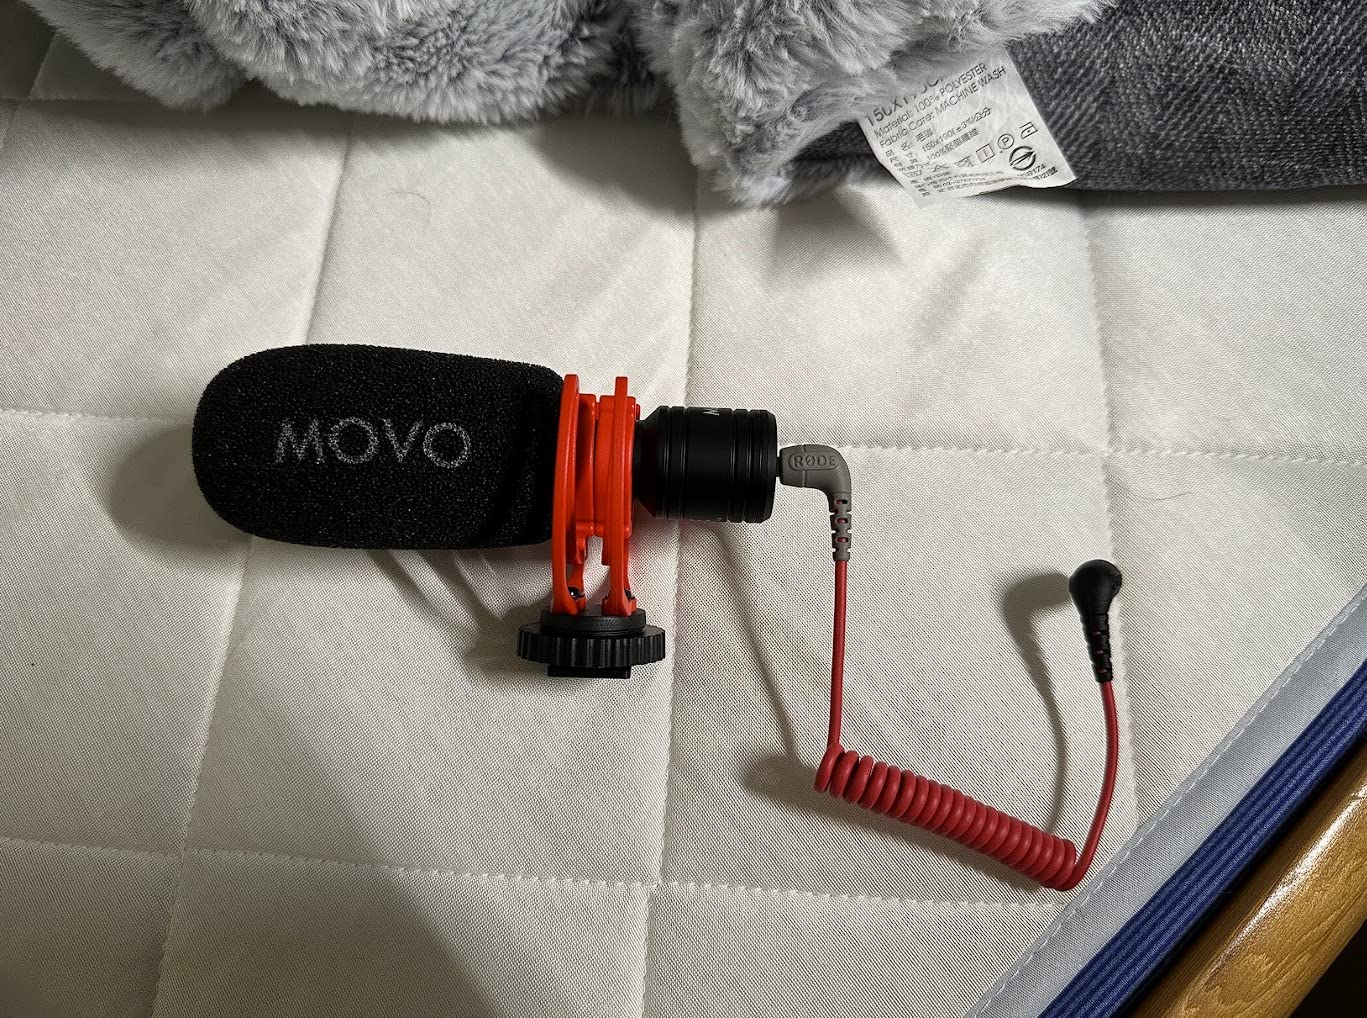
The Movo VXR10 is the gateway drug to better location audio. For under $40, it transforms camera audio from unusable to acceptable, capturing dialogue that does not require subtitles to understand. It is the microphone I recommend to vloggers who are currently recording everything on their phone’s built-in mic.
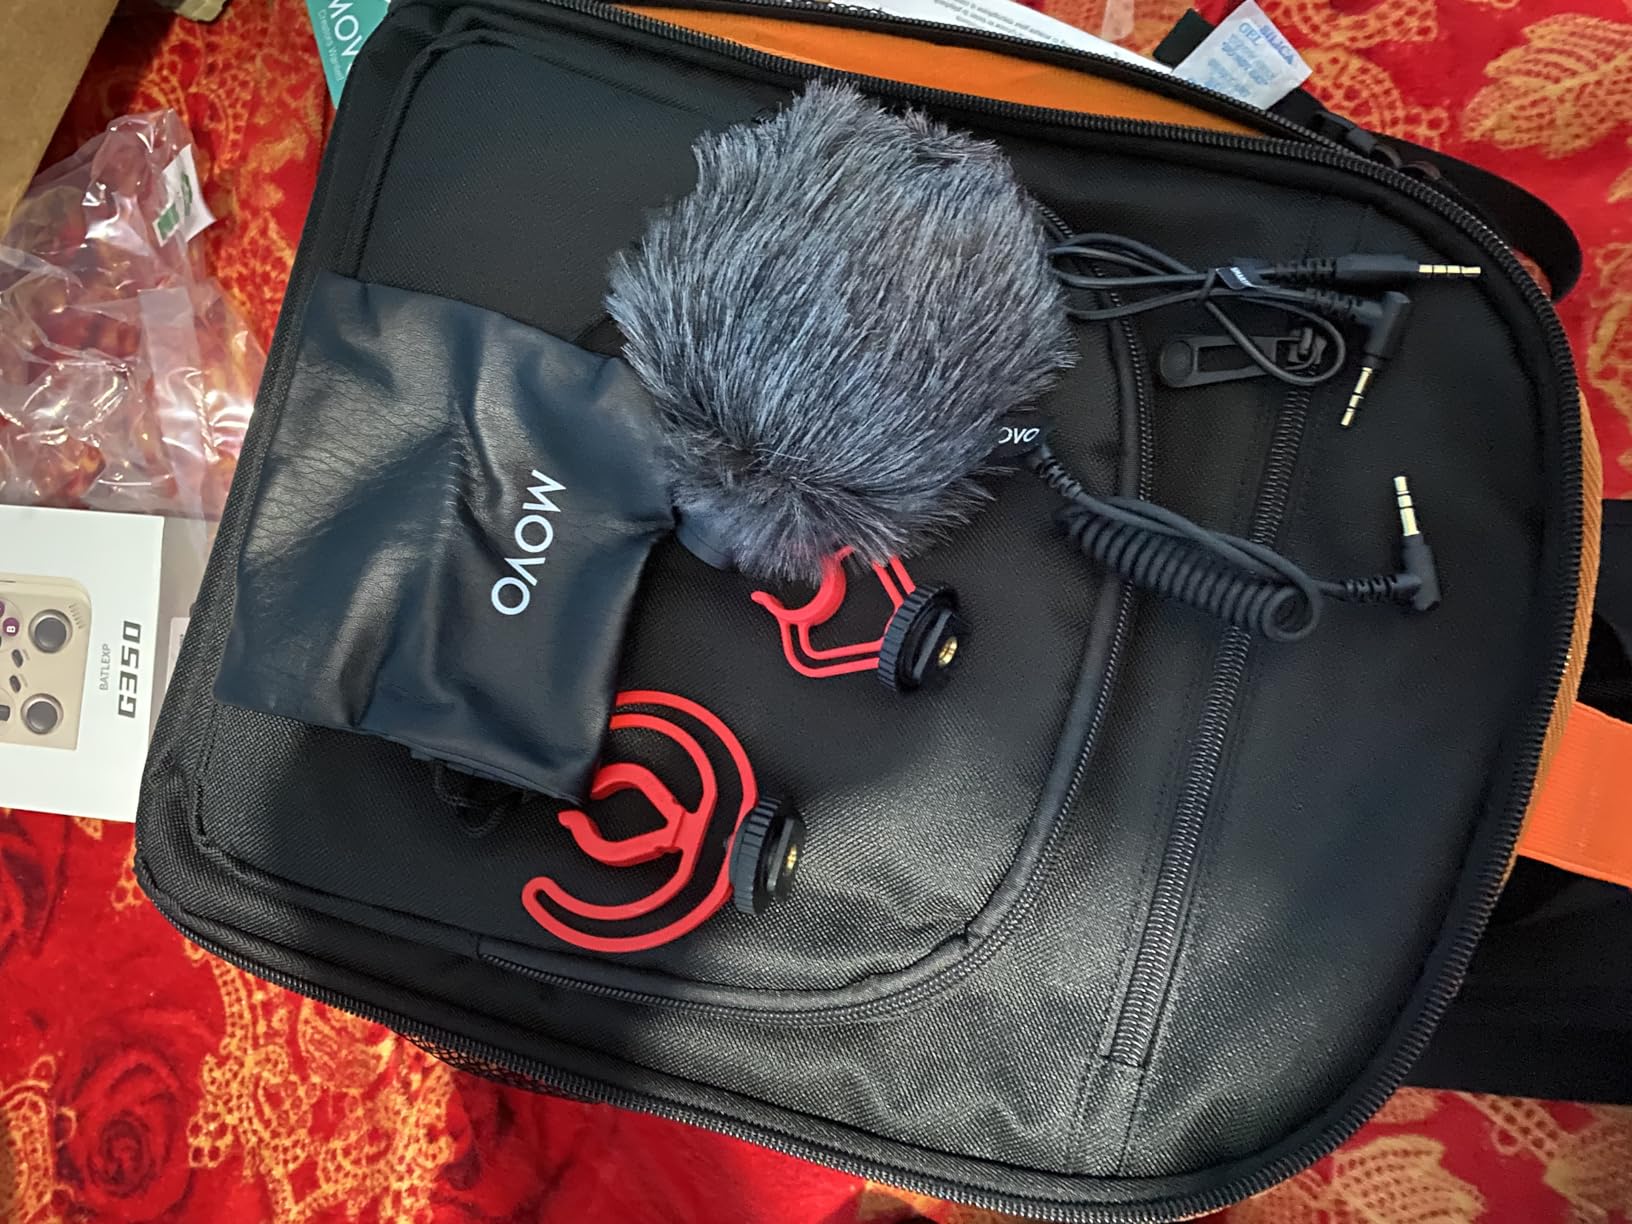
Despite the low price, the VXR10 includes everything you need: the microphone, shock mount, deadcat windscreen for outdoor recording, carrying case, and both TRS (camera) and TRRS (smartphone) cables. The build quality exceeds expectations with an all-aluminum body that survives drops and travel abuse.
The shotgun pattern focuses audio capture on what is directly in front while rejecting some side noise. It is not magic, you will still hear loud environments, but interviews and vlogs become intelligible rather than muddy.
No batteries means no panic about charge levels during shoots. The microphone draws power from the camera or phone through the 3.5mm connection. This simplicity makes it ideal for run-and-gun shooting where setup time is minimal.
This microphone excels for vloggers, travel creators, and anyone shooting on location with a camera or smartphone. The compact size adds no bulk to your kit, and the light weight does not strain camera gimbals or handheld setups.
Interviews in controlled environments work well if you position the microphone 1-3 feet from your subject. The VXR10 is less effective for run-and-gun street interviews where distance varies, but still captures better audio than built-in mics at any range.
The VXR10 works with any camera that has a 3.5mm microphone input, including Canon, Nikon, Sony, and Panasonic models. For smartphones, the included TRRS cable connects directly to headphone jacks. Modern phones without headphone jacks require a Lightning or USB-C to 3.5mm adapter (not included).
Some Canon Rebel models notably lack microphone inputs, so verify your camera specs before purchasing. The microphone requires plug-in power, which most modern cameras provide, but very old models may not support this feature.
Connectivity: 3.5mm TRS/TRRS
Pickup Pattern: Supercardioid
Frequency Response: 20kHz max
Weight: 2.1 ounces
Shock Mount: Rycote Lyre
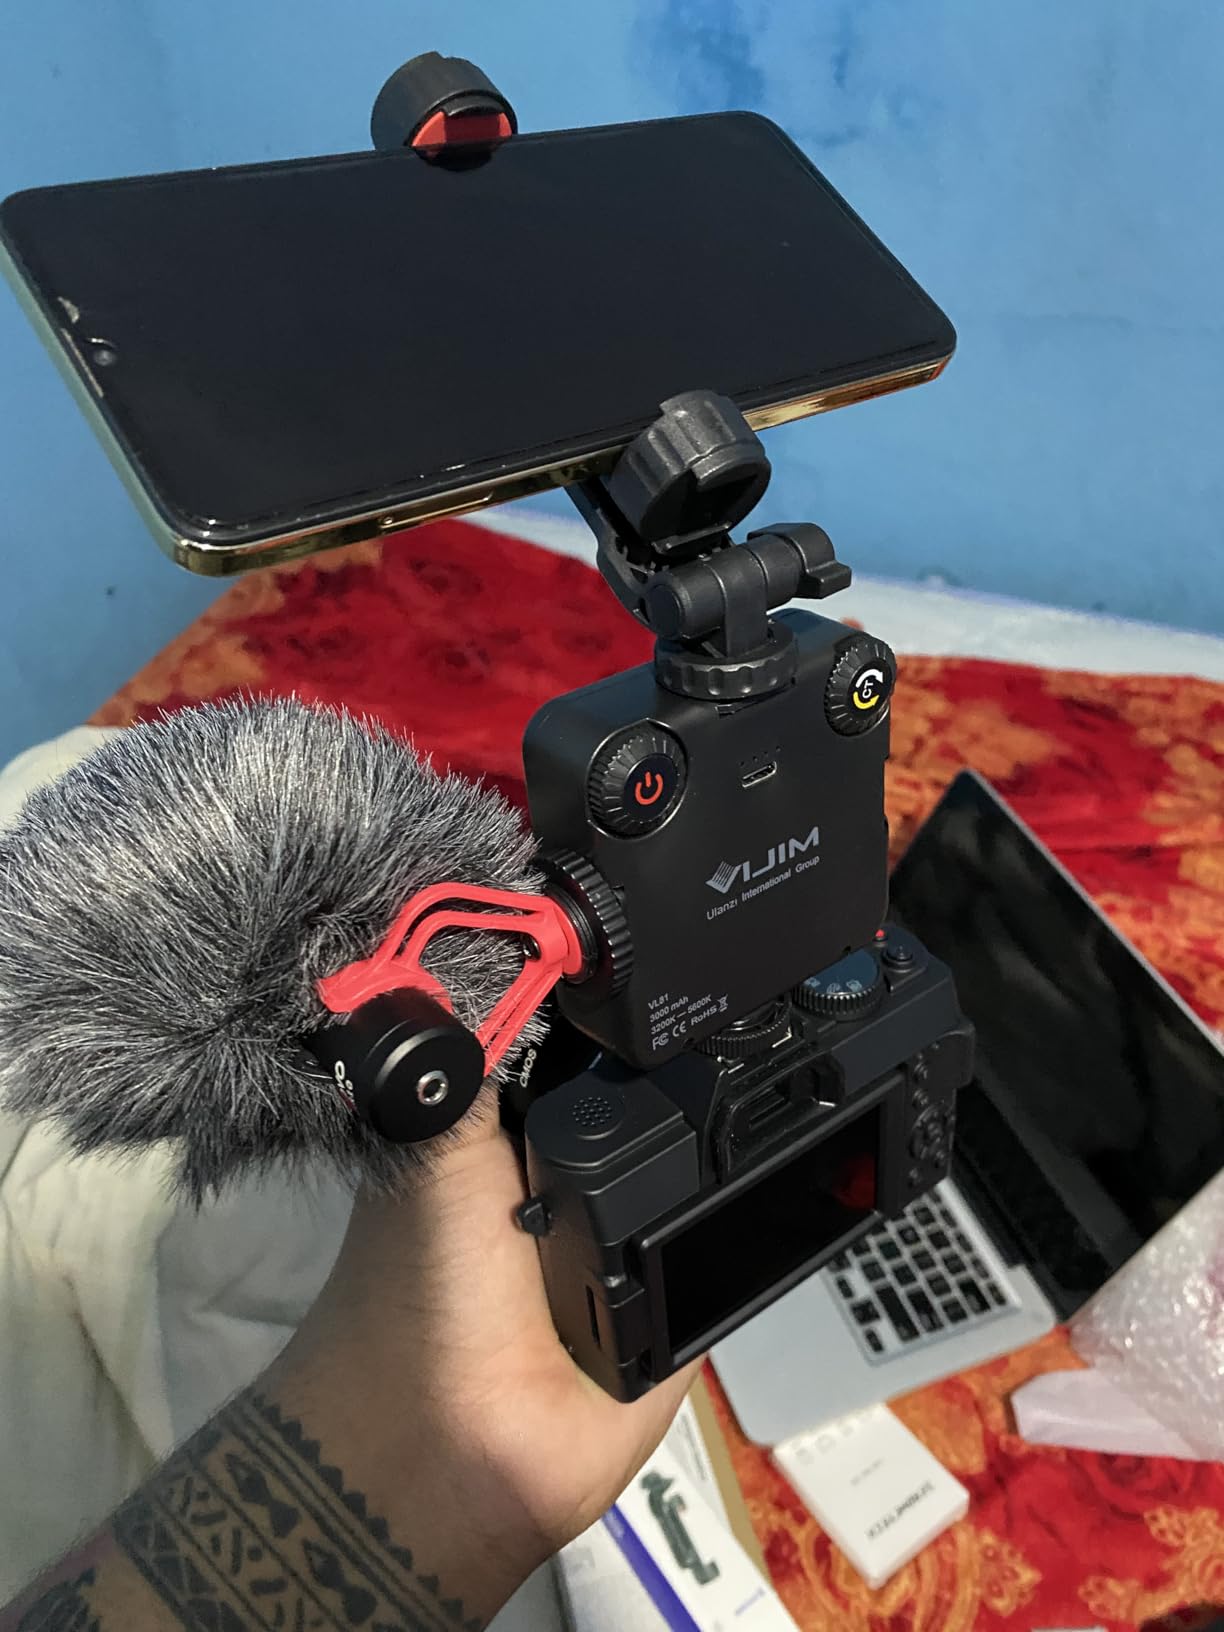
The VXR10-PRO takes everything good about the standard VXR10 and adds professional features that matter. The Rycote Lyre shock mount alone justifies the price difference, this type of suspension typically costs $50-100 separately and eliminates handling noise that ruins handheld shots.
The supercardioid pattern is tighter than the standard VXR10’s shotgun design, providing more focused audio capture and better side rejection. For interviews and dialogue recording, this means cleaner tracks with less environmental intrusion.
The headphone monitoring feature is valuable for smartphone filmmakers. You can hear exactly what the microphone captures in real-time, catching wind noise, clothing rustle, or interference before it ruins your take. This feature requires third-party apps on most phones but works seamlessly.
The included hard case with molded foam protects your investment during travel. Both foam and furry windscreens are included, letting you choose based on shooting conditions. For the complete package at under $50, the VXR10-PRO represents exceptional value.
Choose the standard VXR10 if you are on a tight budget or need a backup microphone for occasional use. The audio quality difference is modest, and both outperform built-in camera microphones dramatically.
Choose the PRO version if you shoot handheld footage regularly, work in windy outdoor conditions, or need headphone monitoring. The Rycote shock mount justifies the upgrade price alone for anyone doing run-and-gun documentary work or vlogging while walking.
The VXR10-PRO is built for creators who move. The shock mount absorbs footsteps and hand movements, the compact size does not catch wind, and the quick-release mount lets you switch between camera and boom pole setups rapidly.
I tested this microphone during a day-long street photography vlog, and it captured usable dialogue despite constant movement, wind, and urban background noise. The audio was not broadcast pristine, but it required minimal cleanup in post-production compared to camera audio.
Connectivity: 3.5mm TRS, USB
Pickup Pattern: Supercardioid Shotgun
Frequency Response: 40Hz-20kHz
Weight: 122 grams
Power: Rechargeable, AA, or USB
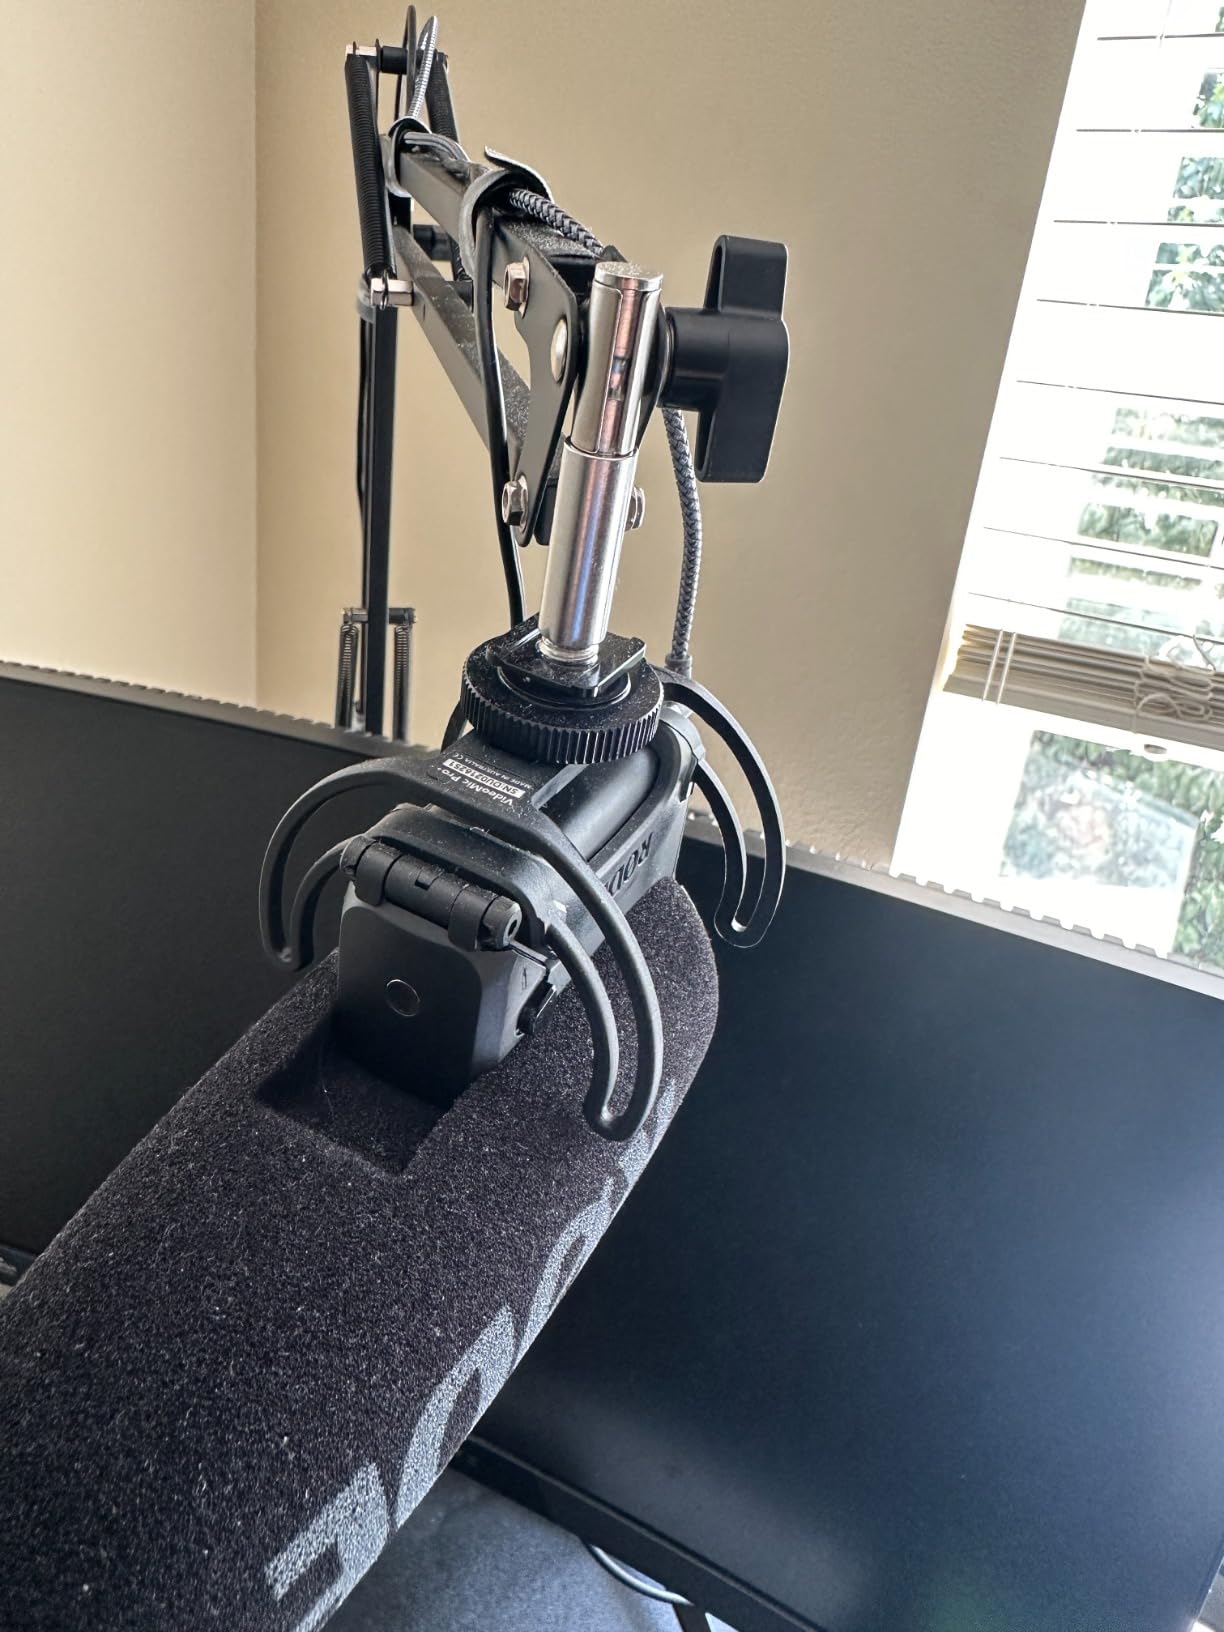
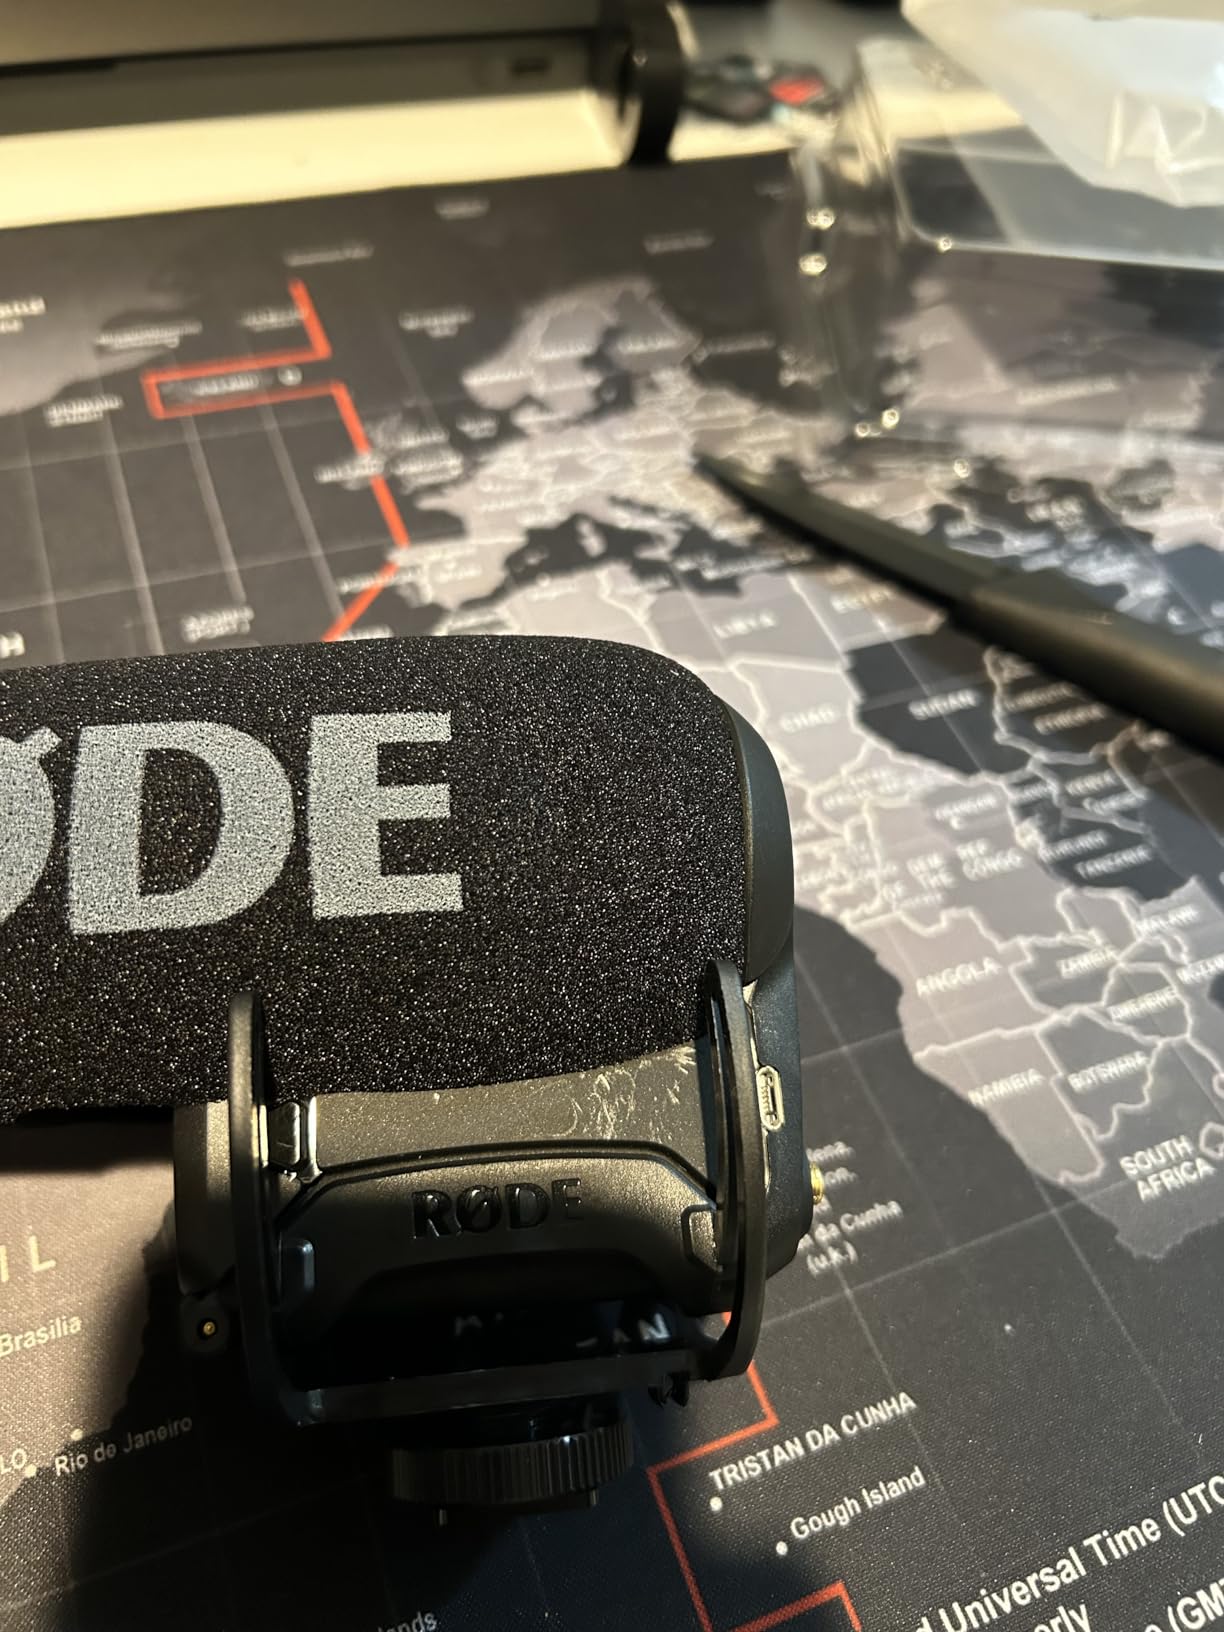
The Rode VideoMic Pro+ is the industry standard for a reason. When YouTubers upgrade from budget shotgun mics, this is where they land. The sound quality is immediately, noticeably better, richer, clearer, more professional. Users describe it as “liquid gold” for good reason.
The automatic power function sounds minor but transforms workflow. The microphone turns on when you power up your camera and shuts down when you power off. No more discovering dead batteries after shooting an irreplaceable moment. No more forgetting to turn off the mic and draining the battery in your bag.
Power flexibility is another professional feature. The included rechargeable LB-1 battery provides hours of recording. When it dies, pop in two AA batteries as backup. For studio setups, continuous USB power eliminates batteries entirely. Options matter when you are shooting paid work.
The digital switching provides onboard high-pass filter (removes rumble), high-frequency boost (restores clarity after windscreens), safety channel (records backup audio at lower volume), and pad (reduces sensitivity for loud sources). These features solve real problems in the field without post-production.
The VideoMic Pro+ is appropriate for YouTubers who treat their channel as a business or side hustle. Wedding videographers, commercial producers, and serious content creators justify the $270 investment through reliability and audio quality that requires less post-production time.
If you currently spend hours cleaning up noisy audio from budget microphones, the VideoMic Pro+ pays for itself in time savings. The 10-year Rode warranty also provides peace of mind that budget alternatives cannot match.
The rechargeable battery lasts approximately 10 days of regular use. For extended shoots, the USB power option lets you run indefinitely from a camera battery or external power bank. The AA battery backup ensures you are never stranded without options, convenience stores stock AAs everywhere.
The included foam and deadcat windscreens handle indoor and outdoor conditions. The Rycote Lyre suspension eliminates cable noise and handling thumps. For documentary work, interviews, and event coverage, this microphone is genuinely professional-grade.
Connectivity: 2.4GHz Wireless, USB-C, Bluetooth
Pickup Pattern: Omnidirectional
Frequency Response: 20Hz-20kHz
Battery: 48 hours with case
Weight: 10g per transmitter
The DJI Mic Mini packs professional wireless audio into a package smaller than a matchbook. At 10 grams per transmitter, you forget you are wearing it. The compact charging case fits in any camera bag, and the 48-hour total battery life means you can vlog for days without plugging in.
Audio quality exceeds expectations for the size. The 48kHz sampling and 120dB SPL handling capture full, clear sound with minimal compression artifacts. The automatic limiting prevents clipping when you get excited or laugh loudly, common issues with cheaper wireless systems.

The two-level noise cancellation adapts to different environments. Basic mode preserves natural ambient sound for vlogging context. Strong mode aggressively removes background noise for interviews in loud locations. Both modes work better than software noise reduction in post.
The magnetic attachment system is secure but gentle on clothing. The tiny transmitters hide easily under shirts, attach to collars, or clip onto bags without visual distraction. For on-camera talent who do not want visible microphone presence, this is the most discreet option tested.
This system is ideal for mobile YouTubers: vloggers, travel creators, interviewers, and anyone shooting on location. The wireless freedom lets you move naturally without cable management or on-camera microphones blocking your shot.
The DJI Mic Mini particularly excels for two-person interviews, with both transmitters sending to a single receiver connected to your camera or phone. The synchronized audio eliminates post-production sync headaches common with separate recording devices.
The DJI Mic Mini connects natively to DJI Osmo devices without the receiver, a unique ecosystem advantage. For other cameras, the receiver mounts in the hot shoe and connects via 3.5mm or USB-C. Phone connections require USB-C or Lightning adapters, with the Lightning adapter sold separately.
For USB-C iPhones (iPhone 15 and newer), you need the DJI Mimo app for camera integration. This workflow works well but adds a step compared to native camera apps. For iPhone 14 and earlier with Lightning ports, the separate adapter is required but integrates with native camera apps seamlessly.

Connectivity: 2.4GHz Wireless
Pickup Pattern: Omnidirectional
Sample Rate: 48kHz/24-bit
Transmission: 300m range
Battery: 40 hours with case
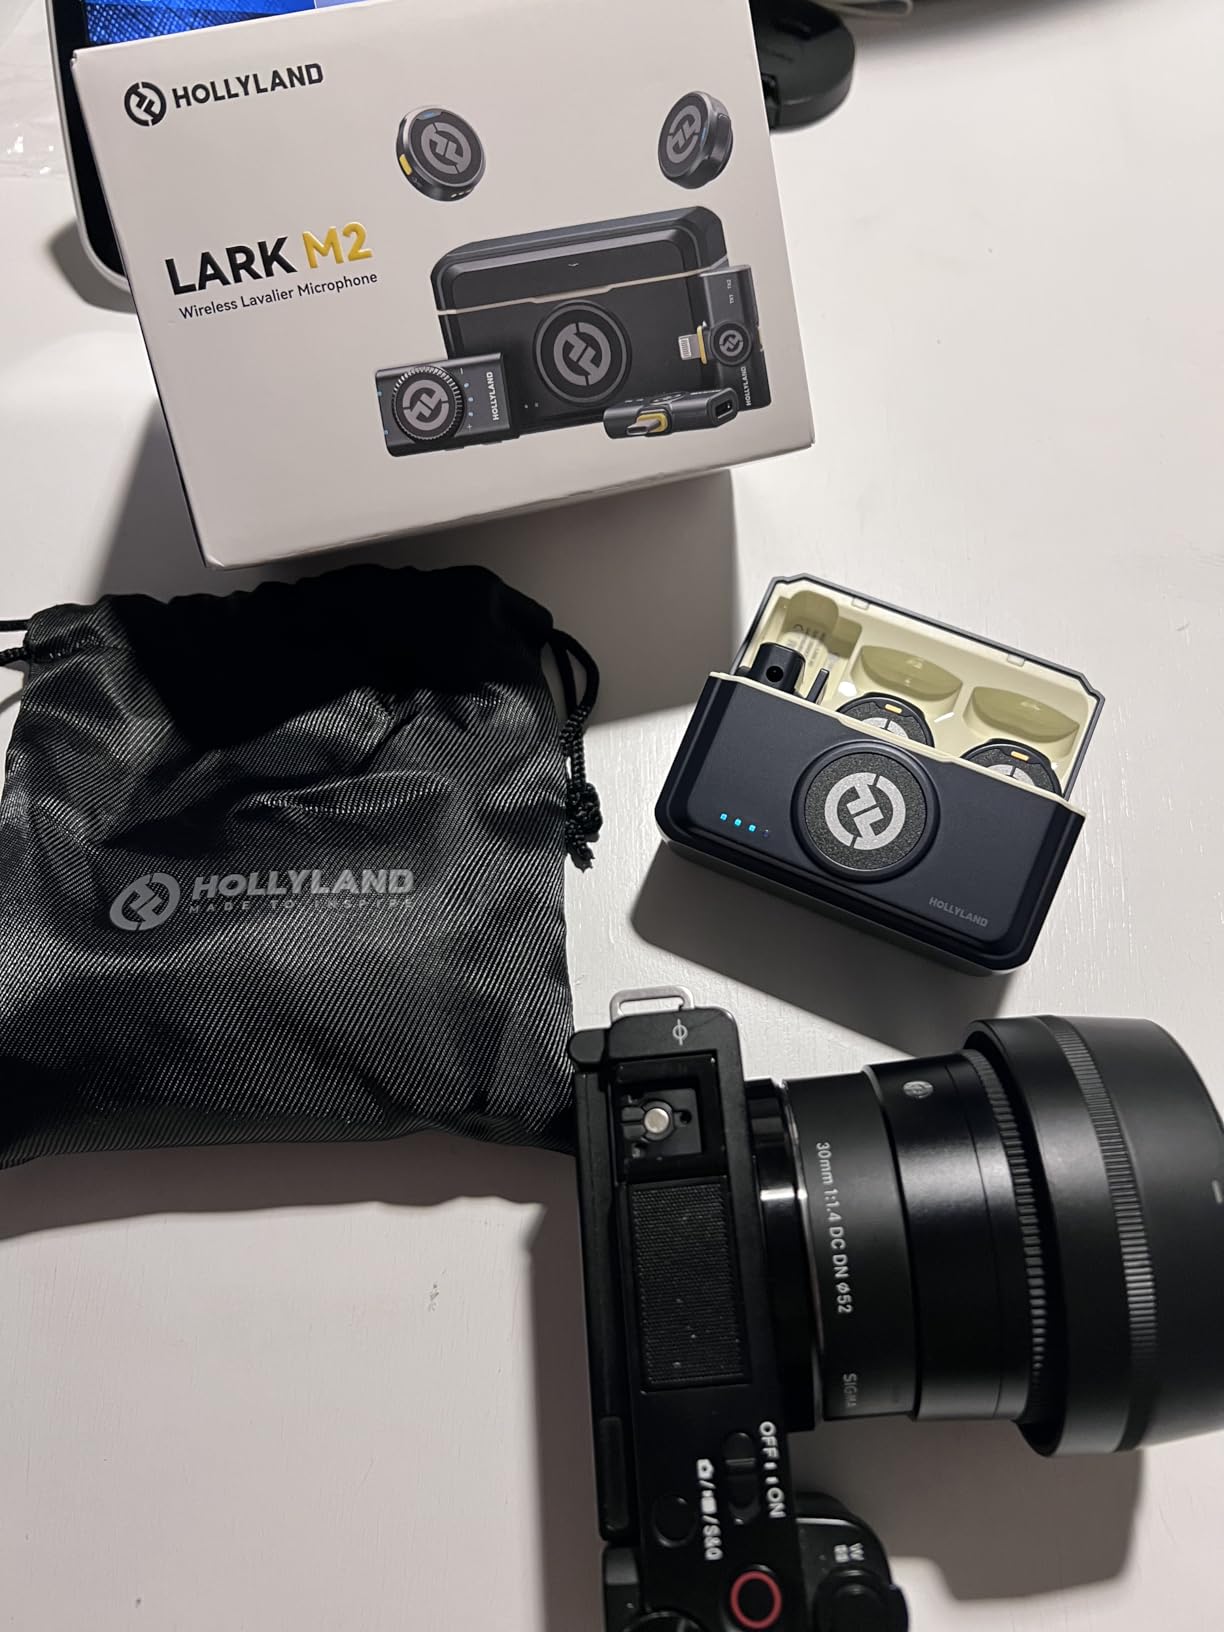
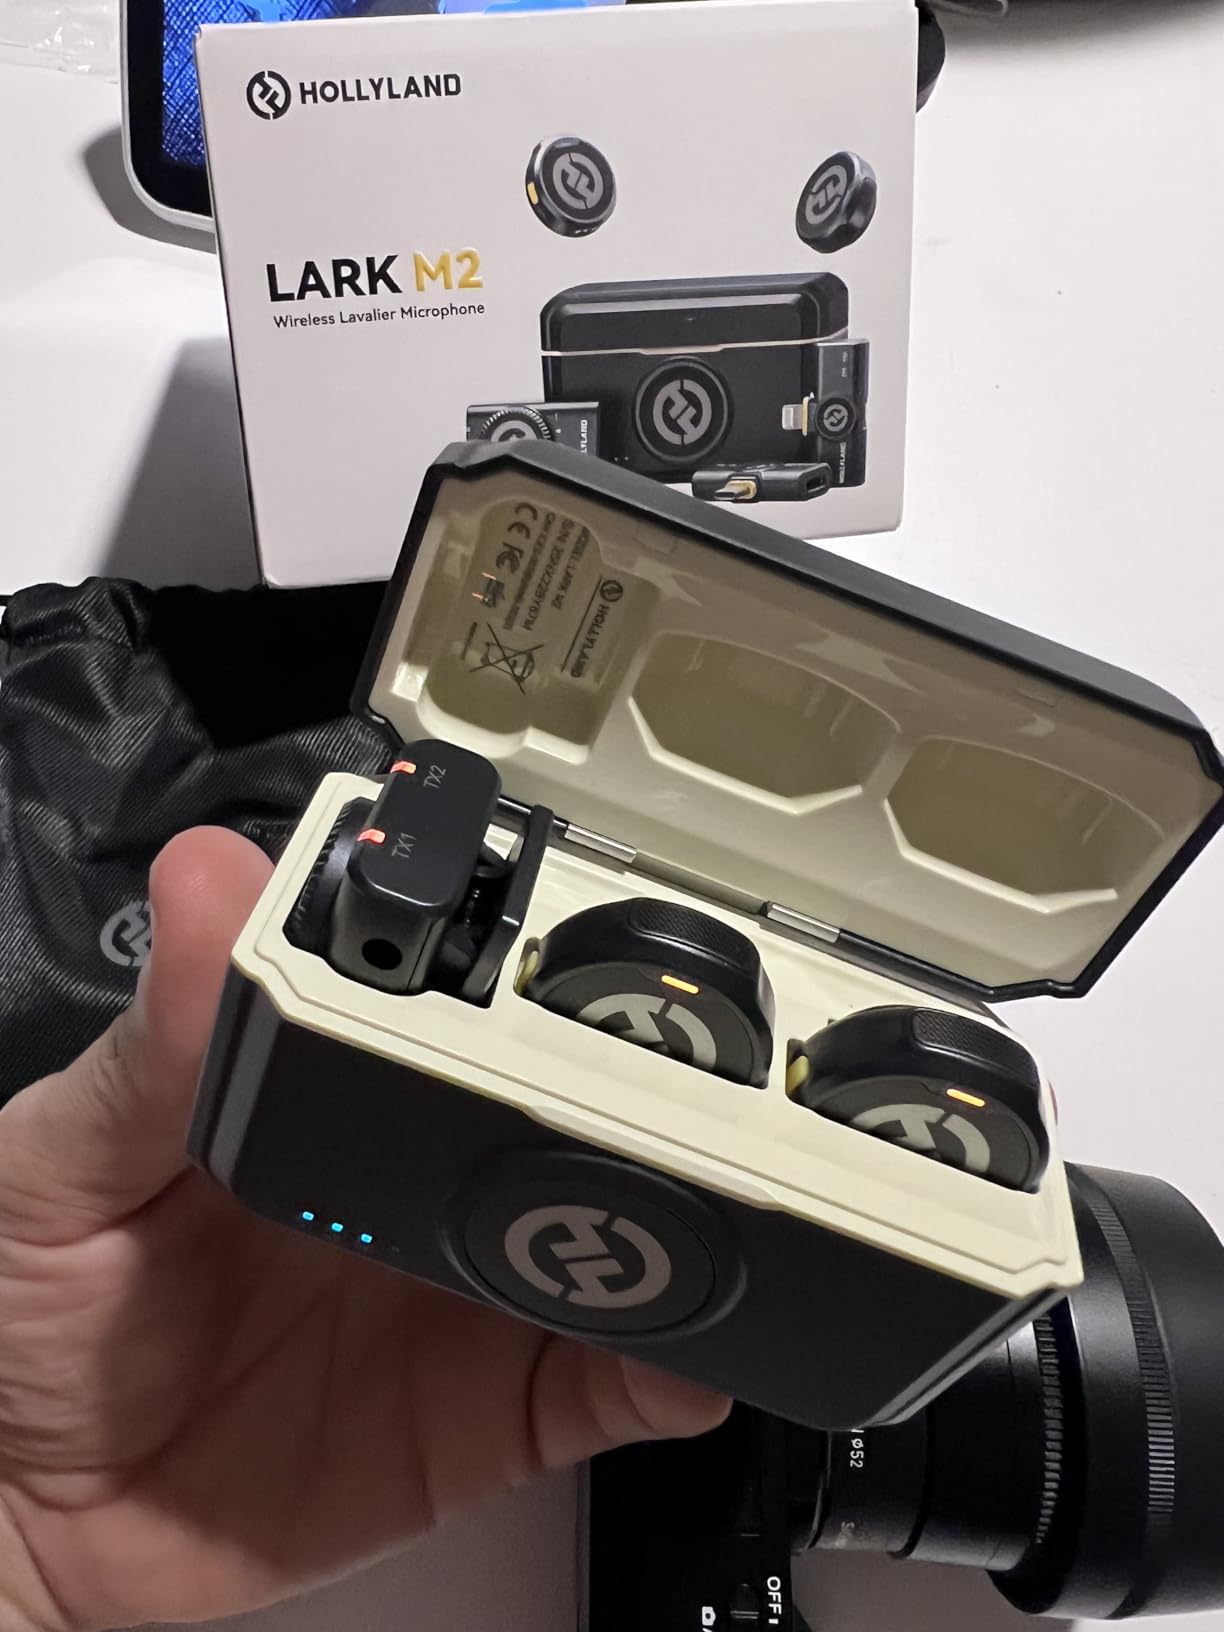
The Hollyland Lark M2 differentiates itself with inclusion. While competitors sell adapters separately, the Lark M2 includes three receivers in the box: USB-C for Android and modern devices, Lightning for iPhone, and 3.5mm for cameras. This one purchase covers every device you own.
The audio quality rivals more expensive competitors. The 48kHz/24-bit recording captures studio-grade fidelity that exceeds YouTube delivery requirements. The 70dB signal-to-noise ratio keeps backgrounds quiet without aggressive processing artifacts.
The 300-meter transmission range exceeds most use cases but provides confidence for large venue work. I tested through walls and around corners, and the signal remained stable at distances where cheaper systems drop out. The LDS antenna design eliminates body interference when transmitters are worn on the back or clipped to belts.
The magnetic attachment system includes stickers to hide the Hollyland logo, a thoughtful touch for creators who want clean visuals. The 9-gram weight is virtually unnoticeable during all-day wear.
Choose the Lark M2 if you use multiple device types and want everything in one box. The included adapters eliminate compatibility guesswork. The 24-bit depth provides more headroom for post-processing than the DJI Mic Mini’s standard resolution.
Choose the DJI Mic Mini if you prioritize ecosystem integration with DJI cameras or want slightly longer battery life. The DJI brand also carries more recognition among clients if you shoot paid work. Both deliver excellent audio; the choice depends on workflow preferences.
The Lark M2 excels for creators who switch between phone, camera, and computer recording. A travel vlogger might shoot B-roll on their iPhone, main content on their mirrorless camera, and live stream from their laptop, all with the same microphone system.
The UAC function enables direct computer connection without an audio interface, perfect for Zoom interviews and remote podcasting. The mono/stereo switching lets you record both transmitters to separate tracks or blend them to one channel depending on your editing workflow.
Understanding microphone fundamentals helps you make an informed decision for your specific content. This section breaks down the technical concepts that matter for YouTube creators.
USB microphones connect directly to computers with a single cable. They include built-in analog-to-digital converters and headphone amplifiers, providing complete recording solutions without additional hardware. For beginners, USB offers the fastest path to better audio.
XLR microphones use a three-pin connector that requires an audio interface or mixer. This adds complexity and cost but provides professional features: better preamps, multiple microphone support, hardware processing, and upgrade flexibility. As your channel grows, XLR scales with you.
Choose USB if you are starting out, work alone, and prioritize simplicity. Choose XLR if you record multiple people, want the absolute best audio quality, or plan to expand into professional audio workflows. Learn more about the different types of microphones and their specific applications.
Dynamic microphones use a moving coil transducer that is robust, moisture-resistant, and naturally rejects room noise. They require more gain (volume) from your interface but perform well in untreated spaces. The Shure SM7B and Rode PodMic are classic dynamic microphones.
Condenser microphones use a charged diaphragm that is lighter and more responsive, capturing detail and air that dynamics miss. They require phantom power (48V supplied by your interface) and reveal room acoustics honestly. The Blue Yeti and Audio-Technica AT2020 are condenser microphones.
For untreated home offices, dynamic microphones are more forgiving. For treated studios or voiceover work where detail matters, condenser microphones provide superior fidelity.
The polar pattern determines where a microphone picks up sound. Cardioid captures primarily from the front, rejecting rear and side noise. This is ideal for solo recording and the most common pattern for YouTube microphones.
Omnidirectional captures from all directions equally. Useful for roundtable discussions or capturing room ambience, but prone to picking up unwanted background noise.
Bidirectional captures from front and back while rejecting sides. Perfect for two-person interviews with one microphone. The Blue Yeti offers all three patterns, making it exceptionally versatile.
Shotgun microphones use supercardioid or lobar patterns that are extremely directional, capturing distant sources while rejecting off-axis sound. Essential for on-camera use where the microphone must be out of frame.
Gaming and Streaming: USB microphones like the Blue Yeti or HyperX SoloCast provide easy setup and good voice quality. Dynamic USB mics like the FIFINE AM8 reject keyboard noise better than condensers.
Vlogging: Wireless lavalier systems like the DJI Mic Mini or Hollyland Lark M2 provide freedom of movement and clean audio without visible on-camera microphones. Wireless microphone systems are essential for mobile creators.
Voiceover and Tutorials: Large-diaphragm condensers like the Audio-Technica AT2020 or XLR dynamic broadcast mics like the Rode PodMic deliver professional narration quality. Room treatment becomes important with these sensitive microphones.
Interviews and Documentary: Shotgun microphones like the Rode VideoMic Pro+ or Movo VXR10-PRO capture directional audio from a distance. Wireless lavalier systems work well for controlled interview settings.
ASMR: Binaural or omnidirectional microphones capture spatial audio that creates immersive experiences. The Blue Yeti’s stereo pattern works for entry-level ASMR, though specialized equipment ultimately provides better results.
The Blue Yeti USB Microphone is the best choice for most YouTube beginners. It offers plug-and-play simplicity, four pickup patterns for different recording scenarios, and professional sound quality without requiring technical knowledge. For those on a tighter budget, the MAONO AU-A04 provides excellent value with a complete accessory kit included.
Phone microphones are adequate for casual vlogging and testing content ideas, but they lack the clarity, noise rejection, and presence needed for professional YouTube channels. Viewers tolerate mediocre video but will leave if audio is harsh, distant, or echo-filled. A dedicated microphone is the most important upgrade for serious creators.
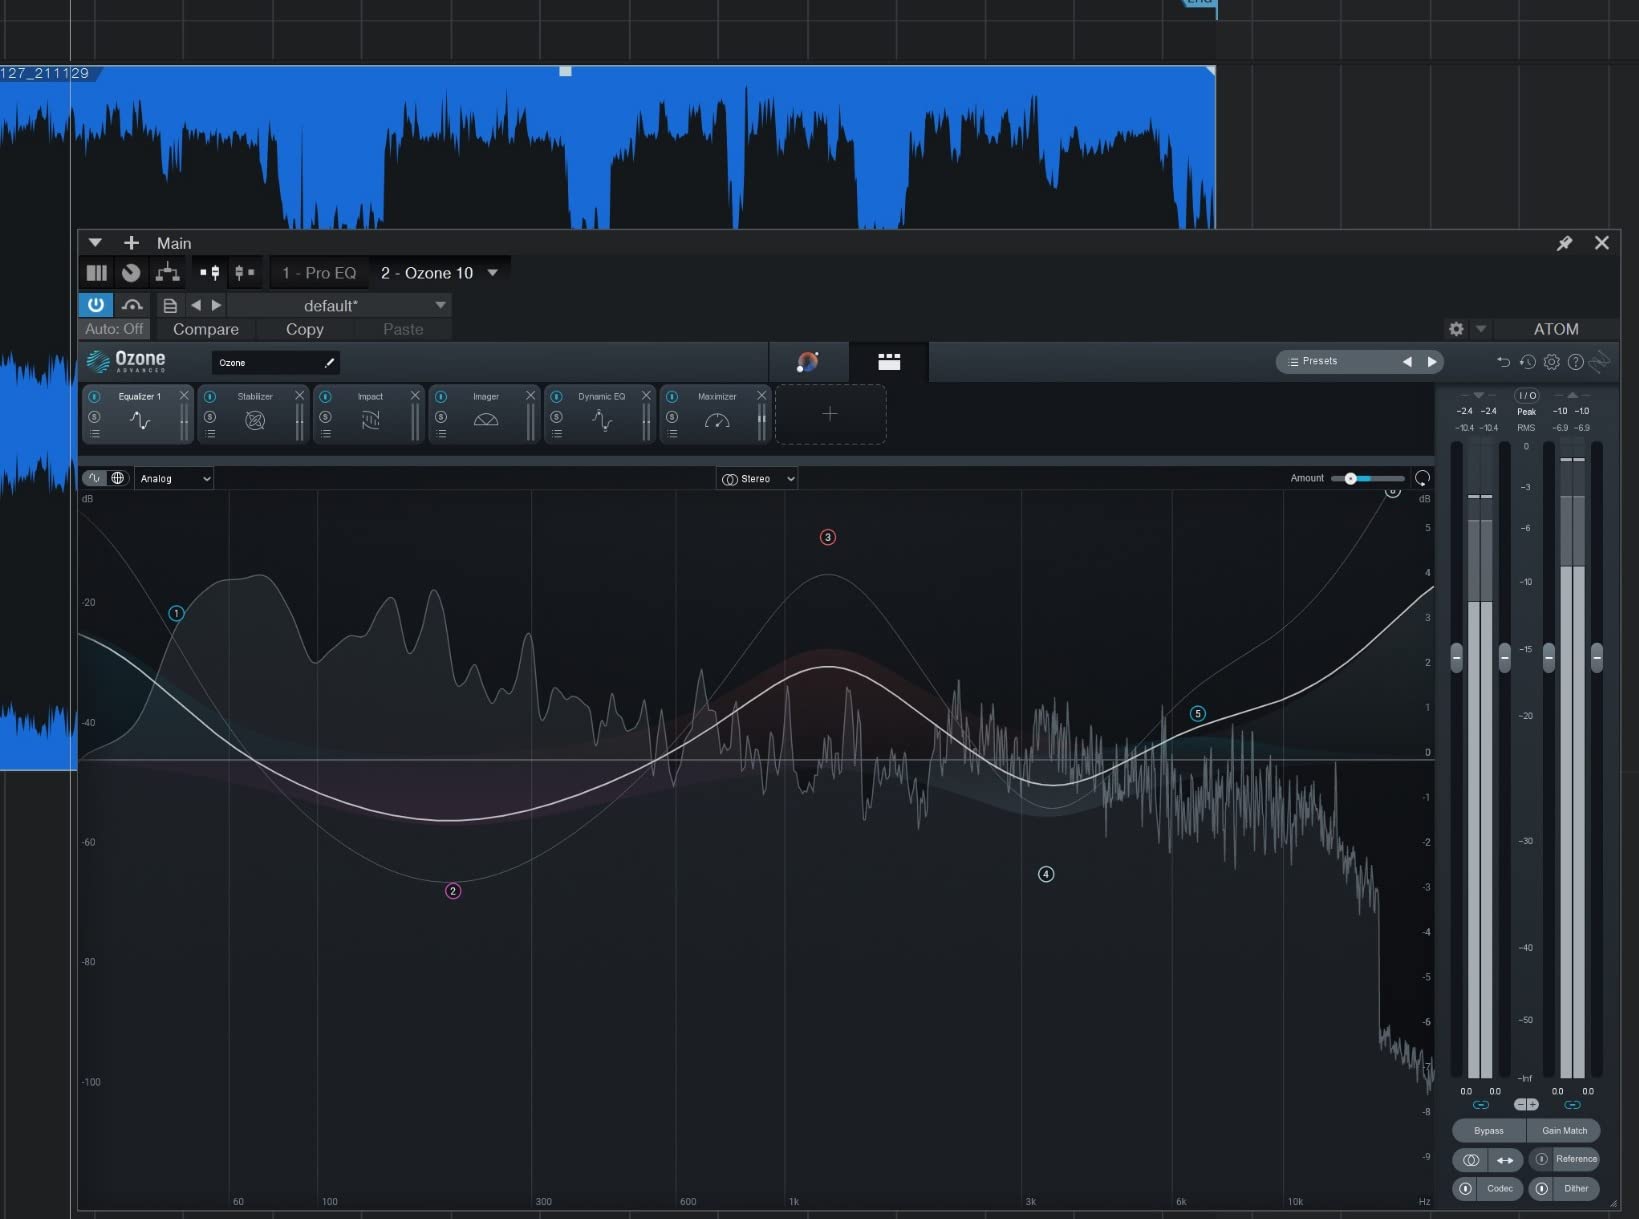
Professional YouTubers combine three elements: quality microphones positioned 6-8 inches from their mouth, basic acoustic treatment (blankets, rugs, or foam panels), and light audio processing (EQ, compression, and noise reduction). The microphone type matters too. Dynamic microphones like the Rode PodMic or Shure MV7X reject room noise better than condensers in untreated spaces.
The 3:1 rule states that when using multiple microphones, each microphone should be placed three times farther from other microphones than it is from its intended sound source. This prevents phase cancellation and ensures clean audio when recording multiple people. For solo YouTubers, the more relevant guideline is placing the microphone 6-8 inches from your mouth at roughly mouth level.
A pop filter is highly recommended for any microphone used for spoken content. Plosives (hard P, B, and T sounds) create bursts of air that distort recordings and distract viewers. Pop filters diffuse this air before it reaches the microphone capsule. Many USB microphones like the Blue Yeti have internal pop filters, but external ones provide better protection. Budget $10-30 for a quality pop filter.
After testing 12 microphones across three months of real YouTube production, here is how we recommend choosing:
Start with USB: The Blue Yeti remains the safest choice for most beginners. It works for gaming, podcasts, voiceover, and tutorials without requiring technical knowledge. The MAONO AU-A04 offers unbeatable value if you need a complete kit under $60.
Upgrade to XLR when ready: The Rode PodMic delivers broadcast quality at an accessible price. Pair it with a decent audio interface, and you have professional audio that scales with your channel growth.
Go wireless for mobility: The DJI Mic Mini and Hollyland Lark M2 liberate vloggers from cables and visible microphones. Both deliver audio quality that rivals wired alternatives.
Choose shotgun for camera mounting: The Movo VXR10-PRO provides professional features at a budget price, while the Rode VideoMic Pro+ offers uncompromising quality for serious creators.
Whichever microphone you choose, remember that placement and room treatment matter as much as the gear itself. Position your microphone 6-8 inches from your mouth, reduce room echo with soft furnishings, and speak across the microphone rather than directly into it. These simple techniques transform even budget microphones into professional-sounding tools.
The best microphones for YouTube videos in 2026 are more accessible and affordable than ever. Your audience is waiting to hear what you have to say. Make sure they hear it clearly.


