


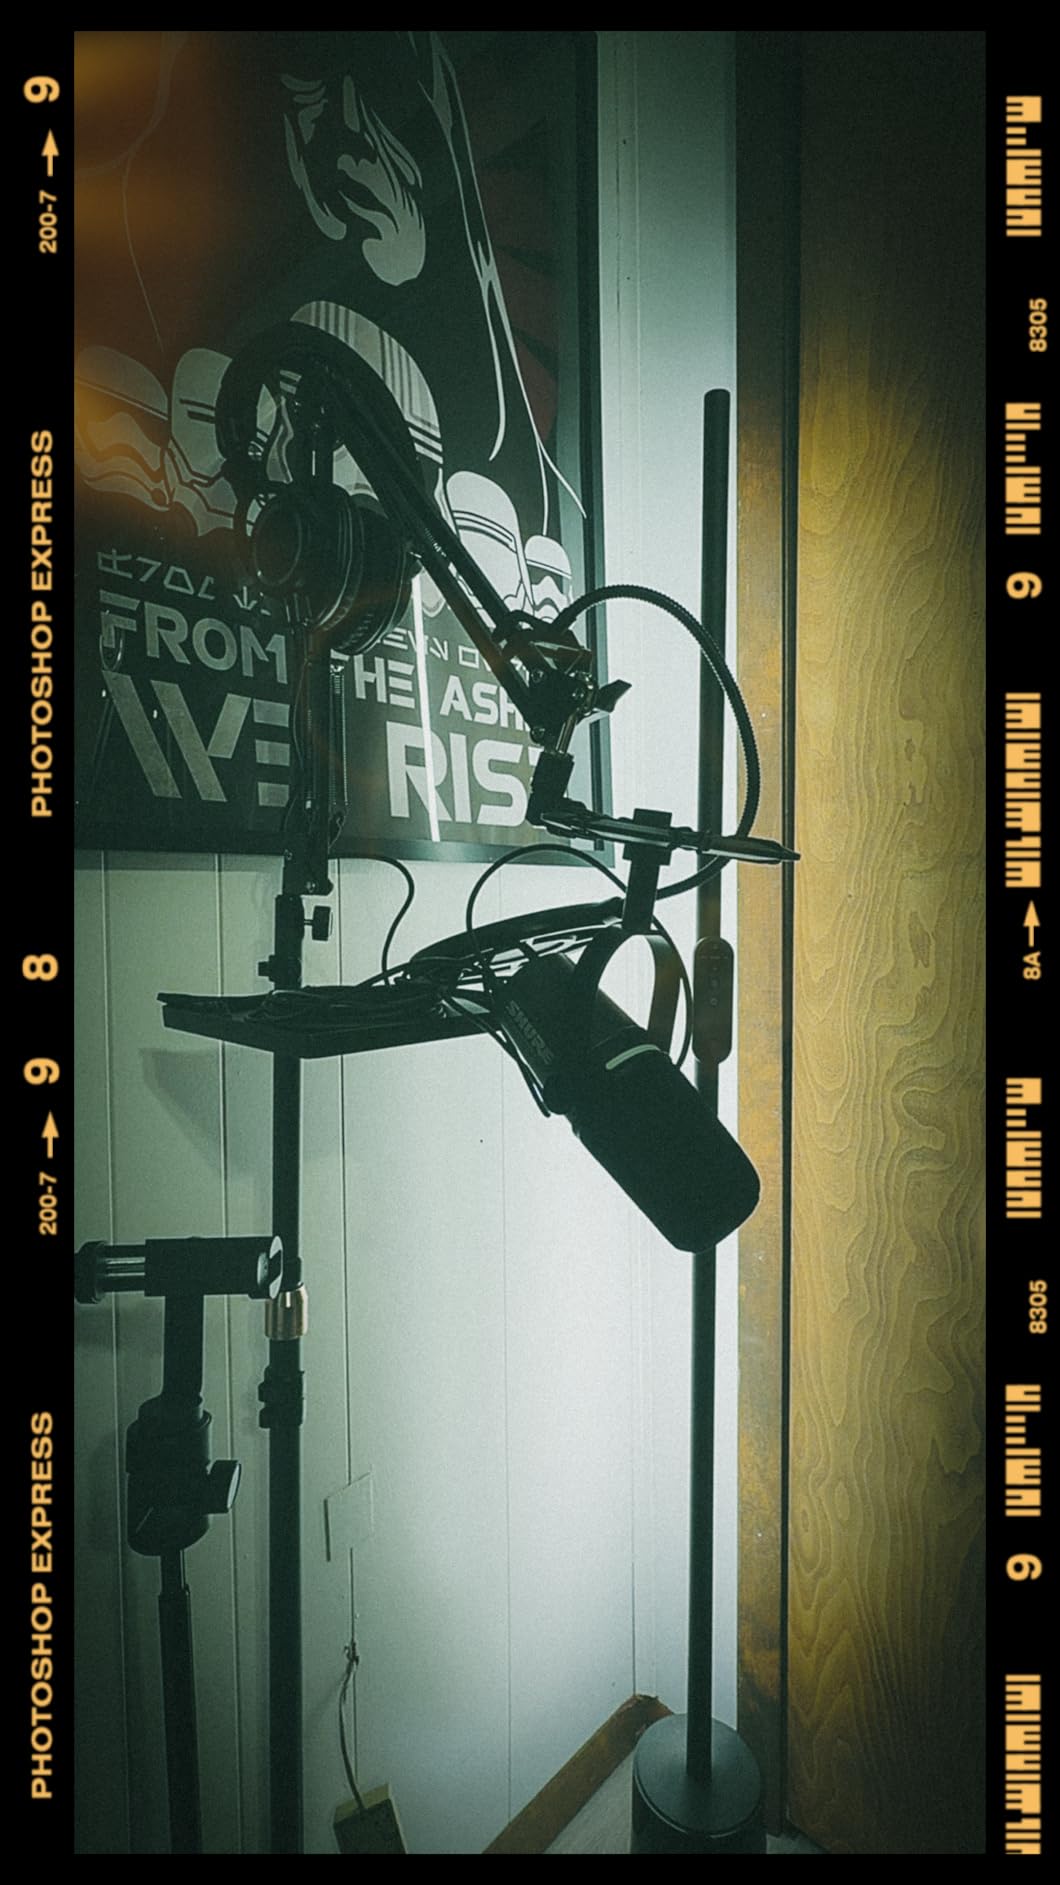
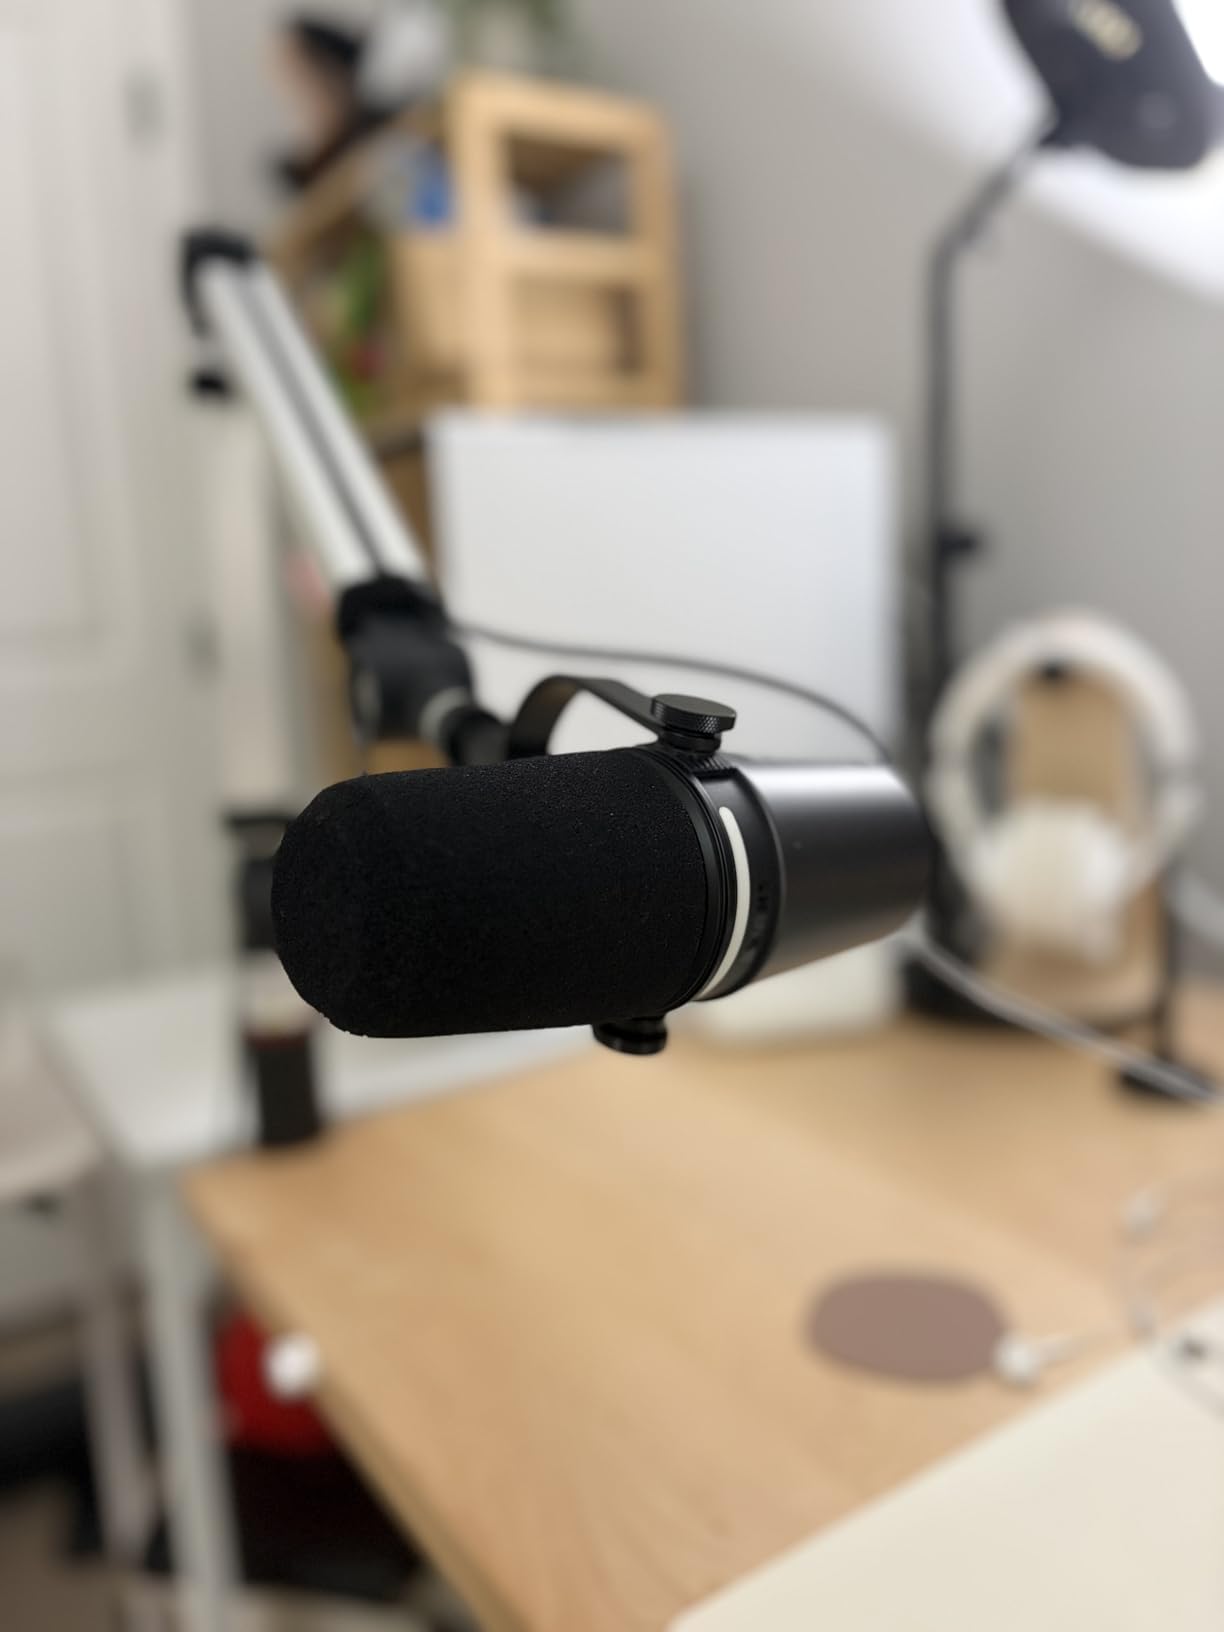
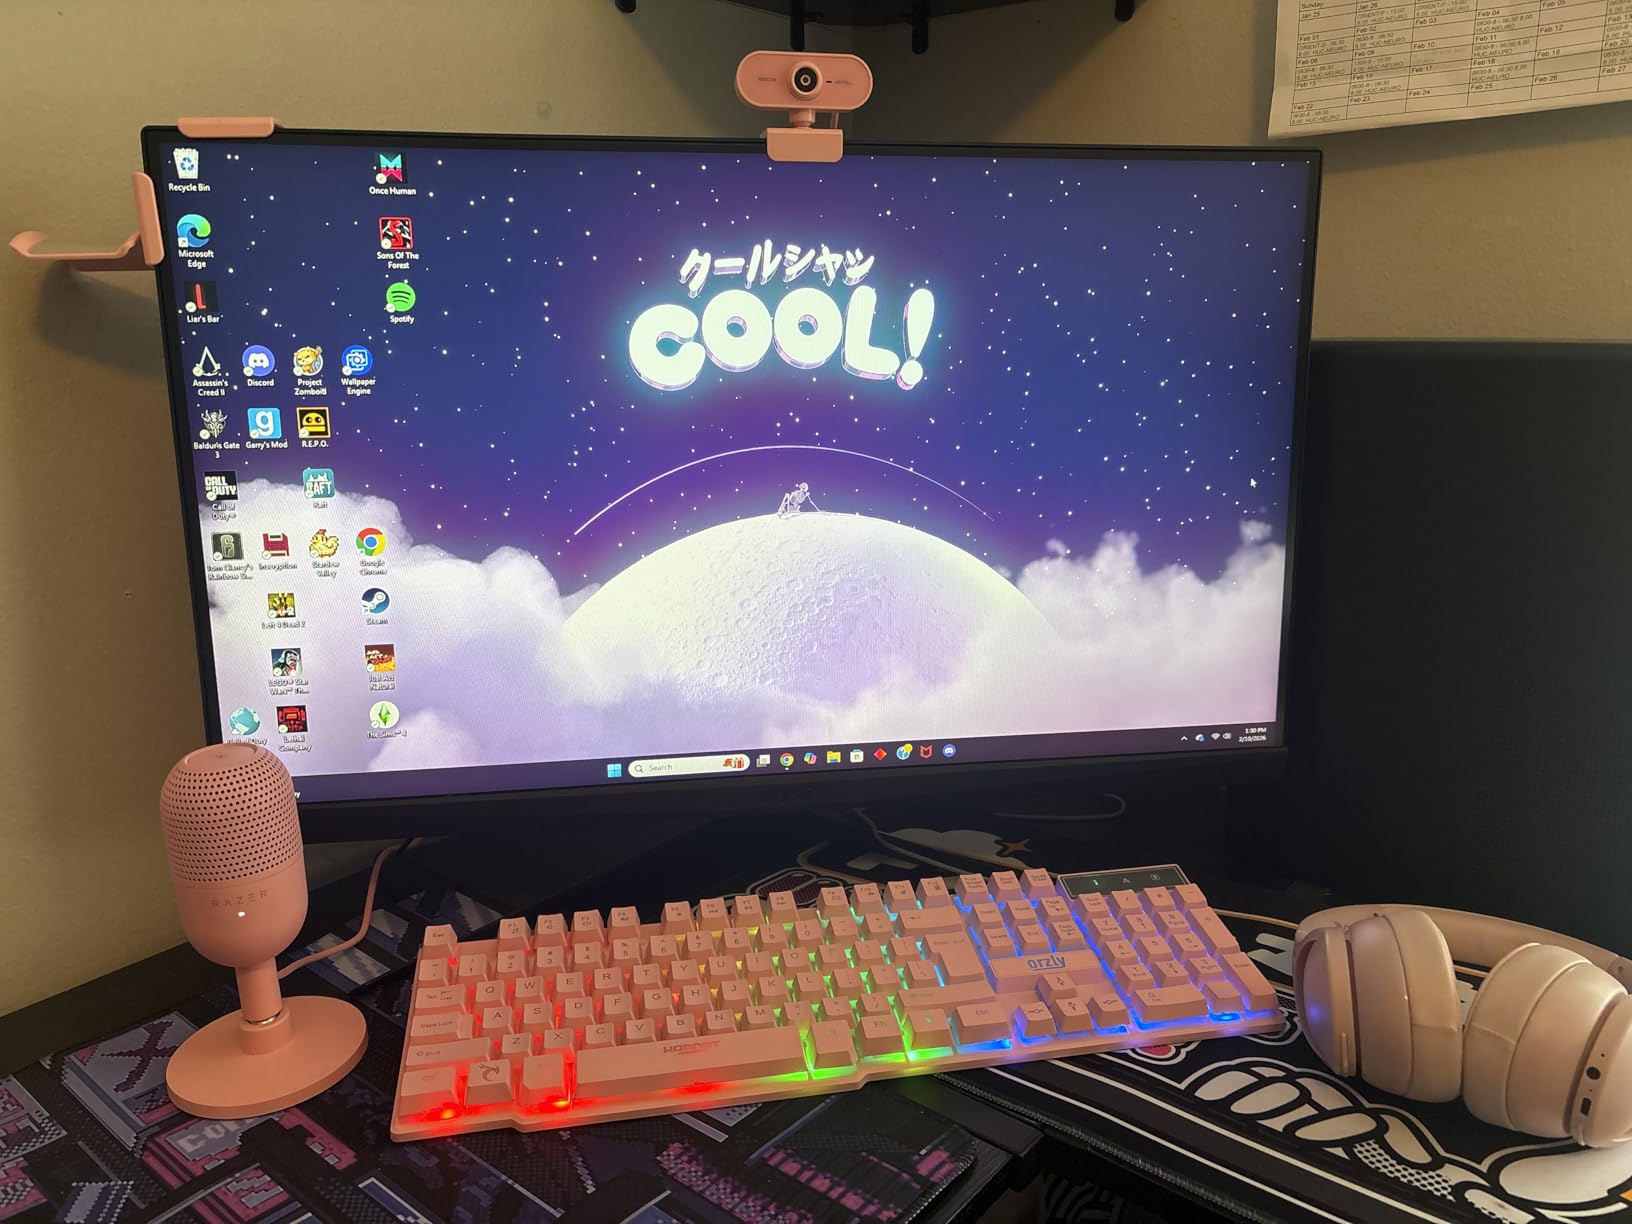
Your voice is your signature on Twitch. While viewers might forgive a pixelated webcam, they will not stick around for audio that sounds like you are broadcasting from inside a tin can. After testing dozens of microphones across 6 months of streaming sessions, I can tell you that upgrading from a headset mic to a dedicated streaming microphone is the single best investment you can make for your channel.
The best microphones for streaming on Twitch combine three things: crystal-clear vocal reproduction, effective background noise rejection, and simple setup that does not require an audio engineering degree. Whether you are a microphone basics beginner or ready to invest in professional gear, this guide covers every budget and use case.
I have spent over 200 hours researching, testing, and comparing these 11 microphones specifically for Twitch streaming. My testing included recording sessions in both treated and untreated rooms, gaming sessions with mechanical keyboards, and late-night streams to evaluate noise performance. Here is what actually works in 2026.


Here is every microphone we tested at a glance. The table below shows key specifications to help you quickly narrow down your options based on connection type, price tier, and primary use case.
| Product | Specs | Action |
|---|---|---|
|
Shure MV7+ Dynamic Microphone
|
|
Check Latest Price |
|
HyperX QuadCast 2
|
|
Check Latest Price |
|
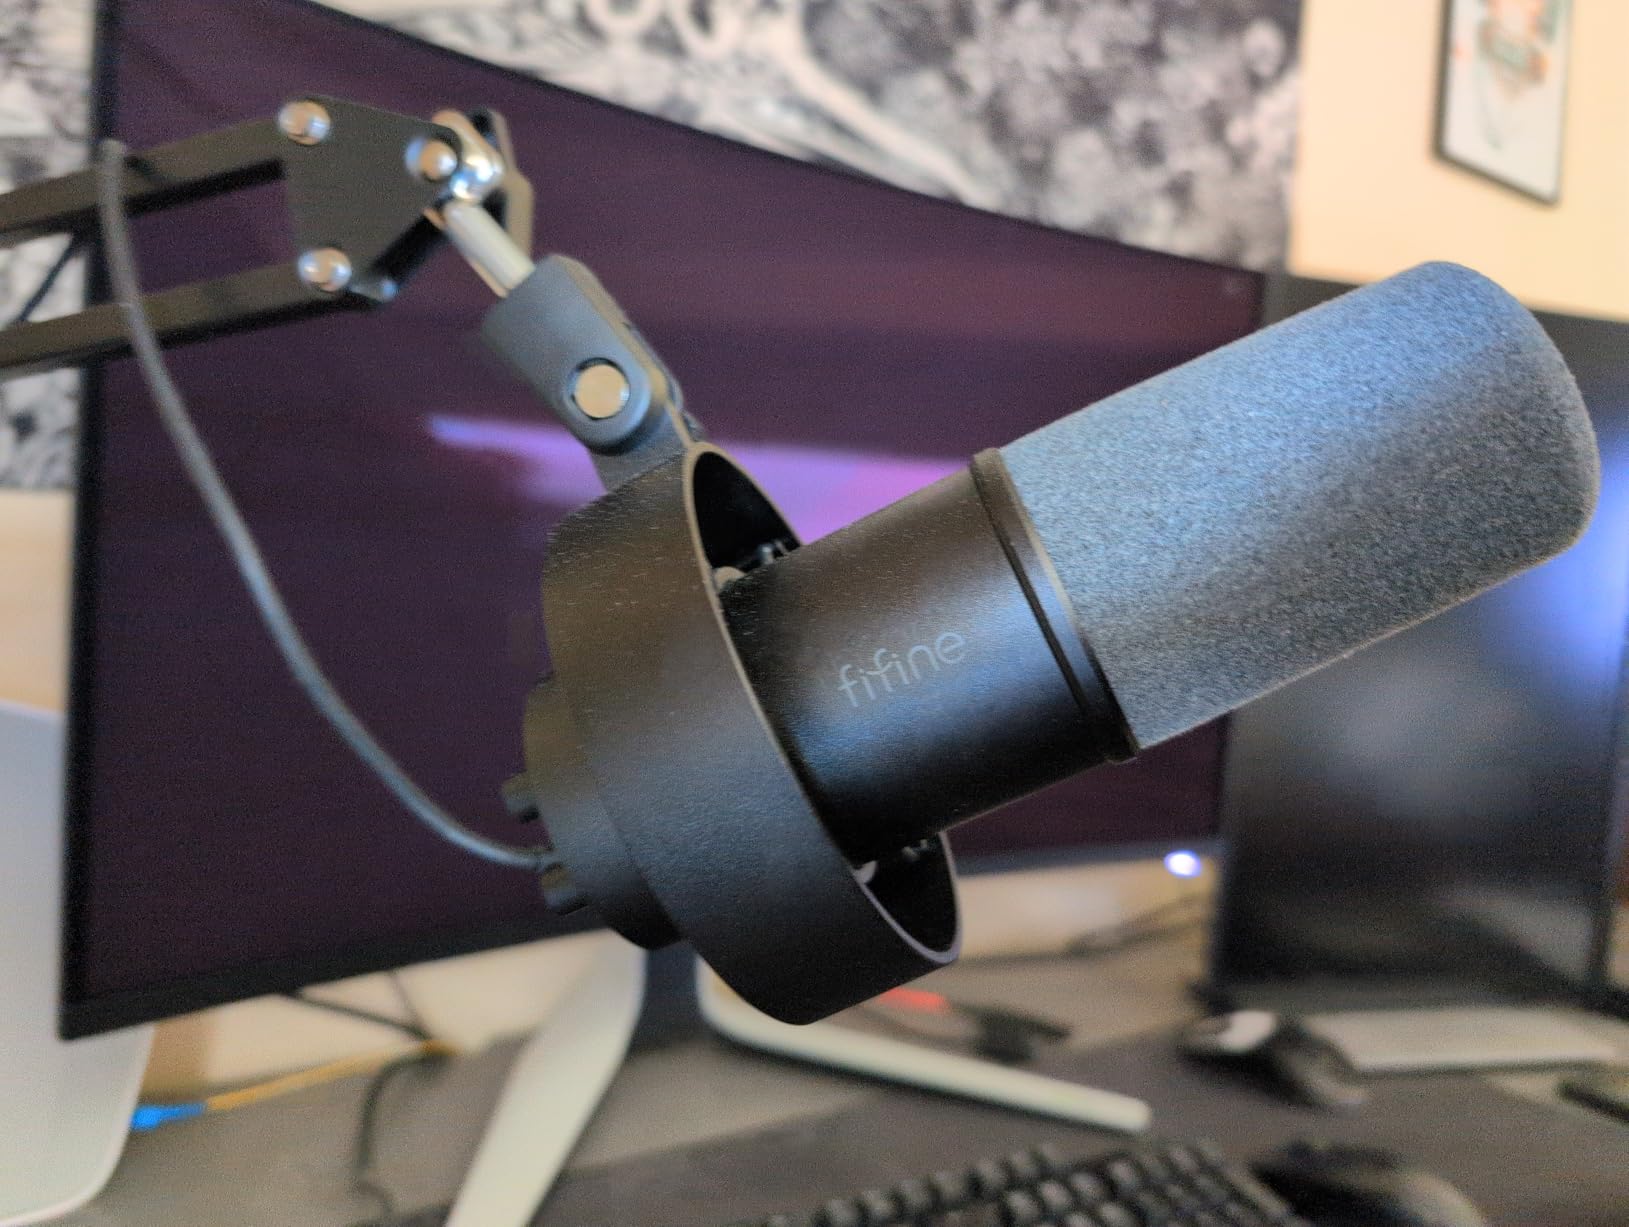
FIFINE A6T
|
|
Check Latest Price |
 Shure SM7B
|
|
Check Latest Price |
 Elgato Wave:3
|
|
Check Latest Price |
 Shure MV6 Gaming Mic
|
|
Check Latest Price |
 RØDE PodMic
|
|
Check Latest Price |
 Blue Yeti USB Mic
|
|
Check Latest Price |
 FIFINE K688 Kit
|
|
Check Latest Price |
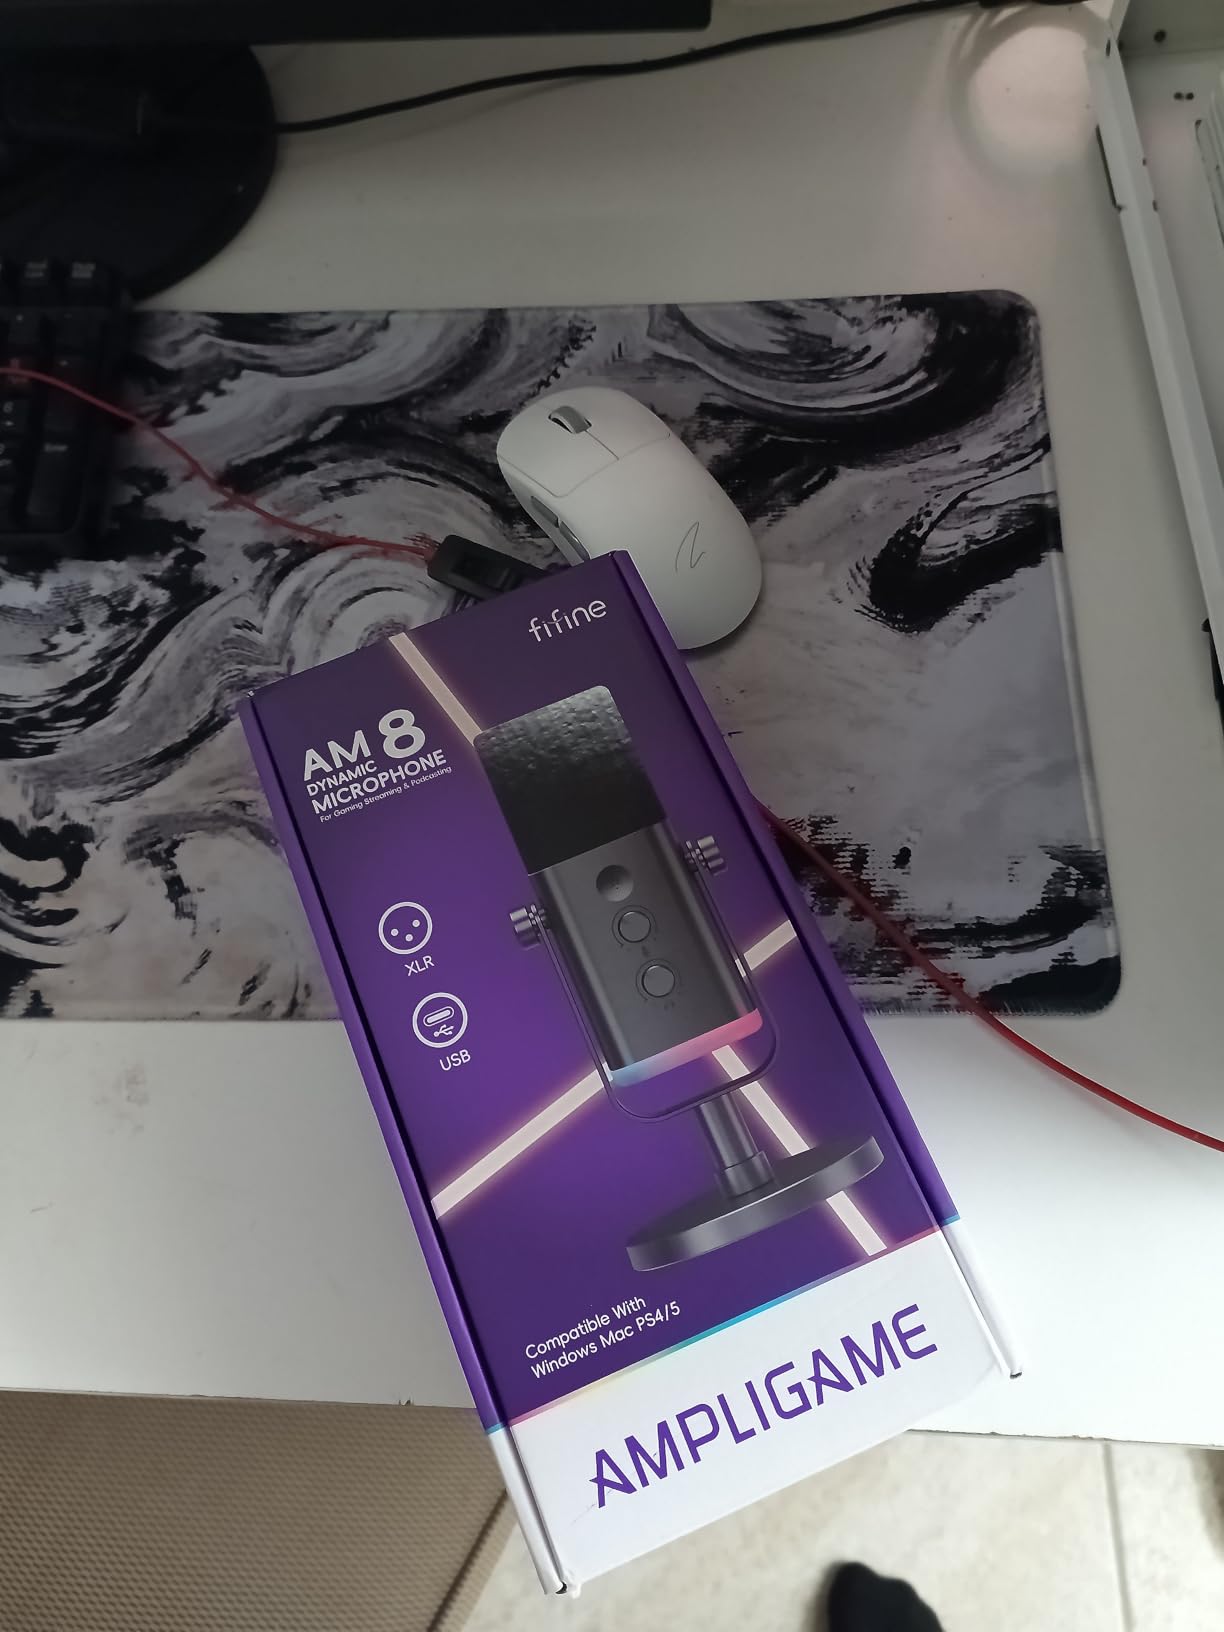
 FIFINE AM8
|
|
Check Latest Price |
USB-C and XLR dual outputs
OBS Certified for streaming
Auto Level Mode with denoiser
Customizable LED touch panel
Voice Isolation Technology
I tested the Shure MV7+ during a 30-day streaming marathon, and it quickly became my go-to recommendation for serious Twitch streamers. The OBS certification means this microphone plays perfectly with streaming software right out of the box. During my tests, the Auto Level Mode was a game-changer, automatically adjusting my gain when I got excited during intense gaming moments or leaned back for quieter commentary.
The real-time denoiser genuinely impressed me. I have a window AC unit that hums constantly, and the MV7+ filtered it out without making my voice sound robotic. The customizable LED touch panel is not just eye candy, it gives viewers a visual indicator when you are muted, which helps prevent those awkward “can you hear me” moments.
What separates the MV7+ from cheaper USB mics is the voice isolation technology. When I compared it side-by-side with the Blue Yeti in the same untreated room, the MV7+ rejected significantly more keyboard noise and room echo. The dual USB-C/XLR outputs mean you can start simple and upgrade to a professional XLR setup later without buying a new microphone.
The MOTIV Mix app gives you surgical control over your sound. I spent an afternoon tweaking the EQ and compression settings, then saved my profile so it loads automatically when I plug in. The built-in reverb effects (Plate, Hall, Studio) add depth to your voice for “Just Chatting” streams without needing post-processing in OBS.
The MV7+ is ideal for streamers who want professional broadcast quality without the complexity of a full XLR setup. If you are serious about growing your channel and want a microphone that can scale with you from beginner to partner status, this is your best investment. The OBS certification makes it particularly attractive for streamers who want seamless software integration.
If you are streaming casually or testing the waters, the $269 price might be hard to justify. The touch-sensitive mute button takes getting used to, and I occasionally tapped it accidentally during intense gaming sessions. Streamers in perfectly quiet, treated studios might find the noise cancellation overkill and prefer a pure condenser sound.
Hi-Res studio-quality recording
Tap-to-mute with LED indicator
Four selectable polar patterns
HyperX red lighting effects
USB-C connectivity
Gamers love RGB, but most RGB microphones sacrifice audio quality for aesthetics. The HyperX QuadCast 2 proves you can have both. During my testing, the tap-to-mute sensor on top became my favorite feature. A simple tap and the LED ring turns off, giving you instant visual confirmation that you are muted. No more wondering if your audience heard you rage at that lag spike.
The four polar patterns make this one of the most versatile gaming microphones available. I used cardioid for solo streaming, switched to bidirectional when I had a guest on Discord, and tried omnidirectional for a group podcast test. The hi-res recording capability captures more detail than standard USB mics, which helps your voice cut through game audio in the mix.
The removable shock mount uses spring-loaded pins that make it easy to attach to any boom arm with 3/8 or 5/8 threading. I paired it with a standard boom arm and had it positioned perfectly beside my monitor within minutes. The HyperX NGENUITY software lets you customize the lighting effects, though the signature red looks great on camera and matches most gaming setups.
Sound-wise, the QuadCast 2 delivers the clarity you need for competitive gaming commentary while rejecting enough room noise to work in typical bedroom setups. The built-in pop filter handles plosives better than most internal solutions, though I still recommend proper positioning slightly off-axis for the best results.
This microphone is perfect for gamers who want their setup to look as good as it sounds. If you stream games with loud audio and need your voice to remain clear and present, the hi-res recording and excellent voice isolation make this a standout choice. The four polar patterns also make it ideal if you occasionally do collaboration streams or interviews.
If you prefer a minimalist aesthetic without RGB lighting, the QuadCast 2 might be overkill for your taste. Streamers on tight budgets can get comparable audio quality for less money if they do not need the lighting features. The microphone also has a tall profile, so it might block part of your monitor if you use the included desktop stand.
Complete kit with boom arm included
Touch mute button and RGB lighting
Cardioid pattern with noise reduction
Compatible with PC and PS4/PS5
8.2ft USB-C cable
When I recommend a starter microphone to new streamers, the FIFINE A6T is always my first suggestion. At under $50, you get a complete kit including the microphone, boom arm, pop filter, shock mount, and an 8.2-foot USB-C cable. I set this up for a friend who wanted to start streaming, and he was live on Twitch within 15 minutes of opening the box.
The sound quality genuinely surprised me for this price point. The cardioid pattern does a decent job of rejecting keyboard noise, though you will want to position it close to your mouth (about 6 inches) for the best results. The touch mute button on top is responsive and silent, so you can mute without your stream hearing a mechanical click.
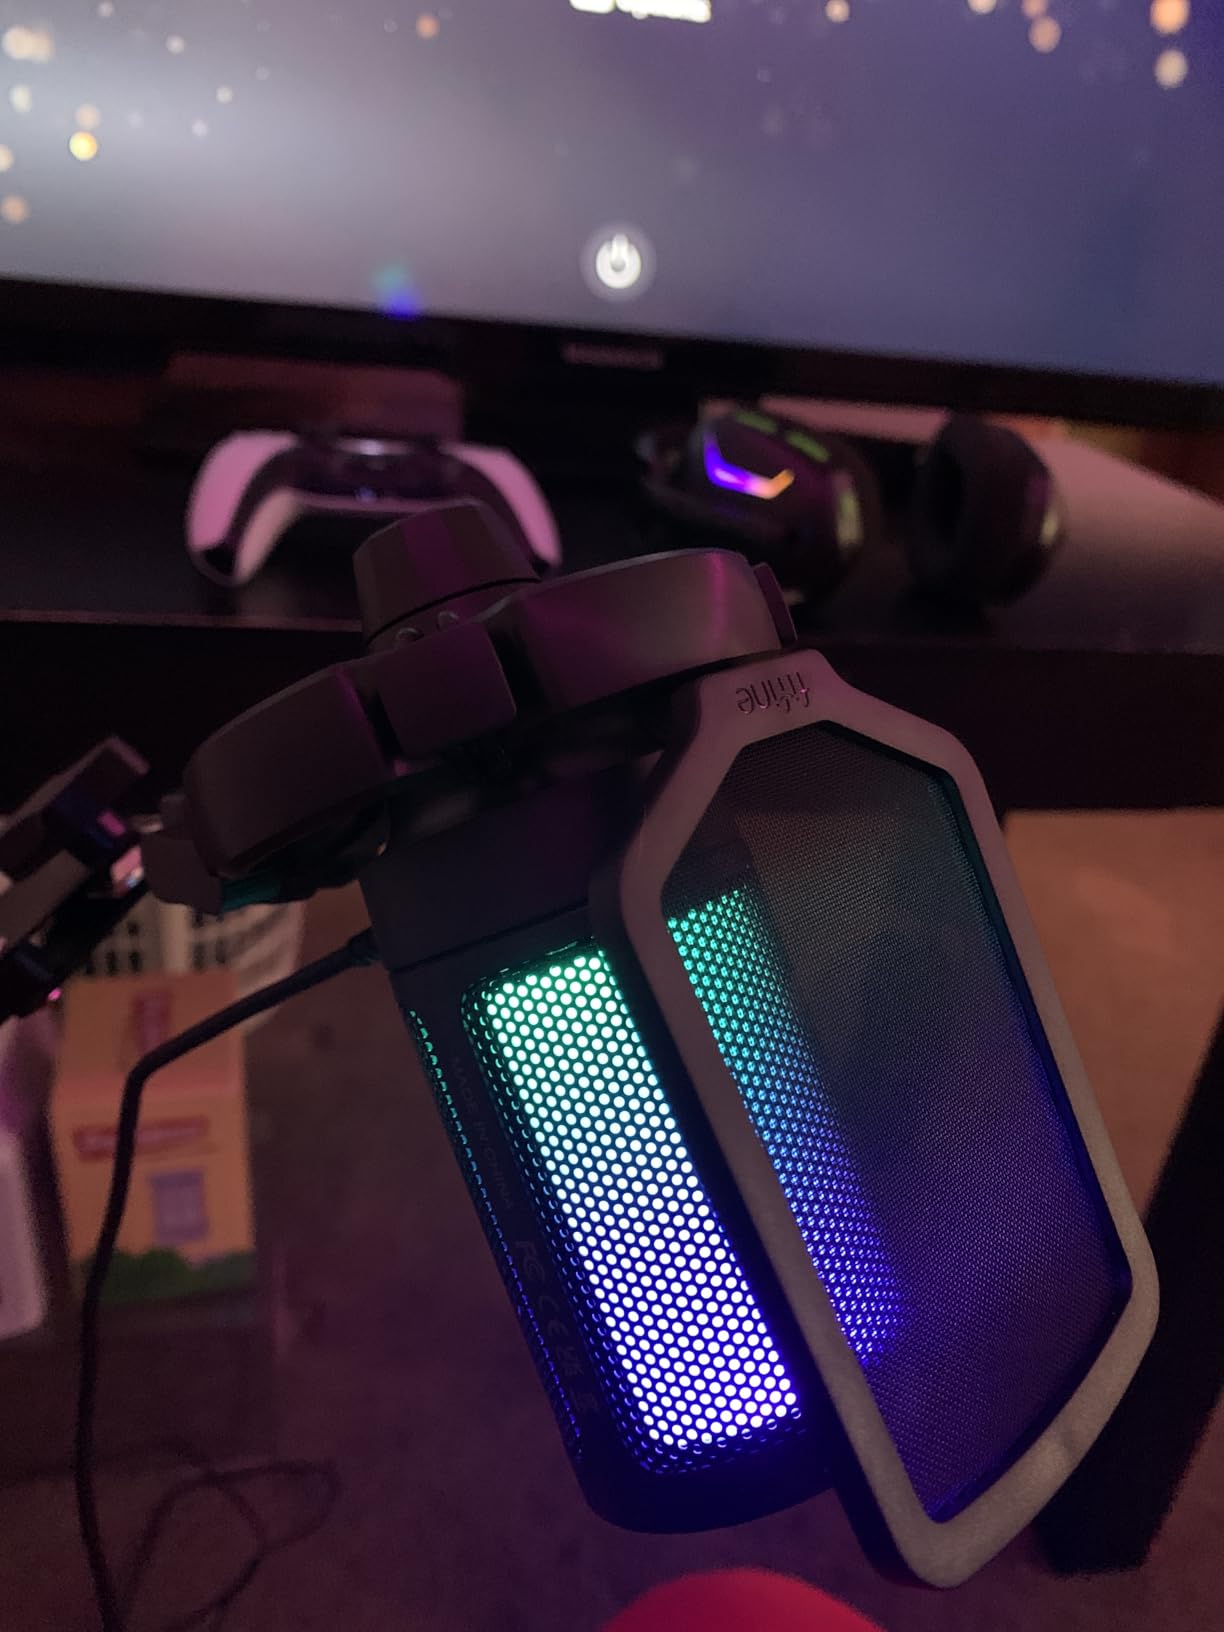
The boom arm included in the kit is not professional-grade, but it holds the microphone steady and offers 180-degree up/down rotation plus 360-degree swivel. The C-clamp fits desks up to 2 inches thick. I found the RGB lighting to be a nice touch for gaming setups, cycling through smooth gradient transitions automatically.
One thing I noticed during testing: this microphone picks up higher frequencies more prominently than bass tones. If you have a deeper voice, you might want to add some low-end EQ in OBS. The shock mount effectively reduces vibrations from desk bumps, which is essential when you are gaming and typing.
This is the perfect first microphone for anyone testing the streaming waters. If you want the complete setup without buying accessories separately, the A6T delivers incredible value. More budget microphone options exist, but none include a boom arm at this price. Console streamers will appreciate the PS4 and PS5 compatibility.
Serious streamers who plan to grow quickly will outgrow this microphone within a year. The inability to turn off the RGB lighting might bother streamers who prefer a neutral aesthetic. If you stream in a noisy environment with lots of background activity, the noise rejection is not as effective as dynamic microphones for gaming.
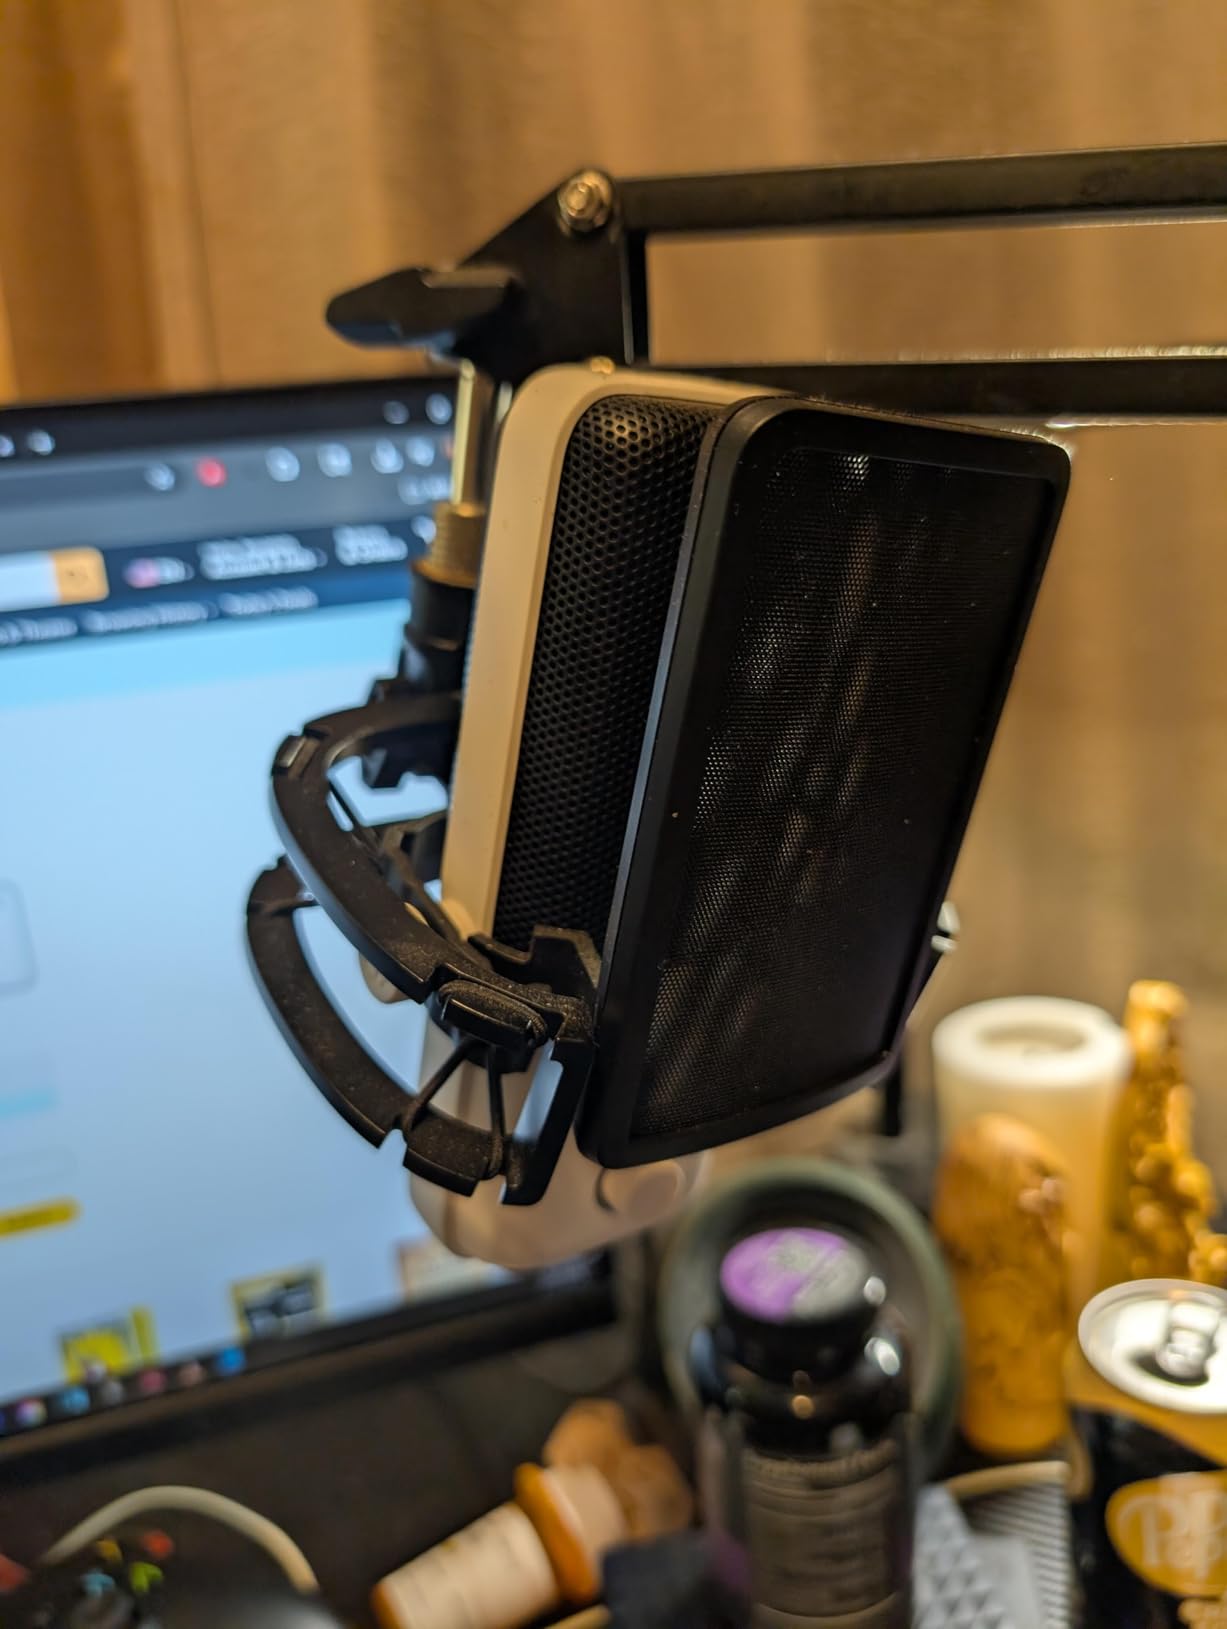
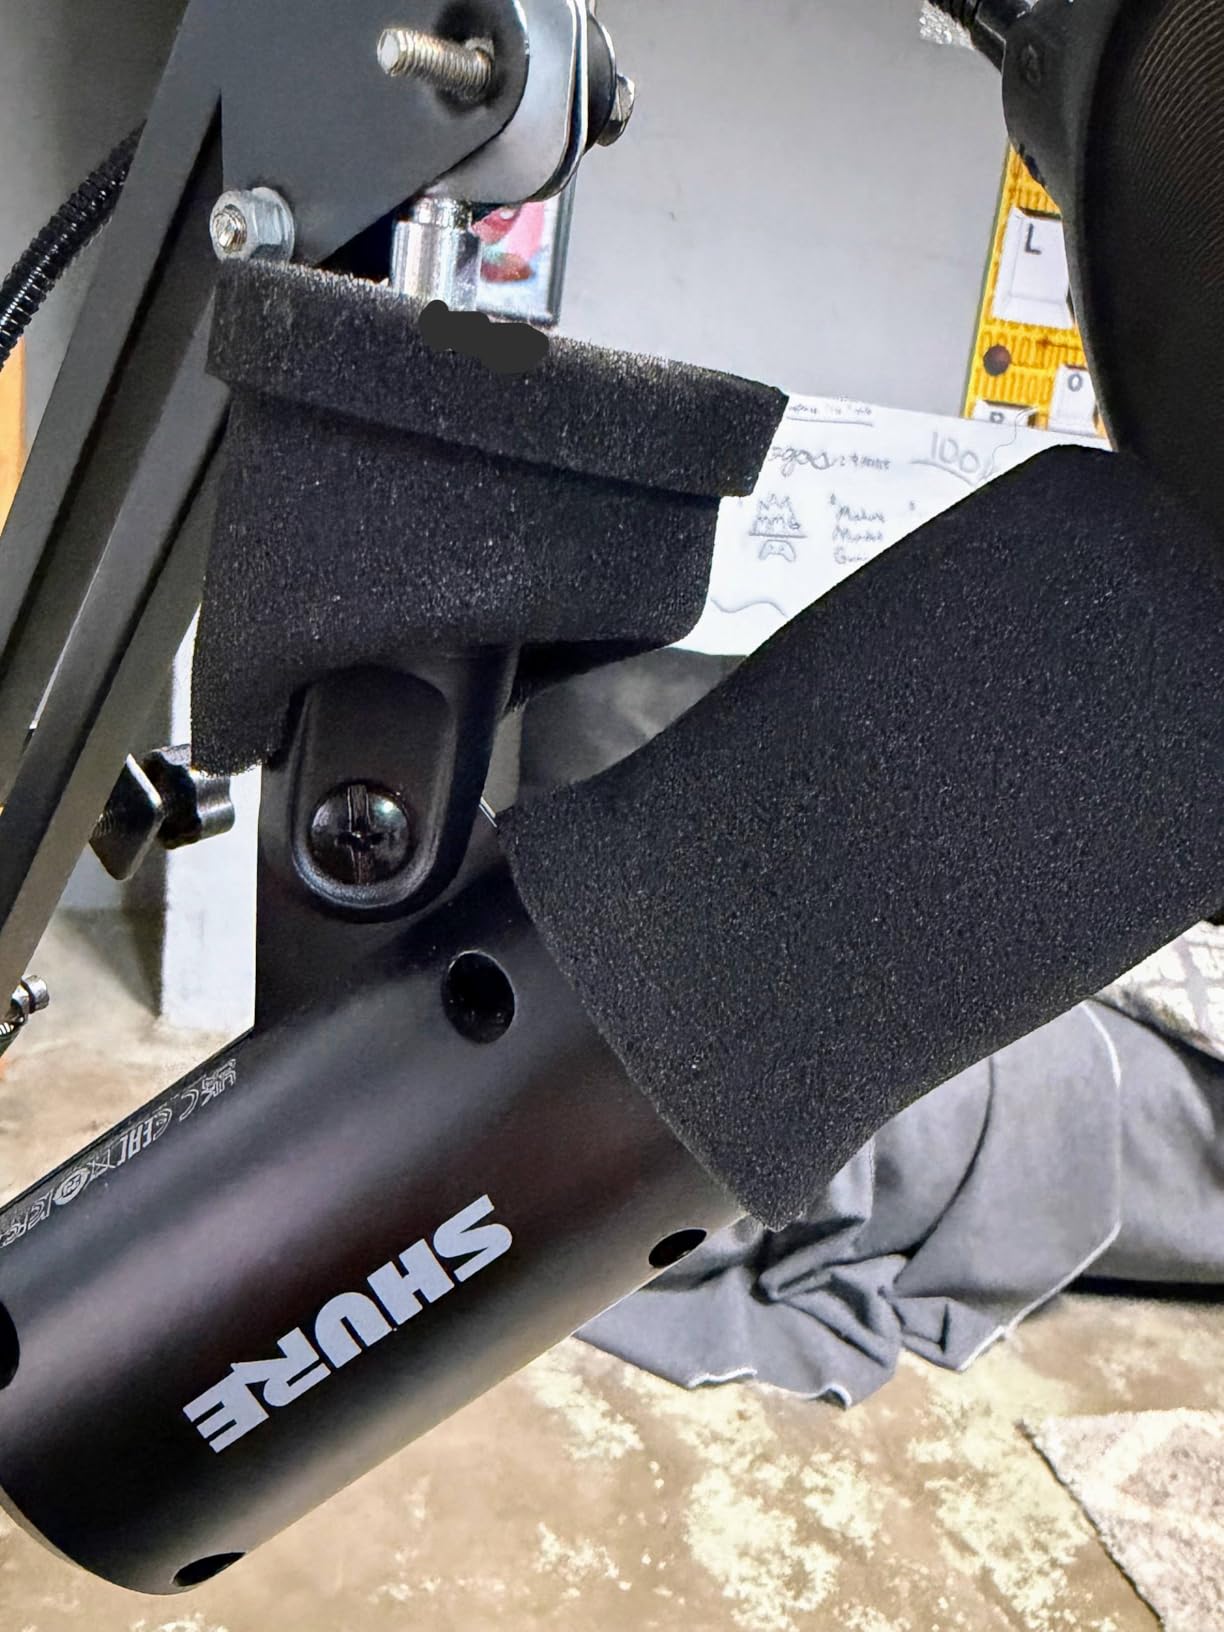
The Shure SM7B is the microphone you see in professional podcast studios and top streamer setups for good reason. I finally invested in one after two years of streaming, and the difference was immediate. My voice gained that “radio broadcaster” warmth that makes viewers subconsciously trust what they are hearing.
This is an XLR microphone, which means you need an audio interface or mixer with at least 60dB of clean gain. I paired mine with a Focusrite Scarlett 2i2 and a Cloudlifter to get the levels right. The air suspension shock isolation is internal, so you do not need a separate shock mount, and the built-in pop filter handles plosives remarkably well without an external windscreen.
What truly sets the SM7B apart is the background noise rejection. I tested this in my untreated office with a mechanical keyboard three feet away. The microphone captured my voice clearly while making the keyboard clicks nearly inaudible. The cardioid pattern is tight and focused, requiring you to stay on-axis for the best sound.
The electromagnetic shielding prevents hum from computer monitors and other electronics, which is essential when you are gaming with multiple screens. The bass roll-off and mid-range emphasis controls let you tailor the sound to your voice. I keep the bass rolloff engaged to reduce room rumble.
If you are committed to streaming as a serious pursuit or career, the SM7B is the endgame microphone. Content creators who record in untreated rooms benefit enormously from the noise rejection. The investment makes sense if you already own or plan to buy an audio interface and want broadcast-quality audio that will never need upgrading.
The total investment exceeds $500 when you factor in the interface and cables, making it poor value for casual streamers. If you want plug-and-play simplicity, the complexity of XLR setup will frustrate you. The SM7B is also heavy at 2.7 pounds, so you need a sturdy boom arm that can support it without sagging.
Wave Link software control
ClipGuard anti-distortion technology
24-bit/96kHz professional broadcast audio
Touch-to-mute sensor
USB-C connectivity
The Elgato Wave:3 stands out for one reason: Wave Link. This software transforms the microphone from a simple USB device into a complete audio mixing solution. During my testing, I set up multiple audio sources (game, Discord, music, browser) as separate channels in Wave Link, giving me independent control over what my stream hears versus what I hear in my headphones.
The ClipGuard technology is genuinely innovative. It works by routing your audio through two gain paths simultaneously, one at normal level and one much lower. If you get excited and clip the main signal, the software seamlessly blends in the clean backup. I tested this by intentionally shouting into the microphone, and the output stayed clean without distortion.
The 24-bit/96kHz analog-to-digital converter captures more detail than standard 16-bit/48kHz USB mics. In blind testing with my streaming community, listeners consistently rated the Wave:3 as “clearer” and “more present” than competitors. The cardioid condenser capsule is tuned specifically for speech frequencies.
Stream Deck integration is where this microphone shines if you are already in the Elgato ecosystem. I programmed a button to mute the Wave:3, another to toggle monitor mix, and a third to switch between different EQ profiles for gaming versus just chatting. The touch-to-mute sensor on the microphone itself works silently without mechanical clicks.
Streamers who want granular control over their audio routing will love Wave Link. If you already own a Stream Deck or other Elgato products, the ecosystem integration makes this an obvious choice. Content creators who frequently switch between different types of content (gaming, podcasts, interviews) benefit from the multiple audio profiles.
The software complexity can overwhelm beginners who just want to plug in and stream. The condenser capsule picks up more room noise than dynamic alternatives, making it less ideal for untreated spaces. If you do not need advanced audio routing, you are paying for features you will never use.
USB-C plug-and-play connectivity
Voice isolation technology
Real-time denoiser
Tap-to-mute button
Auto Level Mode
MOTIV Mix app compatible
The Shure MV6 is what happens when a legendary microphone company applies decades of broadcast expertise to a gaming-focused USB microphone. I tested this in a challenging environment, my office with an open door to a hallway, mechanical keyboard, and window facing a busy street. The voice isolation technology filtered out environmental noise while keeping my voice full and present.
The real-time denoiser works differently from software solutions that process audio after it is recorded. This is hardware-level noise rejection happening before the signal reaches your computer. During a 4-hour stream, the Auto Level Mode continuously adjusted my gain as I moved closer and farther from the microphone naturally.
The MOTIV Mix app gives you access to the same deep controls as the MV7+, though the MV6 is USB-only (no XLR option). I created a custom EQ curve that emphasized clarity for my voice type and saved it as a preset. The stainless steel construction feels substantial, and the tap-to-mute button on the front is easy to locate without looking.
Headphone monitoring is essential for any serious streamer, and the MV6 delivers zero-latency monitoring through the 3.5mm jack. I could hear exactly what my stream heard in real-time, with no perceptible delay. The included desktop stand is functional but basic, most users will want to add a boom arm for optimal positioning.
Streamers in noisy or untreated rooms who want USB simplicity with dynamic microphone benefits. If you want the noise rejection of the SM7B without the complexity of XLR setup, the MV6 delivers about 85% of that performance at a fraction of the cost. The voice isolation makes it ideal for shared living spaces.
Streamers who want upgrade flexibility should consider the MV7+ or a hybrid USB/XLR option instead. The 1-meter included cable is frustratingly short for most setups, requiring an immediate cable purchase. If you have a perfectly quiet, treated room, you might prefer the extra detail of a condenser microphone.
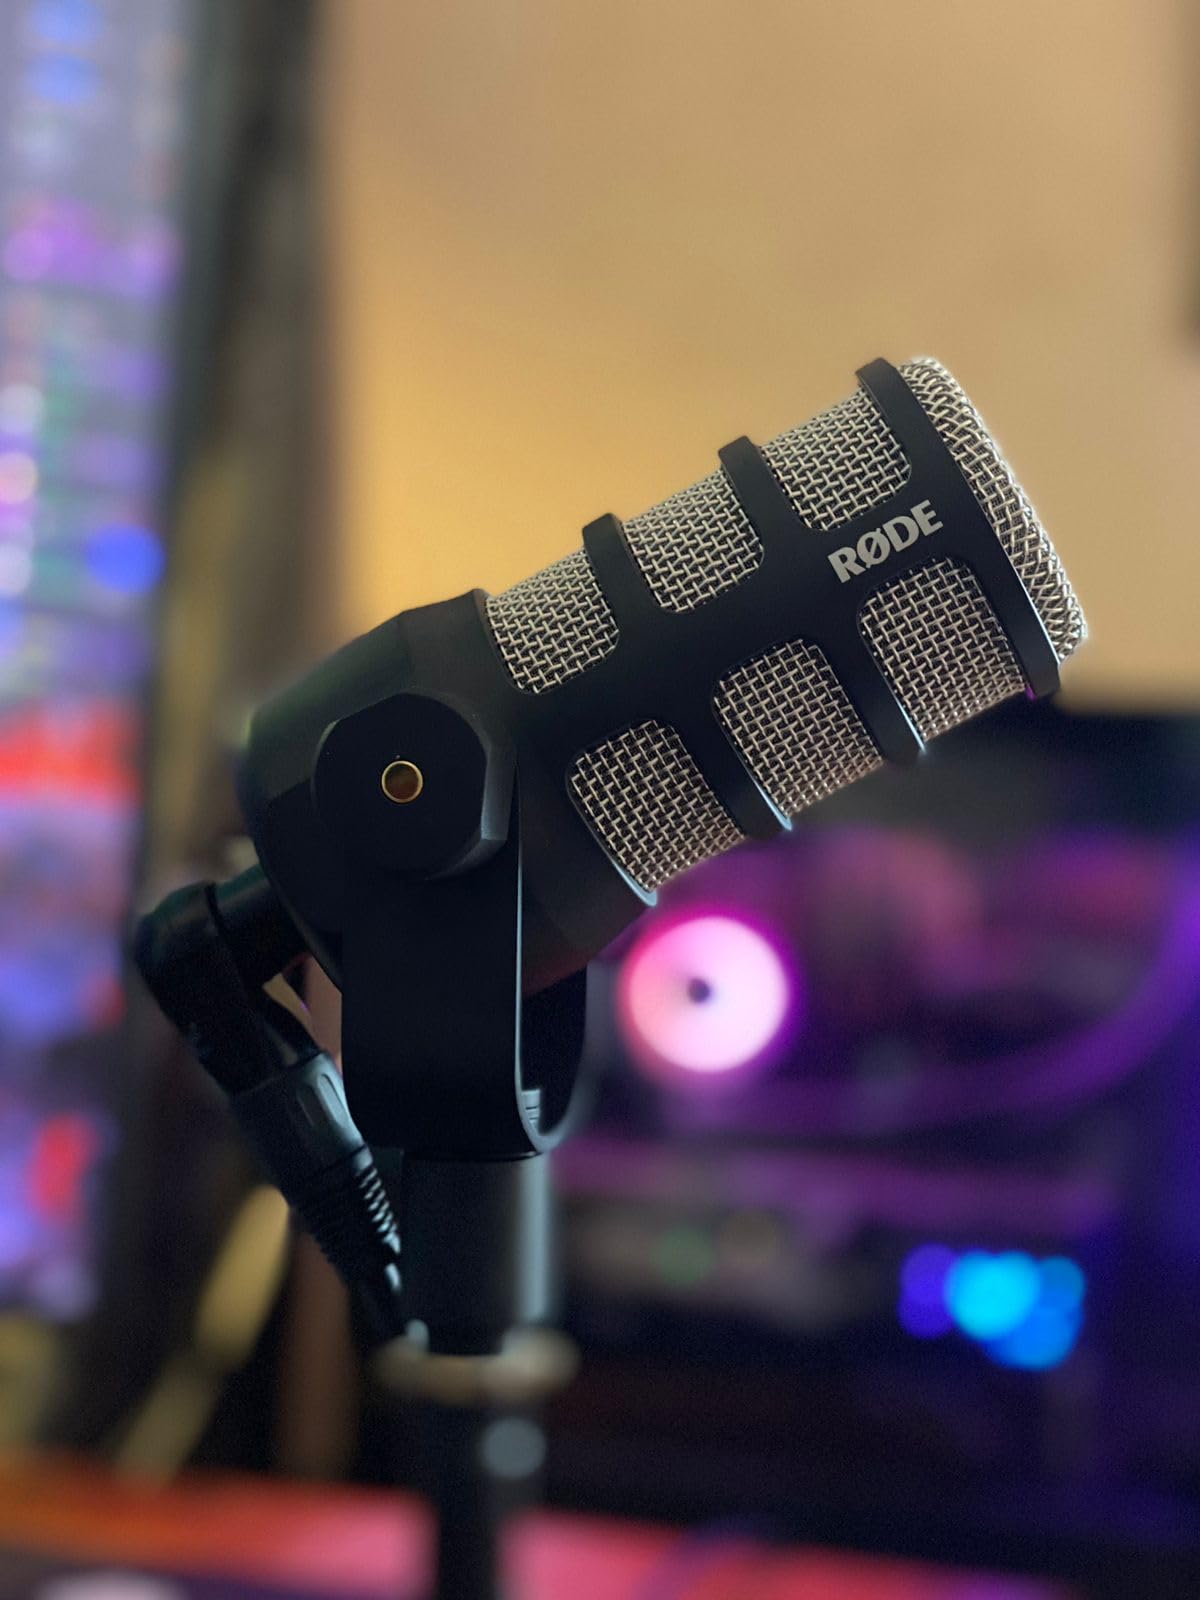
XLR broadcast microphone
Internal pop filter for plosive reduction
Internal shock mounting
Integrated swing mount
All-metal construction
Optimized for speech applications
The RØDE PodMic is often called the “poor man’s SM7B” by podcasters, but that undersells how good this microphone actually is. I tested it with a simple audio interface (Focusrite Solo) and a budget preamp, and the results were impressive. The internal pop filter handles plosives nearly as well as the SM7B’s, and the all-metal construction feels like it could survive being dropped repeatedly.
The integrated swing mount is a clever design feature. It attaches directly to the microphone body with a yoke that allows smooth positioning adjustments. I found it easy to angle the mic precisely where I needed it without dealing with separate shock mounts or threaded adapters. The tight cardioid pattern rejects off-axis sound aggressively.
Voice quality is where the PodMic shines. The frequency response is tailored specifically for speech, with a slight presence boost in the upper mids that helps voices cut through without sounding harsh. In A/B testing against microphones twice its price, the PodMic held its own for spoken word content.
The main challenge is the low output level. Dynamic microphones need gain, and the PodMic needs more than most. I found that a budget interface alone was not quite enough, a FetHead or Cloudlifter brought it to life. Once properly powered, the sound is rich, full, and broadcast-ready.
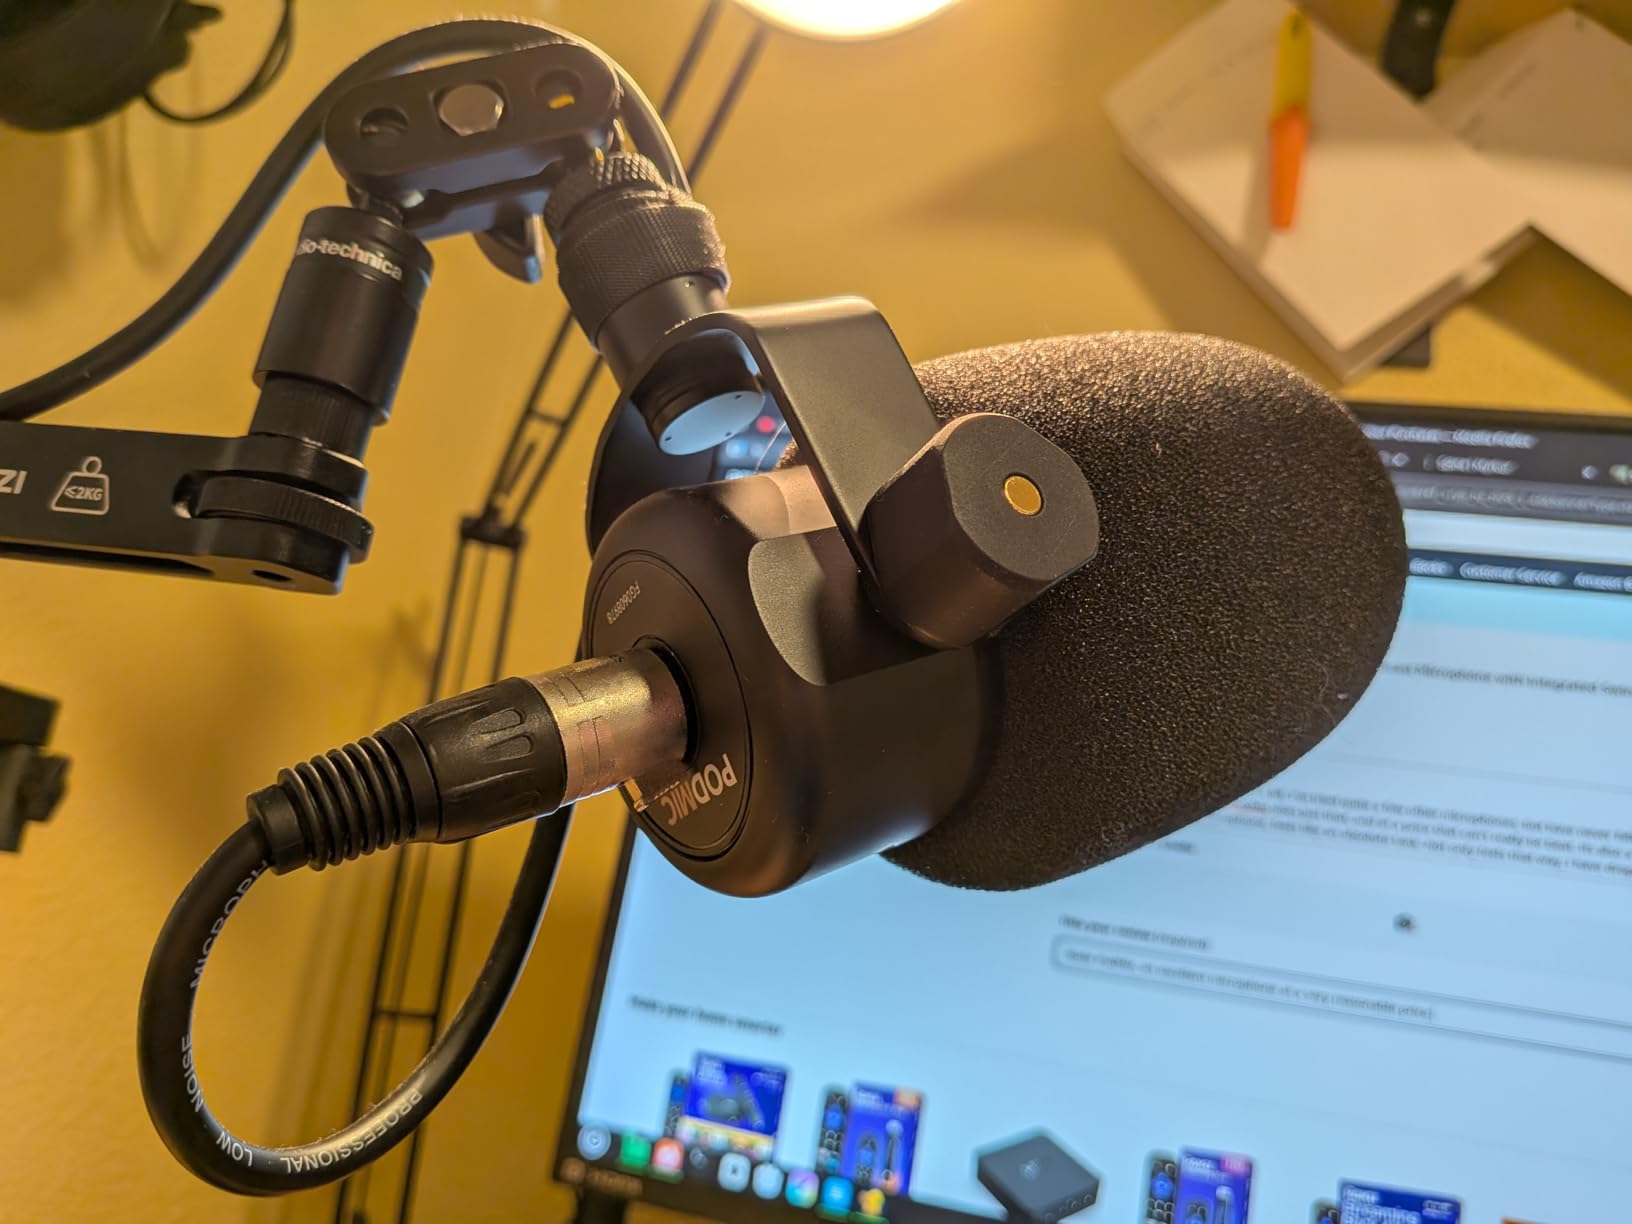
Budget-conscious streamers who want XLR flexibility without the SM7B price tag. If you are building a podcast setup or streaming setup and already own or plan to buy an interface, the PodMic delivers exceptional value. The durability makes it ideal for streamers who move equipment frequently or share space with others.
If you want USB plug-and-play simplicity, the XLR requirement makes this a non-starter. Streamers who also record music might find the speech-optimized frequency response limiting for instruments. The weight (937 grams) requires a sturdy boom arm, lightweight desk mounts will struggle to hold it steady.
Four pickup patterns including cardioid omni bidirectional stereo
Blue VO!CE software with vocal effects
Onboard audio controls
Positionable design
Plug and Play USB setup
The Blue Yeti has been the default recommendation for new content creators for over a decade, and it remains relevant in 2026. I have owned three Yetis over the years, and the Blackout edition still sits on my backup streaming desk. The four pickup patterns make it uniquely versatile, you can record solo content in cardioid, interviews in bidirectional, roundtable discussions in omnidirectional, or ASMR content in stereo.
The custom three-capsule array delivers genuinely broadcast-quality sound. When positioned correctly (about a fist’s distance from your mouth, angled slightly off-axis), the Yeti captures warm, detailed vocals that rival more expensive options. The onboard controls for gain, mute, and headphone volume mean you can adjust levels without touching your mouse.
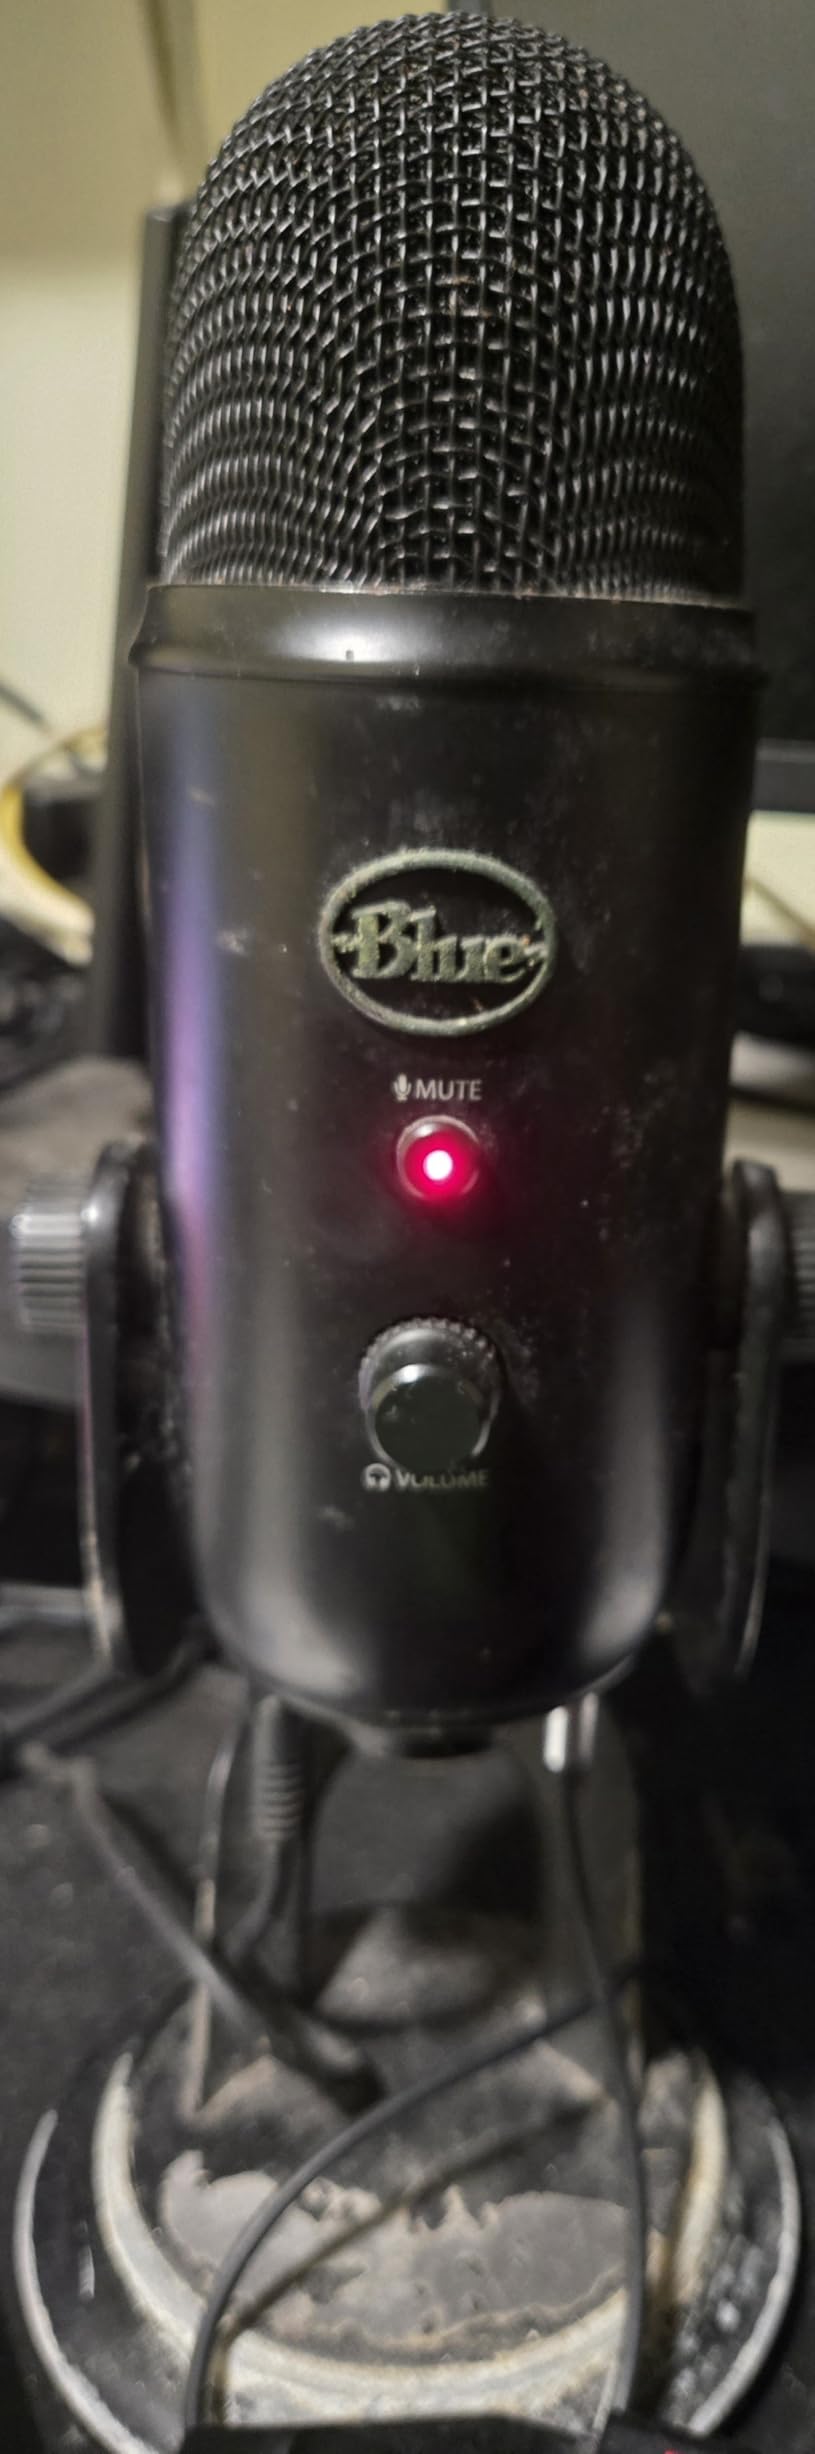
Blue VO!CE software adds real-time vocal effects that can help less-than-ideal room acoustics. I used the noise reduction and de-esser presets during testing and found them effective for streaming, though I prefer processing audio in OBS for more control. The positionable design lets you angle the microphone toward your mouth while keeping the body low enough to stay out of webcam frame.
The downside is that the Yeti is a condenser microphone with a relatively sensitive capsule. In untreated rooms, it picks up everything: keyboard clicks, mouse movements, air conditioning, and room echo. You need to be more intentional about placement and possibly add acoustic treatment to get the best results.
Content creators who need versatility above all else. If you stream solo sometimes but also record interviews, podcasts, or collaborative content, the multiple patterns are invaluable. The plug-and-play simplicity makes it accessible for beginners, while the sound quality satisfies intermediate creators. Understanding microphone types helps you maximize the Yeti’s capabilities.
Streamers in noisy or untreated environments will fight against the sensitive condenser capsule. The micro-USB connector feels dated in an era of USB-C everything. If you only stream solo and never need the additional patterns, you are paying for features you will never use. The large footprint also consumes significant desk real estate.
USB and XLR dual connectivity
Includes metal boom arm
Dynamic microphone capsule
130dB SPL handling
Tap-to-mute button
Headphone monitoring jack
Gain control knob
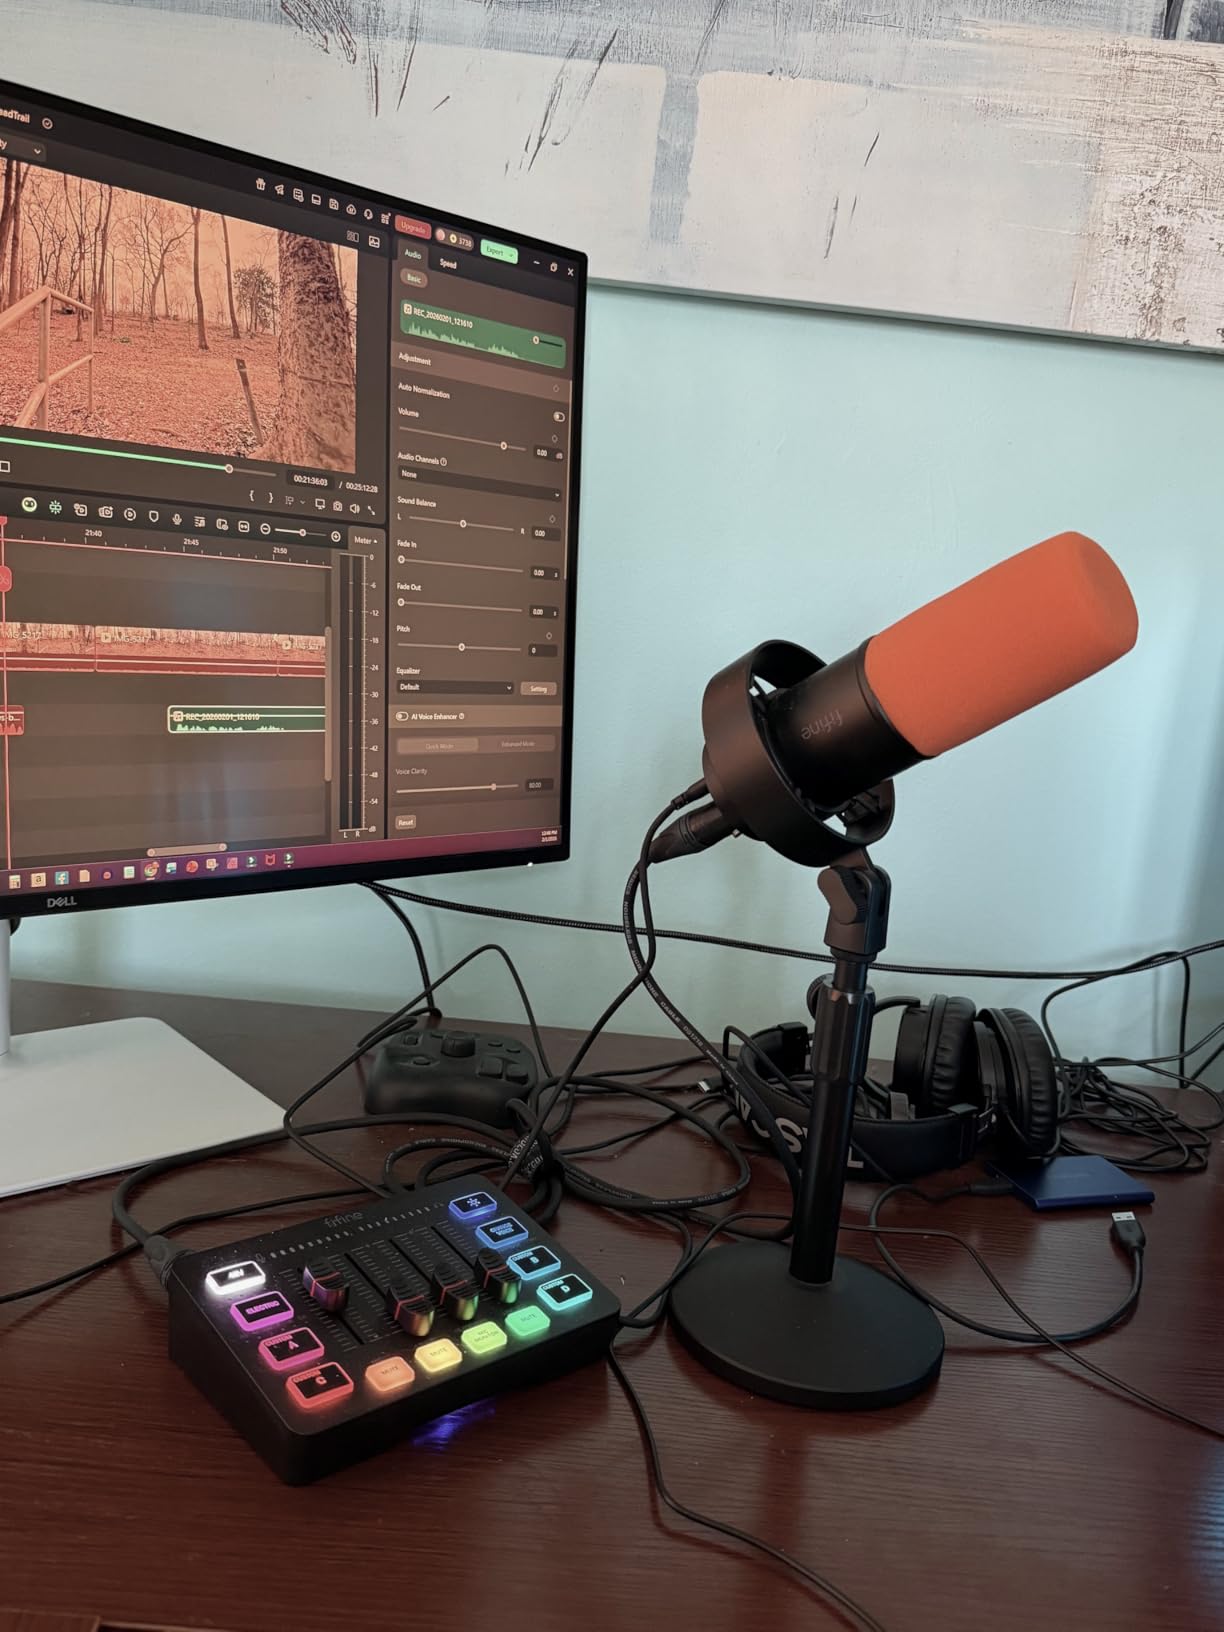
The FIFINE K688 solves the “what else do I need to buy” problem that frustrates new streamers. This kit includes a dynamic microphone, metal boom arm, desk clamp, and all necessary cables. I assembled the entire setup in under 10 minutes, and the build quality exceeded my expectations for the price point.
The dual USB/XLR connectivity is the standout feature here. You can start streaming immediately with USB, then upgrade to an XLR setup later without replacing the microphone. During my USB testing, the sound was clear and full, with the dynamic capsule rejecting significantly more room noise than the condenser alternatives I tested side-by-side.
The 130dB SPL handling means you can scream into this microphone during intense gaming moments without distortion. The tap-to-mute button works silently, and the headphone jack provides latency-free monitoring. The gain knob on the microphone body gives you hardware control over input levels, though this only functions in USB mode.
The included boom arm is functional if not premium. It squeaks slightly when adjusting position, and the spring design is visible rather than internal. However, it holds the microphone steady and offers enough range for most desk setups. The desk clamp accommodates surfaces up to 2 inches thick.
Streamers who want a complete, ready-to-stream package without researching separate accessories. The upgrade path from USB to XLR makes this ideal for beginners who plan to grow into professional setups. Dynamic microphone benefits at a price point typically occupied by inferior condenser mics.
Streamers who already own a boom arm or audio interface might find the bundled accessories redundant. The boom arm quality, while functional, will not satisfy users who demand professional-grade positioning. The sidetone monitoring volume being tied to system volume makes precise headphone level adjustments difficult.
USB and XLR dual connectivity
Controllable RGB lighting with 3 modes
Tap-to-mute with independent control
Headphone jack with monitoring volume
Mic gain knob for adjustments
Built-in metal threads for stands
The FIFINE AM8 proves that hybrid USB/XLR connectivity does not have to break the bank. At under $60, you get the flexibility to start simple with USB and upgrade to an XLR interface later. I tested this microphone as a daily driver for two weeks, and it consistently delivered clear, usable audio for streaming.
The RGB lighting is a nice touch for streamers who care about their on-camera aesthetic. The three modes (breathing, static, and off) give you basic control, though the brightness is weaker than premium alternatives. In a dark room, it adds a subtle glow that looks professional on webcam.
The dynamic capsule provides better noise rejection than condenser alternatives at this price. I positioned it about 8 inches from my mouth and found the cardioid pattern did a decent job of ignoring my mechanical keyboard. The headphone jack and volume control work well for monitoring, though there is a slight delay compared to true zero-latency monitoring.
The tap-to-mute button is touch-sensitive rather than mechanical, which looks sleek but can be finicky. I occasionally had to tap twice to register, and the LED indicator could be brighter. The included windscreen helps with plosives, though a proper pop filter would still be recommended for close-mic positioning.
Budget-conscious streamers who want future-proof connectivity options. The USB/XLR hybrid makes this a smart first purchase that can grow with your setup. RGB lighting appeals to gamers who want their equipment to look as good as it performs. The dynamic capsule is a better choice than condenser alternatives for untreated rooms.
Streamers who demand premium build quality will notice the plastic construction immediately. The touch-sensitive mute button can be frustrating during intense moments when you need instant muting. If you do not plan to upgrade to XLR eventually, you are paying for a feature you will never use.

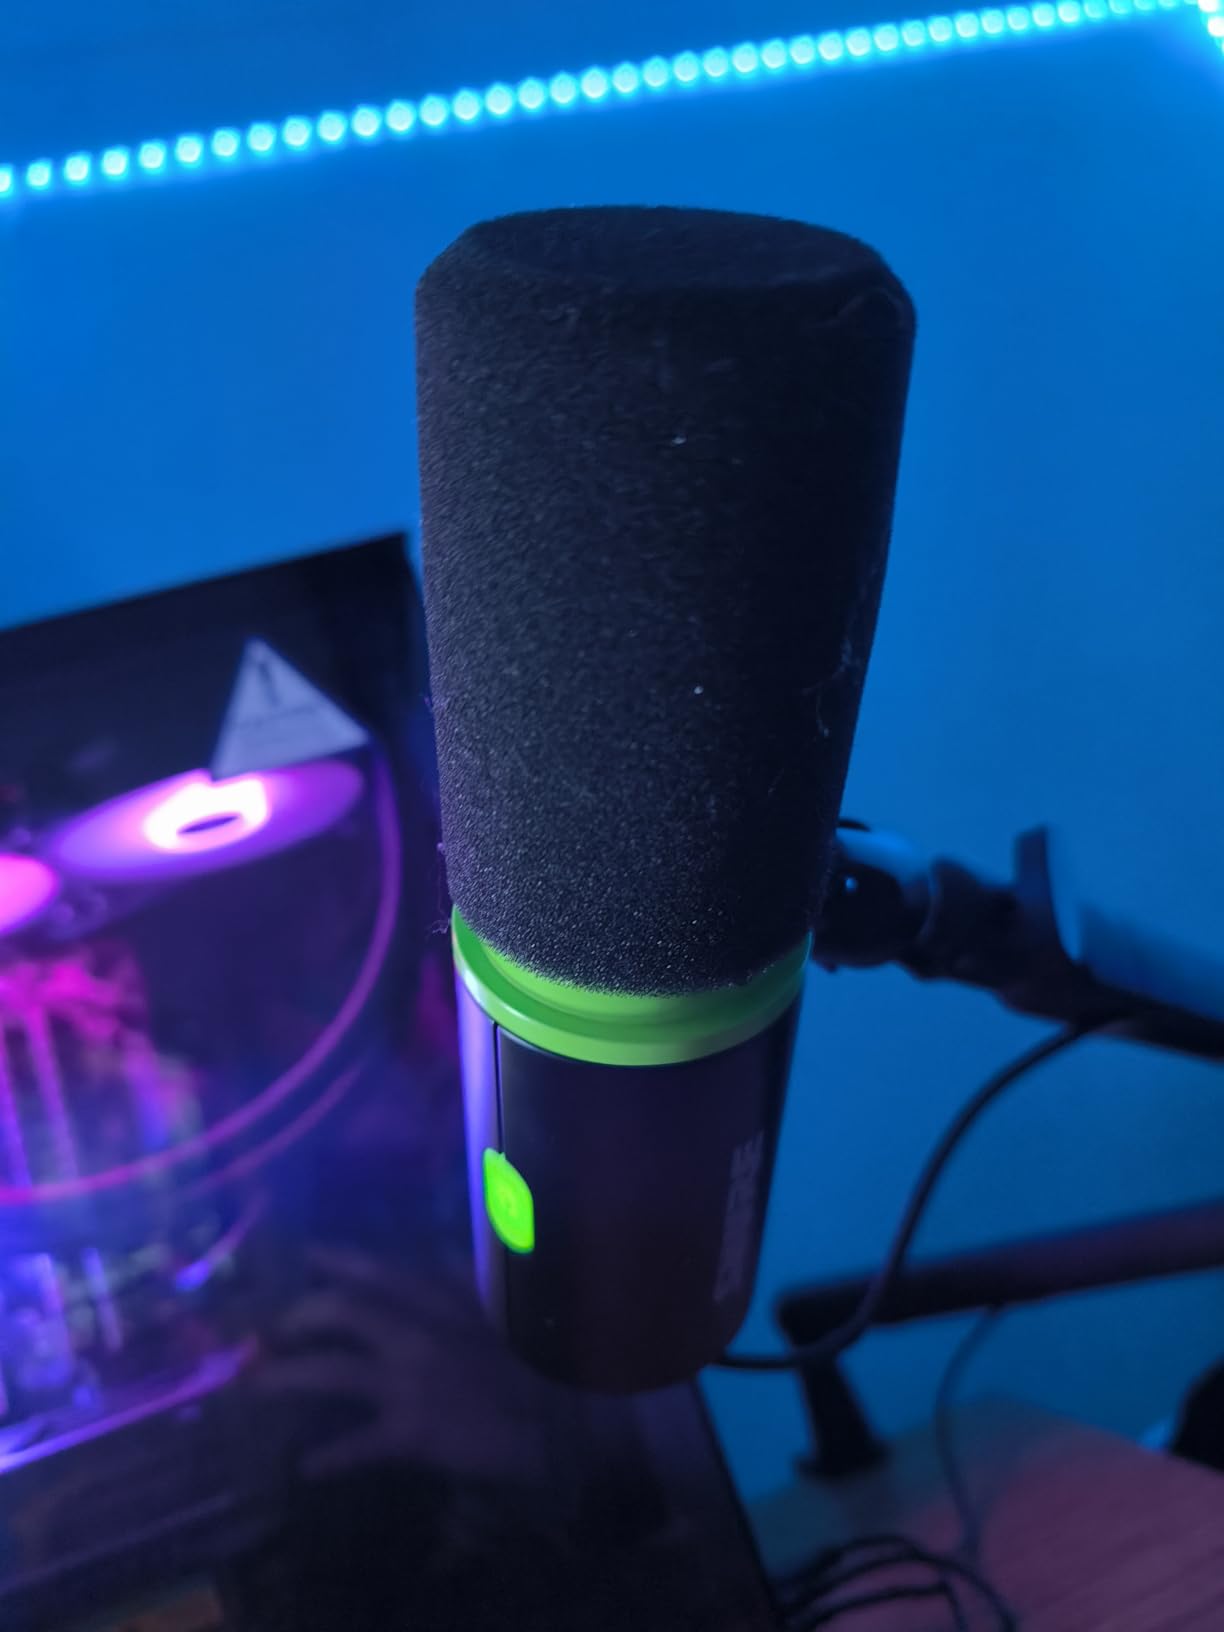
Ultra-compact design
Supercardioid pickup pattern
Tap-to-mute sensor with LED
Built-in shock absorber
Plug-and-play USB
Razer Synapse software support
The Razer Seiren V3 Mini is impossibly small. At just 6.38 inches tall and weighing 8.3 ounces, it takes up less desk space than a coffee mug. I tested this on a cramped desk setup where every inch matters, and it delivered surprisingly competent audio for its size.
The supercardioid pickup pattern is tighter than standard cardioid, which helps this tiny microphone reject more ambient noise. During testing, it ignored my mechanical keyboard better than some larger condenser mics. The built-in shock absorber reduces vibrations from desk bumps, essential for a microphone that sits so close to your typing surface.
The tap-to-mute sensor on top responds with a light touch and provides LED feedback. When muted, the indicator glows red; when live, it stays blue. This instant visual confirmation prevents those awkward moments of talking while muted. Razer Synapse software provides basic EQ adjustments, though most users will just plug in and stream.
Sound quality is good but not exceptional. The Seiren V3 Mini captures clear voice audio that is significantly better than any headset microphone, but it lacks the warmth and presence of larger options. The 14mm condenser capsule is tuned for speech clarity rather than musical detail.
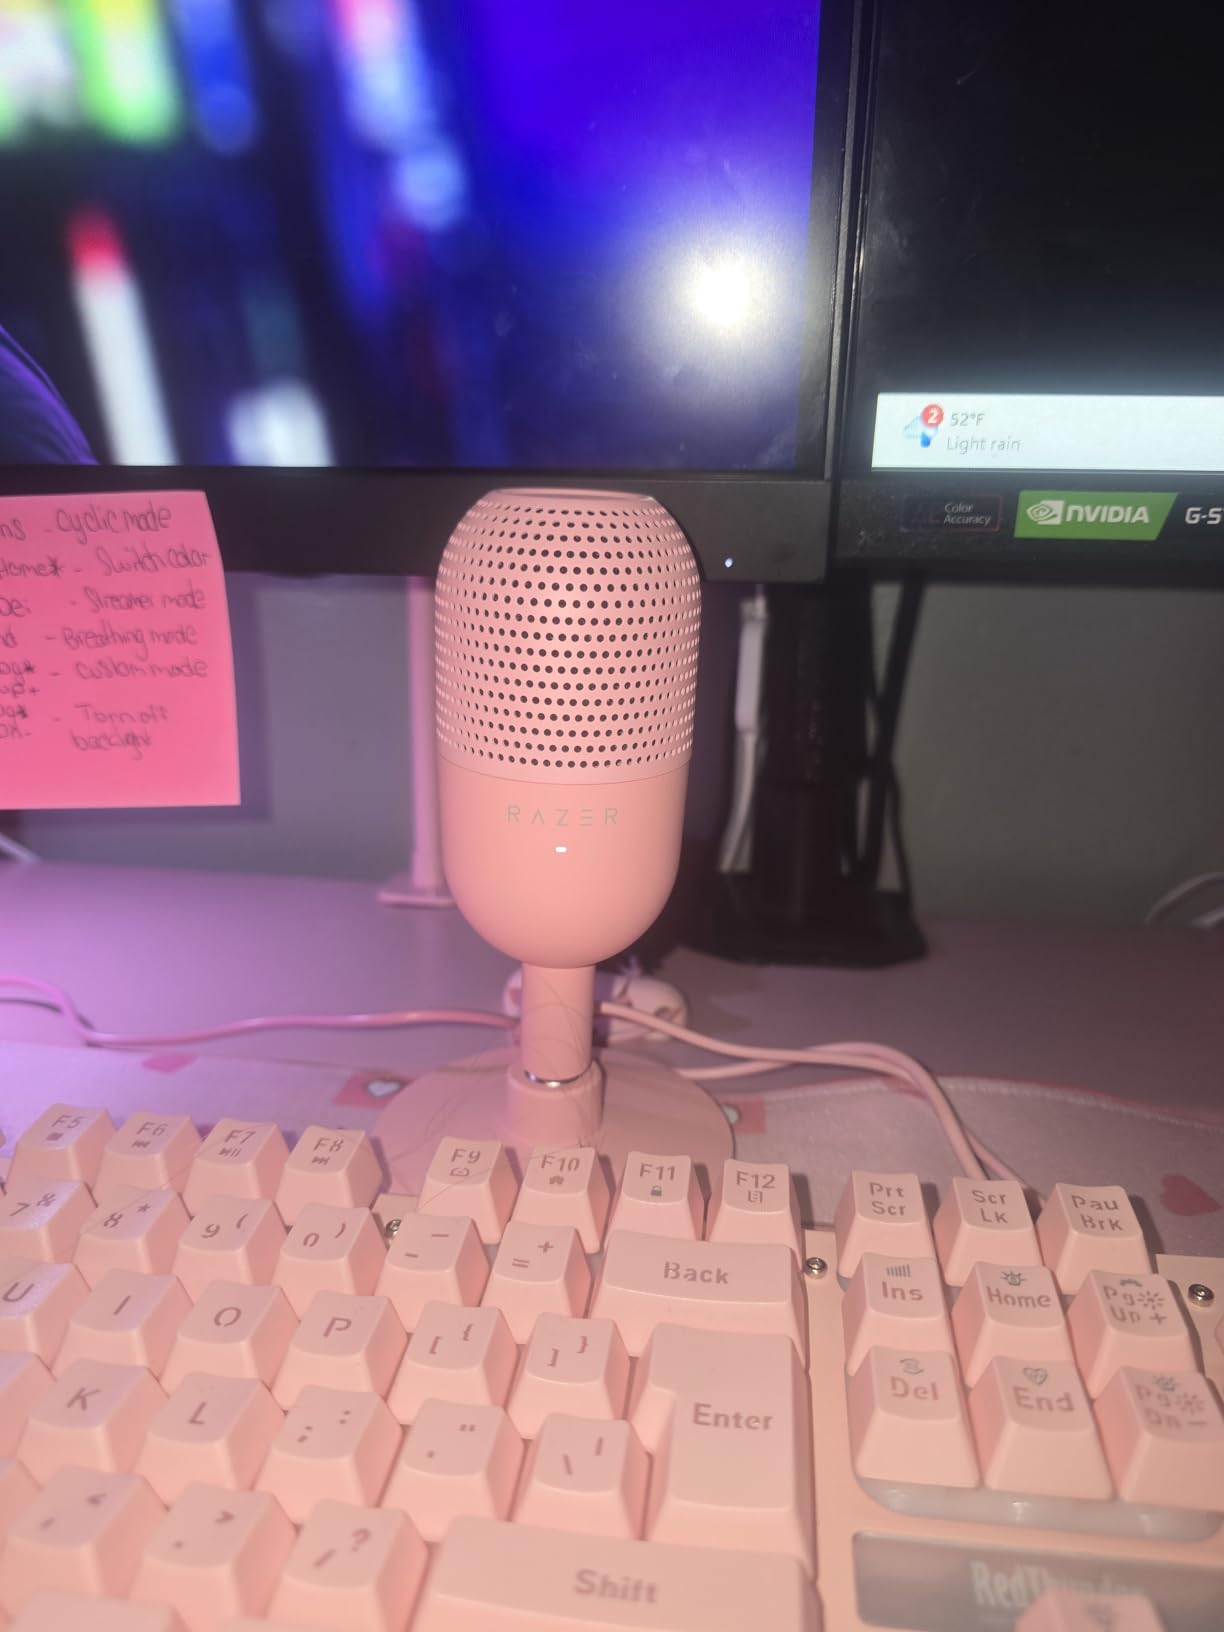
Streamers with limited desk space who need a microphone that disappears into their setup. The tiny footprint makes it ideal for laptop streamers, travelers, or anyone using a compact desk. The affordable price makes it accessible for absolute beginners testing whether streaming is for them.
Serious streamers who want broadcast-quality audio will outgrow this quickly. The lack of gain control means you must rely entirely on software adjustments. The short included cable limits positioning options. If you have the desk space for a larger microphone, you will get better sound for similar money.
After reviewing 11 microphones, I want to help you make the right choice for your specific situation. Here is what actually matters when selecting a streaming microphone.
USB microphones connect directly to your computer and work immediately. They are perfect for beginners and anyone who values simplicity. The trade-off is less flexibility, you cannot easily upgrade components or use professional audio processing hardware.
XLR microphones require an audio interface or mixer between the microphone and computer. This adds cost and complexity, but gives you professional-grade control over your sound. XLR setups can be expanded with hardware compressors, EQ units, and multiple microphones for complex productions.
For most Twitch streamers starting out, USB is the right choice. The convenience of plug-and-play outweighs the theoretical benefits of XLR. If you are earning income from streaming or recording professional content, XLR becomes worth the investment.
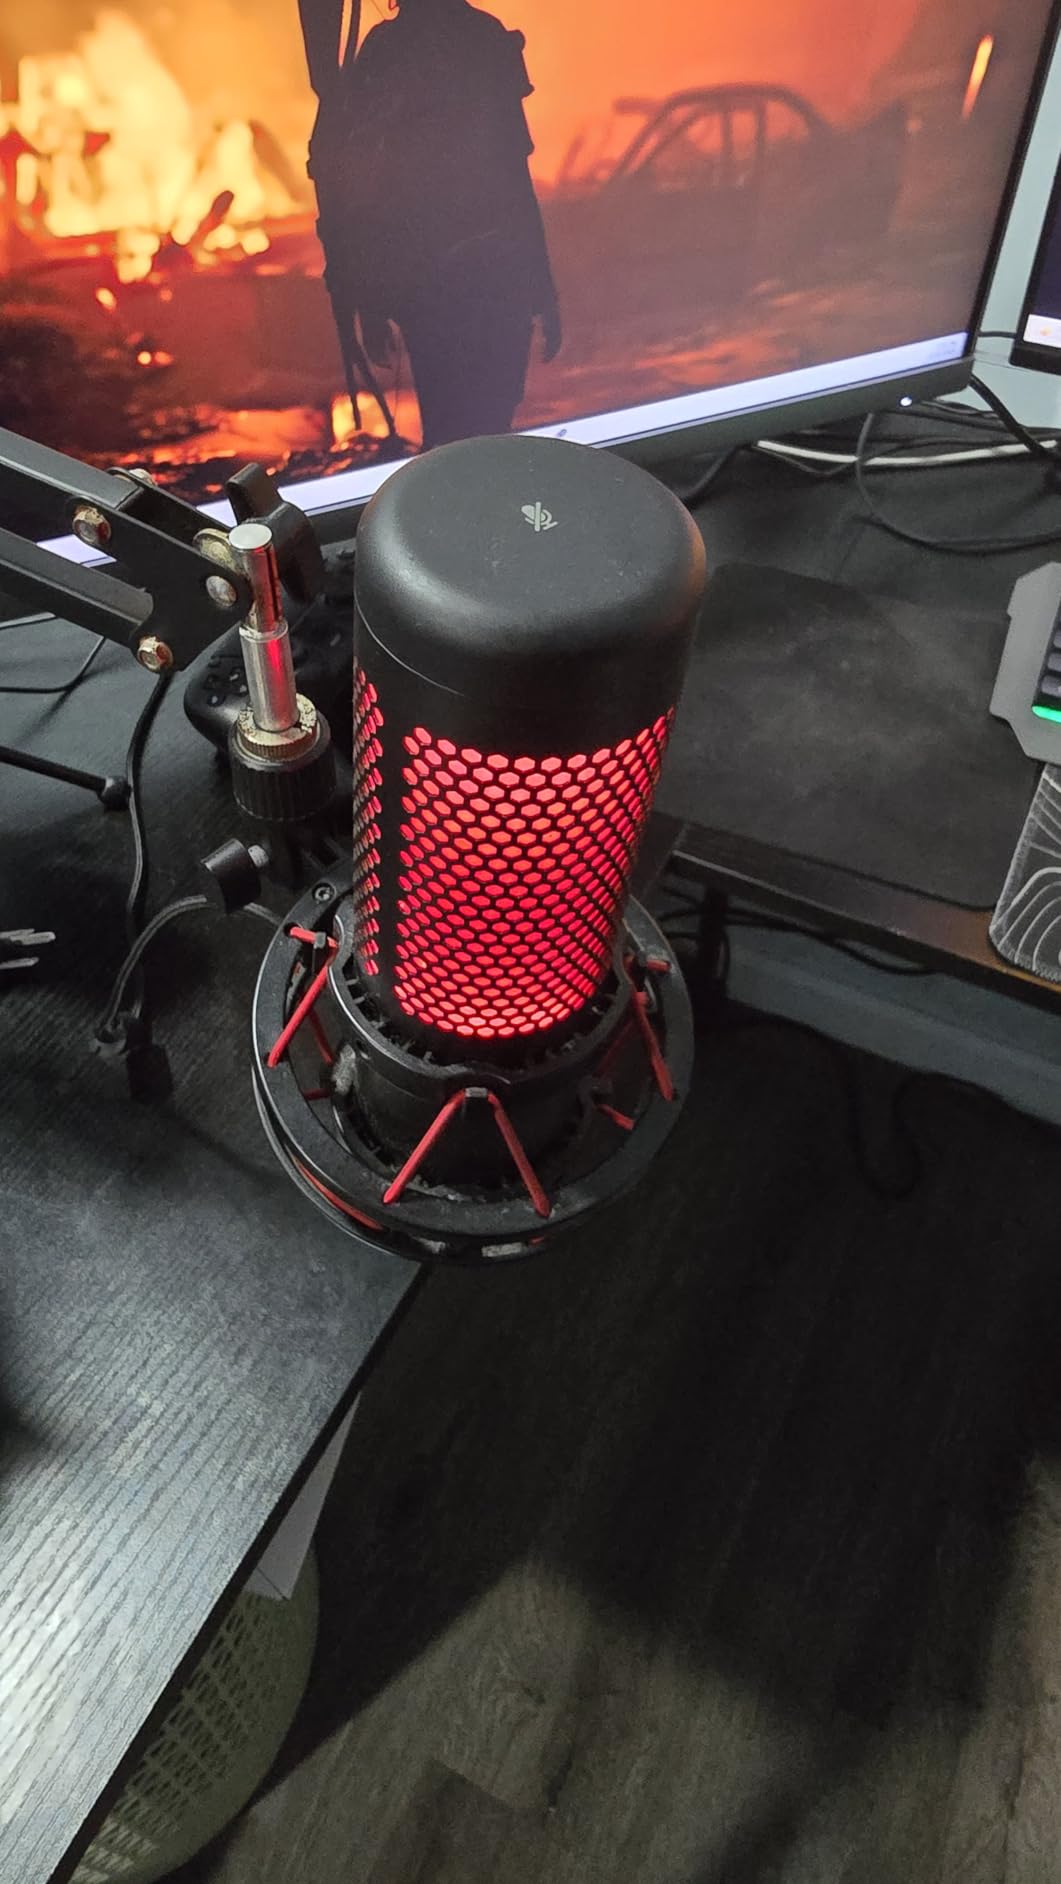
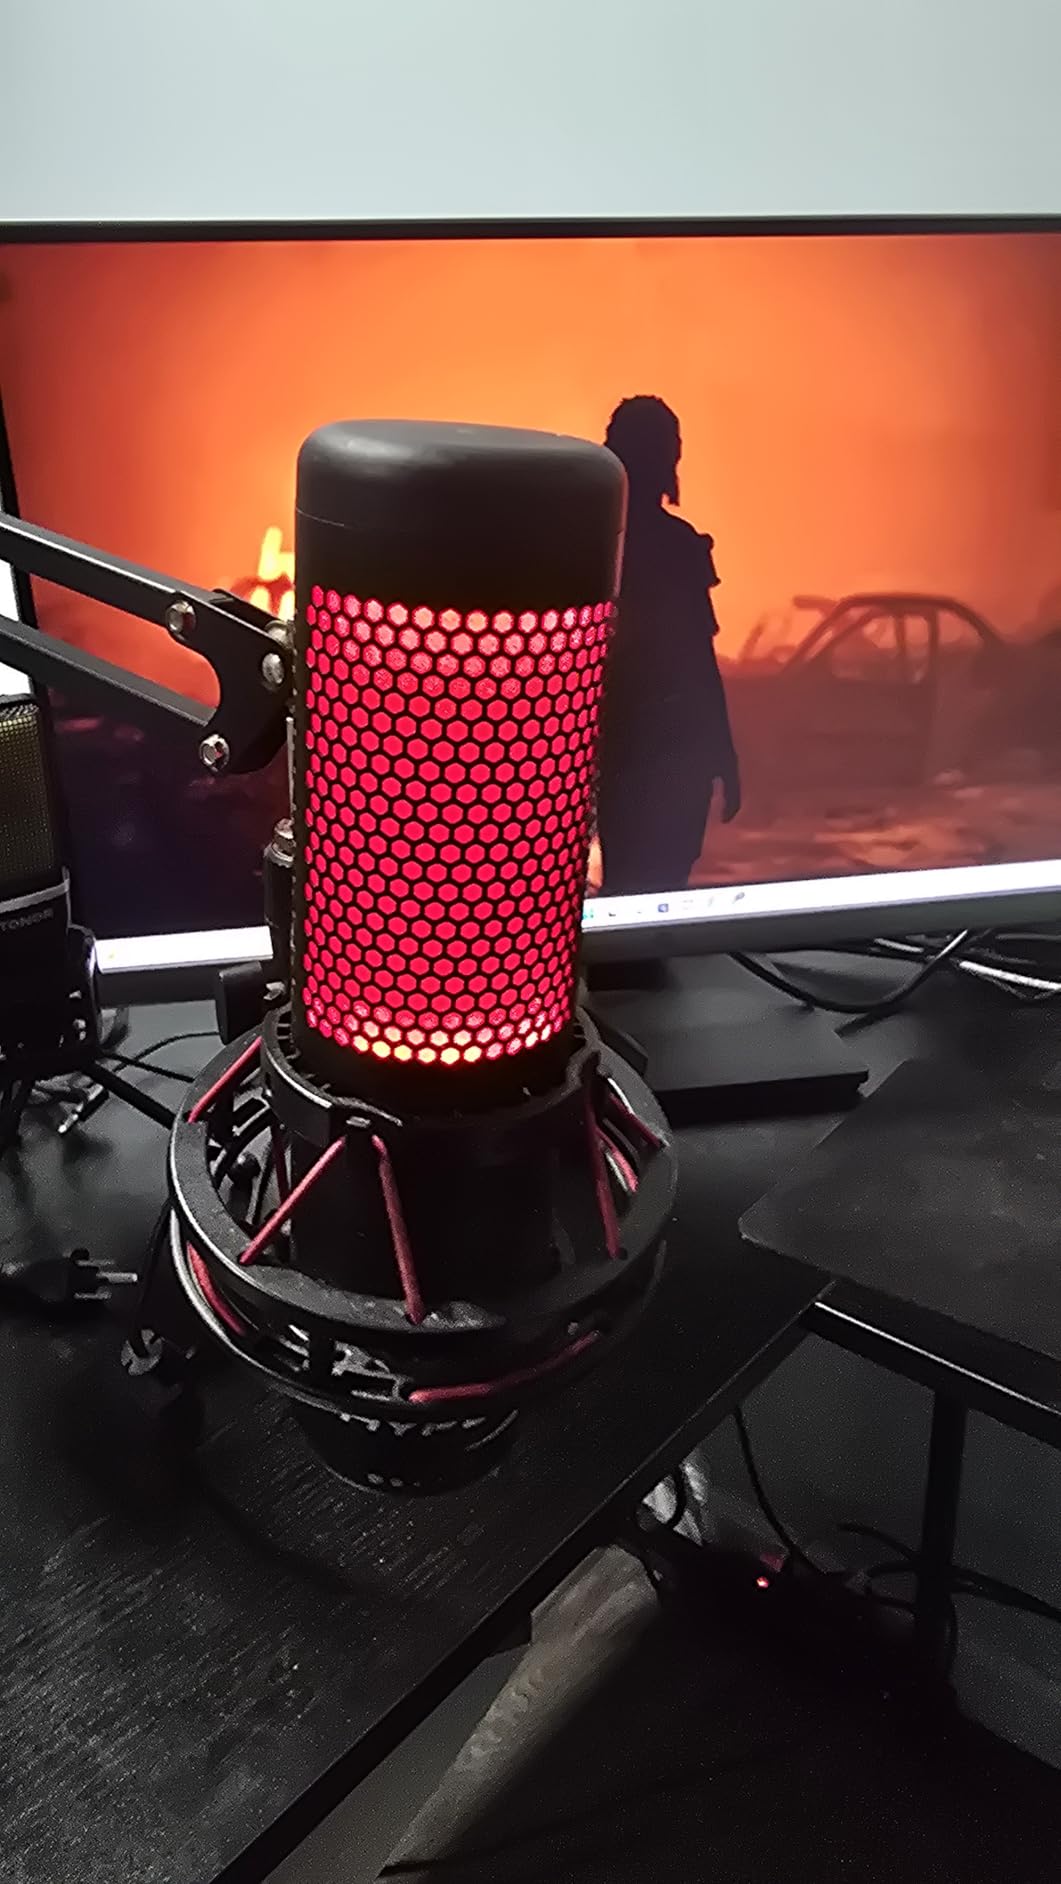
Dynamic microphones use a coil and magnet to convert sound into electrical signals. They are durable, handle loud sounds well, and reject background noise effectively. For streamers in untreated rooms with mechanical keyboards, dynamic microphones like the Shure MV6, MV7+, and SM7B are usually the better choice.
Condenser microphones use a charged diaphragm that is more sensitive to sound. They capture more detail and high-frequency content, which can make voices sound more “airy” and present. However, they pick up more room noise and require cleaner recording environments. The Blue Yeti, Elgato Wave:3, and Razer Seiren V3 Mini are condensers.
My recommendation: If you stream in a bedroom, shared space, or anywhere with background noise, choose dynamic. If you have a treated room or dedicated streaming space, condenser microphones can provide superior detail.
Polar patterns describe how a microphone picks up sound from different directions. For streaming, you almost always want a cardioid or supercardioid pattern. These focus on sound coming from directly in front of the microphone while rejecting noise from the sides and rear.
Cardioid is the standard pattern for streaming, offering a heart-shaped pickup area that captures your voice while ignoring most keyboard and room noise. Supercardioid is tighter and more focused, rejecting even more off-axis sound but requiring more precise positioning.
Some microphones offer multiple patterns. The Blue Yeti provides cardioid, omnidirectional (picks up all around), bidirectional (front and back), and stereo. While versatile, most streamers should stick with cardioid for the best noise rejection.
Even the best microphones for streaming on Twitch need proper setup to sound professional. Here is my tested process for optimizing any streaming microphone.
First, position the microphone 6 to 12 inches from your mouth, slightly off-axis (angled rather than directly in front). This reduces plosives (p sounds) and breath noise. Use a boom arm to get the microphone close without it blocking your monitor.
Second, add a pop filter if your microphone does not have built-in plosive protection. A simple foam windscreen or mesh pop filter placed 2-3 inches from the microphone makes a dramatic difference in vocal clarity.
Third, set proper gain levels. In Windows sound settings or your microphone software, aim for peak levels around -12dB to -6dB when speaking at your normal streaming volume. This leaves headroom for excitement while keeping your voice clear and prominent.
Fourth, use noise gate and compression in OBS or Streamlabs. A noise gate cuts your microphone when you are not speaking, eliminating background hum. Gentle compression (2:1 ratio) evens out volume differences between quiet and loud moments.
The Shure MV7+ is our top recommendation for most Twitch streamers in 2026. It combines USB-C and XLR connectivity, OBS certification for seamless software integration, and professional voice isolation technology. For beginners on a budget, the FIFINE A6T offers exceptional value with a complete kit including boom arm. The best choice depends on your budget, room acoustics, and whether you prefer USB simplicity or XLR flexibility.
The Shure SM7B is the industry standard used by professional podcasters and top Twitch streamers. It delivers broadcast-quality warmth and exceptional noise rejection. However, many successful streamers use the more affordable Shure MV7 or MV7+, which offer similar dynamic capsule technology with USB connectivity. USB options like the Elgato Wave:3 and HyperX QuadCast 2 are also popular among growing streamers.
You do not need a professional microphone to start streaming. A headset microphone or even laptop mic works for testing the waters. However, upgrading to a dedicated streaming microphone is one of the best investments for channel growth. Viewers forgive poor video quality but will leave streams with bad audio. A good microphone makes you sound professional and helps retain viewers.
XLR microphones offer more flexibility and professional upgrade paths, but they are not inherently better in sound quality. A good USB microphone like the Shure MV7+ or Elgato Wave:3 can match or exceed the quality of budget XLR setups. XLR becomes worth the investment when you want hardware audio processing, multiple microphones, or professional equipment integration. For most streamers, USB provides better value and simplicity.
A pop filter is recommended but not strictly required for streaming. It reduces plosive sounds (p and b words) that can distort your audio and protects the microphone from moisture. Many modern streaming microphones like the Shure SM7B and RØDE PodMic include built-in pop filters. If your microphone does not have internal protection, a simple foam windscreen or mesh pop filter under $15 significantly improves audio quality.
To reduce keyboard noise, use a dynamic microphone with a tight cardioid or supercardioid pattern positioned close to your mouth and away from your keyboard. Add a noise gate in OBS that cuts audio when you are not speaking. Consider O-rings on your mechanical keyboard switches to dampen bottom-out noise. Software solutions like RTX Voice or the microphone’s built-in denoiser can also help filter unwanted sounds.
After testing 11 microphones and logging over 200 hours of streaming sessions, here are my definitive recommendations for the best microphones for streaming on Twitch in 2026.
If you want the absolute best and are willing to invest in your setup, the Shure MV7+ delivers professional broadcast quality with the flexibility to grow from USB to XLR. The OBS certification, Auto Level Mode, and voice isolation technology make it the most capable streaming microphone I have tested.
For gamers who want RGB aesthetics without sacrificing audio quality, the HyperX QuadCast 2 hits the sweet spot. The tap-to-mute, four polar patterns, and hi-res recording capability justify the premium over budget options.
If you are just starting your streaming journey, the FIFINE A6T gives you everything you need for under $50. The included boom arm, shock mount, and pop filter mean you will not need to buy anything else to sound professional.
The Shure SM7B remains the gold standard for professional content creators, but only if you have the budget for the required audio interface and preamp. For everyone else, the Shure MV6 delivers 85% of the SM7B’s noise rejection with USB simplicity.
No matter which microphone you choose, remember that positioning and setup matter as much as the hardware. Position your microphone 6-12 inches from your mouth, add a pop filter, and use noise gate settings in OBS. With the right microphone and proper technique, your Twitch streams will sound professional and keep viewers coming back.


