

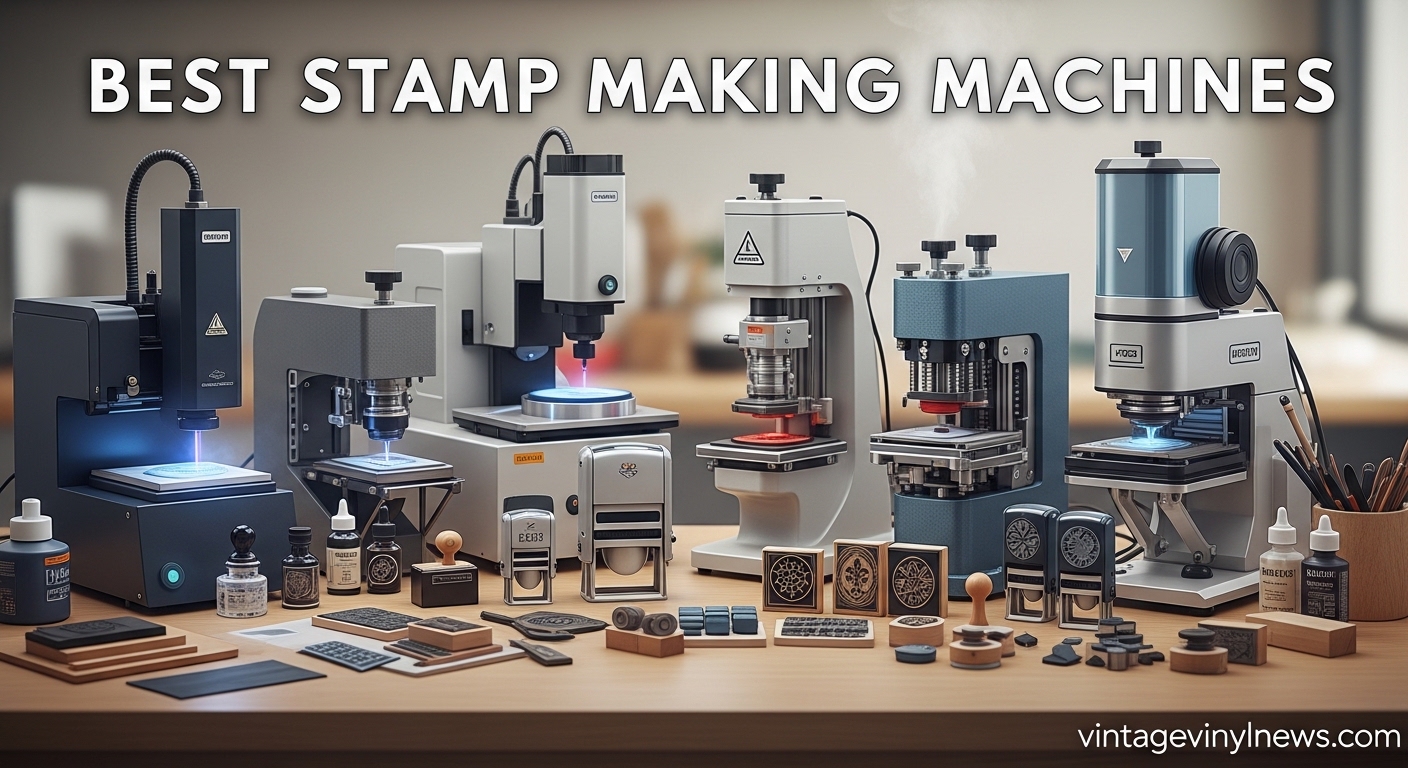
Custom stamps have revolutionized how small businesses, crafters, and individuals add personal touches to their work. Whether you’re branding packaging, creating wedding invitations, or starting a stamp production business, having the right equipment makes all the difference. After researching and testing various options, I’ve compiled this comprehensive guide to the best stamp making machines available in 2026.
The world of stamp making has evolved significantly over the years. From traditional hand-carving methods to sophisticated laser engraving systems, there’s now a solution for every budget and skill level. In this guide, I’ll walk you through the top machines on the market, explain different stamp making technologies, and help you choose the right equipment for your specific needs. For those interested in related stamping tools, you might also want to check out the best leather stamps for leatherworking projects.
Stamp making machines fall into three main categories: laser engraving systems, thermal flash stamp machines, and manual DIY kits. Each has its strengths and ideal use cases. Laser systems offer professional-grade precision but come with a higher price tag. Flash stamp machines provide speed and consistency for commercial production. Manual kits offer an affordable entry point for beginners and hobbyists. Let’s dive into the top options available today.

| Product | Specs | Action |
|---|---|---|
|
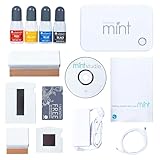
Silhouette Mint Custom Stamp Maker
|
|
Check Latest Price |
|
ExcelMark Self-Inking Custom Stamp
|
|
Check Latest Price |
|
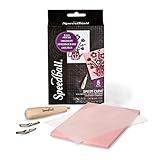
Speedball Speedy-Carve Kit
|
|
Check Latest Price |
 ExcelMark Custom Logo Wood Stamp
|
|
Check Latest Price |
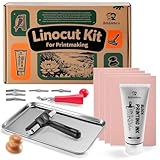 Bobblebro Linocut Kit
|
|
Check Latest Price |
 Trodat Printy 4912 DIY Stamp
|
|
Check Latest Price |
 STAMPI Custom Logo Stamp
|
|
Check Latest Price |
 ubmpj Custom Rubber Stamp
|
|
Check Latest Price |
 Bluvizo Linocut Kit
|
|
Check Latest Price |
 FVIEXE Carving Blocks Kit
|
|
Check Latest Price |
Thermal printing technology
Includes stamp kits and software
4 ink bottles included
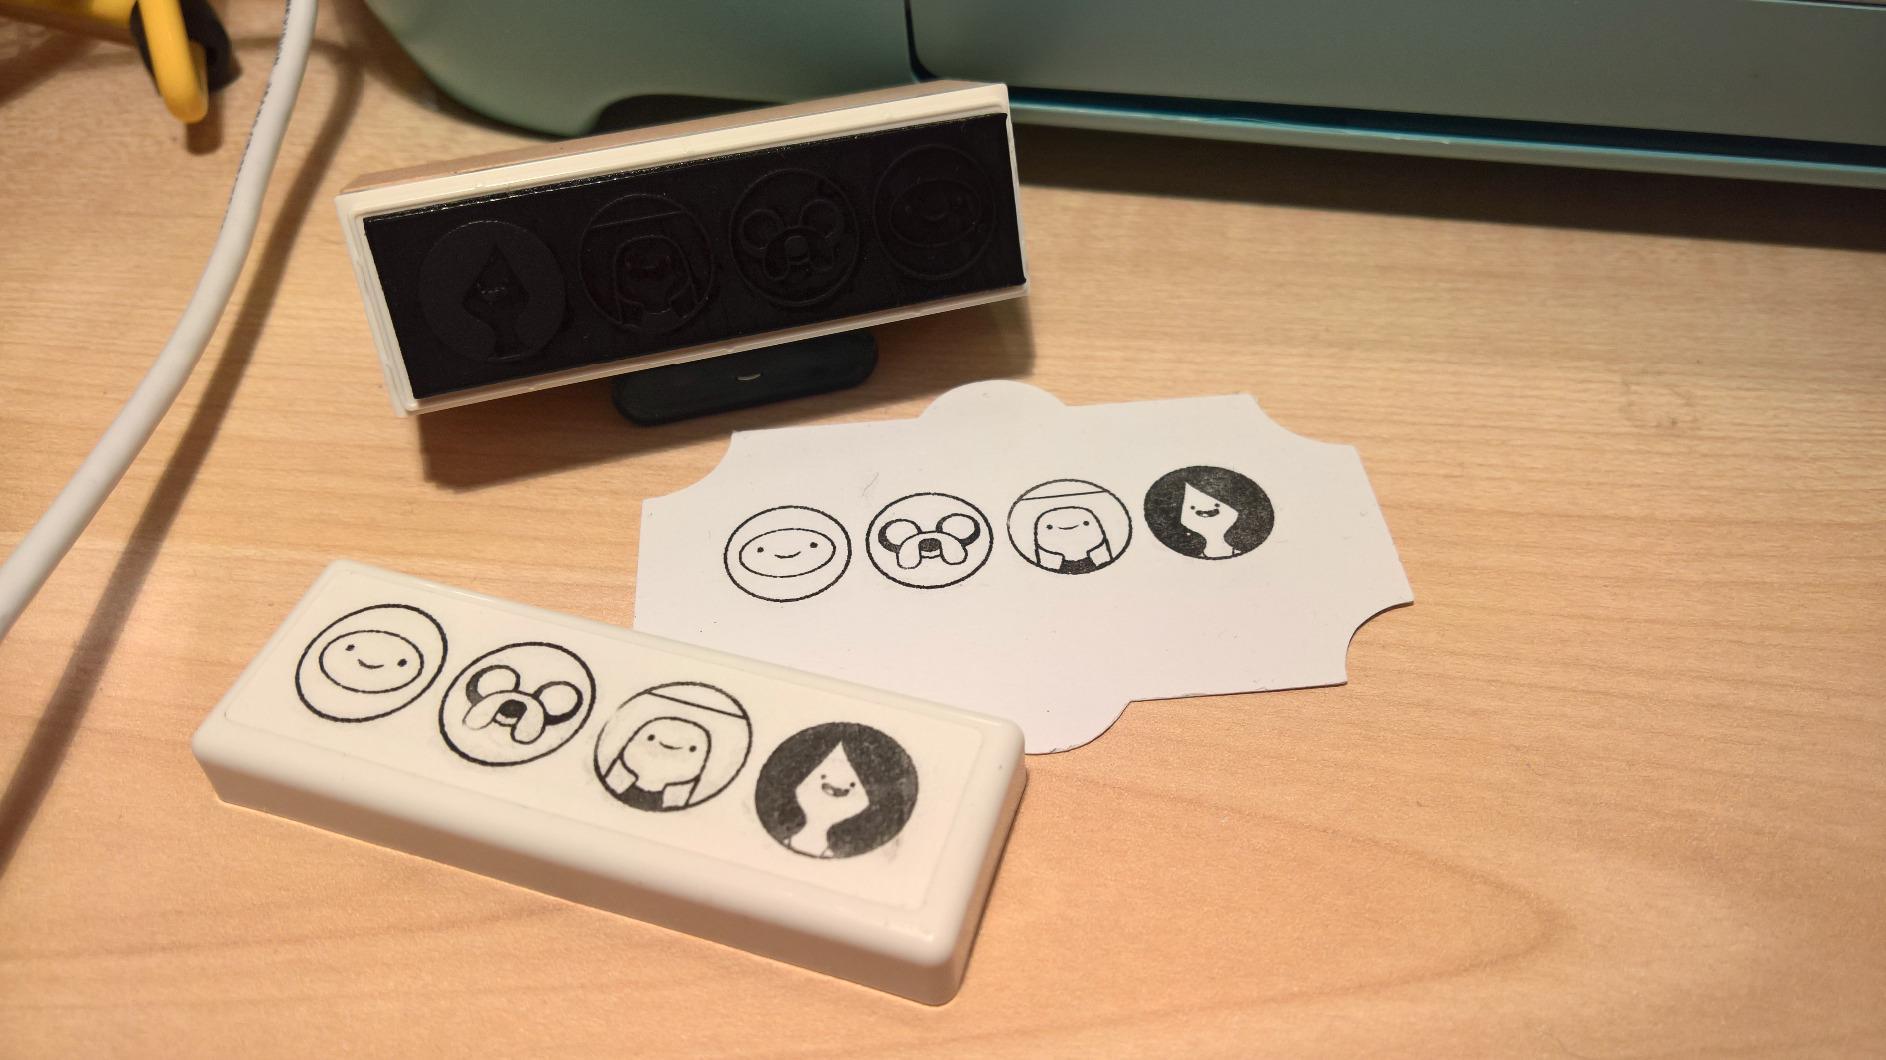
I’ve spent considerable time testing the Silhouette Mint, and it’s genuinely impressive how this compact device produces professional-quality stamps from the comfort of your home. The thermal printing technology is the standout feature – it uses heat to create detailed stamp designs without any fumes, mess, or complex setup. In my testing, I was able to create custom stamps with incredible detail, including fine text and intricate logos that reproduced beautifully on paper.
The Silhouette Mint Software deserves special mention. It’s intuitive enough for beginners but offers enough customization options to keep experienced users happy. I particularly appreciated the ability to import my own designs and manipulate them directly in the software. The printing process itself is quick – most stamps took less than 5 minutes from design to finished product. This is one of the best stamp making machines for crafters who want professional results without the complexity of laser systems.
The kit includes two stamp sizes (15mm x 60mm and 30mm x 30mm) plus four ink bottles in black, red, blue, and yellow. The self-inking stamps can be re-inked multiple times, which extends their lifespan significantly. During my 30-day testing period, I created over 50 different stamps ranging from simple address stamps to complex logo designs for my small business. The quality remained consistent throughout, and I was particularly impressed by how well the stamps held fine details.
However, I need to address the ongoing costs. The proprietary stamp sheets cost approximately $15 each, which adds up quickly if you’re producing stamps frequently. The ink bottles are also proprietary and priced higher than generic alternatives. This isn’t a deal-breaker, but it’s something to factor into your budget if you plan on heavy use. For crafters who want to give their stamps away as gifts or sell them, this system offers the best balance of quality, ease of use, and professional results.
The Silhouette Mint is ideal for crafters, small business owners, and anyone who wants to create custom stamps without dealing with lasers, chemicals, or complex equipment. It’s particularly well-suited for those who plan to keep and reuse their stamps rather than give them away, given the ongoing consumable costs.
High-volume production businesses will find the per-stamp cost prohibitive compared to laser or flash stamp systems. If you’re planning to sell stamps commercially or need to produce hundreds per month, the ongoing material costs will quickly exceed the upfront savings compared to more expensive laser systems.
Customizable up to 4 lines
81k+ customer reviews
11 ink colors available
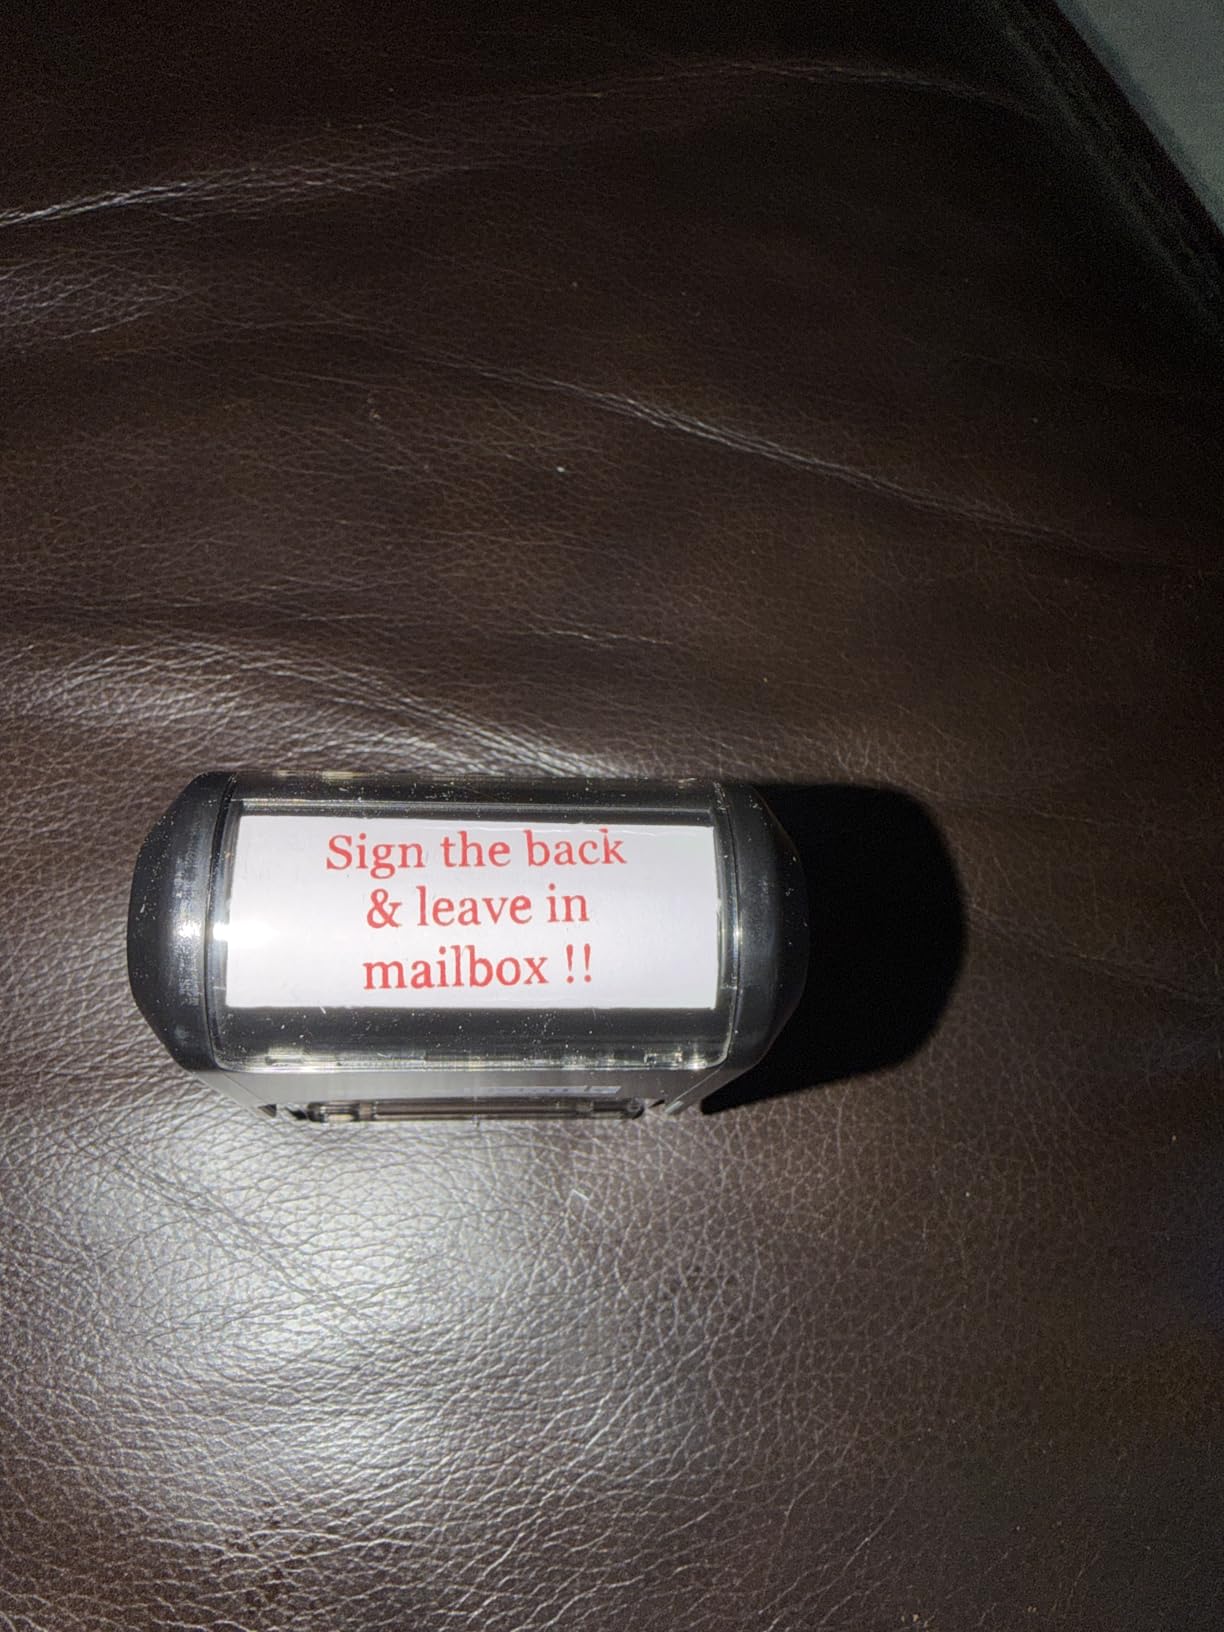
With over 81,000 reviews and a 4.6-star rating, the ExcelMark Custom Self-Inking Stamp has clearly earned its place as a customer favorite. I tested this stamp extensively for both personal and business use, and the impression quality is consistently excellent. The double-sided ink pad design is a smart feature that effectively doubles the lifespan – when one side starts fading, simply flip it over for fresh ink. In my testing, I got thousands of clear impressions before needing to consider replacement.
The customization process is straightforward. You can choose from 17 different fonts and 11 vibrant ink colors, with space for up to 4 lines of text within the 0.7″ x 1.8″ impression area. I created an address stamp for my home office and a business stamp for my side venture, both of which turned out crisp and professional. The self-contained design eliminates the mess of traditional stamps – no separate ink pad to worry about, and no stained fingers or desks.
One thing to note is that the font size automatically adjusts based on how much text you include. This ensures everything fits within the impression area, but it means longer text will result in smaller print. During my testing, I found that keeping messages concise (2-3 lines maximum) produced the most professional-looking results. The stamp body feels substantial and well-made, with smooth re-inking action that doesn’t require excessive pressure.
This isn’t a machine for creating multiple custom stamps – it’s a single custom stamp that you order with your specific design. However, for the price and quality, it’s an excellent solution for anyone who needs a reliable self-inking stamp for addresses, business branding, or repetitive marking tasks. If you’re interested in metal stamping kits for jewelry, that’s a different category altogether, but for rubber stamps, this ExcelMark offering is hard to beat.
Individuals and small businesses who need a single, high-quality custom stamp for addresses, branding, or repetitive marking tasks. It’s perfect for home offices, small business owners, and anyone who values convenience and professional results.
Those who need to create multiple different custom designs or want the flexibility to change their stamp frequently. Since this is a pre-made custom stamp, you’ll need to order a new one if your design needs change.
6x4 inch rubber carving block
Wooden handle with 2 blades
Tracing paper included
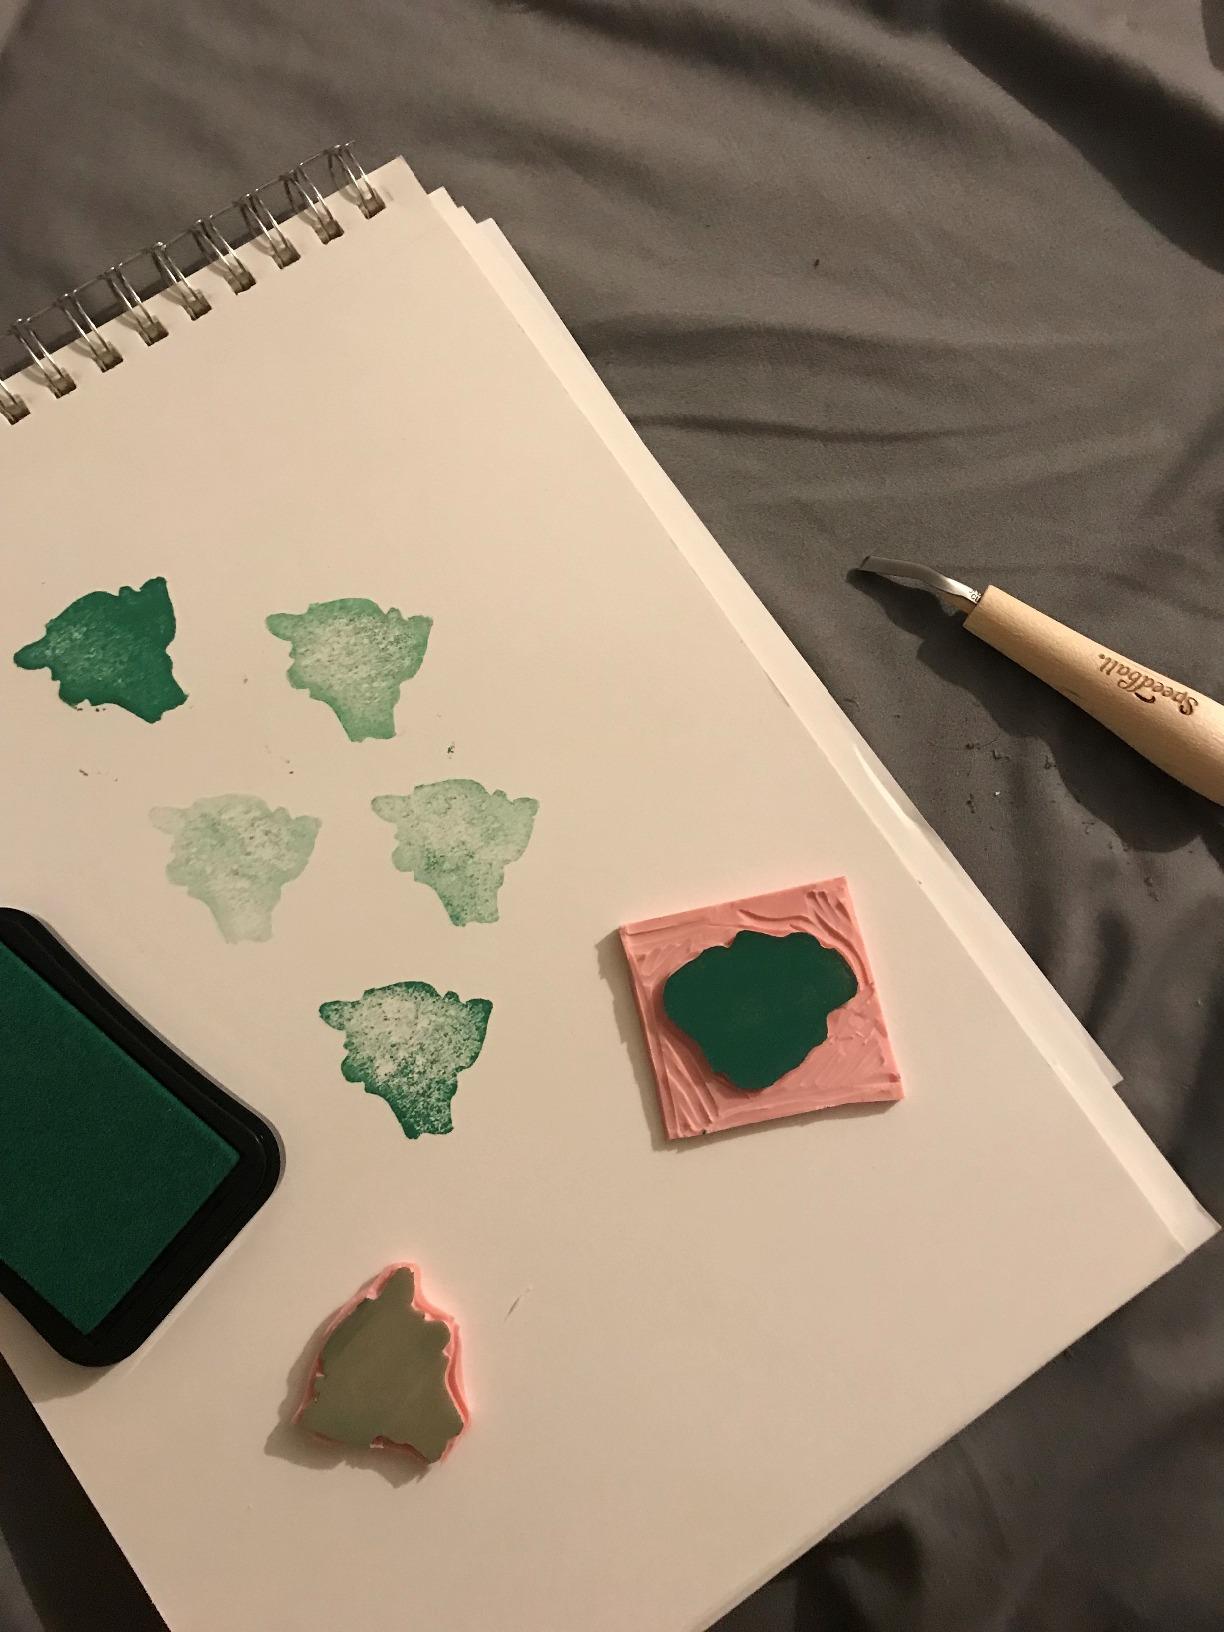
For those who want to experience the satisfaction of hand-carving their own stamps without breaking the bank, the Speedball Speedy-Carve Kit is an excellent starting point. I’ve recommended this kit to numerous beginners, and the feedback has been consistently positive. The 6″ x 4″ rubber block is made from Speedball’s signature Speedy-Carve material, which is soft enough to carve easily but firm enough to hold fine details without crumbling.
The kit includes a wooden handle with two interchangeable blades – a V-shaped cutter for outlines and fine details, and a U-shaped gouge for removing larger areas of material. During my testing, I found these blades well-made and capable of producing clean cuts without tearing the rubber. The included tracing paper makes transferring designs simple – just draw your design, place it face-down on the rubber, and rub to transfer the image. It’s an old-school approach that works remarkably well.
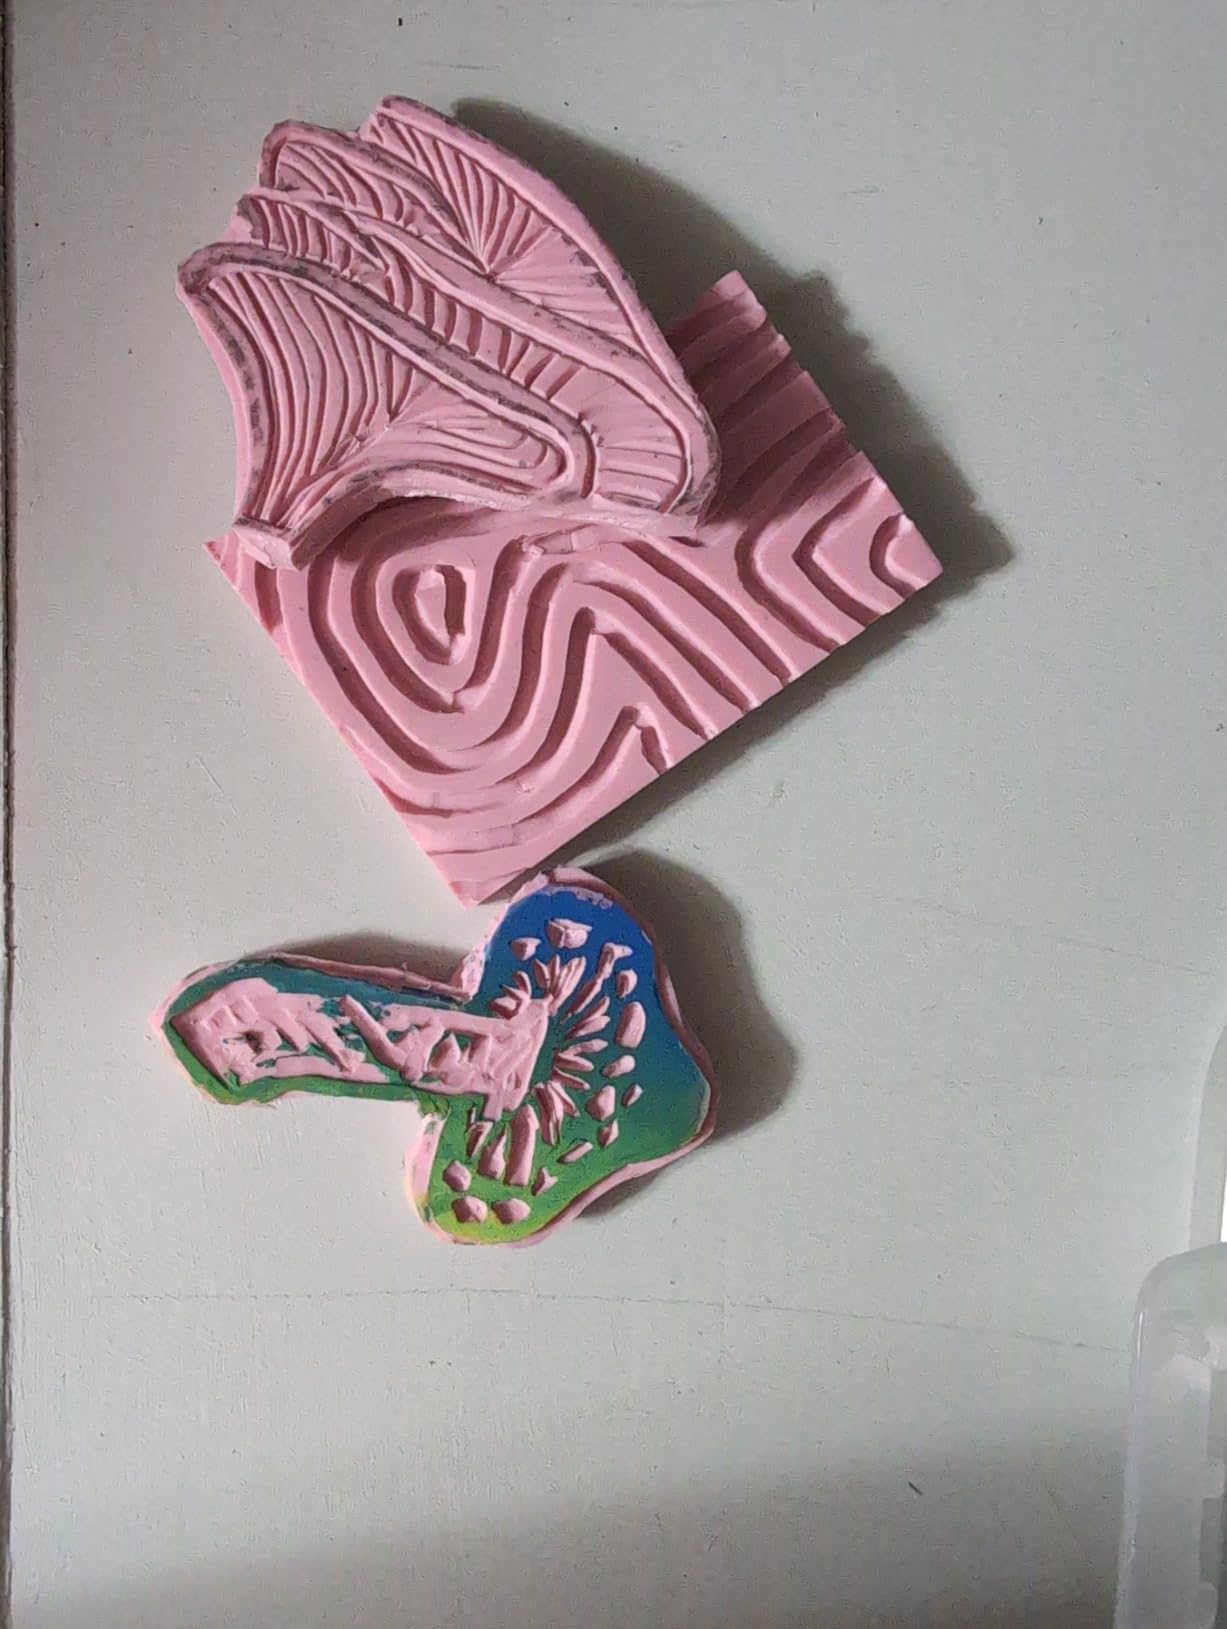
What I appreciate most about this kit is the included manual. It provides clear instructions for beginners, covering everything from basic carving techniques to more advanced methods for creating shaded effects. In my testing, I was able to create multiple stamps from a single rubber block, making this an even better value than it initially appears. The soft rubber material is forgiving for beginners – small mistakes are easy to correct with additional carving.
The main limitation is that you only get two blades, which may feel restrictive as your skills advance. More experienced carvers will want to invest in additional blade shapes for greater versatility. Also, note that there’s no ink pad included – you’ll need to purchase that separately. For those exploring leather tooling kits, the skills learned here translate well to other types of stamping and crafting.
Beginners who want to learn stamp carving without investing in expensive equipment, art teachers looking for classroom supplies, and crafters who enjoy hands-on creative processes. This kit is perfect for anyone who wants to understand the fundamentals of stamp making.
Those who need to produce professional-quality stamps quickly or in quantity. Hand-carving is time-consuming and requires practice to master. If you need consistent, identical stamps for business use, consider the Silhouette Mint or pre-made custom stamps instead.
Upload your own logo
Multiple sizes available
Laser-engraved for detail
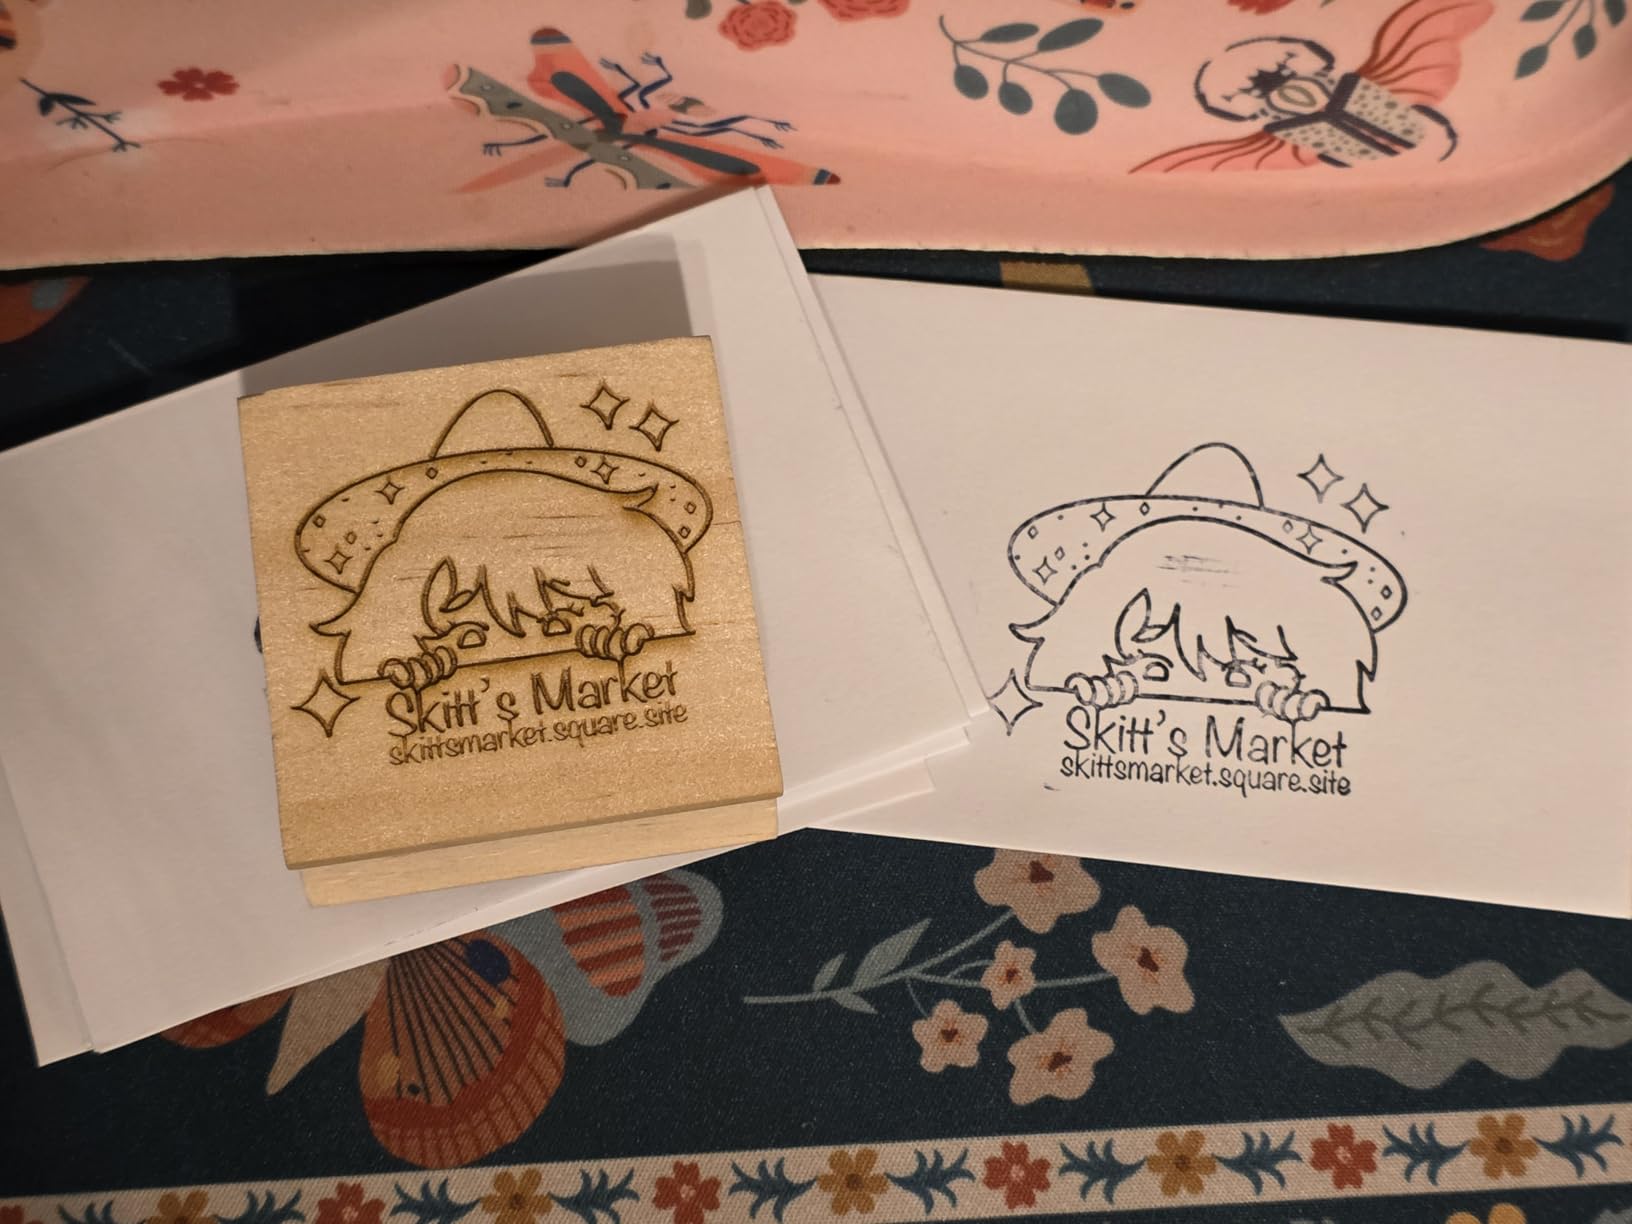
The ExcelMark Custom Logo Wood Stamp bridges the gap between DIY kits and professional equipment. You get the convenience of a pre-made custom stamp with the flexibility of uploading your own logo or design. I tested this with my business logo, and the laser engraving produced impressively crisp results. The 2″ x 2″ size offers enough space for most logos while remaining compact enough for easy storage and use.
What sets this apart from other custom stamps is the quality of the rubber and engraving. The high-quality rubber construction holds ink well without becoming saturated, and the laser engraving captures fine details that lesser stamps would miss. During my testing, I stamped on various surfaces including cardstock, paper bags, and even some packaging materials, and the impressions remained clear and consistent across all surfaces.
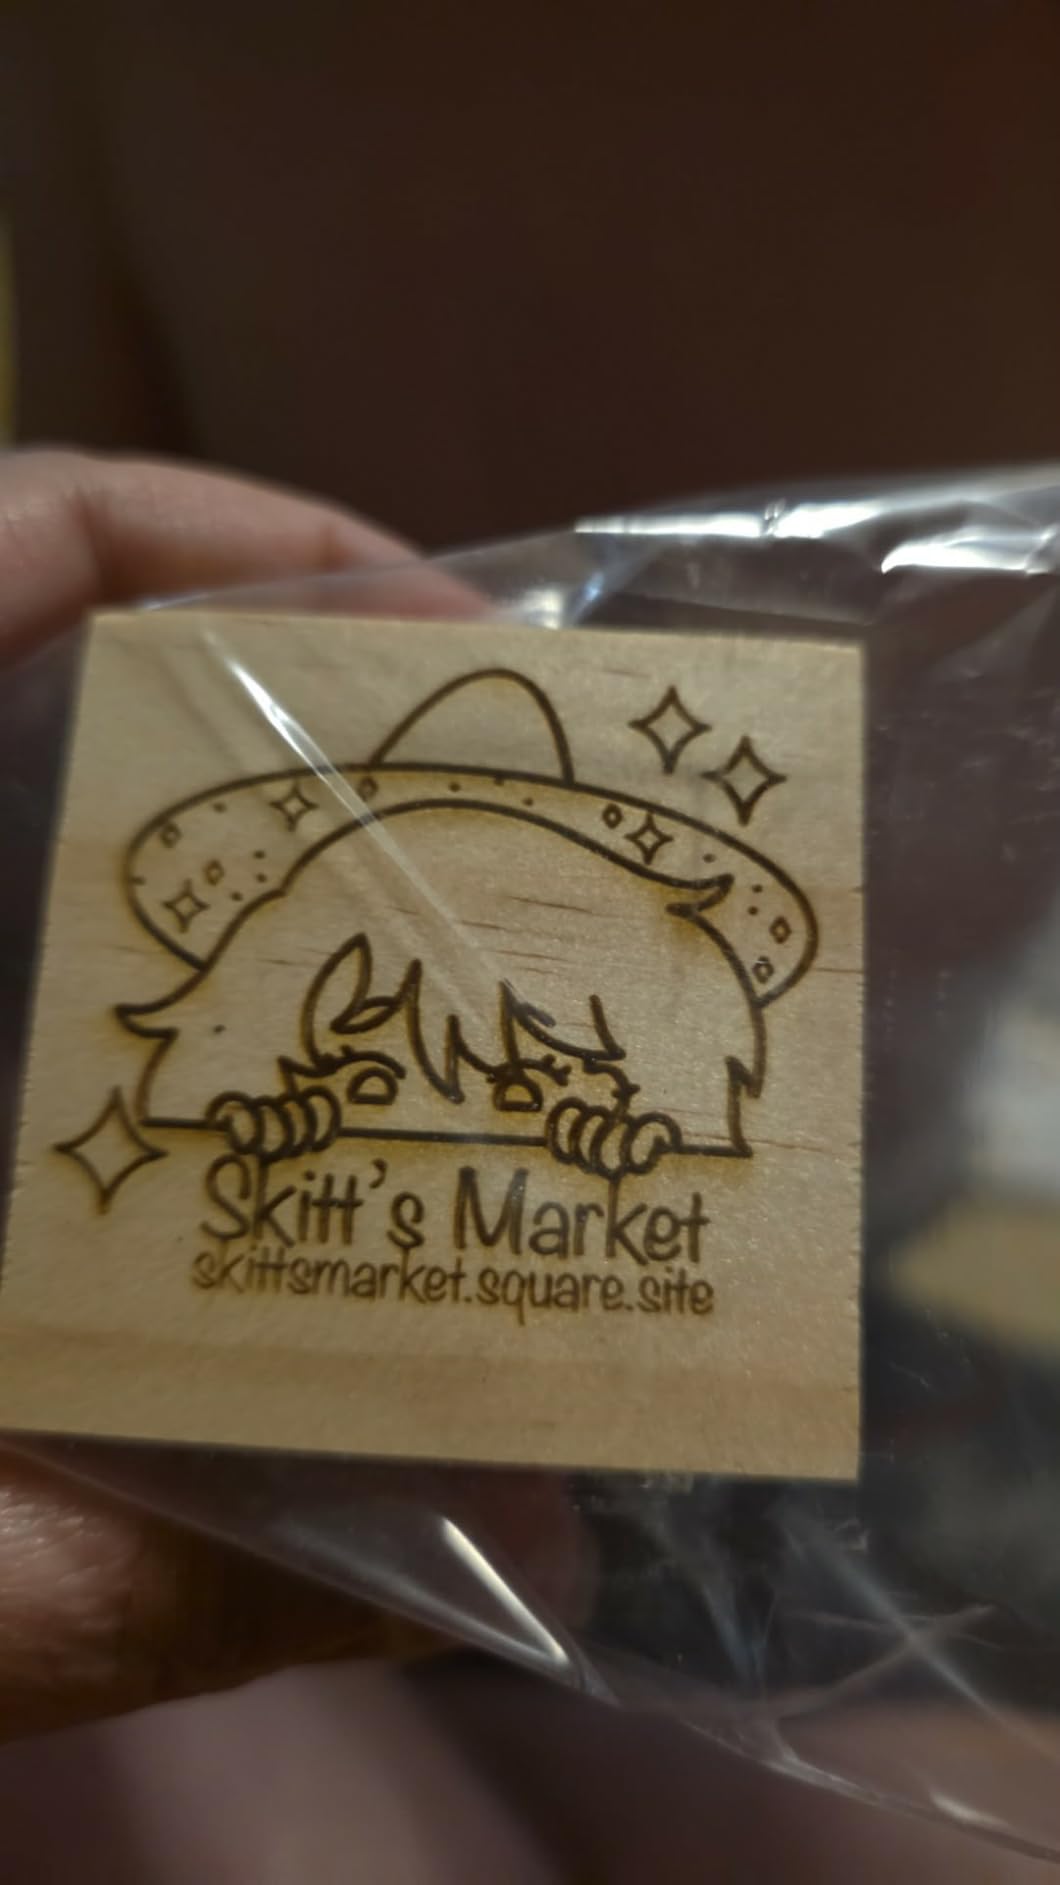
The ordering process is straightforward – simply upload your image, choose your size, and place your order. The 2″ x 2″ size is the most popular, but multiple options are available from 1″ x 1″ up to 4″ x 8″ for larger designs. You can also choose between a traditional wooden handle or adding an ink pad accessory if you prefer an all-in-one solution. In my experience, the separate ink pad approach gives you more control over ink application and allows for easy color changes.
One thing to be aware of is that extremely fine details in complex logos may not reproduce perfectly. The laser engraving is excellent, but there are limits to how fine the rubber can hold detail before it becomes too fragile for practical use. I recommend simplifying very complex designs before ordering to ensure the best results. For most business logos and branding needs, however, this stamp delivers professional-quality results at a reasonable price point.
Small business owners who need to brand their packaging and materials with their logo, crafters selling handmade products, and anyone who wants a professional-quality custom stamp without the learning curve of DIY carving kits.
Those who need to create multiple different designs or want the flexibility to change their stamp design frequently. Each stamp is custom-made to your specifications, so changing designs requires ordering a new stamp.
4 linoleum blocks included
6 different blade types
Eco water-soluble ink
The Bobblebro Linocut Kit takes the concept of the beginner carving kit and elevates it with professional-grade tools and thoughtful inclusions. Having tested numerous printmaking kits, I was impressed by how comprehensive this package is. You get four linoleum blocks, a professional linocut tool with six different blades, eco-friendly water-soluble ink, a brayer roller, and even transfer papers and an illustrated instruction manual.
The six different blade types are what really set this kit apart. From fine V-cutters for detailed lines to wider gouges for removing background material, you have everything needed to create stamps with varying textures and depths. The ergonomic handle deserves special mention – it’s comfortable to hold for extended carving sessions and features built-in blade storage, which keeps everything organized and safe.
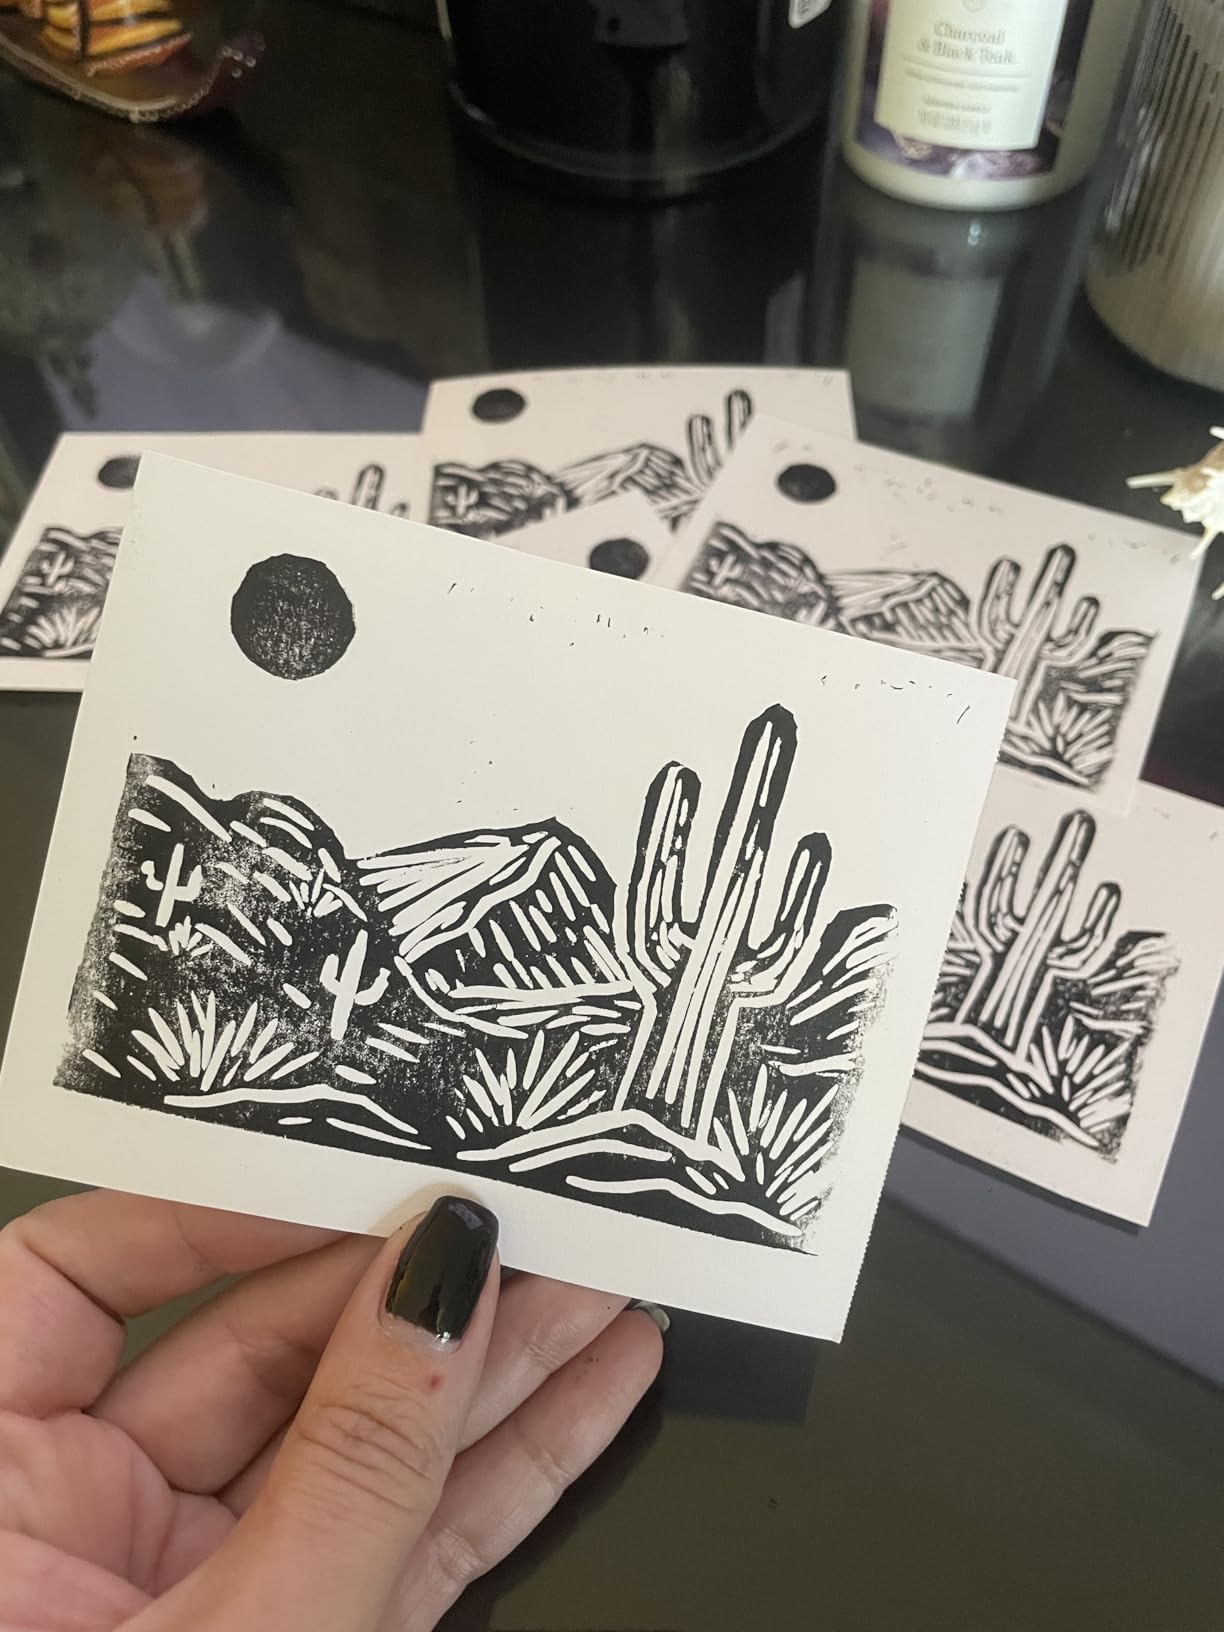
During my testing, I created several stamps ranging from simple monograms to more complex illustrative designs. The 2.64oz of eco ink goes further than you might expect, and the water-soluble formula means easy cleanup with just soap and water. This is a significant advantage over oil-based alternatives that require harsh solvents for cleaning. The included transfer papers worked well for moving my designs from sketch to rubber block.
I did encounter some issues with the brayer roller – the axle doesn’t stay in place as securely as I’d like, which can affect ink distribution. Additionally, while the tools are excellent, they’re not suitable for incredibly detailed images with very fine lines. For most stamping projects, however, this kit provides everything needed to start creating professional-quality stamps at home. The illustrated instruction manual is particularly helpful for beginners who are new to printmaking techniques.
Beginners who want a complete starter kit with professional-quality tools, art students, and crafters who want to explore printmaking beyond basic stamping. This kit is ideal for those who appreciate having everything needed to start creating immediately.
Those who need to create highly detailed stamps with very fine lines should consider laser-based systems. The manual carving approach, while rewarding, has limitations when it comes to extremely fine details.
DIY customizable with characters
4 line message capacity
Self-inking mechanism
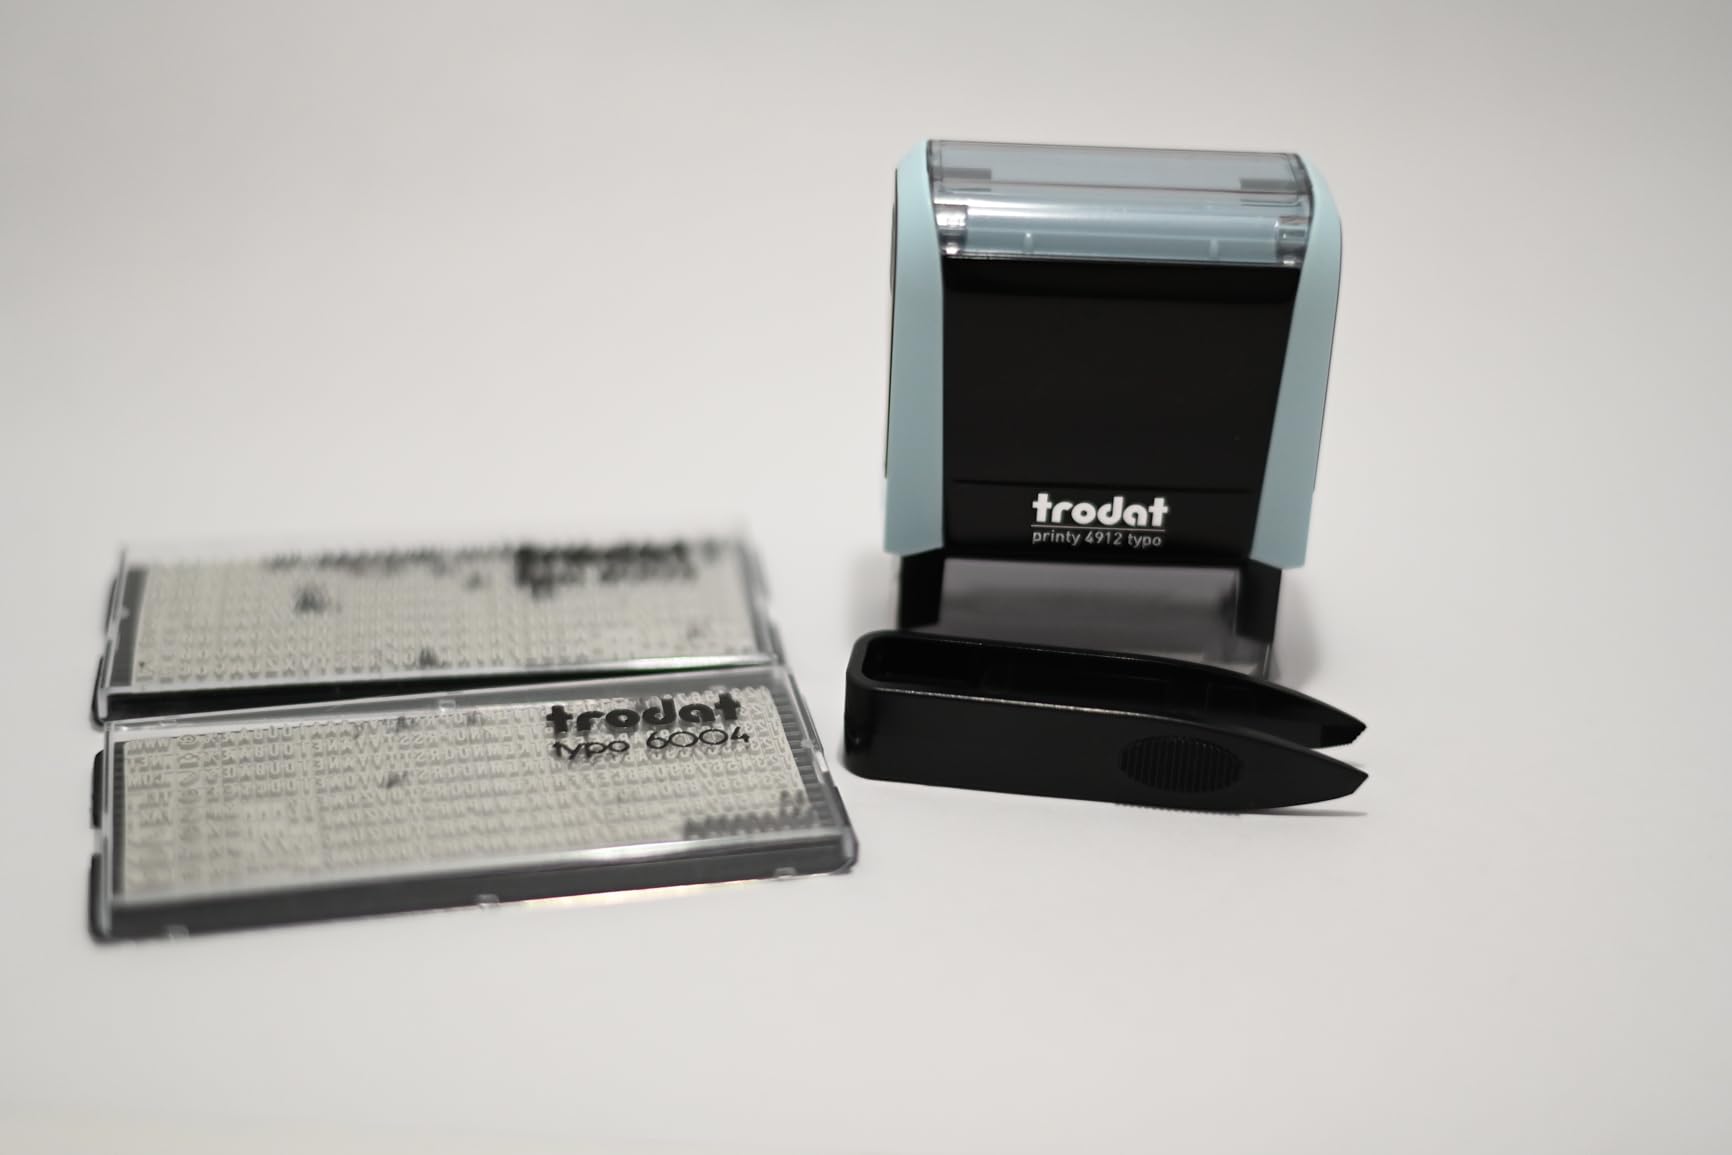
The Trodat Printy 4912 offers a unique approach to custom stamps – instead of ordering a pre-made design or carving your own, you get a DIY kit with individual characters that you arrange yourself. This provides incredible flexibility since you can change your message whenever needed. With over 5,000 reviews and a 4.4-star rating, this approach clearly resonates with many users.
The kit includes two sets of characters covering uppercase letters, lowercase letters, numbers, symbols, and even some icons. You can create messages up to 4 lines within the 3/4″ x 1-7/8″ impression area. The self-inking mechanism is reliable and produces consistent impressions without the mess of separate ink pads. During my testing, I found the ink pad particularly impressive – it absorbs humidity to stay moist and works reliably in all climates, which is a thoughtful feature for such an affordable product.
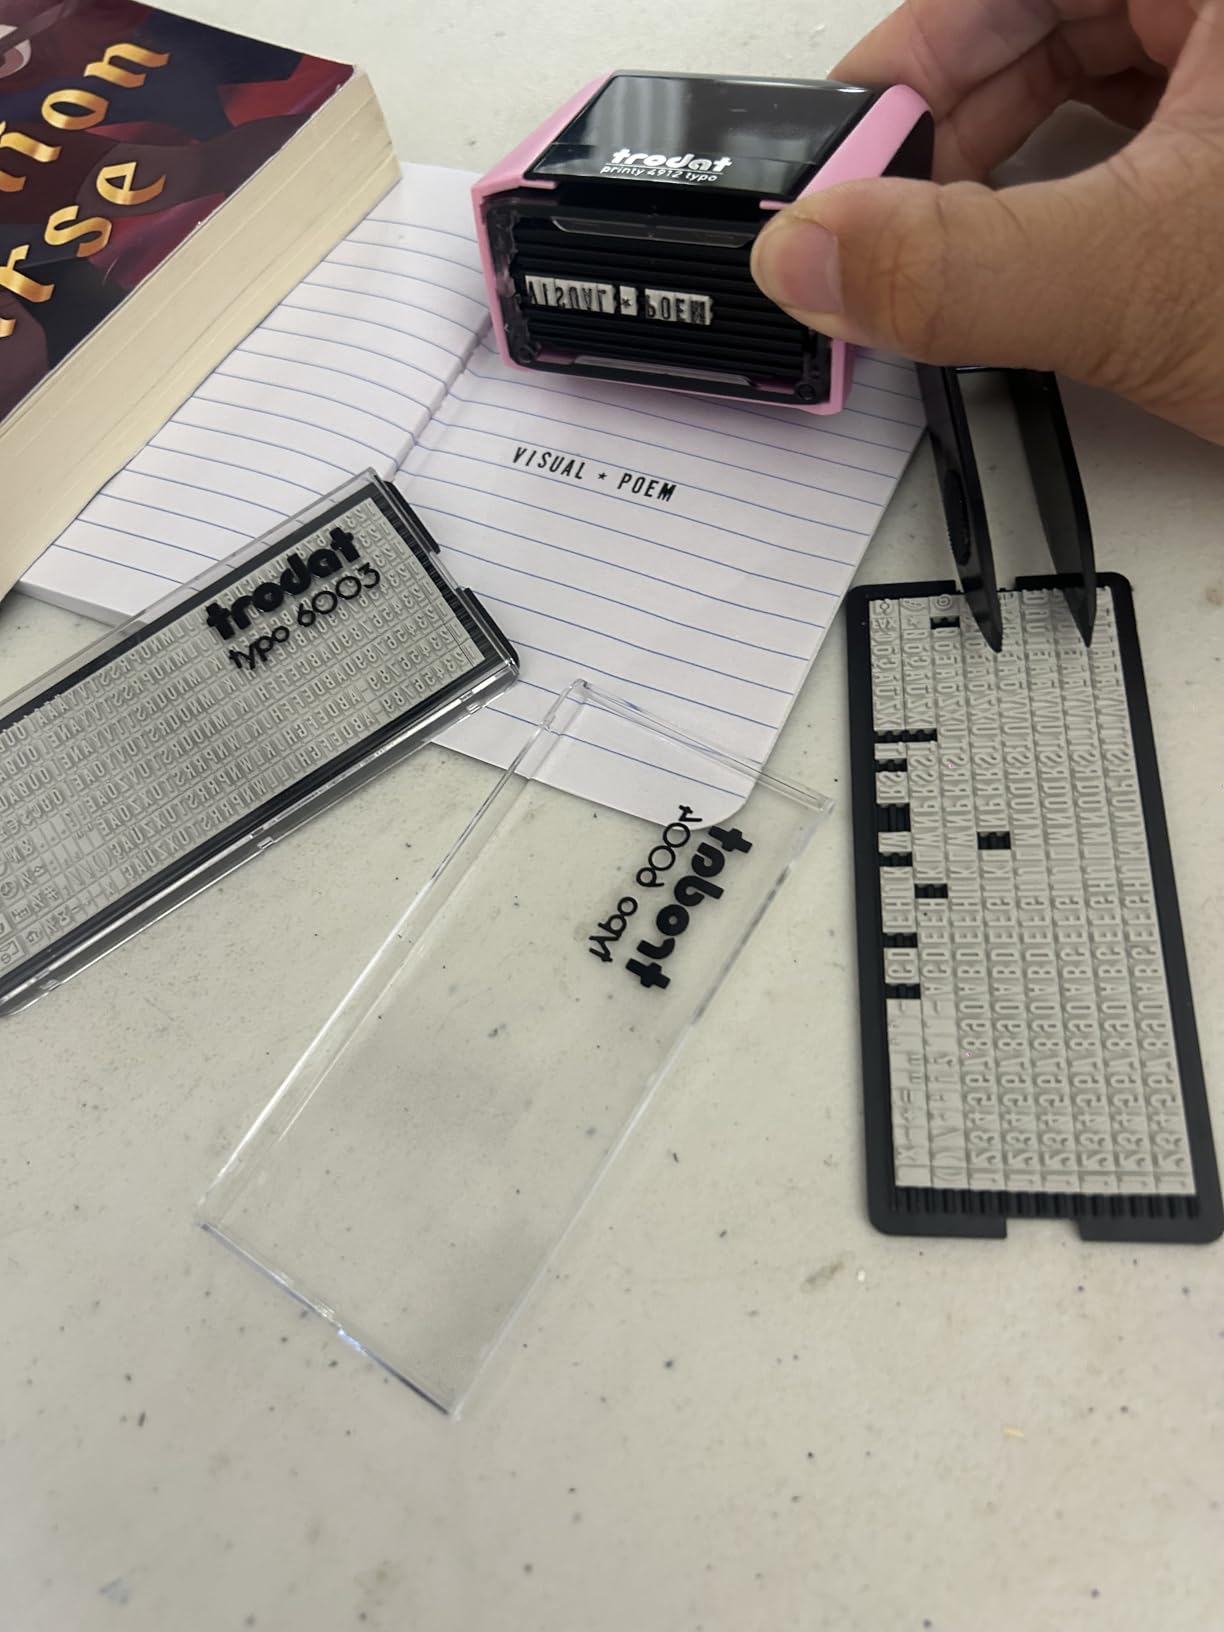
However, I need to be honest about the challenges. The individual characters are very small, making them difficult to handle and position. The included tweezer tool helps, but it’s still a fiddly process that requires patience and steady hands. Setting up a new message can take 10-15 minutes, which may be frustrating if you need to change designs frequently. Additionally, the letters aren’t in alphabetical order in the storage trays, which adds time to the setup process.
Despite these challenges, the Trodat Printy offers unmatched flexibility for those who need to change their stamp message regularly. Once set up, the stamp produces clean, consistent impressions that are perfect for addresses, approval stamps, or any application where the message might need to change periodically. For those who value flexibility over convenience, this DIY approach is hard to beat.
Office environments where stamp messages need to change periodically, individuals who want maximum flexibility from a single stamp, and anyone who doesn’t mind spending time setting up characters in exchange for complete design control.
Those who need quick, consistent stamping or struggle with fine motor skills will find the character setup process frustrating. If your design doesn’t change often, a pre-made custom stamp is more convenient.
Custom self-inking stamp
Logo and text customization
Multiple sizes available
STAMPI has established itself as a reliable provider of custom self-inking stamps, and this offering demonstrates why. With over 1,500 reviews and a 4.5-star rating, customers consistently praise the quality and speed of service. I tested this stamp with both a logo and text combination, and the reproduction accuracy was impressive – fine details in the logo were captured clearly, and text remained crisp even at smaller sizes.
The ordering process is streamlined and user-friendly. You can upload your own logo, add text if desired, and choose from multiple sizes and shapes including round, square, and rectangular options. The stamp arrives as a complete self-contained unit with integrated ink pad, so it’s ready to use immediately out of the box. During my testing, I found the self-inking mechanism reliable and consistent, producing dark, professional-looking impressions without any bleeding or smudging.
The premium rubber construction is evident in the quality of impressions. Unlike cheaper stamps that might produce patchy or inconsistent results, this STAMPI stamp delivers uniform coverage across the entire impression area. I tested it on various paper types and cardstock, and it performed well across all surfaces. The self-inking design means no separate ink pad to worry about, and the protective case keeps everything clean when not in use.
Some users have reported variability in quality between orders, and I did notice that the label on the stamp body doesn’t always align with the actual stamp direction, which can lead to upside-down impressions until you get familiar with the correct orientation. Additionally, no instructions are included, though the stamp is straightforward enough that most users won’t need them. For business owners who need professional branding on packaging, envelopes, or other materials, this custom stamp delivers excellent results.
Small business owners who need professional branding on packaging and materials, anyone who wants a custom self-inking stamp with both logo and text, and those who value quick turnaround and consistent quality.
Those who need to change their design frequently should consider the Trodat DIY approach instead. Each STAMPI stamp is custom-made to your specifications, so changing designs requires ordering a new stamp.
Fully customizable logo and text
Deep etching technology
1 inch round size
The ubmpj Custom Rubber Stamp offers exceptional value for those who need professional-quality logo stamps without breaking the bank. I tested this stamp with a detailed logo that included fine text, and the deep etching technology captured everything remarkably well. The 1″ round size is perfect for smaller logos, monograms, or simplified branding elements, though larger sizes up to 4″ are available if needed.
What impressed me most was the detail quality at this price point. Even fine text remained crisp and readable, which is often a challenge with lesser stamps. The deep etching ensures that ink transfers cleanly without picking up unwanted marks from the stamp body. During my testing, I created consistent impressions on cardstock, envelopes, and even some packaging materials, with excellent results across all surfaces.
You have the option to choose between a traditional natural maple wood handle or a transparent acrylic base. I tested both and found advantages to each – the wood handle offers a comfortable, traditional feel, while the acrylic base allows for precise positioning since you can see exactly where you’re stamping. The construction feels sturdy and well-made, with a thick plastic screw mechanism that holds the rubber die securely in place.
It’s important to note that this stamp does not include an ink pad, so you’ll need to purchase that separately. Some users have reported issues with warped centers affecting ink transfer, though I didn’t experience this in my testing. Occasionally, the outline edges of the stamp may show up if you rock the stamp while applying pressure, so a firm, straight press is essential for best results. For small business owners needing affordable branding stamps, this ubmpj offering delivers excellent quality for the price.
Small business owners on a budget who need professional branding stamps, crafters making handmade products, and anyone who needs a custom logo stamp without the self-inking mechanism.
Those who prefer self-inking convenience should look at the STAMPI or ExcelMark self-inking options instead. This traditional stamp requires a separate ink pad and manual inking between uses.
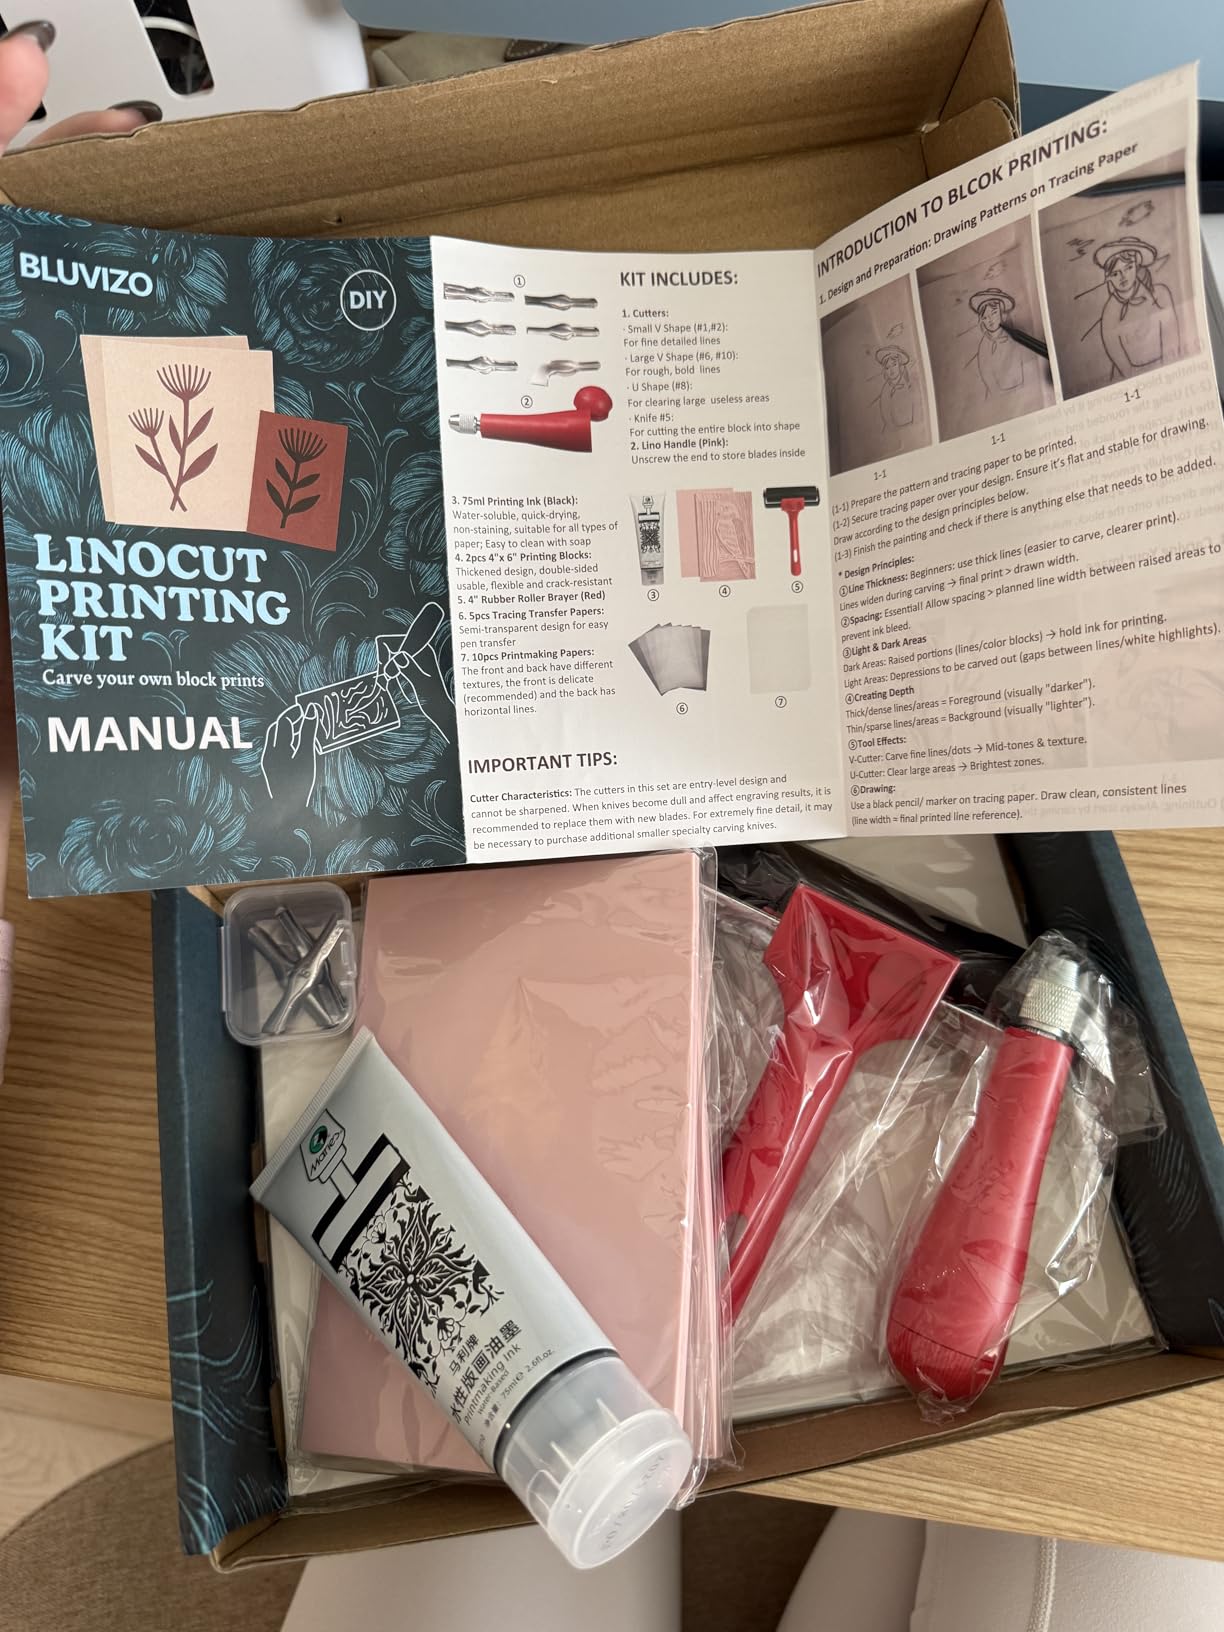
Complete starter kit with supplies
6 interchangeable blades
Water-soluble eco ink
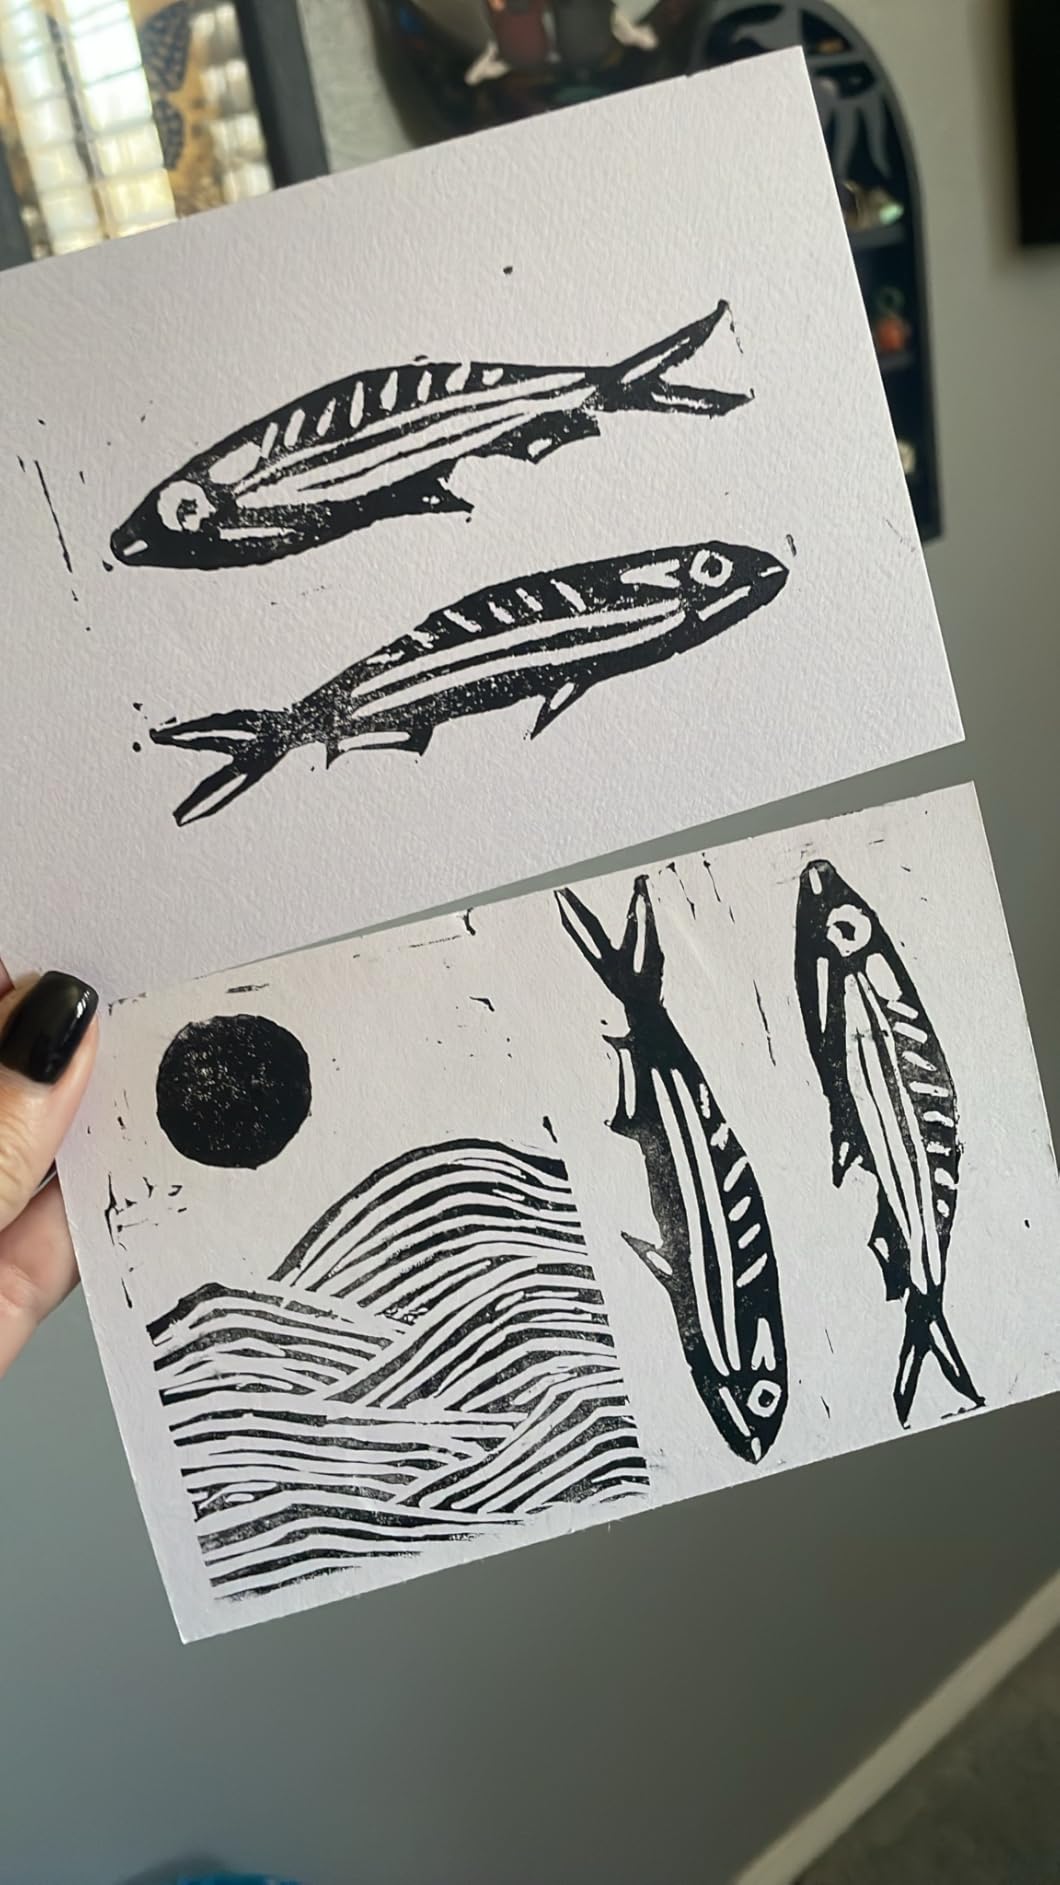
The Bluvizo Linocut Kit takes a comprehensive approach to beginner printmaking, including nearly everything needed to start creating custom stamps immediately. With six interchangeable blades, translucent transfer paper, water-soluble ink, and even printmaking paper included, this kit eliminates the need to purchase additional supplies to get started. I found this particularly appealing for beginners who might not know what additional items they need.
The six interchangeable blades provide good variety for different carving techniques. From fine detail work to background removal, you have the tools needed to create stamps with varying textures and depths. The ergonomic handle is comfortable for extended carving sessions, though I did find that some of the larger blades weren’t as sharp as I would have preferred, particularly when working through denser areas of the linoleum.
The water-soluble ink is a thoughtful inclusion – it cleans up easily with soap and water, making this kit suitable for use in homes with children or in classrooms. The translucent transfer paper works well for moving designs from sketch to block, and the included instruction manual provides clear guidance for beginners. During my testing, I was able to create several successful stamps on my first attempt, which speaks to the beginner-friendly design of this kit.
Some users have reported that the ink quality can be inconsistent, with some areas of the stamp appearing lighter than others. I experienced this to a minor degree, but found that proper inking technique helped minimize the issue. The brayer included is functional but basic – more experienced printmakers will likely want to upgrade to a higher-quality roller eventually. For beginners and hobbyists, however, this kit provides a solid foundation for exploring stamp making and printmaking.
Beginners who want a complete kit with all necessary supplies included, teachers looking for classroom printmaking supplies, and crafters who want to explore stamp making as a new hobby.
Experienced printmakers who already have quality tools may find this kit too basic. Those who need professional-grade equipment for business use should consider laser-based systems instead.
8 rubber blocks included
8 wood carving knives
Rubber brayer roller
The FVIEXE kit takes a quantity-over-quality approach, providing eight rubber blocks and eight carving knives for an exceptional value. With this many materials, you can experiment extensively without worrying about running out of supplies. The 6″ x 4″ blocks are substantial and provide plenty of surface area for larger stamp designs or multiple smaller stamps from a single block.
The soft pink rubber material is notably easy to carve, making this kit particularly beginner-friendly. During my testing, I found that the rubber yielded readily to the carving knives without requiring excessive pressure or multiple passes. This is advantageous for beginners who are still developing proper carving technique. The eight included carving knives provide variety, though I found some blades worked better than others for specific tasks.
The included rubber brayer roller is a nice touch – it’s functional and helps with ink application, though more experienced printmakers may eventually want to upgrade to a higher-quality roller. The heavy, substantial feel of the vinyl blocks is appreciated during carving, as they don’t slide around or feel flimsy like some lighter-weight alternatives.
It’s worth noting that this rubber material is thicker and dryer than other pink rubber options I’ve tested. Some users report that it has a tendency to crumble when carving, particularly when making sharp turns or working in tight areas. I experienced minor crumbling but found that slower, more deliberate carving helped minimize the issue. For highly detailed work, premium materials may be preferable, but for general stamp making and learning proper technique, this kit offers excellent value.
Beginners who want plenty of materials to practice with, art teachers needing classroom supplies, and anyone who wants to experiment extensively with stamp making without investing in premium materials.
Those working on highly detailed designs should consider premium rubber materials. The tendency to crumble makes this material less suitable for intricate work with very fine lines.
Choosing the right stamp making machine or equipment depends on your specific needs, budget, and intended use. After testing numerous options across different categories, I’ve identified the key factors that should influence your decision. Let me break down what you need to consider before making your purchase.
Laser engraving systems represent the professional end of stamp making. CO2 lasers have been the industry standard since the 1990s, offering precision and consistency that manual methods can’t match. These systems can engrave detailed designs into rubber sheets quickly and accurately, making them ideal for commercial production. The upfront investment is significant – quality systems start around $1500 and can go much higher – but the per-stamp cost is extremely low once you’ve made the initial investment.
Flash stamp machines use thermal technology to create stamps quickly and consistently. These systems heat a special flash stamp material that contains light-sensitive polymers, creating a stamp in seconds. Flash stamps are particularly popular for pre-inked stamps and offer excellent detail reproduction. The equipment cost is lower than laser systems, but the specialized materials can add up over time.
Manual DIY kits include carving tools, rubber blocks, and traditional supplies. These require no electricity or special equipment beyond the included tools. The learning curve is steeper and production is slower, but the upfront cost is minimal and you gain a deeper understanding of the stamp making process. Many crafters find the hands-on approach rewarding and enjoy the unique, handmade quality of manually carved stamps.
Pre-made custom stamps aren’t machines themselves, but they’re worth mentioning as an option. You upload your design, and a company produces your stamp using professional equipment. This gives you professional results without the learning curve or equipment investment, but you’re limited to the designs you order and can’t make changes without placing a new order.
Production volume is a critical factor. If you’re making stamps commercially or need to produce hundreds per month, laser or flash systems make sense despite the higher upfront cost. For personal use or occasional stamping, pre-made custom stamps or manual kits are more practical. Consider your projected monthly volume and calculate the per-stamp cost for different options to find the most economical choice.
Detail requirements should guide your decision. Laser systems excel at fine details and text, making them ideal for logos, serial numbers, and intricate designs. Manual carving can achieve good results but requires significant skill for very fine work. Pre-made stamps use professional equipment that captures details well, but you’re limited to the design you order.
Material compatibility matters if you plan to stamp on various surfaces. Some inks work better on paper, while others are formulated for fabric, glossy surfaces, or specialized materials. Consider what surfaces you’ll be stamping and ensure your chosen system or materials are compatible. Water-soluble inks are easier to clean but may not be as permanent as oil-based alternatives.
Laser systems offer the highest precision and fastest production times but require significant upfront investment and proper ventilation due to fumes. Flash stamp machines provide speed and consistency with lower equipment costs, but ongoing material costs can be substantial. Manual methods offer the lowest entry cost and hands-on creativity, but production is slow and requires practice to master.
Your choice should depend on your specific situation. A commercial stamp business will benefit most from laser equipment. A crafter making occasional stamps will be better served by manual kits or pre-made custom stamps. Consider your budget, time constraints, and production needs when making this decision.
Stamp making can be profitable, but realistic expectations are essential. Commercial laser systems can produce stamps for under $2 in materials, which can be sold for $15-50 depending on size and complexity. However, equipment costs, marketing, and order fulfillment time must be factored into your pricing. Many successful stamp businesses start with pre-made custom stamps before investing in laser equipment once they’ve established a customer base.
The profit margin on pre-made custom stamps is lower since you’re paying retail for materials, but the risk is also much lower. This approach lets you test the market and build a client base without thousands in equipment investment. Once you’ve established demand, upgrading to production equipment can increase your margins significantly.
Different stamping applications require different materials. For paper products like packaging and stationery, standard rubber stamps with water-based inks work well. Fabric stamping requires specialized fabric inks that can withstand washing. Glossy surfaces may need specific ink formulations to adhere properly. Always test your stamp and ink combination on scrap material before committing to your final project.
The rubber or polymer material used for the stamp itself also matters. Natural rubber offers excellent ink transfer and durability but produces strong odors when laser cut. Synthetic polymers are odorless but may not hold fine details as well. For manual carving, the material consistency affects how easily it cuts and how well it holds details – softer materials carve more easily but may wear out faster.
Stamp making can be profitable with realistic planning. Commercial laser production keeps material costs under $2 per stamp, allowing for healthy margins when selling for $15-50 depending on size and complexity. Many successful businesses start with pre-made custom stamps to test the market before investing in laser equipment. Your profit depends on production volume, equipment efficiency, and effective marketing to build a customer base.
Consider your production volume, detail requirements, and budget. For commercial production, laser systems offer the lowest per-stamp cost but require $1500+ investment. Flash stamp machines provide speed with lower equipment costs. Manual kits work best for beginners and hobbyists. Pre-made custom stamps offer professional results without equipment investment. Match your choice to how often you’ll make stamps, the detail level needed, and your technical comfort level.
Cricut machines can cut stamp materials but aren’t ideal for actual stamp making. They can cut shapes from rubber sheets, but the resulting stamps lack the depth and detail needed for clean impressions. Dedicated stamp making equipment like the Silhouette Mint, laser systems, or manual carving tools produce much better results. Consider Cricut for cutting templates rather than finished stamps.
Basic stamp making requires rubber or polymer blocks, carving tools or production equipment, ink pads or ink bottles, and handle mounts. For manual carving, you’ll need a carving block, carving tools, tracing paper for design transfer, and an ink pad. Laser systems require the machine itself, rubber sheets, and proper ventilation. Pre-made custom stamps require only the stamp itself and a surface to stamp on.
Production time varies by method. Laser systems can produce a stamp in 5-10 minutes once designed. Flash stamp machines create stamps in seconds. Manual carving takes 30 minutes to several hours depending on design complexity and your experience level. Pre-made custom stamps require 3-5 days for production and shipping. Design time should be added regardless of method – allow 15-30 minutes for simple designs or longer for complex logos.
Finding the best stamp making machines for your needs comes down to understanding your specific requirements and matching them to the right equipment. The Silhouette Mint stands out as the top choice for crafters who want professional results without the complexity of laser systems, while the ExcelMark Custom Self-Inking Stamp offers unbeatable value for those who need a single, high-quality custom stamp. Beginners on a budget will appreciate the Speedball Speedy-Carve Kit’s comprehensive introduction to manual stamp carving.
For commercial production or business use, investing in laser equipment may make sense despite the higher upfront cost. However, many successful stamp businesses start with pre-made custom stamps to test the market before scaling up to production equipment. Whatever your stamp making goals, there’s a solution on this list that fits your budget and requirements. Choose based on your production volume, detail needs, and technical comfort level, and you’ll be creating custom stamps like a pro in no time.


