In my journey as an audio enthusiast, I’ve come across a multitude of gear that has allowed me to hone my skills and perfect my craft.
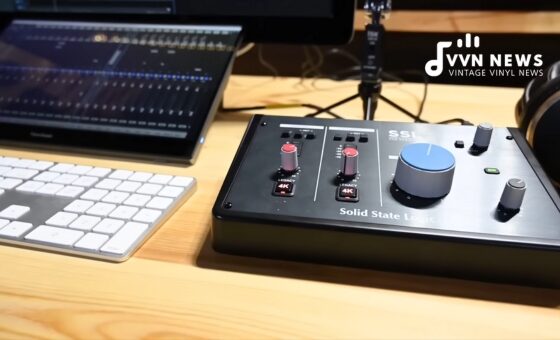
Direct monitoring with an audio interface is one such integral piece of equipment in my setup.
This simple yet advanced technology has revolutionized how I work with sound and music, making it much easier to ensure every note, pulse, and beat is presented exactly how they are meant to be heard.
It’s indispensable for those serious about achieving high-quality, professional-level audio.
However, many individuals struggle with effectively using this vital tool in their recording arsenal – “Direct Monitoring,” as it is referred to, might be a complicated concept for some.
Fear not! Here is a concise guide explaining why direct monitoring is crucial in digital audio production, its surprising benefits, and handy tips and tricks on making the most of your audio interface through direct monitoring.
What is Direct Monitoring?
Direct Monitoring is an essential feature found in almost all modern audio interfaces. It lets you listen to the audio signals input into your interface in real time without latency.
This quick feedback is vital as it enables you to gauge your audio’s quality, sound levels, and timing as it’s being recorded.
When direct monitoring is enabled, you bypass any potential processing delays from your computer and hear an unaltered, direct feed of your sound as your microphone or instrument captures it.
It’s like having a direct line between your ears and the sonic material you’re working on pure, immediate audio in its raw form.
What is Input Monitoring?
Input Monitoring, or software or ‘in-the-box’ monitoring, involves listening to the audio after it’s been processed by your Digital Audio Workstation (DAW).
This means hearing any added effects, EQ alterations, and adjustments applied to the signal within your computer.
This monitoring method introduces latency – that pesky delay between action and reaction in a digitally processed signal – which can disrupt timing while recording.
Making The Right Choice
The choice between input and direct monitoring depends largely on what you desire from your recording session.
If you need to hear various plugin effects in real-time while laying down tracks such as reverb or delay — which help inspire your performance — then input monitoring may be more suitable.
However, be prepared to experience a bit of latency depending on how powerful your computer system is.
Direct monitoring is often the best choice for intricate work where timing is critical or when running a less powerful computer system prone to large latencies.
It delivers clean and immediate feedback without any potential lag caused by digital processing in your DAW.
Regardless of suppositions and recommendations, knowing your preferences plays a significant role here.
Adapting or leaning towards one concept should depend on situational demands and personal propensity.
Also Read: 13 Best Monitor Isolation Pads In 2025 [Optimize Your Sound Now]
Advantages of Direct Monitoring
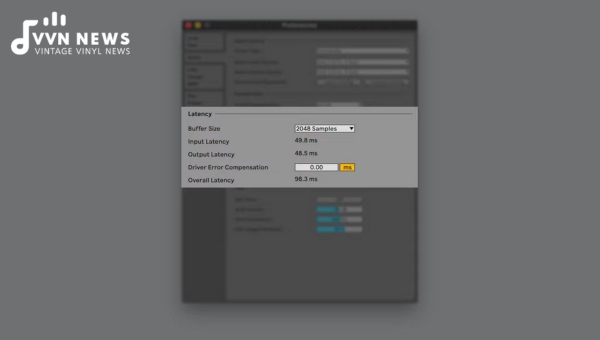
The essential advantage of Direct Monitoring lies in its inherent ability to eliminate latency, but its benefits certainly don’t stop there.
By playing a key role in audio production, it contributes significantly to preserving the authenticity of your sound while enhancing your workflow’s efficiency.
Eliminates Latency
One of the most significant and immediate advantages of direct monitoring is its elimination of latency issues.
In the audio recording world, latency refers to a short period of delay (usually measured in milliseconds) between when an audio signal is created and when it is heard.
When you’re performing or recording, latency can be incredibly distracting, causing performers to play off-beat or sing out of tune.
Real-Time Feedback
Direct monitoring enabled on your audio interface gives you real-time feedback on what’s being recorded.
This means you can hear exactly what’s going into your microphone/instrument without delay during recording.
It allows for necessary adjustments in volume levels and sound quality – a crucial element that can make or break your entire recording experience.
Reduction in CPU Load
Another significant advantage is its reduced CPU load reduction when recording with lower buffer sizes.
By shifting much of the workload from your computer’s processor directly to your audio interface, Direct Monitoring allows for a smoother operation.
It takes the strain off your system – crucial when dealing with larger projects where resources are at a premium.
Essential for Multi-Instrument Recording Sessions
In addition, direct monitoring proves to be particularly essential while handling multiple instrument recording sessions.
By giving every performer their headphone mix using the interface’s input signals rather than relying solely on post-DAW combinations — it not only ensures everyone stays on time but also contributes towards maintaining rhythm and harmony amongst several performers.
These unique advantages collectively make direct monitoring with an audio interface invaluable to any pro-audio setup – elevating sound quality and efficiency while preventing possible hitches during audio production.
In a nutshell, understanding and using direct monitoring is like learning how to drive a manual car.
While not necessary for every recording situation, knowing how to handle it gives you the cutting edge over the others — providing an extra layer of control and detail that could lift your work from good to great.
Also Read: How To Setup Your Listening Room? [Mix Position & 38% Rule?]
Setting Up Direct Monitoring: A Step-by-Step Guide
Wondering how to set up direct monitoring with your audio interface? While it may initially seem like a daunting task, by following the step-by-step guide laid out below, you should be able to get up and running in no time at all!
Please note that the exact process can vary slightly depending on your specific audio interface model and the DAW software you utilize.
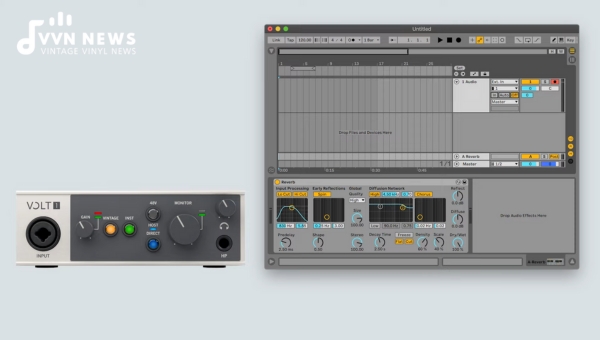
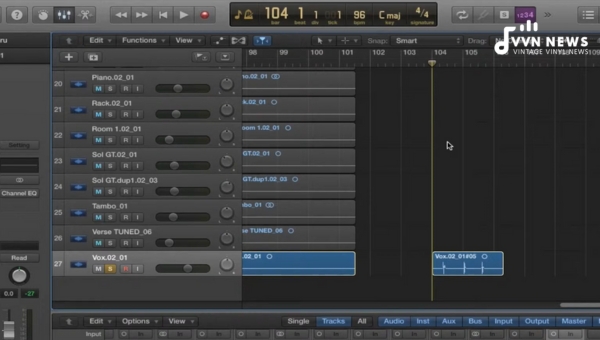
I assume you use a reasonably standard audio interface with direct monitoring capabilities for this walkthrough and a typical DAW like Pro Tools, Logic Pro, or Ableton Live.
Step 1: Connect Your Audio Interface
Start by ensuring your audio interface is correctly connected to your computer — typically via USB or Thunderbolt cable.
But ensure everything is correctly wired up according to the manufacturer’s instructions.
Step 2: Check Your Interface’s Direct Monitoring Option
Before launching your recording software (DAW), check whether there’s a physical ‘Direct Monitor’ switch on your audio interface.
This is commonly found on interfaces from brands such as Focusrite and PreSonus. If present, switching this on will enable direct monitoring.
Step 3: Configure Your Software Settings
Next, launch your DAW software. Here’s where exact steps might differ slightly depending on the software you’re utilizing. Generally speaking, though:
- Go to Preferences or Audio settings.
- Select your connected audio interface as the input device.
Most of today’s popular DAWs have unique ways of dealing with direct monitoring:
- In Pro Tools, go to ‘Setup,’ then ‘Playback Engine…’, then disable ‘Low Latency Monitoring.’
- In Logic Pro, ensure that ‘Software Monitoring’ is deactivated in the Audio preferences panel.
- For Ableton Live, turn off ‘In/Out’ from the right side of the screen, which stands for ‘input monitoring.’
Step 4: Connect Your Instruments/Microphones
Remember to connect your instruments or microphones to the audio interface correctly. If you’re using a microphone, ensure it is connected to a specific mic input with a suitable cable, usually XLR.
The same goes for connecting instruments; they should be related to specific instrument inputs with the correct cables.
Step 5: Adjust Levels
To avoid distortion or unwanted noise in your recording, cautiously adjust the input gain for each channel on your audio interface.
While direct monitoring, you should listen through headphones or speakers connected to the interface.
This ensures that what you hear accurately represents what’s being recorded.
Now, your direct monitoring is set up correctly! With this feature enabled, any latency should be eliminated from your setup — meaning you can enjoy clear, immediate audio feedback as you record.
Like I always say, getting it right at source is crucial. And with direct monitoring, achieving superior-quality recordings becomes refreshingly straightforward!
Also Read: Can I Lay My Studio Monitors Down Sideways Or Vertical? 2025
Tips and Tricks for Optimizing Direct Monitoring
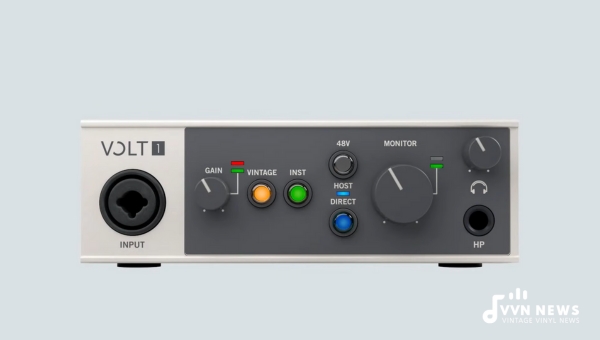
Having explained what direct monitoring is all about, it’s time to delve into the practicalities of optimally using this crucial feature.
Here are some tips and tricks that can assist you in your journey.
Choose Your Interface Wisely
Every audio interface isn’t created equal. Your choice of the audio interface can significantly impact your overall experience with direct monitoring.
Ensure to research and pick an interface that provides a streamlined workflow for direct monitoring, has a clean and noise-free preamp stage, and supports high-quality AD/DA conversion.
Balance Your Monitor Mix
Balancing your mix while direct monitoring is an essential parameter to keep in check.
If you’re recording yourself, get a nice balance between the track you’re performing and your live input signal on the headphones. This balance would ensure an accurate representation of both signals during playback.
Use Quality Cables
Quality cables can make a massive difference in your audio fidelity. Good quality cables can minimize electrical interference and decrease unwanted noises, thus retaining the signal clarity and strength.
Go For Low Latency Settings
When direct monitoring is unavailable or unsuitable for specific scenarios (like when recording through auto-tune effects), low latency settings on your audio interface software could be a great alternative to tackle delay issues, ensuring real-time feedback.
Understand that optimal use of direct monitoring significantly depends on experimentation in connection with personal preferences until you find what suits best for your unique situation.
Always stay patient and enjoy the process – this practice makes audio recording an art form.
Also Read: What Is Phase Cancellation? 2025 [How To Eliminate It?]
FAQs About direct monitoring
Do all audio interfaces support direct monitoring?
Not all audio interfaces support direct monitoring. However, most modern ones do, and it is considered a standard feature in professional equipment.
Why is latency an issue with audio recording?
Latency can cause delays between the input and output signals, disrupting timing and hindering successful sound mixing.
How does direct monitoring improve the recording process?
Direct monitoring enhances the recording process by providing real-time feedback of the input signal, allowing for immediate adjustments without latency.
Can I adjust direct monitoring levels on my audio interface?
Most audio interfaces allow you to control the levels of direct monitoring to ensure you hear precisely what you need during your session.
Is using software for monitoring better than direct monitoring?
The software can introduce a delay due to processing time. Direct monitoring is generally preferred as it provides real-time, unaltered feedback.
Conclusion
Audio interfaces with Direct Monitoring provide invaluable advantages when recording and editing audio.
The immediate feedback allows for fine-tuning your sound and detecting potential issues in the earliest stages of production.
While learning the ins and outs of direct monitoring might feel overwhelming initially, a bit of practice will soon make it an indispensable part of your workflow.
So, don’t let unprocessed sound daunt you. Harness its power through direct monitoring, and take your sonic creations to new heights!
Always remember – mastering your tools is just as crucial as honing your artistic skills.
