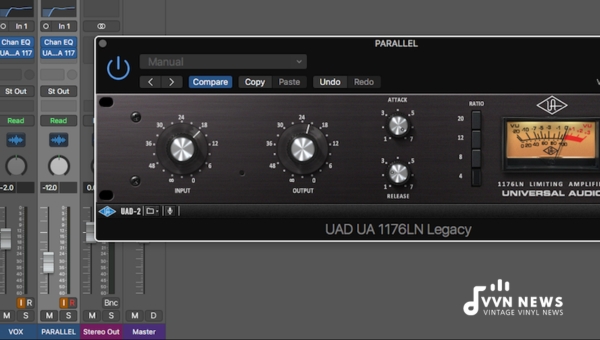
When it comes to audio engineering and music production, few concepts make as significant an impact as parallel compression.
Interestingly, the name might seem intimidating initially, but once you understand its mechanics, parallel compression becomes a secret weapon in your production toolbox.
What’s magical about parallel compression is its ability to highlight intricate details in your audio track without adversely affecting the overall dynamics.
It’s about striking the perfect balance: preserving punch and clarity while pumping the volume.
By the end of this article, I promise you that you will be armed with a robust understanding of what parallel compression is and how to use it to enhance your mixes effectively.
What is Parallel Compression?
Parallel compression, also called New York compression, is a dynamic audio processing technique where the dry (uncompressed) signal runs concurrently with the wet (compressed) signal.
It allows us to beef up our tracks, particularly lower-level details, without squashing the life out of the louder sections or compromising the dynamic range.
It’s like having your cake and eating it, too – you get to maintain sound integrity while bolstering some elements of your track.
Once understood and applied strategically, parallel compression can become an invaluable tool in achieving pro-level mixes.
How Does Parallel Compression Work?
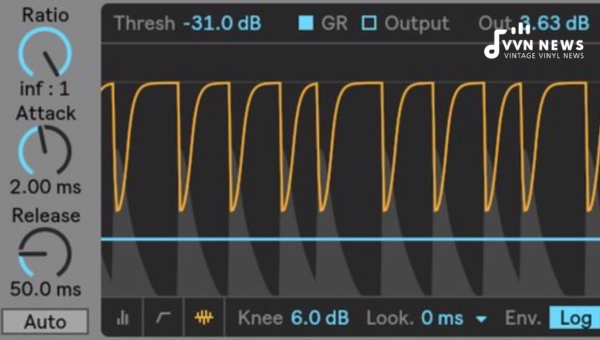
Understanding the mechanics of parallel compression involves delving into its components and how they synergize.
Identify the Need for Application
Initially, identify your audio track’s need for parallel compression.
Pay attention to specific elements in your mix that might benefit from an enhancement in presence or fullness.
Most often, this technique is applied on drums or vocals.
Creation of Auxiliary Track
The next step involves creating an auxiliary track (sometimes called a bus) on your Digital Audio Workstation (DAW).
The original way requiring enhancement is then routed to this auxiliary track. This enables simultaneous playback of the original and additional tracks.
Compress to the Desired Level
You can then implement compression based on your desired intensity level on the auxiliary track.
Remember that honest compression settings can sound overly aggressive when soloed out—this is fine since you will blend it back with the dry signal.
Blend Original and Compressed Signals
The critical aspect comes forth here — blending. By adjusting your auxiliary track’s volume fader, you control how much of the compressed (‘wet’) signal mixes back with the original (‘dry’) signal.
In practice, parallel compression adds weight and presence to some aspects of your mix without reducing their dynamic range or distancing them from other elements in loudness.
Foremost, remember that mastering parallel compression takes time and constant tweaking based on each specific mix context—it’s more art than science.
Also Read: 19 Best Audio Interfaces For Home & Studio Recording 2025
Ways to Use a Compressor
Despite its seemingly complex structure, a compressor is an incredibly versatile device that can be used in your audio mixing process in many ways.
Here are three critical uses of a compressor.
Dynamic Control
One of the primary uses of a compressor is for dynamic control. This is a fancy saying that compressors manage the variation between a track’s loudest and softest parts.
Have you ever been jarred by an unexpectedly loud segment while jamming to your favorite music? That’s precisely what compressors help avoid.
They reduce the audio level once it surpasses a certain threshold, ensuring smooth transitions and making it more pleasing to the listener’s ear.
Shaping The Sound Of An Instrument
A compressor is not just a tool for controlling dynamics; it also works like magic in shaping the sound of an instrument.
Controlling attack and release settings can drastically alter how an instrument feels.
For example, increasing attack time on drums allows more transient by giving them more ‘punch,’ while decreasing release time can make them sound ‘tighter.’
It’s like a producer’s secret sauce that takes our mix from bland to flavorful.
Also Read: Studio Recording and Podcasting [How To Get Started?]
To Stick InstrXuments Together
One exciting way I often use compressors is to “glue” instruments together in a mix. If your mix sounds disjointed, with every component fighting for attention instead of harmoniously blending, my friend, compression is the answer.
Group or bus compression allows various instruments (like drums and electric guitars) to be grouped into one track to blend smoothly by reducing dynamic differences within the group.
This kind of cohesion provides listeners with a seamless experience as they’re not jarred from one instrument to another but instead taken on a journey through the song.
Using compressors may feel challenging at first; their functionalities can seem overwhelming, even for someone familiar with audio production tools.
Compressors might not be visible superstars shining brightly out front, but they are invisible superheroes working assiduously behind the scenes, ensuring every performance sounds its absolute best!
Benefits of Using Parallel Compression
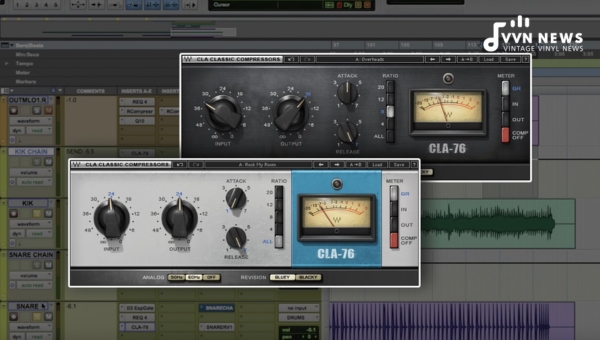
Parallel compression can breathe new life into your mixes, granting you more control over the nuances of each track.
Let’s dive into three key benefits: transparency, loudness, and punchiness.
Transparency
One of the principal advantages of parallel compression is the touch of transparency it delivers to your mixes.
This technique lets you keep the dynamic range (the difference between the loudest and quietest parts) intact while adding support and thickness to your sound.
In simple terms, transparency in audio refers to preserving as much detail in a recording as possible.
When you apply traditional compression techniques, they often squash or muffle certain areas of your audio in a way that brushes vital sonic details under the rug.
On the contrary, with parallel compression, you’re layering a compressed version of your signal over an uncompromised one— effectively enhancing quieter elements without losing overall dynamic contrast.
Loudness
Parallel compression is renowned for adding loudness to a track without risking distortion typically associated with increased volume. In short, how does it do this?
Enhancing those quiet passages that need extra push but would be too obscured or “lost” under usual compression techniques.
Your listeners will perceive these tracks as louder without maxing out on volume and causing audio clipping.
Punchiness
One area where parallel compression shines is in giving your drums or percussion elements more “punch.”
This “punchy” sound can be described as satisfyingly impactful – akin to how we might feel the beat at a lively concert.
Parallel compression achieves this by allowing transients (the initial strike/attack) to pass through while bringing up other elements present only in its sustain and decay stages.
Parallel compression lets you control various components creatively – providing greater transparency for intricate details, perceived loudness for overall intensity and presence, and added punchiness for impactive statement-making beats.
Also Read: Direct Monitoring [A Guide To Better Audio Recording]
How to Setup Parallel Compression
When diving into audio engineering, understanding how to set up your techniques strategically is vital.
The same applies to parallel compression – whether using hardware or operating in a Digital Audio Workstation (DAW).
Both methods have nuances and can be beneficial depending on what’s more convenient, affordable, or suitable for your situation.
Hardware Parallel Compression
In the older days of analog gear, engineers would use a mixing console’s auxiliary sends to split the signal into two separate paths – one uncompressed (dry) and the other compressed (wet).
- First, you must route your audio signal to your mixer’s auxiliary channel/bus.
- Next, connect the auxiliary send from this channel to the compressor input.
- You then take the output from the compressor and route it back into an empty channel on your mixer.
- Now, you have two faders in control of your sound: one for the dry, original signal and another for compressed juice that you’ll blend in.
Remember that various mixers have different configurations; many modern mixers also present digital routing options.
DAW Parallel Compression
In a Digital Audio Workstation (DAW), this process becomes infinitely more effortless due to accessible button clicks and software options offered by plugins.
Here’s roughly how you’d go about setting up parallel compression in any DAW:
- Create an auxiliary track in your DAW.
- Send your desired channels or bus mix through an auxiliary send post-fader onto this new track.
- Insert a compressor plugin of choice on this new track; it could be either stock or third-party.
- Adjust parameters such as threshold, ratio, attack & release time according to what best suits your track needs.
It’s essential not to be afraid of experimenting with different settings; each mix will require varying degrees of threshold adjustment or ratio changes depending on its dynamic range and tonal characteristics.
As simple as these steps may seem, they culminate in allowing you complete control over blending compressed audio with its unprocessed counterpart effortlessly.
With practice and dedication towards honing this technique, one can add considerable depth and vitality to their music production process.
Best Compressors for Parallel Compression
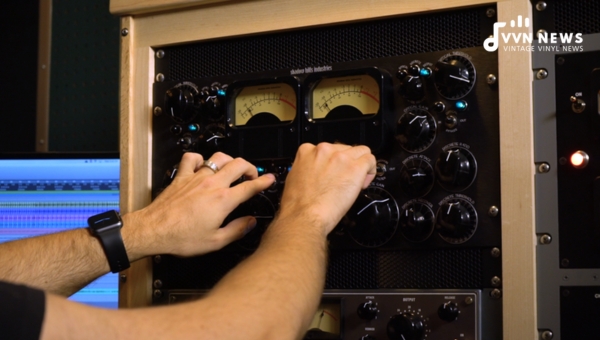
In pursuit of musical creativity, picking the right tools is paramount.
In this context, we will review a selection of some of the best parallel compressors.
This list includes some industry classics and a few modern gems that all bring something unique to your sonic palette.
Universal Audio 1176
Undoubtedly one of the world’s most famous compressors/limiters, the UREI/Universal Audio 1176 is renowned for its swift attack times (as quick as 20 microseconds) and all-discrete class-A circuitry.
This FET-style compressor offers an unmistakable, aggressive sound that can add color and character to your mix.
The free-flowing throughput with no loss in sonic quality handles peaks like a dream while pushing softer frequencies up front.
Its capacity to handle high input levels without distortion makes it exceptional at achieving added punchiness to drums and other percussive elements.
Though it matches all instruments, its impact on making bass lines tighter and vocals stand out more prominently is unchallenged.
This classic tool should not be missing in any producer’s toolkit who craves that captivating, classic tone.
Also Read: How To Soundproof A Room For Studio Quality Recordings? 2025
DBX 160A

Moving on in our list, the dbx 160A is a VCA-based compressor/limiter noted for its clean operation characteristics.
Its transparent nature and simplistic operation design have made it a perennial favorite in professional studios since its inception.
Often hailed as the “mix glue” by sound engineers, this compressor effortlessly imparts uniformity without tarnishing the original sound character.
It doesn’t overly color your audio; instead, it smooths out inconsistencies while preserving sonic integrity, which is why it shines bright while parallel processing – you get blend control without altering the fundamental essence too much!
Empirical Labs Distressor
The Empirical Labs Distressor is another iconic VCA-based compressor.
It features eight unique curves, each offering soft-knee compression for subtle dynamic control to aggressive limiting for bread-and-butter applications.
What sets this piece apart is its ability to emulate styles of other classic compressors, such as tube vintage gear or optical units, through selectable even or odd harmonic distortion modes.
The versatility makes it an excellent tool for parallel compression—complimenting every element you push through without dulling their vibrancy.
BABY Audio IHNY-2

Next on our list is a modern digital delight called BABY Audio’s I Heart New York (IHNY-2) plugin dedicated entirely to parallel compression.
It’s designed with simplicity in mind—the magic button ‘Spank’ dials up the compression level while ‘Parallel Signal’ controls how much of the processed signal blends back into the original uncompressed signal.
This powerful little plug-in focuses primarily on creating rich, punchy dynamics without overly complex controls.
With IHNY-2, you can refine your sound quickly—exploring new textures in seconds!
Arturia Bus FORCE
Arturia Bus FORCE —a power-packed unit combining multiple processors, including EQs, Saturation circuits, and Compressors arranged into three unique paths—Parallel Splitter, Multiband Splitter & Stereo Splitter).
With its intuitive ergonomic design and rich tone sculpting options—thinking parallel becomes spontaneous rather than intricate!
Its splitter section permits fine control over frequency-responsive dynamics, thus making it an excellent choice when dealing with multi-layered sounds requiring detailed attention.
Each compressor offers distinct features but excels remarkably at parallel compression techniques, resulting in enriched mixes filled with depth, presence, and clarity.
Also Read: Studio Headphones Vs Studio Monitors 2025 [Mixing With Both]
FAQs About Parallel Compression
What kind of applications does parallel compression have?
Parallel compression tends to help make percussion tracks more punchy and vocal tracks more transparent and can help enhance the overall mix by bringing out subtle details.
What is ‘New York’ compression?
“New York” compression is another term for parallel compression. This name originates from the punchy sound often linked with music produced in New York studios.
Is parallel compression suitable only for professional use?
Not at all. Parallel Compression can be beneficial even for home studio owners or beginners trying to give their audio a lift. It’s a technique that everyone can learn and apply.
Does parallel compression work on various instruments, or is it mainly for vocals?
Parallel compression isn’t instrument specific – it works well whether you are compressing drums, guitars, keyboards, or vocals.
Where should I start when setting up parallel compression?
Start by duplicating your track. Keep one track dry (uncompressed) and on the other (wet), set a compressor with a swift attack, release time, and high ratio. Blend to taste.
Conclusion
Understanding and exploring parallel compression can be an intriguing journey, opening up new frontiers in music production.
Remember, it’s about striking a delicate balance and achieving the desired sound without hindrance to the dynamics.
While it may feel overwhelming initially, don’t worry; practice makes perfect. Continue experimenting with your sounds, and you’ll see how parallel compression becomes second nature.
