As an ardent music lover, I’ve always been drawn to the magic of recorded sound.
As the years have ticked by, I’ve realized that creating this magic doesn’t necessarily require a state-of-the-art recording studio.
I will let you in on a little secret: One of the most fascinating aspects of technology’s evolution is that it has made recording vocals at home possible and highly achievable.
Of course, there are tricks to achieving this feat just right. We know that our homes carry unique acoustics and ambient noises, but these can be manipulated to favorable ends through art and science.
So whether you’re a hobbyist looking for fun ways to capture your voice or an aspiring singer honing your skills, let’s take this journey together! We’ll explore the trails toward creating powerful music from the comfort of our living rooms.
The Importance of Recording Vocals at Home
The ability to record vocals at home is a cost-saving initiative and a game-changer for budding musicians and vocal artists.
It allows you to tap into your creative juices, regardless of time or day, whenever they flow. It eliminates the need for expensive studio sessions while giving you control over your music production.
Let’s delve into some major benefits:
Flexibility & Convenience
Primarily, recording at home provides unbounded flexibility as you can set your schedule without the constraints usually associated with professional studios. You don’t have to wait for that “Eureka” moment to coincide with studio booking timings!
Cost-Effective
While initial equipment expenses are incurred when setting up a home studio, these costs are typically one-time and far less than continuous studio rental fees. It’s more of an investment that pays off in the long run.
Control Over Creativity
One significant advantage is complete creative control over your work without external interference.
You can experiment with different tones, take breaks when required, and revisit a particular segment multiple times – all at ‘my pace, my rules’ rhythm.
Learning & Growth
Moreover, it’s a fantastic learning experience! Not only do you get better at aligning emotions with audio outputs effectively, but you also grasp the technical nuances involved in record-making.
Venturing into home recording is a rewarding journey that simultaneously enhances creative skills and technical knowledge while saving time and resources.
Also Read: How To Compress Vocals For Pro Results 2025 [Mistakes To Avoid]
Setting Up Your Home Recording Studio
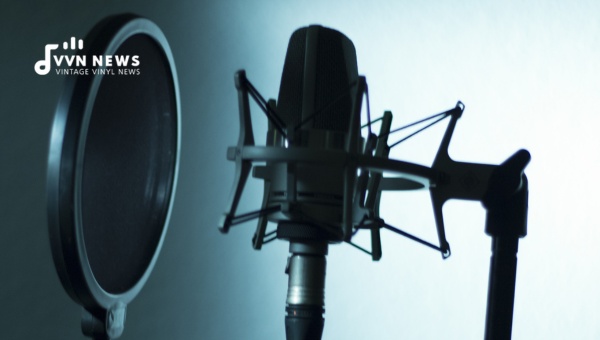
Getting ready to dig into recording vocals at home is an exciting endeavor. The first thing that needs consideration is the essential equipment necessary for a successful recording session.
Here’s a rundown of what you need to create your outstanding home recording setup.
Microphone
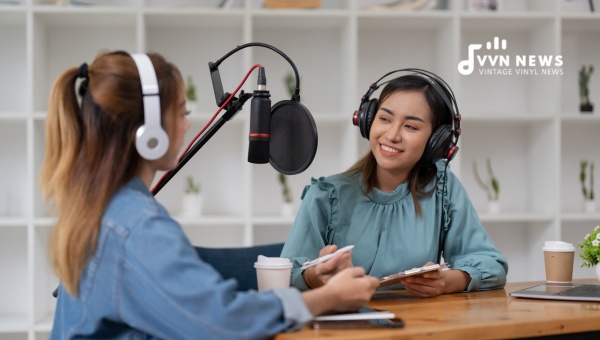
Every great vocalist knows the value of having the right microphone. You can have different types with varying characteristics, such as dynamic and condenser microphones.
Dynamic microphones have a more robust build and are excellent for live performances, while condenser mics are sensitive and ideal for studio recordings due to their superior sound quality.
Remember to prioritize your voice’s character and uniqueness when choosing a microphone.
For instance, you might consider Rode NT1-A, which is quite popular among novice singers for its crisp sound delivery.
Room Acoustics
Room acoustics play an integral part in capturing high-quality vocals. A room with many echoes can adversely affect your recordings since it adds unwanted reverberations to your songs.
In contrast, a small room traps these sound waves inside, providing clear sound recordings.
Managing room acoustics involves soundproofing your space by reducing reflections through diffusers and absorption panels.
It also means identifying the quietest place in your house with minimal noise interference.
Microphone Stand & Shock Mount
You’ll need a microphone stand and a shock mount to stabilize your microphone.
They keep your microphone secure and prevent unwanted noise pickup from desk bumps or vibrations on the microphone.
A good shock mount can drastically reduce external “interference,” causing lousy noise.
Pop Filter & Wind Screen
Ever experienced a pop sound while recording vocals or audio in the letter ‘P’ or ‘B’? That’s where a pop filter comes in handy.
It is designed to neutralize the blast of air from your mouth when you sing or speak, thus eliminating distortion and ensuring more apparent recording quality.
On the other hand, a windscreen protects your microphone from unwanted elements, such as dust and erratic wind gusts, that may tamper with your recording quality.
XLR Cables
Also known as mic cables, XLR cables carry balanced audio signals from your microphone to an audio interface or preamplifier.
Ensuring you use high-quality XLR cables can significantly reduce background noise and interference during recording sessions.
Preamplifier
A preamplifier, known as a preamp, amplifies weak signals generated by microphones into stronger signals for processing or transmission.
It buffers signals for further amplification without straying away from the source’s original sound character.
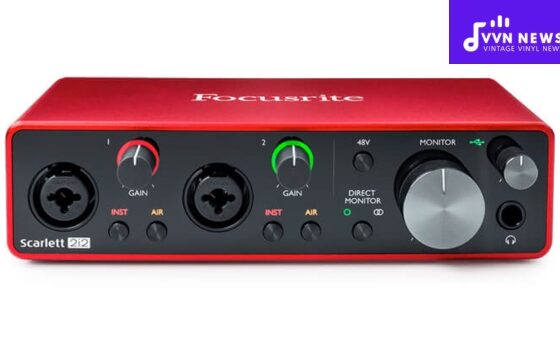
Audio Interface
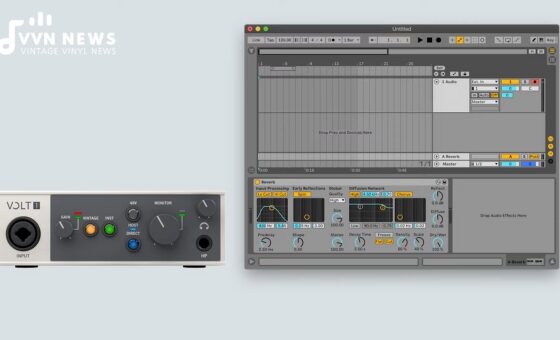
An audio interface is an essential device in any studio setup. It allows you to connect various equipment to your computer and convert analog signals into digital forms that can be manipulated via software on your computer.
Whether recording vocals and instruments or using MIDI devices – it all passes through this hub.
Recording Software
We have reached arguably the most critical part of setting up our home studio – the recording software, also known as Digital Audio Workstation (DAW). Examples include Pro Tools, Logic Pro X, and Ableton Live 10.
Your choice of DAW can dramatically impact your recording experience and largely depends on your preference or familiarity.
Setting up a home recording studio requires a decent budget for quality equipment, time, commitment, and space.
With the right components, you can indulge in a high-quality at-home vocal recording experience.
Also Read: How To Use Autotune In 2025 [Different Ways To Use Autotune]
Step-By-Step Guide To Recording Vocals at Home
The steps outlined below will offer you a comprehensive guide to maneuver through the vocal recording process at home much more smoothly.
Step 1: Preparation
Before beginning to record, it’s crucial to prepare your voice. Forgetting to do so may lead to a less-than-stellar vocal performance.
Hydrate, warm up your vocal cords, and ensure you have a suitable mental space for recording. Also, know the lyrics by heart! Nothing stunts creativity like constantly looking up words.
Step 2: Set up your Microphone and Audio Interface
After warming up your vocals, you need a way to capture the sound. A USB microphone can directly connect to your computer and is an affordable option for beginners.
Precisely position your microphone with the pop filter about 4-6 inches from it. Connect your microphone via an audio interface to your computer. I’d suggest getting an audio interface that includes preamps built-in.
Step 3: Set up Your DAW (Digital Audio Workstation)
Use a DAW that suits your level of expertise and style of music. Applications like Pro Tools, Ableton Live, Logic Pro X, and Garageband are great examples of DAWs that vary in cost but offer similar functionality.
Here is a detailed guide on choosing the right one based on functionality and affordability.
Step 4: Check Your Levels
This is perhaps one of the most essential parts of setting up – doing a mic check! Sing into the mic at total volume, then adjust the gain on your audio interface until it gets close to peaking between -12db to -6db.
Step 5: Recording the Vocals
Once the mic level is set, click on a record in your DAW. This step can sometimes introduce a little pressure, and it’s quite normal to need multiple takes at this stage.
Don’t fret! Recording software allows for countless overheads. Take a break if needed.
Step 6: Comping Vocals
After recording, the next step is comping – short for compositing. “Comping” refers to assembling the best excerpts from multiple takes into one stellar vocal track.
This process can be very tedious but indeed improves the final track.
Step 7: Editing & Mixing
Once you are happy with your vocal recording, it’s time to edit and mix them! Here, you’ll make corrections like timing and pitch control, then process with EQ, compression, reverb/delay, etc., to draw out a professional sound.
Even with such clear steps in place, practice makes perfect. This process will no doubt become easier over time as it starts becoming second nature to you and your style of music production!
Also Read: DIY Vocal Booth [Set Up Home Recording Studio on A Budget]
Vocal Mixing Tips
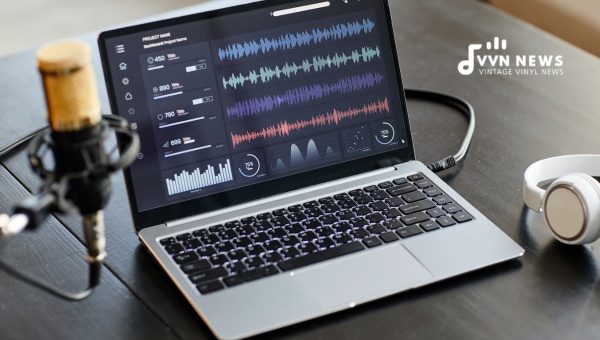
Let’s delve deeper into the realm of recording vocals at home and explore vocal mixing tips that will help us elevate our projects to professional standards.
Enhance with EQ
First, it can’t be overstated how important EQ (equalization) is in mixing vocals.
EQ is the balance of different frequency components in an audio signal, and when well utilized, it allows you to make your vocals pop within your mix.
To use EQ effectively, you’ll want to eliminate undesirable frequencies identified in your recording while boosting those that enhance your vocalist’s unique voice.
Compression for Consistency
Next comes the role of compression. Compression narrows the dynamic range of a recording, ensuring consistency in volume.
It can be tricky because over-compression can degrade the natural tonality and feel of your vocal track, making it sound flat and lifeless.
The key is to use this tool sparingly and only to even out excessive volume spikes.
Delay & Reverb for Depth
Another helpful technique is utilizing delay and reverb effects – They add space or echo effect, contributing to a more prosperous sounding track.
However, keep these FXs in moderation; they should add depth without turning your vocals into an indistinguishable echo.
Vocal Doubling for Thickness
One might ask what could enrich vocal tones more than anything else. In my experience, a great trick has been vocal doubling.
Recording two separate takes and layering them together adds a depth that can make even leaner voices sound fuller in the final mix.
Automation Adding Life
Automation allows us to dynamically control various aspects of our mix rather than assigning them static values. For instance, if you wish some words or phrases pop more than others, you’d automate ‘volume riding’.
Don’t forget that mixing is an art form as much as it is technical. It’s all about carving out and giving your vocals their rightful place in the mix.
Have fun, experiment, and constantly learn more – check out different YouTube tutorials; for example, they are beneficial resources available at your fingertips!
Also Read: How To Eq Vocals Professionally In 2025 [Step by Step Guide]
FAQs About home recording
What is the best microphone to use for home recording?
It essentially comes down to personal preference, but many singers swear by condenser microphones like the Audio-Technica AT2020 for home recording due to its superior clarity and detail capturing.
How should I set up my room for the best acoustics?
On a budget, hang thick blankets or curtains on walls to absorb echo. Additionally, orient your microphone away from windows and doors to minimize ambient noise intrusion.
Do I need a pop filter when recording vocals at home?
Yes! Using a pop filter reduces plosive sounds (like ‘p’ and ‘b’) that can provide harsh gusts of air onto your mic, which may cause distortion.
Is it necessary to invest in a preamplifier for home vocal recording?
While not essential, a preamplifier significantly improves your audio quality. It boosts your microphone’s signal strength before it gets to your interface.
What sort of software is best for vocal mixing at home?
There are plenty of great options. Pro Tools, GarageBand, and Ableton Live are all reputable choices with user-friendly interfaces perfect for beginners.
Conclusion
Best believe it, recording vocals at home is certainly achievable, and with the right tools and tips, you can create incredible sound quality without stepping foot in a professional studio.
Admittedly, it may require some initial setup and time investment to understand your home’s unique acoustics but trust me when I say that the payoff will make it worthwhile.
In a nutshell, by taking care of crucial factors such as investing in quality equipment, mastering the art of sound isolation, and utilizing editing protocols, you’ll soon be well on your way to acing home vocal recordings!
