Every artist, from chart-topping pop stars to underground punk bands, understands the importance of pristine sound in their recordings.
Yet, many remain unaware of the lurking challenge of harsh sibilant sounds, which can significantly alter the perception of audio quality.
Enter the de-esser: the “hidden hero” in the world of audio production, often described as the “unsung champion” by professionals. Now, “What is a De-esser?” you might ask.
In this comprehensive guide, we’ll unravel the intricacies of sibilance and the transformative power of a good de-esser in ensuring your vocals and audio content are crystal-clear and professional-grade. Dive in and discover the magic behind de-essing.
What is a De-esser?
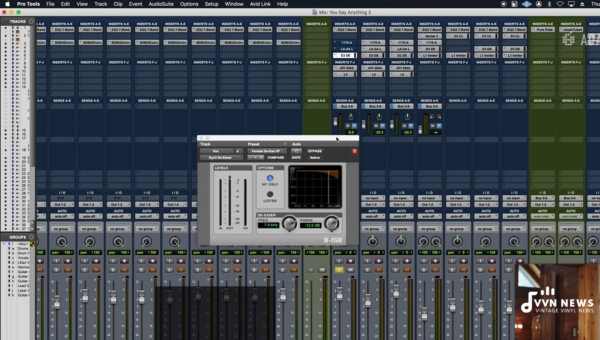
In essence, a de-esser (derived from the terms ‘S’ ‘E’ ‘S’) is a vital audio processing tool employed to mitigate or completely reduce the overbearing harshness produced by certain sounds such as ‘s,’ ‘sh,’ and other sibilant noises in recorded audio.
Sibilance can arise while recording vocals, high-hats, or any instrument that incorporates extensive high-frequency content.
It’s a trait of speech that can sneak into even professional studios, causing discomfort to the listener.
Essentially, the de-esser operates by attenuating these harsh sibilant sounds, restoring harmony to your vocal tracks, and uplifting overall audio quality.
Its functions are somewhat similar to a compressor. It specifically zeroes in on sibilance frequency ranges, making it superior in dealing with these sharp tonal nuisances.
Recognizing its importance is pivotal for obtaining polished and professional soundtracks; hence let me walk you through with Complete Guide on what a De-esser does and how should one use it for the best outcomes.
The Principal Role of a De-esser
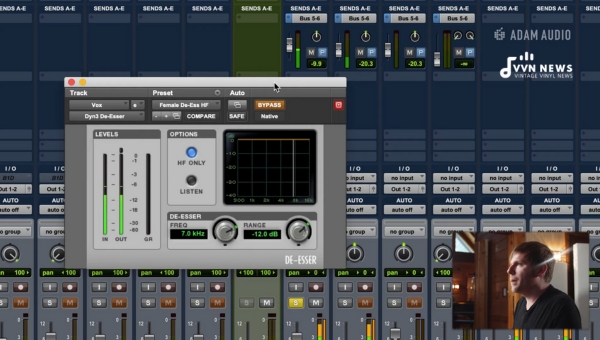
The principal role of a de-esser doesn’t only restrict to reducing sibilance.
It plays multiple key roles in smoothing out your tracks and delivering a well-rounded vocal that pleases the listener’s ear. Here’s a detailed breakdown:
- Sibilance Reduction: The primary role of a de-esser, as I’ve mentioned, lies in taming the excessive harshness produced due to sounds like ’s’, ‘sh’, ‘ch,’ etc., that often arise from vocals or high-hats.
- Frequency Specific Compressor: The de-esser also functions as an auxiliary compressor that curbs only specific harsh frequency areas without affecting other sound details. This precision-controlled tool ensures your audio content doesn’t recede on naturalness while enhancing quality.
- Dynamic Equalizer: Often likened to a dynamic equalizer, the principal functionality of a de-esser includes automatically turning down treble frequencies when they cross certain thresholds so your output is balanced and pleasant.
- Versatility: De-essers are not restricted to vocals or high-hats but can be employed wherever audio content needs smoothing due to harsh sounds.
- Multiband Reducer: A multifunctional tool, it can also play the part of a multiband compressor/reducer that processes different frequency ranges independently for perfect fine-tuning.
Grasping this holistic understanding of the versatility and efficacy of a de-esser is essential for anyone invested in enhancing their audio quality and achieving professional brilliance.
Also Read: 15 Best Studio Headphones For Mixing In 2023 [Pro-Level Sound]
Methods of De-essing
Let’s have a look at our two main contenders in tackling sibilant sounds.
De-essing Manually or Using a Dynamic EQ
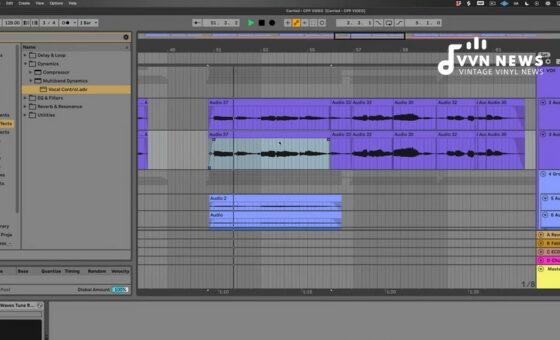
Manual de-essing is very basic but can be labor-intensive. It generally involves going into your audio waveforms and reducing the volume of each sibilant sound using envelope shaping or clip gain.
This method affords incredible accuracy, but it can be time-consuming and may lead to unnatural-sounding results if performed excessively.
Another perspective to manual de-essing introduces dynamic EQ. This has become a popular method due to the precision it offers.
A dynamic equalizer reduces specific frequencies solely when they cross a threshold, operating more like a targeted compressor than an equalizer.
Since harsh sibilance usually resides in a particular frequency range, this tool allows for surgical precision without affecting the overall timbre of your vocals.
For newcomers, implementing dynamic EQ could be daunting; plenty of YouTube tutorials are available, offering valuable guidance.
De-esser Plugins [Wide-band De-essing, Split-band De-essing]
The go-to method for many is de-esser plugins – digitally created software designed to make the process automatic and efficient.
They save you valuable time while still delivering pro-quality soundtracks. De-esser plugins come in two types: wide-band de-essing and split-band de-essing.
Wide-band De-essing: In this technique, when the plugin detects sibilance, the reduction is applied across all frequencies rather than concentrating on specific ones. It’s simpler but can sometimes lead to vocals sounding muffled if overutilized.
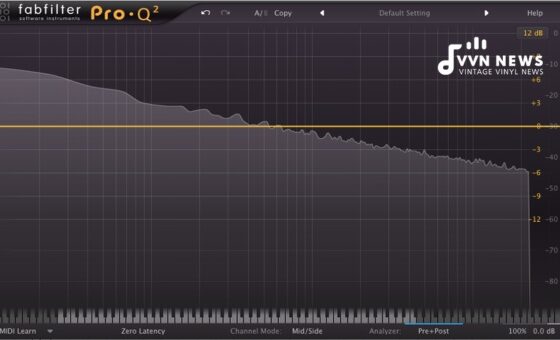
Split-band De-essing: Unlike its counterpart, split-band functions by only attenuating higher frequencies where sibilance typically resides (usually between 5kHz and 10kHz). Your audio maintains its integrity with no hint of those grating sounds.
Select your preferred method based on your needs and time constraints. All methods bring pros and cons to the table; skillfully navigating them will help you achieve professional-level sound quality.
Step-by-Step Guide to Usage of a De-esser for Sibilance Reduction
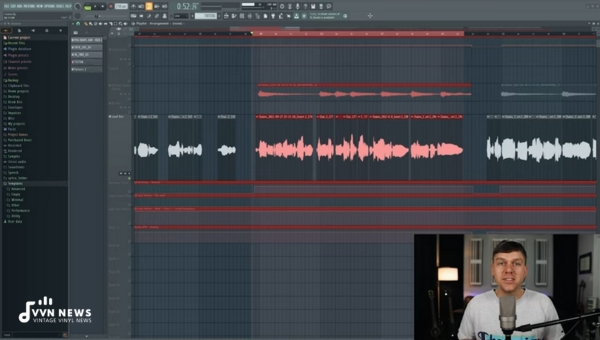
To take you through this journey, I will be using the context of vocals, as it represents one of the most common applications of de-essing. Detailed below is a step-by-step guide on how to use a de-esser in any audio project.
Highlighting the Most Sibilant Segment
The first thing to do when de-essing is identifying the parts in your audio that are most rife with sibilance.
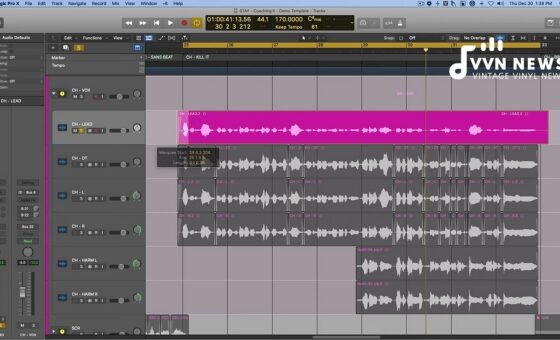
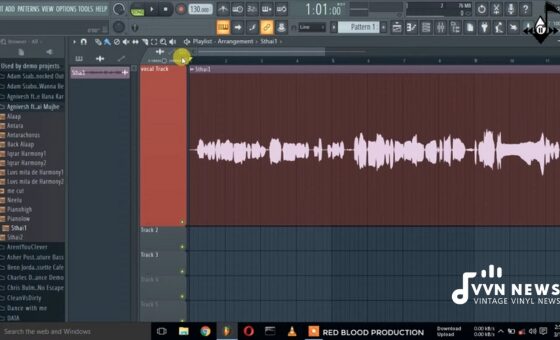
It’s simpler than it sounds – just utilize your ears! Listen through the track and mark the sections where you can distinctly hear exaggerated ‘S’ or ‘Sh’ sounds. You can mark this section in your Digital Audio Workstation (DAW) for better visibility.
Additionally, keep an eye out for waveform peaks coinciding with sibilants in your track; these can give you a visual cue on problematic areas.
Detecting the Problematic Frequency
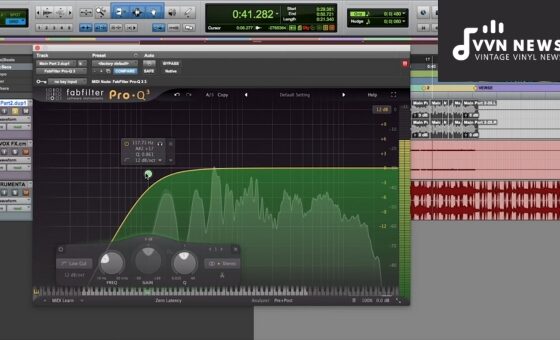
After highlighting the most sibilant part of your audio, we need to identify the frequency range causing the problem.
This will usually fall between 3kHz and 8kHz – right in that sweet spot where our hearing is most sensitive.
There’s often more than one problematic frequency; so repeat this procedure until you’ve identified all critical ranges.
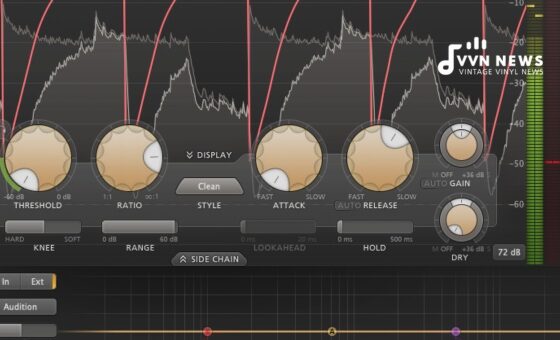
Modifying Sensitivity (Threshold)
Once we’ve marked our hot spots, we’ll lower its prominence by adjusting what’s known as the threshold. This is essentially defining at what point we want our de-esser to start taking action.
Please bear in mind that subtlety is essential at this stage. Extremely stringent settings can strip away personality from vocals, leaving us with an unsettlingly synthetic sound file – something none of us wants!
Adjusting Power
Just detecting and delineating frequency range isn’t enough; power adjustment plays a crucial part too. The reduction amount tells us how much dB should be taken away when the threshold gets hit – again, moderation is key!
A general tip would be not to cut more than 4dB right away – any more requires precision handling and ample experience repairing harsh content meticulously.
Refining Other Essential Parameters
Eventually, everyone cultivates their unique method and settings while tuning parameters such as detector filter type (HP/LP), sidechain filter type (BP/LP), attenuation filter type (BP/HP), etc., based on their track requirements.
De-essers come equipped with numerous other settings like Range (max amount of gain reduction allowed), ratio control for severity of reduction, and Look-ahead time incorporating split-second delay adds smoothness reducing sudden pop effects).
Understanding our basic parameters should put you in a good place to navigate these advanced settings with time and practice.
Conclusively, handling sibilance is a crucial skill for anyone serious about recording audio. By diligently following each step detailed above, you’ll soon be reducing sibilance and creating clear, crisp recordings like a pro.
Also Read: Mixing Bass And Kick For Low-end Balance [Expert Guide]
Ideal Position for De-esser in the Vocal Chain
Assuming you’ve familiarized yourself with the functionality of de-essers, placing them right within your vocal chain is vital.
While there’s no definitive answer as it rests heavily on the specifics of your mix and personal preference, there are recommended guidelines to follow.
Pre or Post Compression
Often during compression, sibilance gets amplified, creating a harsh sound. Thus, it makes sense to place the de-esser before the compressor.
Some prefer to place it post-compression, arguing that compression magnifies sibilance for better identification and reduction.
Before EQ or Not
For those who tend to aggressively boost high-end frequencies during Equalization (EQ), placing a de-esser before the EQ could prevent exaggeration of sibilant frequencies.
Yet, one might argue that EQ can cause unexpected boosts in sibilance; hence having a de-esser after the EQ would be beneficial.
Placement within The Chain – An Overview
The decision to place the de-esser in the vocal chain, like any other audio processing tool, should be context-dependent.
Here’s a rough sequence that artists typically follow, but remember, it is flexible:
- Noise Gate: To remove background noise.
- De-esser: To reduce any prominent sibilance.
- EQ: To enhance tonal balance.
- Compression: To control dynamics.
- De-esser To treat sibilance emphasized by EQ and compression.
- Reverb/Delay: For spatial effects.
Never forget that these guidelines are not ‘etched in stone.’ Each mix is unique and, therefore requires a certain degree of experimentation to achieve the best sound quality.
The more you experiment with the positioning of de-essers within your vocal chain, the better you’ll understand them, allowing you to tackle sibilance effectively.
An aptly placed de-esser can play a pivotal role in mitigating overbearing sibilant sounds and uplifting your audio content’s overall quality.
Also Read: 25 Tips For Recording And Mixing Vocals In 2025
FAQs About De-esser
What is a de-esser used for?
A de-esser is an audio tool used for minimizing excessive sibilance (the sharp “s” and “sh” sounds) in vocal recordings.
What is the best frequency for de-essing?
There isn’t a one-size-fits-all “best frequency” for de-essing. It often falls in the 5 kHz to 10 kHz range, depending on the sibilance attribute of the performer you are recording.
What is the ratio for de-esser?
For a de-esser, the ratio is typically set between 2:1 and 3:1, it can be increased if the sibilance is harsh or overly prominent.
What are the different types of de-essers?
There are mainly two types of de-essers – ‘single-band de-essers’ and ‘multiband or dynamic EQ de-essers. Single-band de-essers affect the entire signal while multiband de-essers only compress the offending frequencies.
What frequency is sibilance in EQ?
Sibilance in EQ typically resides in the 5 kHz to 10 kHz frequency range, although it can extend up to the 20 kHz limit.
Conclusion
A de-esser is an integral part of the audio editing process. By attenuating sibilant sounds, it assists in crafting soothing and professional-quality vocals.
Understanding its functionalities is crucial for both professional mix artists and novices alike. Hopefully, this guide has illuminated the core principles and applications of using a de-esser.
In my journey, I’ve found that while many tools are optional based on circumstance or style, a good de-esser is almost universally indispensable.
Embrace the art of de-essing and amplifying your sonic explorations.
