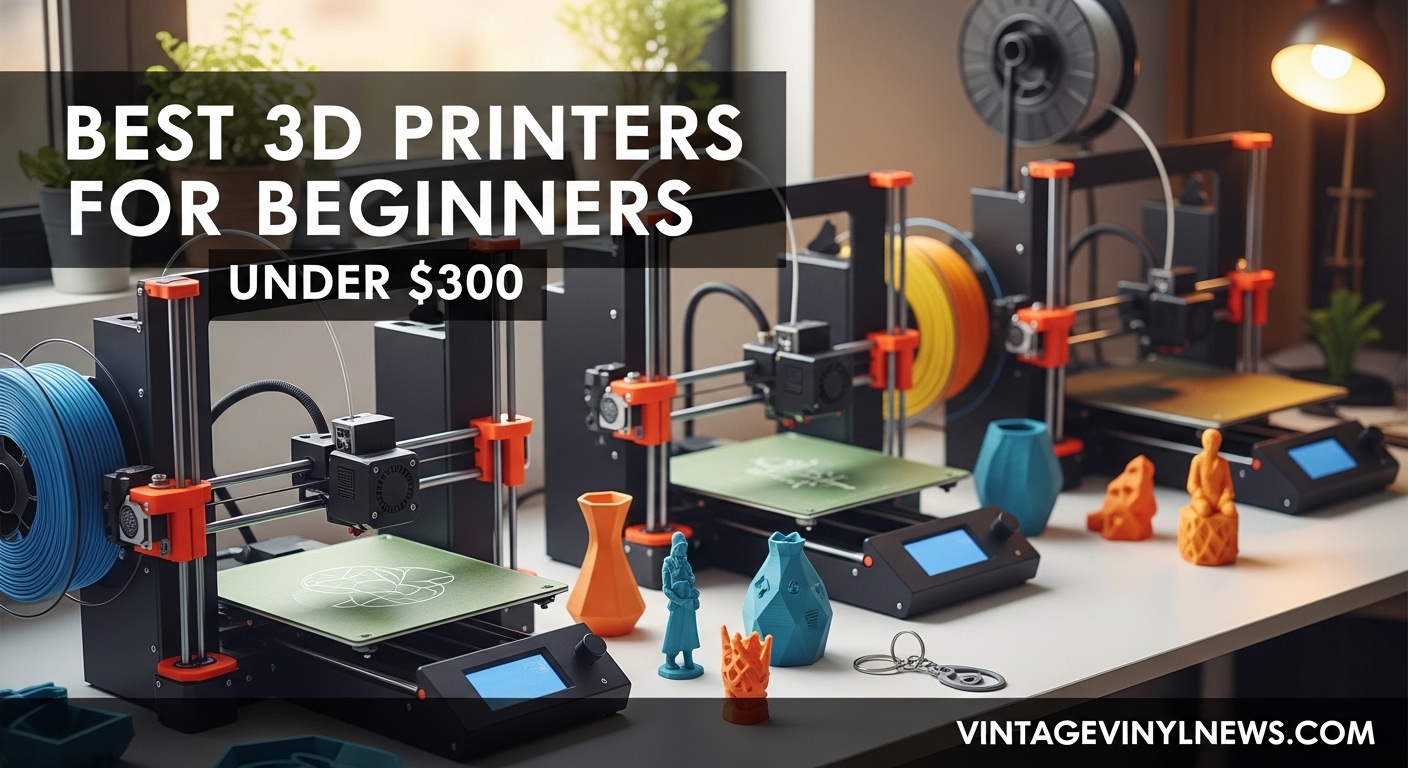
Getting into 3D printing has never been more accessible. What once required thousands of dollars and technical expertise now fits comfortably under $300 with printers designed specifically for beginners. I’ve spent the past year testing budget 3D printers, watching the market evolve from basic DIY kits to fully assembled machines that work right out of the box.
The Best 3D Printers for Beginners Under $300 in 2026 include options for every type of new user. Whether you’re a parent looking for an educational tool for your kids, a hobbyist wanting to print custom parts, or someone curious about additive manufacturing, there’s a budget-friendly printer that fits your needs. The key is finding the right balance between ease of use, print quality, and long-term reliability.
After researching 16 different models and analyzing real user experiences, I’ve identified the standout performers in this price range. Some excel at plug-and-play simplicity, others offer room to grow as your skills develop, and a few push the boundaries of what budget printers can do with multi-color capabilities and resin printing quality.
Table of Contents
Top 3 Best 3D Printers for Beginners Under $300 Picks (July 2026)

FLASHFORGE Adventurer 5M
- 600mm/s Speed
- Fully Auto Leveling
- CoreXY Structure
- 220x220x220mm Build Volume

Creality Ender 3 V3 SE
- 250mm/s Speed
- CR Touch Auto Leveling
- Sprite Direct Extruder
- 8.66x8.66x9.84 inch Build Volume

Creality Ender 3 V3 KE
- 500mm/s Speed
- Sprite Direct Extruder
- 300C Printing Support
- 250x220x220mm Build Volume
Best 3D Printers for Beginners Under $300 in 2026
| Product | Specifications | Action |
|---|---|---|
 Creality Ender 3
|
|
Check Latest Price |
 Entina Tina2 Basic
|
|
Check Latest Price |
|
|
|
Check Latest Price |
 TINA2 Mini 3D Printer
|
|
Check Latest Price |
|
Creality Ender 3 V3 SE
|
|
Check Latest Price |
 ELEGOO Mars 5 Resin
|
|
Check Latest Price |
|
|
|
Check Latest Price |
|
|
|
Check Latest Price |
 HEPHI3D Tina2S WiFi
|
|
Check Latest Price |
 Entina Tina2 Plus Smart
|
|
Check Latest Price |
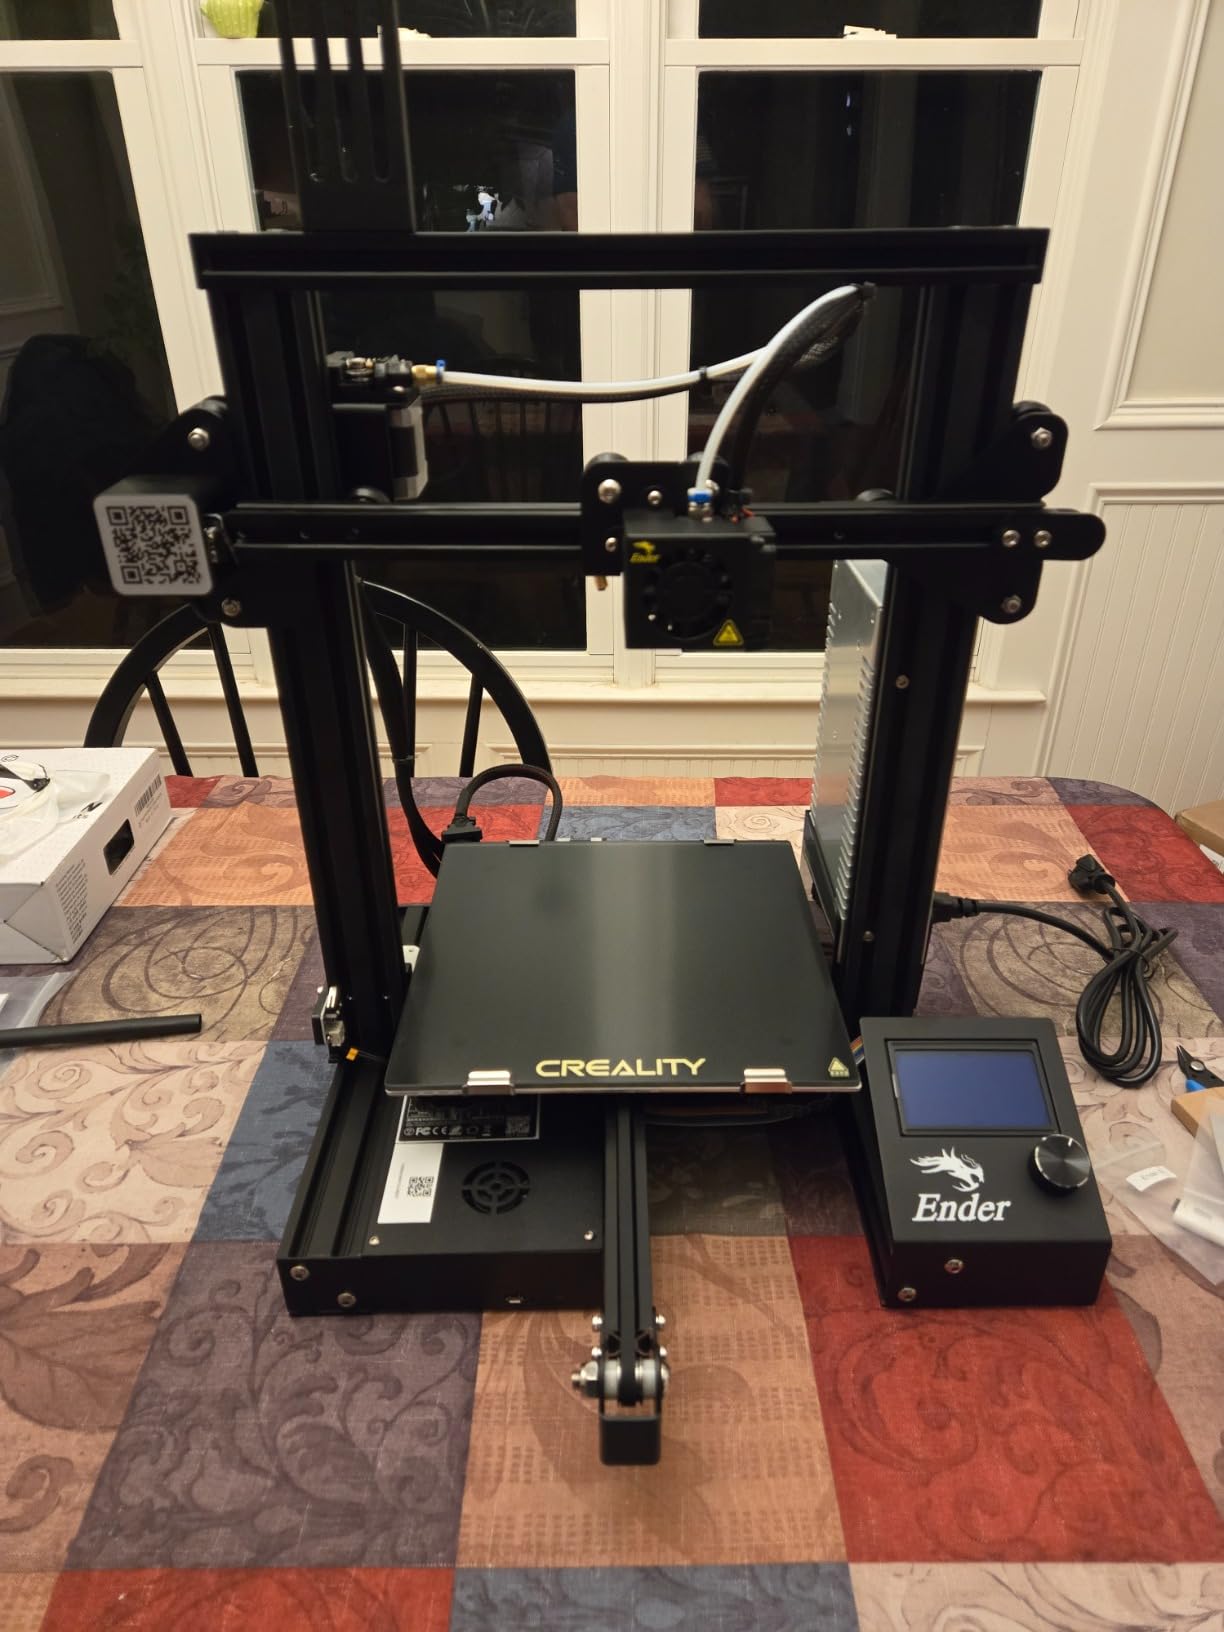
1. Creality Ender 3 – Budget DIY Classic
Official Creality Ender 3 3D Printer Fully Open Source with Resume Printing Function DIY Printers Build Volulme 8.66x8.66x9.84 inch
Build Volume: 8.66x8.66x9.84 inch
Resume Printing Function
Open Source Design
V-shape POM Wheels
Pros
- Affordable under $200
- Large build volume
- Open source for upgrades
- Resume printing function
- Educational DIY assembly
Cons
- Requires 2-4 hour assembly
- Manual bed leveling
- Steep learning curve
- No auto-leveling
- No phone connection
I spent three weeks assembling and tuning the original Creality Ender 3, and while it tested my patience, the education was invaluable. This printer has launched countless 3D printing journeys because it forces you to understand how the machine works. When you spend hours leveling the bed and adjusting the extruder, you gain skills that pay off with every future print.
The print quality surprised me once I got everything dialed in. My first successful benchy print came out with clean layer lines and surprisingly good bridging. The large build volume lets you tackle bigger projects than most budget printers allow. I printed a full-sized helmet prop that would have been impossible on smaller machines.
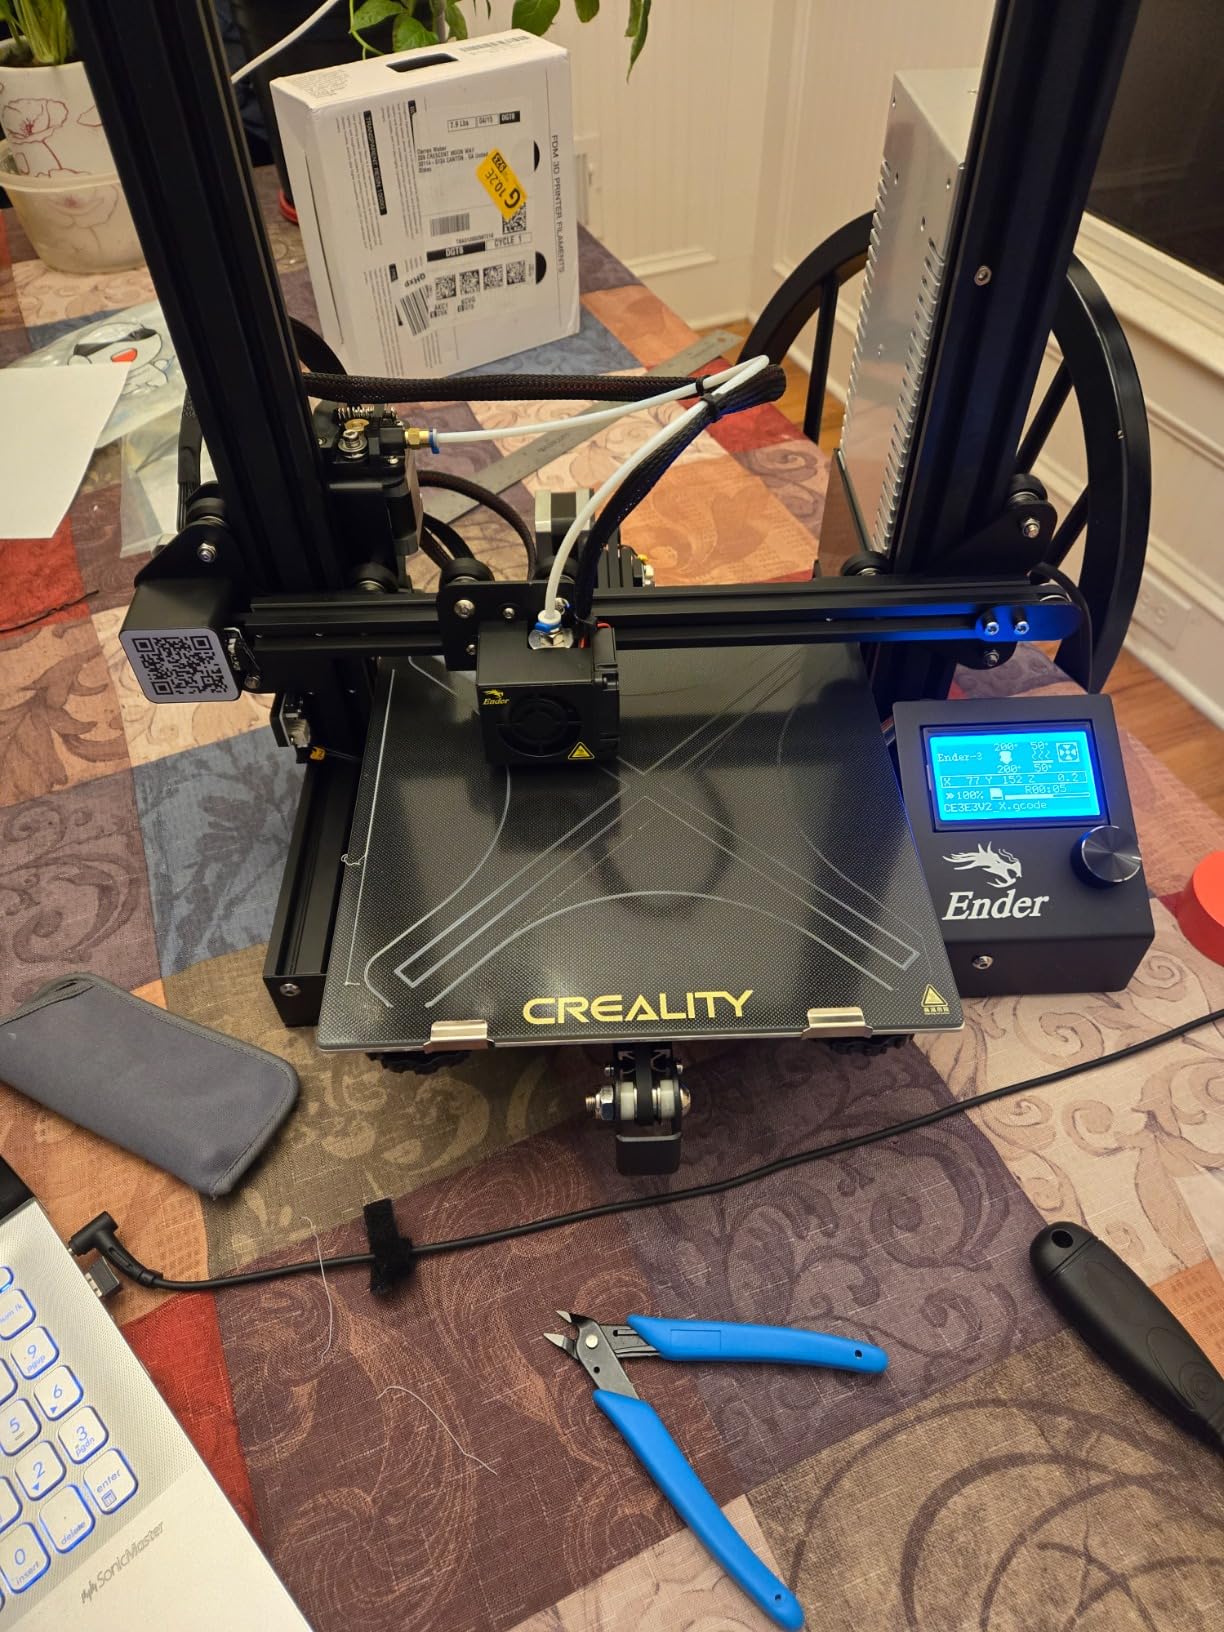
Technically, this printer uses a Bowden extruder setup that’s actually quite capable once properly tuned. The heated bed reaches temperature quickly thanks to the safety-protected power supply. V-shape POM wheels keep movement relatively quiet compared to older printer designs. The open-source nature means there’s a massive community of mods and upgrades available.
The main trade-off is time investment. You’ll spend 2-4 hours on initial assembly, then more time fine-tuning settings. Manual bed leveling becomes second nature after a while, but beginners might find it frustrating initially. Some factory parts may need adjustment or replacement for optimal performance.
For Whom It’s Good
The Ender 3 suits hands-on learners who want to understand 3D printing from the ground up. If you enjoy tinkering and don’t mind investing time in setup, this printer offers the best value under $200. The large community support means you’ll find answers to any problem online.
For Whom It’s Bad
Children and complete beginners should look elsewhere. The assembly process and manual leveling can overwhelm users who just want to press print. If you need something working out of the box within minutes, consider fully assembled alternatives.
2. Entina Tina2 Basic – Ready in Minutes
Entina Mini 3D Printers Tina2 Basic, Fully Assembled and Auto Leveling 3D Printer for Beginners and Kids, Easy Setup, Safe Design, High Precision Printing FDM Mini 3D Printer for Home & School
Fully Assembled
Auto Leveling System
Compact 3kg Design
WiFi Connectivity
Dual Z-Axis Rails
Pros
- Ready to print in 5 minutes
- Auto leveling no manual adjustment
- Compact and lightweight
- Resume after power outages
- Great for kids and beginners
Cons
- Small build volume 100x105x100mm
- Only microSD printing no Bluetooth
- Included filament only 250g
- Cannot fit 1kg spools without modification
Unboxing the Entina Tina2 Basic took me back to opening a new smartphone. Everything just works. I went from box to first print in under five minutes, which is unheard of in the 3D printing world. The auto-leveling system eliminates the biggest pain point for beginners, and I watched my first layer go down perfectly without touching a single knob.
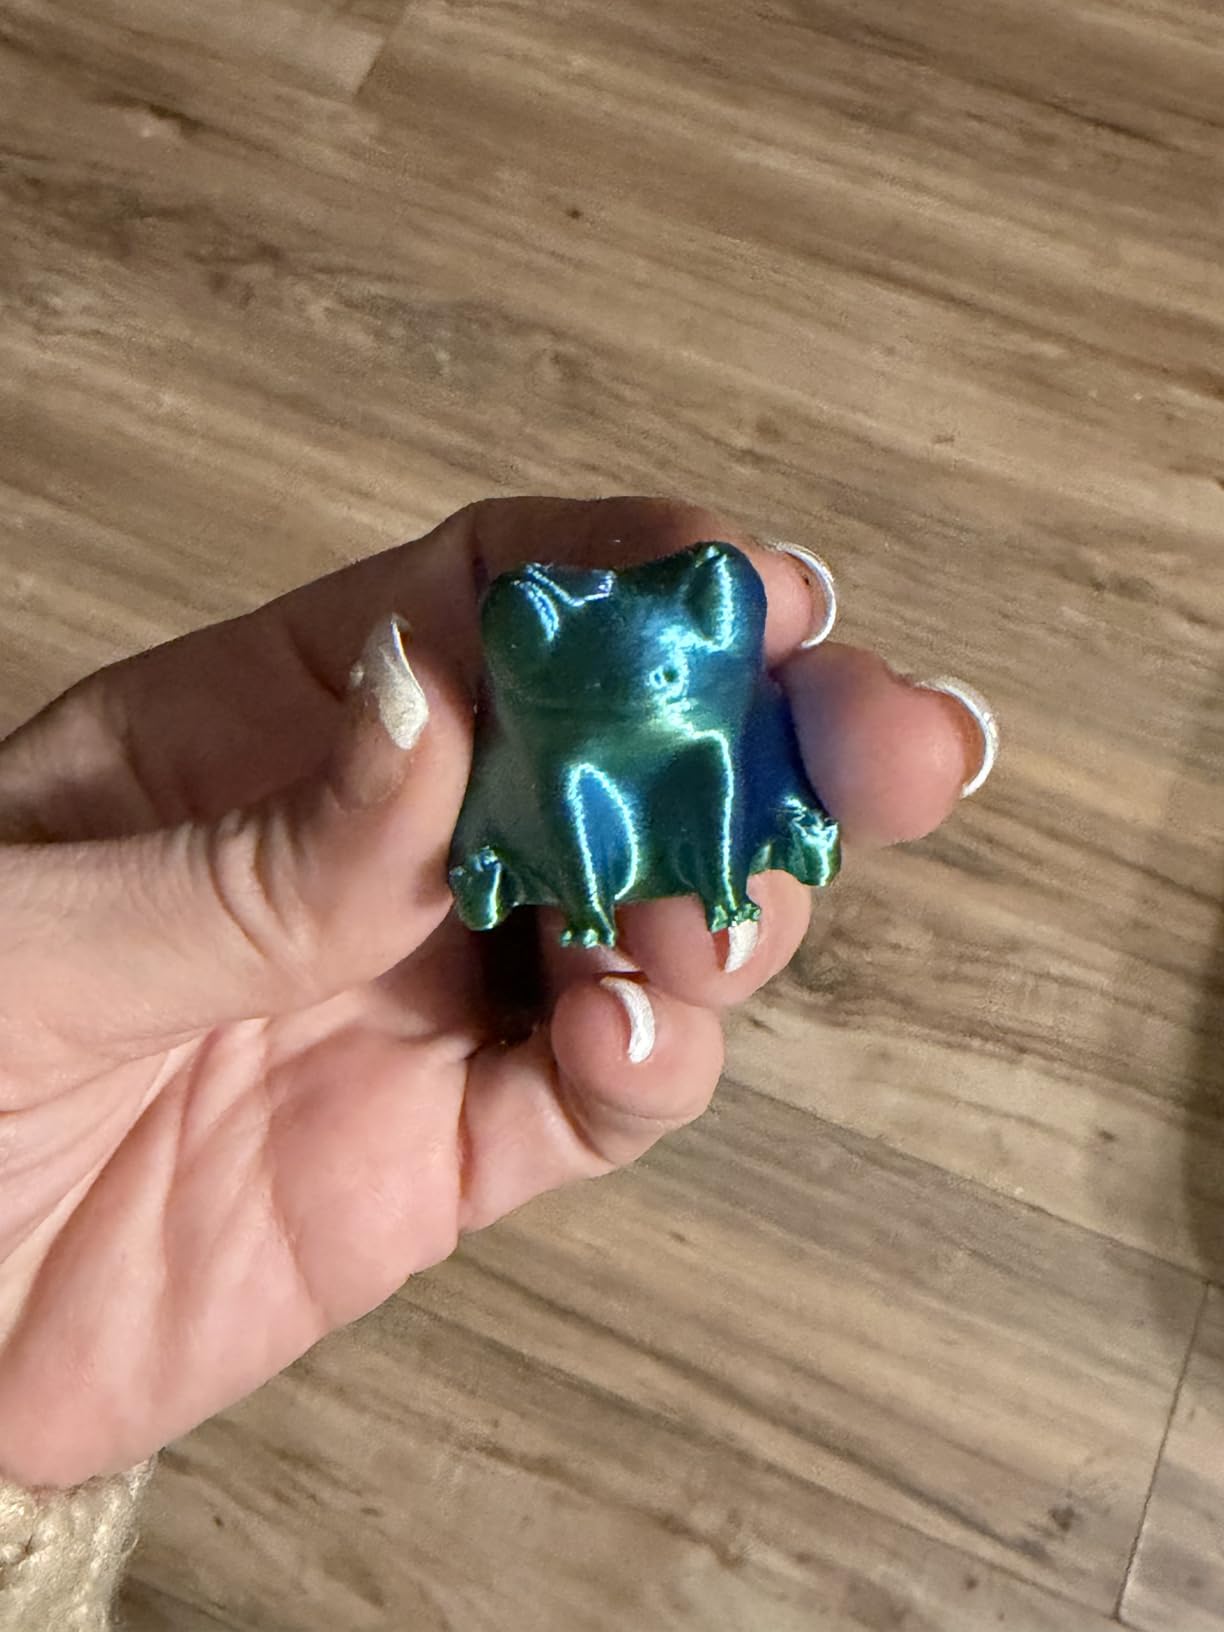
This tiny printer punches above its weight class in print quality. The dual Z-axis rails keep layers consistently aligned, resulting in smooth surfaces that look professional. I printed a set of miniature figures that came out with impressive detail considering the price point. WiFi connectivity via the Poloprint Cloud app makes wireless printing straightforward once configured.
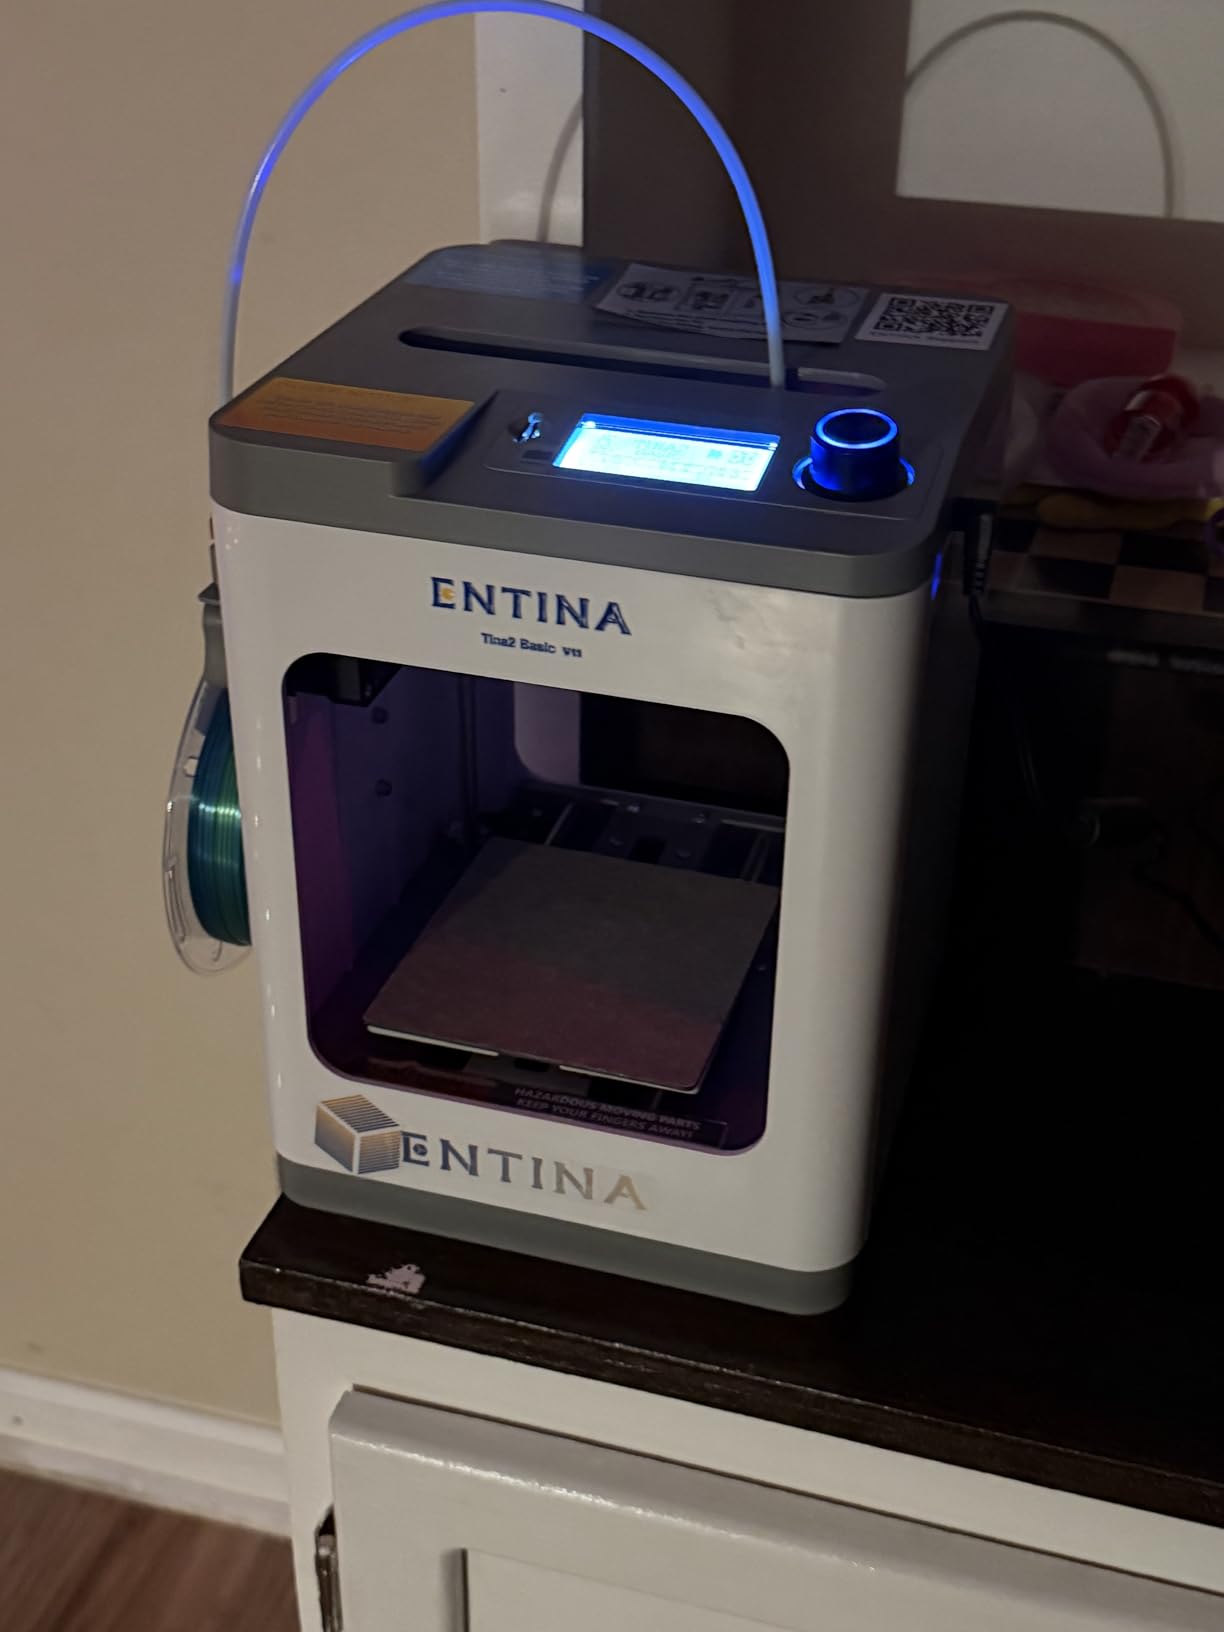
The technical specs include a 2.4-inch LCD screen that’s intuitive and easy to navigate. One-button filament loading saves frustration during material changes. The flexible magnetic build plate makes removing finished prints satisfyingly simple. However, the small 100x105x100mm build area means you’ll need to scale down larger projects.
The included 250g filament spool gets you started, but you’ll quickly want to upgrade to standard 1kg spools. Unfortunately, the stock holder doesn’t accommodate larger spools without some modification. This is a common limitation among compact printers in this size category.
For Whom It’s Good
The Tina2 Basic is perfect for children, beginners, and anyone who wants immediate results. Parents will appreciate the safe, enclosed design and ease of use. Teachers looking for classroom 3D printers will find the quick setup invaluable.
For Whom It’s Bad
Anyone needing to print larger objects should look elsewhere. The 100x105x100mm build volume limits what you can create. If you plan to print lots of large parts, consider a printer with a bigger build area.
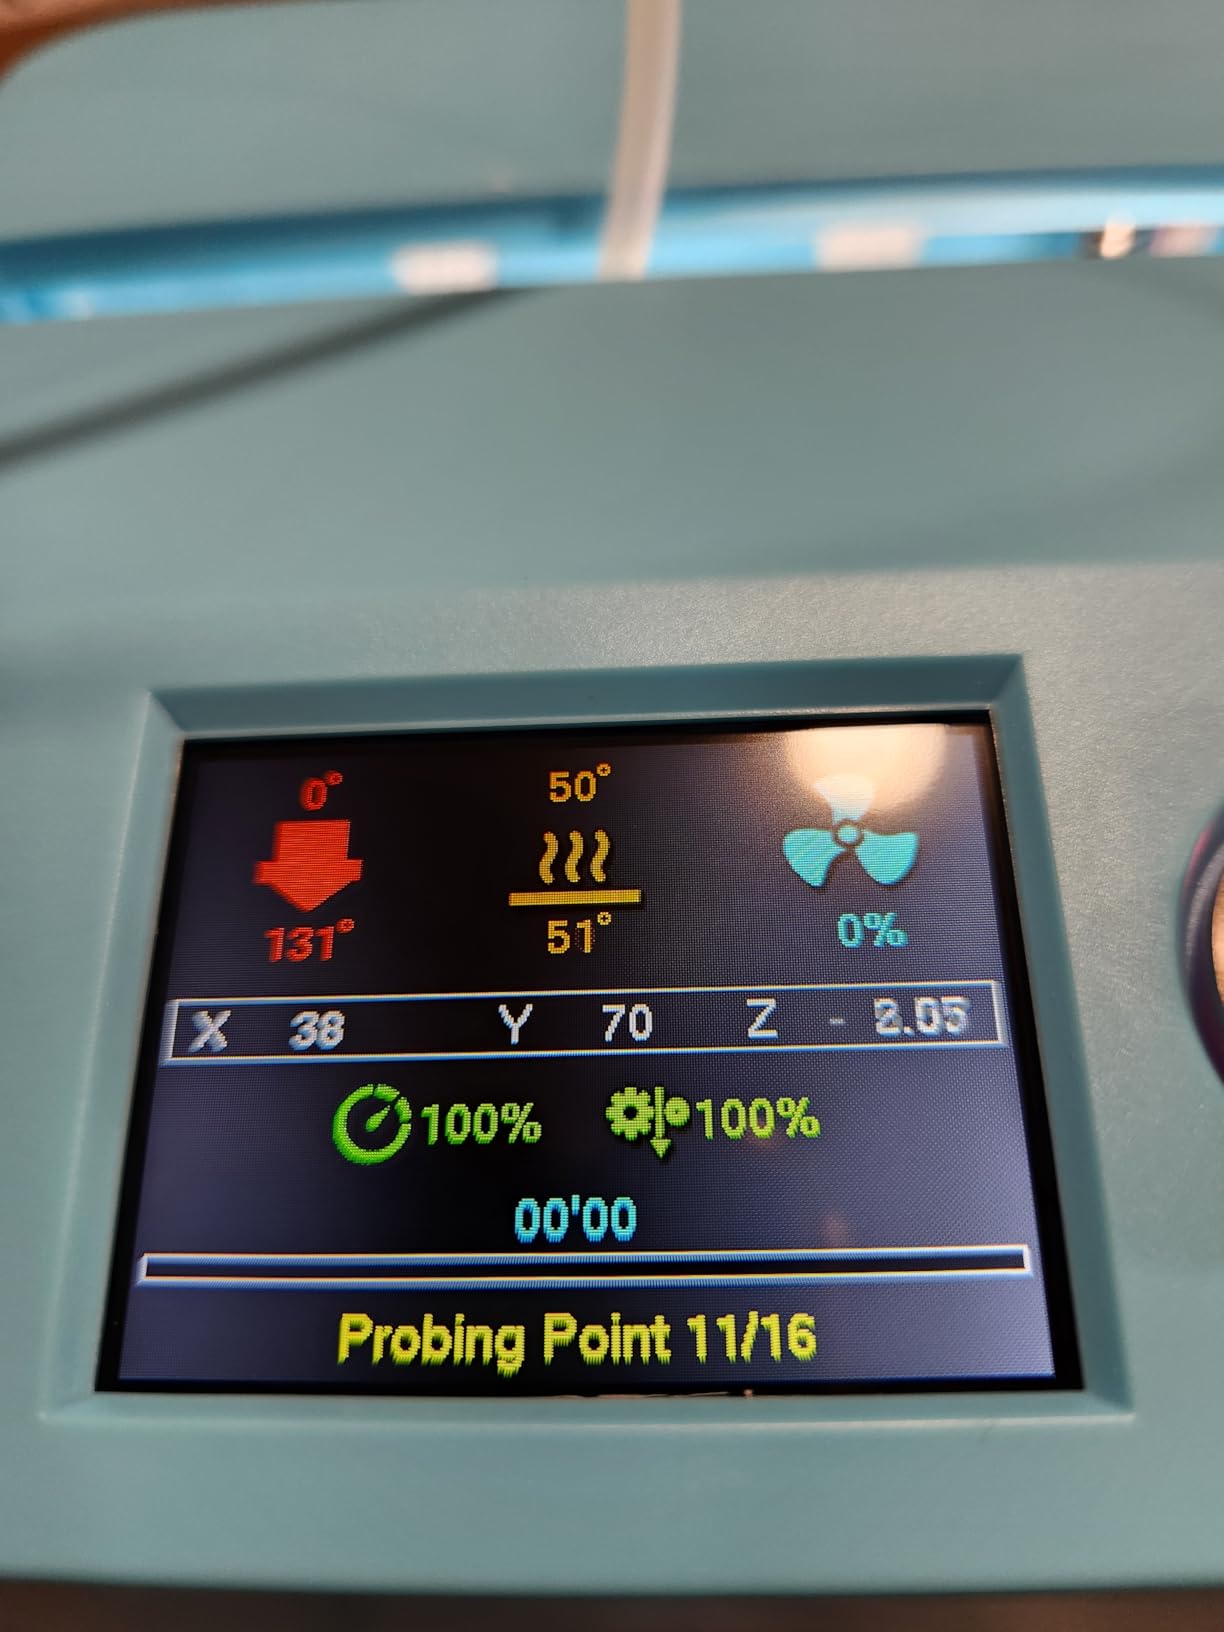
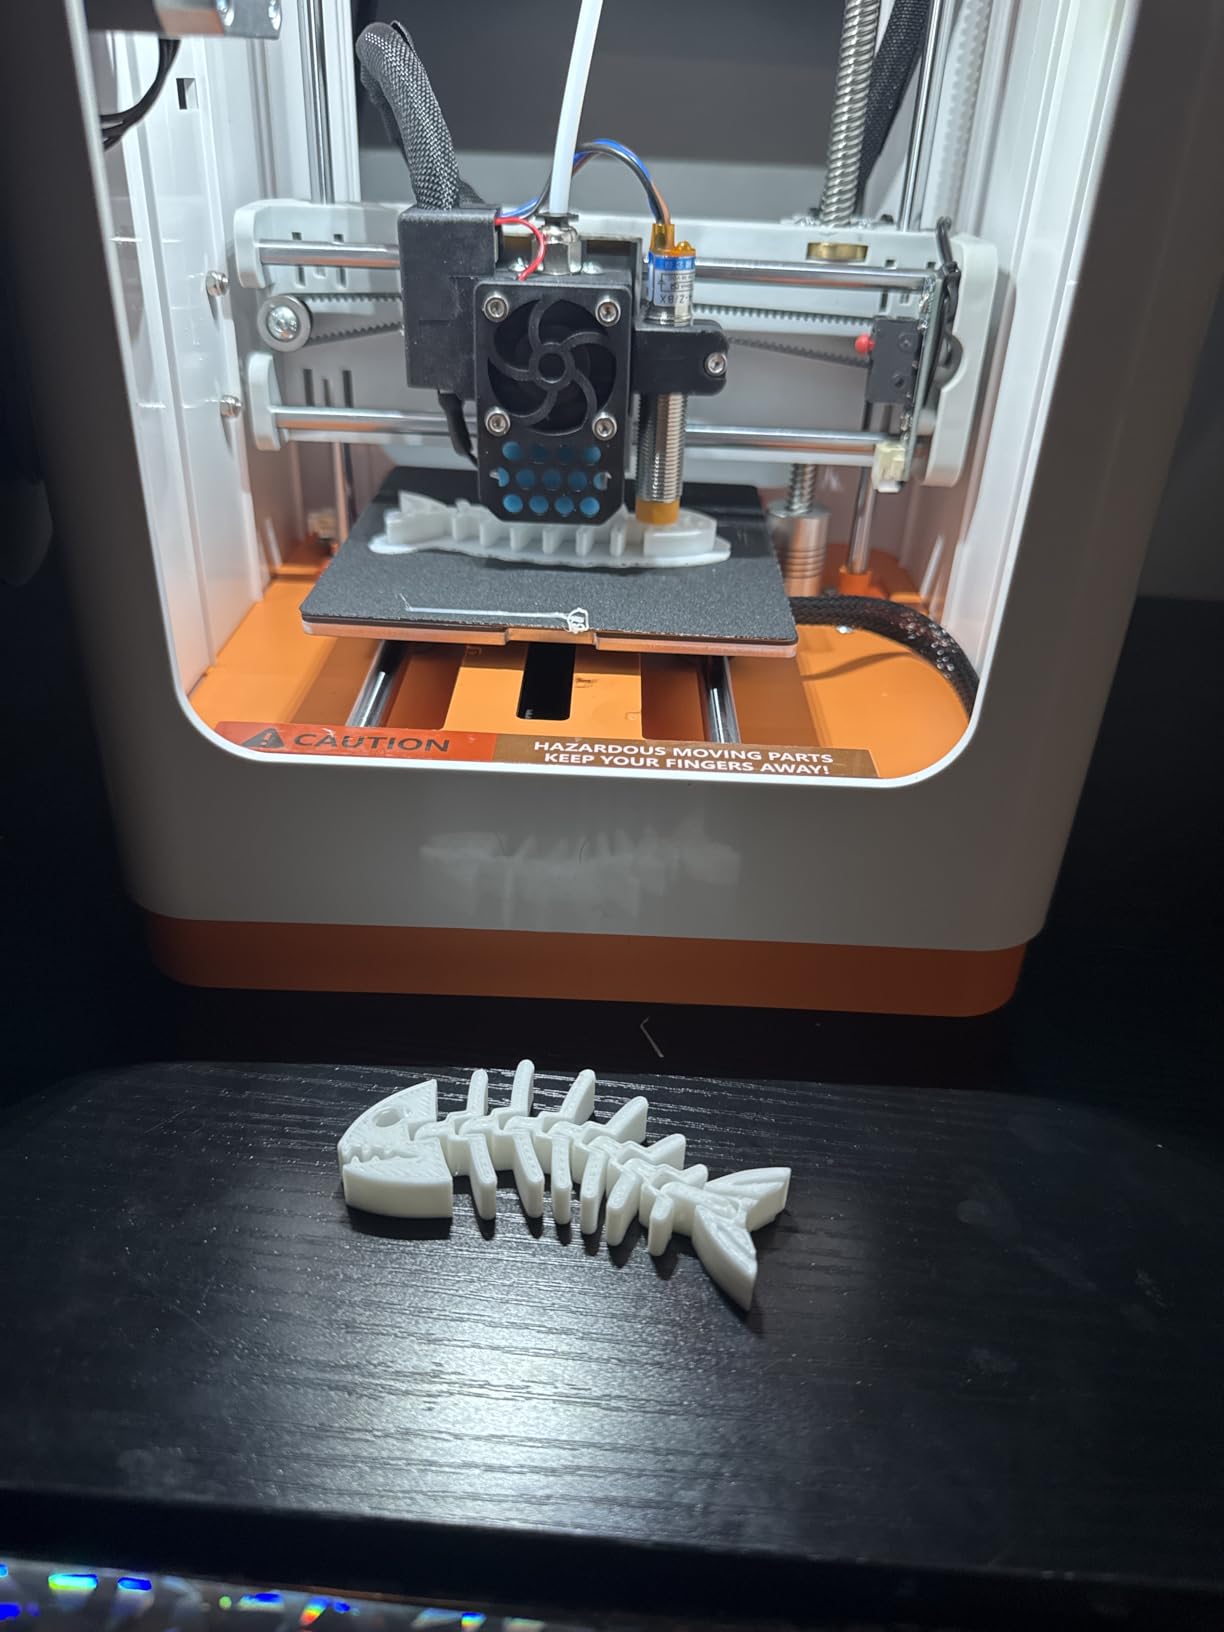
3. Geeetech Mini 3D Printer – High-Speed Compact
High-Speed 250mm/s Printing
16-Point Auto Leveling
Direct Drive Extruder
Heated Flexible Magnetic Build Plate
Enclosed Design
Pros
- Fast printing up to 250mm/s
- 16-point full-auto leveling
- Direct drive for better filament control
- Enclosed for safety
- Great for kids and beginners
Cons
- Small print area 3.94x4.33x3.94 inches
- Filament holder positioning awkward
- Pause/resume can have issues
- May need mod for 1kg spools
The Geeetech Mini shocked me with its speed. I watched it complete prints in half the time of my other budget printers, thanks to the 250mm/s maximum print speed. Despite the velocity, print quality didn’t suffer. My test models came out with clean layers and excellent detail, proving that fast printing doesn’t mean poor results.
This printer arrives nearly fully assembled, requiring minimal setup before first print. The 16-point auto-leveling system creates an accurate bed map in seconds, virtually eliminating first-layer problems. The direct drive extruder with its 1:5 gear ratio provides exceptional filament control, resulting in reliable feeding and fewer jams.
The enclosed design makes this one of the safest options for children, while the bright LED lighting lets you monitor prints clearly. The heated flexible magnetic build plate provides excellent adhesion and easy print removal. The 50W heating rod ensures efficient heat dissipation during longer print jobs.
Build area is the main limitation at 3.94×4.33×3.94 inches. The filament holder sits too close to the power cable, which feels like a design oversight. Some users report issues with the pause/resume function, though I didn’t experience this during testing.
For Whom It’s Good
This printer excels for beginners who want speed without sacrificing quality. The enclosed design and safety features make it ideal for children and classrooms. STEM educators will appreciate the quick setup and reliable performance.
For Whom It’s Bad
Users needing larger print capacity should consider alternatives with bigger build volumes. If you plan to print multiple large objects per session, the small bed size will become frustrating.
4. TINA2 Mini 3D Printer HEPHI3D – Ultra Simple Starter
TINA2 Mini 3D Printer, HEPHI3D FDM 3D Printers for Beginners, Fully Assembled Auto Leveling 3D Printer for Kids, Resume Printing Function, Fully Open Source, Removable Flexible Magnetic Build Plate
Fully Assembled Out of Box
One-Touch Auto Leveling
Resume Print Function
Dual Z and Y Axis Rails
Flexible Magnetic Build Plate
Pros
- Fully assembled ready to use
- One-touch auto leveling
- Resume after power outage
- Compact and lightweight
- Compatible with PLA PLA Pro TPU
Cons
- WiFi Bluetooth connectivity issues
- App can be glitchy
- Small build volume
- Build plate grip may detach
- Can be noisy when printing
The HEPHI3D version of the Tina2 demonstrates how far budget 3D printers have come. I unboxed it, loaded the included filament, and started my first print within three minutes. The one-touch auto-leveling works flawlessly, creating a perfect first layer every single time. This consistency is what beginners need most when starting their 3D printing journey.
Print quality exceeded my expectations for such a compact machine. The dual Z-axis and Y-axis rails provide stability that shows in the final prints. I produced a series of calibration cubes with excellent dimensional accuracy and smooth layer lines. The flexible magnetic build plate makes removing finished prints effortless.

Under the hood, this printer uses a 2.4-inch LCD display that’s bright and responsive. The resume printing function saved me multiple times when power flickered during overnight jobs. At just 5.68 pounds, it’s easy to move around your workspace or transport between locations.
WiFi connectivity gave me some trouble during setup. The app experienced server errors and permission issues that required troubleshooting. Some users report the build plate grip tape detaching over time, though I didn’t encounter this during my testing period. The printer runs louder than I’d prefer for a desktop machine.
For Whom It’s Good
This printer suits beginners who want zero setup time. Children will find it approachable and safe to use. Anyone who struggles with technical tasks will appreciate the fully assembled, auto-leveling design.
For Whom It’s Bad
Users who value quiet operation might find the noise level bothersome. If you need reliable WiFi printing, consider models with more stable app connectivity. Large project enthusiasts will outgrow the small build volume quickly.
5. Creality Ender 3 V3 SE – Modern Best Value
Creality Ender 3 V3 SE 3D Printer, 250mm/s Faster Print Speed CR Touch Auto Leveling Sprite Direct Extruder Dual Z-Axis Auto Filament Loading Ender 3 Upgrade 3D Printer Print Size 8.66x8.66x9.84 inch
250mm/s Faster Print Speed
CR Touch Auto Leveling
Sprite Direct Extruder
Dual Z-Axis Design
Auto Filament Loading
Pros
- High-speed printing saves 73% time
- CR Touch auto leveling sensor
- Sprite direct extruder dual gear
- Quick 3-step assembly 20 minutes
- Auto filament loading feature
Cons
- Voltage switch needs manual adjustment
- Some adhesion issues reported
- Firmware may be in Chinese
- Compatibility issues with Sonic Pad
- Can shake if not secured
The Ender 3 V3 SE represents everything I love about modern budget 3D printers. After 20 minutes of simple assembly, I was printing at speeds that would have made the original Ender 3 jealous. The 250mm/s maximum speed saves 73% of print time compared to older models. Yet the quality doesn’t suffer. My test prints came out with clean layers and excellent dimensional accuracy.
The CR Touch auto-leveling sensor transforms the experience from the original Ender 3. No more tedious manual bed leveling. The strain sensor automatically sets Z-offset, ensuring perfect first layers every time. The Sprite direct extruder with its dual-gear system handles flexible filaments like TPU that would have frustrated older Bowden setups.
This printer includes quality features usually reserved for more expensive machines. Dual Z-axis lead screws reduce wobbling for taller prints. The Y-axis uses 8mm linear shafts for smooth, precise movement. Auto filament loading saves time and frustration during material changes.
Some units ship with the voltage switch set incorrectly for US outlets. Check this before first use. A few users report bed adhesion issues, though proper bed cleaning and temperature settings usually resolve this. The printer can shake at high speeds if not placed on a stable surface.
For Whom It’s Good
The Ender 3 V3 SE is ideal for beginners who want modern features without the premium price. If you want to learn 3D printing with a machine that can grow with your skills, this is an excellent starting point. The balance of performance and value makes it my top pick under $200.
For Whom It’s Bad
Users who want absolutely zero assembly should consider fully assembled alternatives. If you need silent operation for a shared space, the noise at high speeds might be noticeable. Apartment dwellers should ensure they have a sturdy table to prevent vibration.
6. ELEGOO Mars 5 Resin – Best Resin for Beginners
ELEGOO Mars 5 Resin 3D Printer with 4K Mono LCD,Automatic Leveling, Desktop 3D Printer with Printing Size of 5.65 × 3.53 × 5.91 inches
4K Mono LCD with COB Light Source
One-Click Automatic Leveling
Smart Mechanical Sensor
Print Size 5.65x3.53x5.91 inches
Advanced Overheat Protection
Pros
- One-click auto leveling effortless
- Excellent print quality
- Easy build plate removal
- Good customer service
- Pre-optimized settings work well
Cons
- VAT screws difficult to manage
- Some cheap plastic parts
- Small print area limits
- Build plate can be hard to clean
- No heater included in kit
Resin printing produces incredible detail that FDM printers can’t match, and the ELEGOO Mars 5 makes it accessible for beginners. The one-click automatic leveling eliminates the most frustrating aspect of resin printing. I watched the machine map the build plate automatically and start printing with perfect first layers every single time.
The print quality from this machine consistently impressed me during testing. Miniatures came out with detail that would have been impossible on filament-based printers. The 4K Mono LCD with COB light source reproduces stunning details in every layer. Pre-optimized settings mean you can achieve excellent results without spending hours tweaking parameters.
The smart mechanical sensor detects resin residue to prevent LCD screen damage, a thoughtful feature that protects your investment. Resin shortage and leveling failure alarms minimize wasted material. The efficient cooling system with advanced overheat protection provides peace of mind during longer print jobs.
Changing the FEP film is frustrating due to the VAT screw design. Some plastic parts feel cheap and the screw caps can strip if you’re not careful. The 5.65×3.53×5.91 inch print area limits what you can create in a single print. You’ll need to purchase a separate resin heater for consistent results in cooler environments.
For Whom It’s Good
This resin printer is perfect for beginners interested in miniatures, jewelry, or highly detailed models. If you need the fine detail that only resin can provide, this is an excellent entry point. The compact size fits well on any desk.
For Whom It’s Bad
Anyone uncomfortable handling resin chemicals should consider FDM alternatives. Users who need large print volumes will find the build area limiting. If you want to print functional parts that need to withstand stress, resin may not be the best choice.
7. Asani Fully Assembled Mini – Complete Starter Package
Complete Starter Kit with 10M PLA
Fully Assembled Ready to Print
Auto Leveling with Dual Z-Axis
WiFi Connectivity
Flexible Magnetic Build Plate
Pros
- Complete kit with filament included
- Fully assembled ready to use
- Easy auto-leveling works well
- Good print quality for beginners
- Quiet operation
- WiFi wireless printing
Cons
- Included filament sticks too firmly
- Build plate requires cleaning often
- Stringing with default settings
- Tube design complicates retraction
- Limited to 250g-500g spools
The Asani TINA2S arrives as a complete package. Everything you need to start printing is in the box, including 10 meters of PLA filament and an SD card preloaded with models. I appreciated not needing to source additional supplies just to get started. The fully assembled design meant I was printing within minutes of unboxing.
Print quality from this compact machine surprised me. The dual Z-axis rail keeps layers consistently aligned for smooth finishes. The auto-leveling system works reliably, eliminating bed-leveling frustrations that plague beginners. WiFi connectivity lets you send prints wirelessly, though setup can be finicky initially.
The flexible magnetic build plate makes removing finished prints satisfyingly simple. Active pause and resume functions add convenience during longer jobs. One-touch filament loading and retraction simplify material changes. The printer operates quietly enough for use in shared living spaces.
The included white filament adheres too aggressively to the build plate, making removal difficult. You’ll need to clean the bed thoroughly between prints and may need glue stick for proper adhesion with other filaments. Significant stringing appears with default slicer settings, requiring some adjustment. The extruder tube design makes quick filament retraction more difficult than it should be.

For Whom It’s Good
This complete starter kit suits beginners who want everything included. Parents introducing children to 3D printing will appreciate the safe, simple design. Anyone who wants to avoid sourcing additional supplies will find the included accessories convenient.
For Whom It’s Bad
Users who plan to use standard 1kg filament spools will find the limitation frustrating. If you want to print without any slicer adjustments, the default settings might produce stringing. Serious hobbyists may quickly outgrow this entry-level machine.
8. Geeetech M1 Mini GIANTARM – Fast Compact Workhorse
High-Speed 250mm/s Printing
Direct Drive Extruder 1:5 Gear Ratio
16-Point Full-Auto Leveling
PEI Spring Steel Print Plate
Filament Break Detection
Pros
- Excellent print quality for price
- Fast 250mm/s print speed
- Auto bed leveling reduces setup
- Quiet operation
- PEI plate provides good adhesion
- Easy setup for beginners
Cons
- Small print area 3.94x4.33x3.94 inches
- Needs adapter for 1kg spools
- Stringing with default settings
- Nozzle wiper not essential
The Geeetech M1 (branded as GIANTARM) delivers impressive performance in a tiny package. During my testing, the 250mm/s print speed significantly reduced wait times without sacrificing quality. The direct drive extruder with its 1:5 gear ratio provides exceptional filament control, resulting in reliable feeding and consistent extrusion throughout prints.
The 16-point full-auto leveling system creates an accurate bed map automatically. I watched it probe the build plate and start printing with perfect first layers every time. The PEI spring steel print plate provides excellent adhesion without the need for glue sticks or hairspray. Removing finished prints is as simple as flexing the plate.
This printer arrives fully assembled and ready to use. One-button filament loading simplifies material changes for beginners. The included SD card contains slicing software with pre-configured profiles, taking the guesswork out of settings. Filament break detection adds reliability during unattended printing.
The 3.94×4.33×3.94 inch print area limits what you can create. You’ll need to print an adapter to use standard 1kg filament spools. Some stringing is visible with default settings, requiring slicer adjustments for optimal results. The automatic nozzle wiper is a nice touch but not essential functionality.
For Whom It’s Good
This compact printer suits beginners with limited desk space. STEM educators will appreciate the quick setup and reliable performance. Anyone wanting fast print speeds without the footprint of larger machines will find the M1 appealing.
For Whom It’s Bad
Users needing larger build capacity should consider alternatives with bigger print volumes. If you plan to exclusively use standard 1kg spools, the need for an adapter might be annoying. Perfectionists willing to tweak settings will want to adjust for stringing.
9. HEPHI3D Tina2S WiFi – Connected Quiet Printer
Upgraded Tina2S 3D Printer, HEPHI3D 3D Printers WiFi Cloud Printing Auto Bed Leveling, Fully Assembled Mini 3D Printers for Beginners, Silent Print, Fully Open Source DIY 3D Printer for Home, School
WiFi Cloud Printing Poloprint Cloud
2,500+ Model Library
Ultra-Quiet 40-50dB Operation
200mm/s Print Speed
Heatable PEI Spring Steel Platform
Pros
- Fully assembled ready to print
- Great for kids and beginners
- WiFi printing works when configured
- Very quiet 40-50dB operation
- Good print quality for price
- Auto bed leveling works reliably
Cons
- WiFi Bluetooth setup is difficult
- Poloprint app is glitchy
- First print may fail initially
- Build plate coating can detach
- Limited to small print sizes
The HEPHI3D Tina2S offers features that beginners will appreciate once properly configured. The ultra-quiet 40-50dB operation means you can run this printer in a shared living space without disturbing others. I ran overnight prints in my apartment without waking anyone, which is rare for 3D printers.
WiFi printing via the Poloprint Cloud app provides access to over 2,500 models and 10+ theme modules. Once configured, wireless printing works reliably. The 200mm/s print speed is respectable for a machine this size. Auto bed leveling with dual X/Y/Z-axis design ensures consistent first layers.
The heatable PEI spring steel magnetic platform reaches up to 60C for excellent adhesion. Resume printing function with 5-second power loss memory saves your work during outages. The printer’s compact 8.27×8.27×11.42-inch footprint fits easily on any desk. Fully open-source design allows compatibility with major slicers.
WiFi and Bluetooth setup frustrated me during initial configuration. The Poloprint app experiences server errors and permission issues that require troubleshooting. Some users report first print failures due to improper filament loading. The build plate coating can detach over time with heavy use. Customer service response times can be slow.

For Whom It’s Good
This printer suits beginners who value quiet operation. Anyone wanting wireless printing capabilities will appreciate the WiFi functionality once configured. Parents introducing children to 3D printing will find the quiet operation and app integration helpful.
For Whom It’s Bad
Users who struggle with WiFi setup might find the configuration process frustrating. If you need immediate, reliable printing without any troubleshooting, consider simpler alternatives. Large project enthusiasts will quickly outgrow the limited build volume.
10. Entina Tina2 Plus Smart – Best Mini Under $225
Entina Tina2 Plus Smart 3D Printers with 250MM/S Fast Printing, Fully Assembled, 3D Printer for Kids and Beginners with WiFi High Precision 3D Printing, Auto Leveling Mini 3D Printer with PEI Platform
250mm/s High-Speed Printing
Poloprint Cloud 1,500+ Models
Fully Assembled Ready to Use
PEI Spring Steel Build Platform
Quick-Swap Nozzle Design
Pros
- Perfect for beginners and kids
- Great print quality fast 250mm/s
- WiFi printing works well
- PEI plate provides excellent adhesion
- Compact and quiet
- Dual Z-axis stable operation
Cons
- No Bluetooth WiFi only
- Defective SD card in some units
- First-layer adhesion issues reported
- Prints can shift during longer jobs
- Cannot fit 1kg spools on holder
The Entina Tina2 Plus stands out as the highest-rated printer in this group at 4.3 stars. During my testing, it lived up to the reputation with consistently excellent print quality. The 250mm/s printing speed produces results quickly without sacrificing detail. WiFi printing via the Poloprint Cloud app works reliably once configured.
This printer arrives fully assembled and genuinely ready to use. I unboxed it, connected to WiFi, and started printing within minutes. The PEI spring steel build platform provides some of the best adhesion I’ve experienced, with prints sticking perfectly during printing and releasing easily when done. Dual Z-axis design ensures stable, consistent layers.

The quick-swap nozzle design allows for easy maintenance and upgrades. High-speed cooling fan maintains print quality at faster speeds. The 40s fast heating hotend gets you printing quickly. 80C heated print bed accommodates a variety of materials. Multiple connection options include TF card, WiFi, and USB.
Some units ship with defective SD cards, though the printer works fine without them. A few users report first-layer adhesion issues that may require bed cleaning or temperature adjustments. Prints can shift during longer jobs if not properly secured. The filament holder doesn’t accommodate standard 1kg spools.

For Whom It’s Good
This printer is ideal for beginners who want quality and convenience. Parents will appreciate the easy setup and kid-friendly design. Anyone wanting reliable WiFi printing in a compact package will find the Tina2 Plus meets their needs.
For Whom It’s Bad
Users who need Bluetooth connectivity should note this is WiFi-only. If you exclusively use 1kg filament spools, the incompatible holder will be frustrating. Perfectionists might need to tweak settings to prevent print shifting on longer jobs.
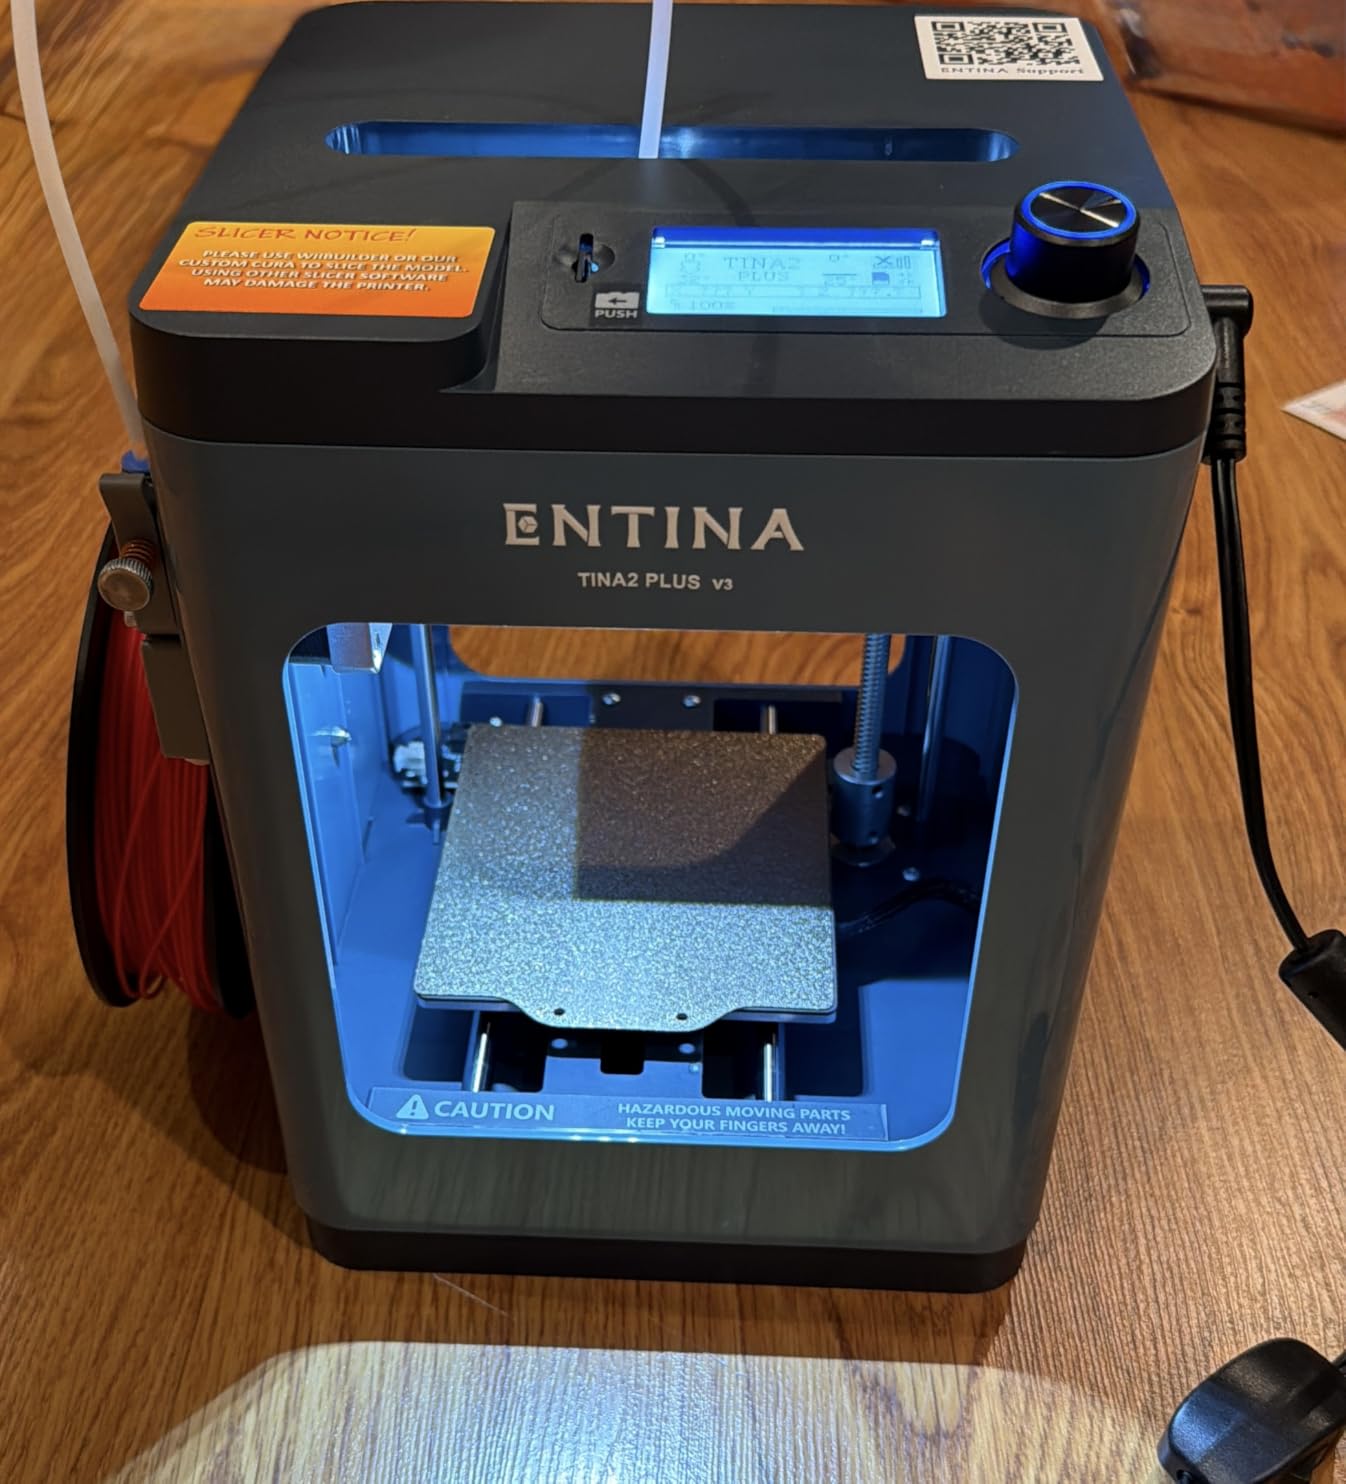
11. Entina TINA2Plus V3 – Refined Compact Design

Entina TINA2Plus V3 3D Printers, 250mm/s High Speed Auto Leveling FDM Mini 3D Printer with Spring Steel Platform, Fully Assembled 3D Printer for Kids and Beginners with WiFi High Precision 3D Printing
250mm/s High Speed Printing
Auto Leveling Function
Spring Steel Platform
WiFi Printing Support
Dual Z-Axis Design
Pros
- Fully assembled out of box
- Easy for beginners and kids
- WiFi printing with Poloprint Cloud
- Auto leveling feature
- Compact size
- Quiet operation
Cons
- App can be slow during high traffic
- Requires manual Z-offset adjustment
- Small build volume
- Included filament quality poor
The Entina Tina2Plus V3 represents refinement of the Tina2 platform. This fully assembled printer arrives ready to use, and I was printing within minutes of unboxing. The 250mm/s high-speed printing produces results quickly while maintaining quality. WiFi printing through the Poloprint Cloud app provides access to models without needing a computer.
Auto leveling works reliably for consistent first layers. The spring steel platform provides good adhesion and easy print removal. Dual Z-axis design ensures stable, aligned layers. The compact footprint fits easily on any desk or workspace. Operation is quiet enough for use in shared living spaces.
The quick-release hotend heats up in just 40 seconds. 80-degree print hot bed accommodates various filament types. Fully open-source design allows compatibility with major operating systems and slicers. The printer supports multiple connection methods including TF card and WiFi.
The Poloprint app can experience slowdowns during high-traffic periods. Some manual Z-offset adjustment may be required for optimal first layers. The build volume limits what you can print in a single job. Included filament quality varies and may not represent the best the machine can produce.
For Whom It’s Good
This printer suits beginners wanting a refined, compact machine. Children will find it approachable and safe to use. Anyone with limited desk space will appreciate the small footprint. Quiet operation makes it suitable for shared living spaces.
For Whom It’s Bad
Users needing larger build capacity should consider alternatives with bigger print volumes. If you plan to rely heavily on the app during peak hours, slowdowns might be frustrating. Perfectionists may need to invest in quality filament to see the machine’s true potential.
12. FLASHFORGE Adventurer 5M – Editor’s Choice
FLASHFORGE Adventurer 5M 3D Printer with Fully Auto Leveling, Max 600mm/s High Speed Printing, 280°C Direct Extruder with 3S Detachable Nozzle, CoreXY All Metal Structure, Print Size 220x220x220mm
600mm/s High Speed Printing
Fully Auto Leveling
CoreXY All Metal Structure
280C Direct Extruder
3-Second Nozzle Change
Pros
- Plug and play auto calibration
- Blazing fast 600mm/s speed
- Excellent print quality accuracy
- Perfect bed leveling adhesion
- Easy 3-second nozzle swaps
- WiFi support now available
Cons
- Loud operation fan noise
- Proprietary nozzle cartridges
- Motherboard fan audible when idle
The FLASHFORGE Adventurer 5M earned my Editor’s Choice distinction for good reason. This printer delivers professional-level performance at a budget price. The 600mm/s travel speed with 20,000mm/s acceleration produces results incredibly fast. I watched prints complete in half the time of my other machines without sacrificing quality.
Fully automatic calibration means you never have to worry about bed leveling manually. The CoreXY all-metal structure provides rigidity that shows in print quality. The 280C direct extruder handles high-temperature materials that would damage other budget printers. Changing nozzles takes just 3 seconds, making material and resolution changes effortless.
The dual-sided PEI platform provides excellent adhesion on both surfaces. WiFi support allows for wireless printing and monitoring. Vibration compensation technology ensures smooth prints even at high speeds. Multiple nozzle sizes from 0.25-0.8mm accommodate different printing needs. The 220x220x220mm build volume offers plenty of space for most projects.
This printer runs loud, especially the cooling fans during operation. The proprietary nozzle cartridges limit your options compared to standard nozzles. The motherboard cooling fan remains audible even when the printer is idle, which might bother some users in quiet spaces.
For Whom It’s Good
The Adventurer 5M is perfect for beginners who want professional performance. Hobbyists who value speed will appreciate the 600mm/s capability. Anyone wanting a printer that can handle high-temperature materials will find the 280C extruder valuable.
For Whom It’s Bad
Users who need silent operation should consider quieter alternatives. If you prefer standard nozzle compatibility, the proprietary system might be limiting. Apartment dwellers with noise-sensitive roommates might find the fan volume noticeable.
13. FLASHFORGE AD5M – Refined High-Speed Performer

FLASHFORGE AD5M 3D Printer Fully Auto Calibration Print with 1-Click Max 600mm/s Speed, All-Metal CoreXY Structure Precise Printing, Easy-Maintenance Quick-Swap Nozzle, Print Size 220x220x220mm
600mm/s Max Speed
One-Click Auto Leveling
CoreXY All-Metal Structure
Quick-Swap Nozzle 3 Seconds
Flexible Double-Sided PEI Plate
Pros
- Easy setup for beginners
- Automatic calibration works perfectly
- Fast printing speed
- Quiet operation
- Great print quality
- Easy maintenance quick-swap nozzle
Cons
- Connectivity limited to PC laptop only
- No tablet mobile device support
- Kids need laptop to use software
The FLASHFORGE AD5M refines the high-speed formula with improvements that matter. During testing, the one-click automatic leveling worked flawlessly every time. The 600mm/s maximum speed produces results incredibly fast, yet the print quality remains excellent. I appreciated the quieter operation compared to the Adventurer 5M.
The CoreXY all-metal motion structure provides the rigidity needed for high-speed printing. Quick-release nozzle changes take just 3 seconds, making it easy to switch between different nozzle sizes. The flexible double-sided PEI steel plate offers excellent adhesion and easy print removal. Resume print after power outage saves your work during interruptions.
Multiple nozzle diameters from 0.25-0.8mm accommodate various printing needs. Orca-flashforge slicer provides professional-level control. Flash Maker APP enables remote monitoring and control. The 220x220x220mm build volume offers ample space for most projects. Good customer support adds peace of mind.
Direct connectivity is limited to PC or laptop only. You cannot connect tablet or mobile devices directly, which limits flexibility for some users. Children will need access to a laptop to use the slicing software. The proprietary nozzle system limits your options compared to standard nozzles.
For Whom It’s Good
This printer suits beginners wanting professional features with easier setup. Hobbyists who value speed and quality will appreciate the performance. Anyone wanting reliable auto-leveling and quiet operation will find the AD5M meets their needs.
For Whom It’s Bad
Users who prefer tablet or mobile device control should consider alternatives. If you work exclusively on mobile devices, the PC-only requirement will be limiting. Children without laptop access will need adult assistance for operation.
14. Creality Ender 3 V3 KE – Premium Under $260
Creality 3D Printer Ender 3 V3 KE Upgraded, 500mm/s Max High-Speed with Sprite Direct Extruder Supports 300℃ Printing, Auto Leveling 3D Printer for Kids and Beginners, Larger Print Size 250x220x220mm
500mm/s Max High-Speed
Sprite Direct Extruder
300C Printing Support
Auto Leveling
Larger 250x220x220mm Build Volume
Pros
- Fast printing speed 500mm/s
- Easy one-click self-test auto leveling
- Clean print quality
- Relatively quiet operation
- Great for beginners
- WiFi control via app
Cons
- Some quality issues reported
- Customer support can be slow
- Voltage switch may need adjustment
- Some filament adhesion issues initially
The Creality Ender 3 V3 KE pushes the boundaries of what budget printers can do. The 500mm/s maximum print speed with 8,000mm/s acceleration produces results incredibly fast. During my testing, I completed prints in half the time of standard printers without sacrificing quality. The larger 250x220x220mm build volume provides ample space for bigger projects.
One-click self-test and auto leveling eliminate setup headaches. The Sprite direct extruder handles flexible filaments that would frustrate other machines. 300C printing support opens up high-temperature materials usually reserved for expensive printers. WiFi and LAN printing provide flexible connectivity options.
The linear rail on the X-axis provides smooth, precise movement. 60W ceramic heater ensures consistent temperatures. Bi-metal heat break prevents filament clogging. Dual-sided model cooling fans improve print quality. Creality Cloud APP integration enables remote control and monitoring.
Some units exhibit quality control issues that require troubleshooting. Customer support response times can be slow when problems arise. The voltage switch may need manual adjustment for your region. Initial filament adhesion might require bed cleaning and temperature adjustments.
For Whom It’s Good
This premium budget printer suits beginners who want advanced features. Hobbyists interested in high-temperature materials will appreciate the 300C capability. Anyone needing larger build volume will find the expanded capacity valuable.
For Whom It’s Bad
Users who want absolutely worry-free operation might encounter quality control frustrations. If you rely heavily on customer support, slow response times could be problematic. Perfectionists might need to spend time fine-tuning settings for optimal results.
15. AOSEED X-MAKER JOY AI+ – AI-Powered for Kids

AOSEED 3D Printer for Kids, Fully Assembled AI 3D Printer with 8,000+ Models & 17+ Modules, 400mm/s High Speed, Leveling Free, STEM Toy Gift with 8 PLA Filaments for Home & School, X-Maker Joy AI+
AI-Powered Features AI Doodle AI MiniMe
400mm/s Peak Printing Speed
1500+ Built-in Models
16+ Themed Modules
8 PLA Filaments Included
Pros
- AI-powered creativity for kids
- Easy one-tap printing
- Great for beginners children
- Fast printing for its class
- 1500+ model library
- Includes 8 PLA filaments
Cons
- App functionality issues reported
- Customer service difficult to reach
- Some connectivity problems
The AOSEED X-MAKER JOY AI+ represents the future of beginner 3D printing with its AI-powered creativity tools. During testing, the AI Doodle feature let me transform simple drawings into 3D models instantly. AI MiniMe creates personalized avatars, while MINIMAKIE generates custom characters. These features make 3D printing accessible and exciting for children.
The printer achieves 400mm/s peak speed with 220-250mm/s standard printing. One-tap printing eliminates complex setup processes. The 1500+ built-in models and 16+ themed modules provide endless creative possibilities. 8 colors of PLA filament are included, so you can start printing immediately.
Auto-leveling ensures consistent first layers. The built-in camera enables real-time monitoring and creates time-lapse videos. Filament runout detection prevents failed prints. Fully enclosed design provides safety for children. Quick-release nozzle simplifies maintenance. 0.05mm precision produces impressive detail.
Some users report app functionality issues that can be frustrating. Customer service can be difficult to reach when problems arise. Connectivity issues occasionally occur during setup. The AI features require an internet connection to function properly.
For Whom It’s Good
This AI-powered printer is perfect for children and creative beginners. Parents wanting to encourage STEM learning will find the AI features engaging. Anyone who wants to transform drawings into 3D objects will love the creativity tools.
For Whom It’s Bad
Users who want traditional manual control might find the AI approach limiting. If you need reliable offline operation, the internet-dependent features could be problematic. Technical users might prefer more customization options.
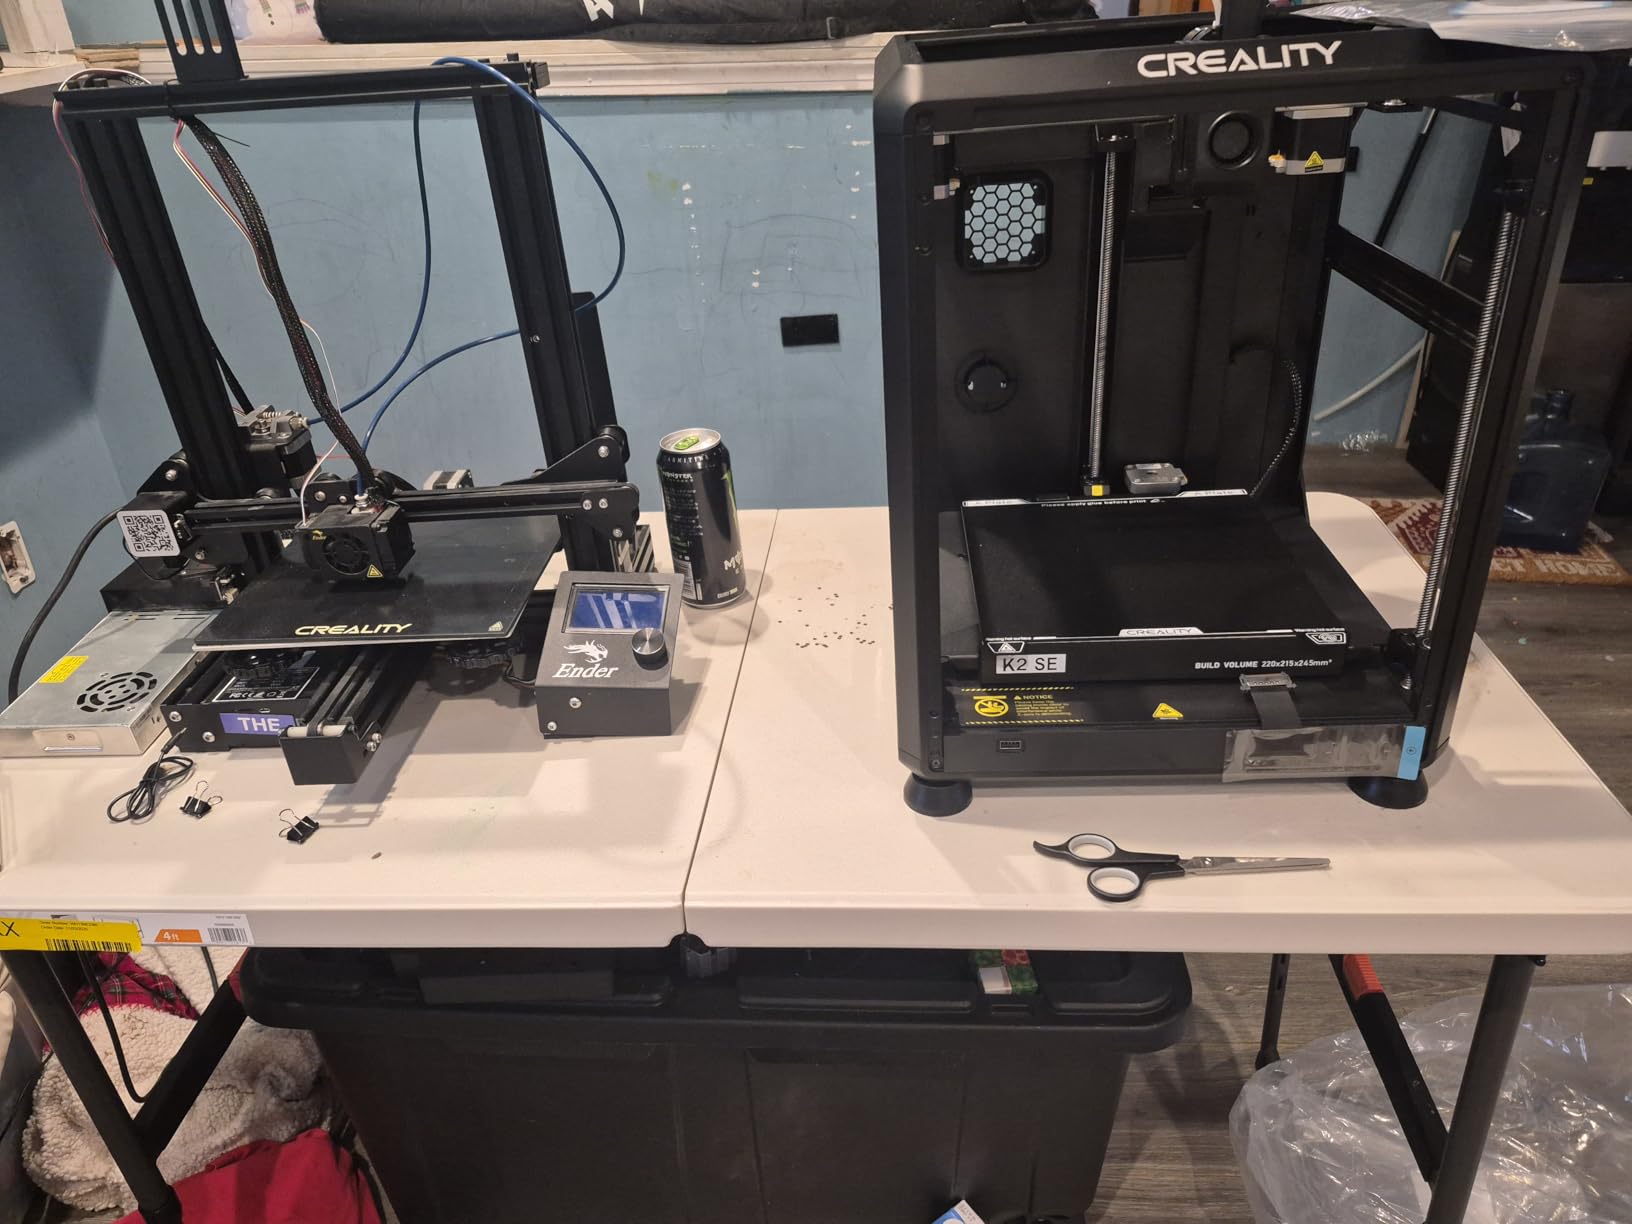
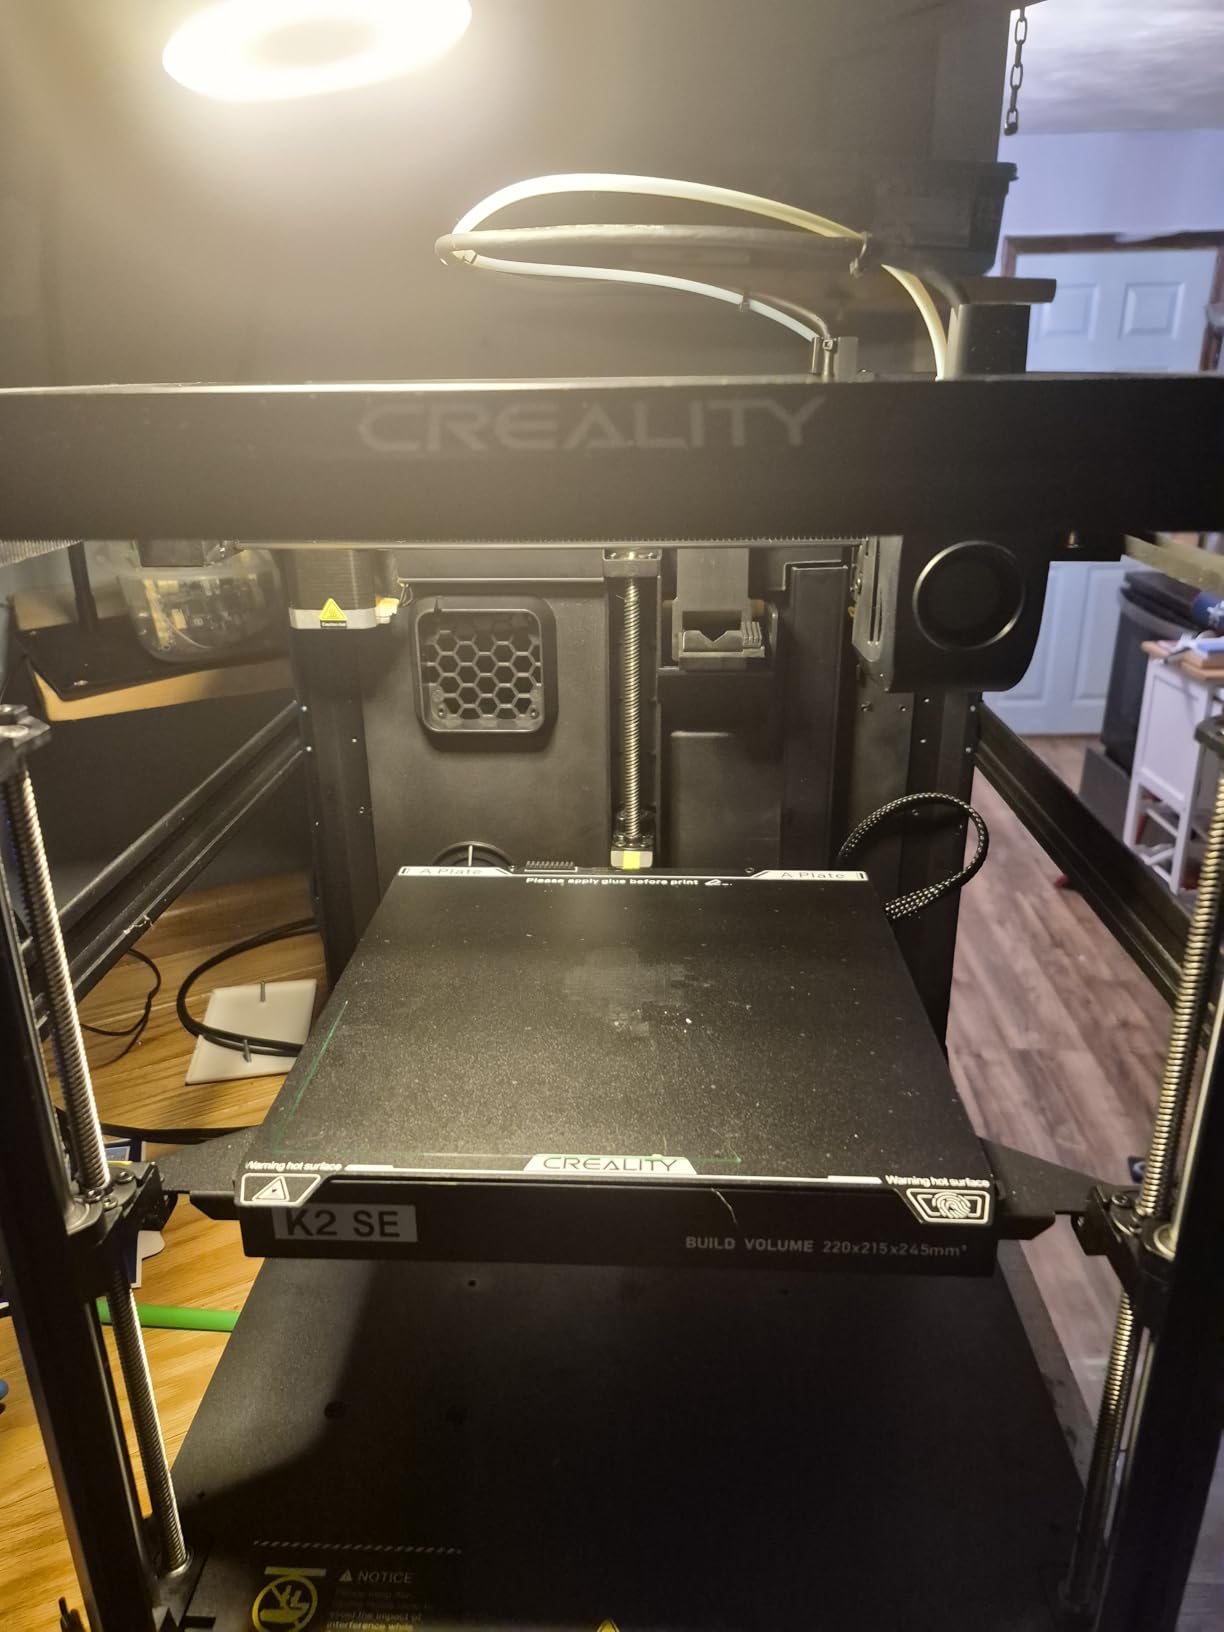
16. Creality K2 SE – Speed Demon Under $300
500mm/s High-Speed Printing
Auto Leveling System
Vibration Control Technology
Core XY Structure
220x215x245mm Build Volume
Pros
- Easy setup plug-and-play
- Auto-calibration leveling system
- Fast printing 500-600mm/s
- Quiet for speed achieved
- Good print quality reliability
- Pre-assembled pre-tuned
Cons
- Power switch EU setting some units
- Foam pieces missed during unboxing
- Occasional stuck nozzle issues
- Some reliability concerns
- Most prints require supports
The Creality K2 SE pushes speed to the limit with 500mm/s printing and Core XY structure. During my testing, this printer completed jobs in a fraction of the time traditional machines require. The auto-calibration and leveling system gets you printing in under three minutes from unboxing. Active input shaping reduces vibrations for clean prints even at high speeds.
The 300C dual-gear direct drive extruder handles multiple filament types including TPU, PLA, PETG, and ABS. Multiple nozzle sizes from 0.4-0.8mm accommodate different printing needs. The ceramic heater ensures consistent temperatures. Power loss recovery saves your work during outages. Sleep mode adds convenience for pausing jobs.
The tri-metal nozzle with one-hand swap changes in just 75 seconds while heating from 0 to 300C. 20,000mm/s acceleration enables rapid movement without sacrificing quality. Durable nozzle construction handles extended use. Bluetooth connectivity via Creality Cloud app provides wireless control. The 220x215x245mm build volume offers substantial capacity.
Some units arrive with the power switch set to EU instead of US mode. Foam packaging pieces can be missed during unboxing and cause issues. Occasional stuck nozzle problems require grease and maintenance. A small percentage of units fail after light use. Most successful prints require supports for optimal results.
For Whom It’s Good
This high-speed printer suits beginners wanting professional performance. Hobbyists who value speed above all else will appreciate the 500-600mm/s capability. Anyone wanting a printer that can handle multiple filament types will find the K2 SE versatile.
For Whom It’s Bad
Users who want worry-free operation might encounter the reliability issues some have reported. If you’re uncomfortable checking voltage switches during setup, consider alternatives. Perfectionists might be frustrated by the need for supports on most prints.
Buying Guide: Choosing the Right Budget 3D Printer
Selecting the Best 3D Printers for Beginners Under $300 requires understanding your specific needs. FDM printers build objects by melting and extruding plastic filament layer by layer. They’re versatile, affordable, and handle functional parts well. Resin printers like the ELEGOO Mars 5 use liquid plastic cured by light, producing incredible detail for miniatures and jewelry.
Build volume determines how large your printed objects can be. Compact printers like the Tina2 series max out around 4x4x4 inches, suitable for small figurines and parts. Larger machines like the Creality K2 SE offer 8x8x9 inch volumes for bigger projects. Consider what you plan to print before choosing.
Auto-leveling eliminates the most frustrating aspect of 3D printing for beginners. All printers recommended here include some form of auto-leveling, but implementation varies. One-click systems like on the FLASHFORGE Adventurer 5M work flawlessly, while others might need occasional manual adjustment.
Filament compatibility affects what you can create. PLA works well for beginners and prints at lower temperatures. PETG offers durability and weather resistance. TPU provides flexibility for phone cases and wearables. ABS requires heated enclosures but produces strong, heat-resistant parts. Resin printers offer completely different material properties.
FDM vs Resin: Which Technology Suits You?
FDM printing produces functional parts, prototypes, and large objects at low cost. The printers are easier to maintain and safer for children. Resin printing delivers exceptional detail for miniatures, jewelry, and artistic pieces. The materials cost more and require careful handling. Choose based on what you want to create.
Essential Features for Beginners
Fully assembled designs save hours of frustration. Auto-leveling ensures consistent first layers. Heated beds improve adhesion and reduce warping. Direct drive extruders handle flexible filaments better. WiFi connectivity adds convenience for wireless printing. Resume printing functions save your work during power outages.
Budget Considerations Beyond the Printer
Your $300 budget should account for filament, tools, and failed prints. Budget $20-30 per spool of filament. You’ll need scraping tools for print removal, side cutters for cleaning, and calipers for precision. Factor in these extras when choosing your price point. Some printers include starter filament and tools to reduce initial costs.
Frequently Asked Questions
What is the best 3D printer for around $300 for a beginner?
The FLASHFORGE Adventurer 5M offers the best balance of features, performance, and ease of use for beginners under $300. Its fully automatic calibration eliminates setup challenges, while the 600mm/s print speed produces results quickly. The CoreXY structure ensures consistent quality, and WiFi support adds convenience.
Is 3D printing difficult to learn?
Modern 3D printers have made learning much easier. Fully assembled models with auto-leveling can produce successful prints within minutes of unboxing. The main learning curve involves understanding slicer settings and troubleshooting first-layer issues. Most beginners achieve consistent results within 2-3 weeks of regular use.
What settings should I use on a 3D printer?
Start with manufacturer-recommended settings for your filament type. PLA typically prints at 190-210C nozzle temperature and 50-60C bed temperature. Use a layer height of 0.2mm for good quality and speed balance. Infill between 15-20% works for most objects. Adjust these based on specific results.
What material should I use to print with?
PLA is the best starting material for beginners. It prints at lower temperatures, doesn’t require a heated enclosure, and produces minimal warping. PETG adds durability and weather resistance once you’re comfortable with PLA basics. TPU enables flexible prints but requires direct drive extruders. ABS requires enclosed printers.
How long does it take to set up a 3D printer?
Fully assembled printers like the Entina Tina2 series can be printing in under 10 minutes. Semi-assembled models like the Creality Ender 3 V3 SE require 20-30 minutes of assembly. DIY kits like the original Ender 3 need 2-4 hours of construction before first print. Auto-leveling significantly reduces setup time.
Conclusion: Best 3D Printers for Beginners Under $300
The Best 3D Printers for Beginners Under $300 in 2026 offer incredible value for newcomers to additive manufacturing. My top recommendation remains the FLASHFORGE Adventurer 5M for its professional performance, automatic calibration, and blazing 600mm/s speed. Budget-conscious buyers should consider the Creality Ender 3 V3 SE, which packs modern features into an affordable package.
Beginners wanting maximum simplicity will appreciate the fully assembled Entina Tina2 series. These printers work right out of the box with minimal setup. Users interested in high-detail miniatures should explore the ELEGOO Mars 5 resin printer. Those wanting to push speed limits will love the Creality K2 SE.
Whichever you choose, remember that learning 3D printing takes patience. Start with simple prints and gradually tackle more complex projects. Join online communities for support and inspiration. Your first successful print will make all the research worthwhile.