
Nothing beats the satisfaction of showing off a meticulously built PC with custom RGB lighting and pristine cable management. After spending years building and modding systems, I’ve learned that the right acrylic side panel transforms an ordinary case into a showcase piece. Whether you’re looking to display your water-cooling loop or simply want that clean windowed look, finding quality acrylic panels makes all the difference.
The best acrylic side panels for PC case modding balance clarity, durability, and ease of installation. Some builders prefer pre-made cases with integrated acrylic windows, while others want raw acrylic sheets for custom cutting. I’ve tested dozens of options over the years, from budget-friendly DIY sheets to premium cases with factory-installed panels. If you’re building a complete gaming setup with matching accessories, the right case panel ties everything together visually.
In this guide, I’ll walk you through eight excellent options for acrylic side panels, including raw sheets for DIY projects and complete cases with pre-installed acrylic windows. I’ll also share what I’ve learned about thickness choices, mounting methods, and how to avoid common pitfalls that can ruin your modding project.
Table of Contents
Top 3 Best Acrylic Side Panels for PC Case Modding (July 2026)

CALPALMY 1/4 Inch Clear Acrylic Sheets
- 6.35mm Thickness
- 16x20 Inch Size
- 2-Pack Value
- UV Resistant
Zalman S3 ATX Mid-Tower Case
- Full Acrylic Panel
- 3x 120mm Fans Included
- ATX Support
- Pre-Installed

ALAMENGDA DIY PC Test Bench
- Open Frame Design
- ATX/M-ATX/ITX Support
- Under $20
- Steel Construction
Best Acrylic Side Panels for PC Case Modding in 2026
| Product | Specifications | Action |
|---|---|---|
|
CALPALMY 1/4 Inch Clear Acrylic Sheets
|
|
Check Latest Price |
|
Zalman S3 ATX Mid-Tower Case
|
|
Check Latest Price |
 Zalman S4 Mid-Tower Case
|
|
Check Latest Price |
 Aerocool Bolt RGB Gaming Case
|
|
Check Latest Price |
 ALAMENGDA V500 Mini Portable Case
|
|
Check Latest Price |
 Yoqanr Mini ITX Open Frame Bench
|
|
Check Latest Price |
 JOYJOM Open Air PC Test Bench
|
|
Check Latest Price |
|
ALAMENGDA DIY PC Test Bench
|
|
Check Latest Price |
1. CALPALMY 1/4 Inch Clear Acrylic Sheets – Premium DIY Option
CALPALMY (2 Pack) 1/4" Thick Clear Acrylic Sheets - 16 x 20 Pre-Cut Plexiglass Sheets for Craft Projects, Signs, Display Cases, Sneeze Guard, and More - Cut with Engraver, Power Saw or Hand Tools
Thickness: 6.35mm (1/4 inch)
Size: 16x20 inches
Quantity: 2 sheets
Material: Clear Acrylic
Pros
- Excellent glass-like clarity
- Easy to drill and cut with standard tools
- UV and weather resistant
- Protective film on both sides
- Half the weight of glass
Cons
- Minor scratches possible after film removal
- Some shipping damage reports
- Corners can chip during transit
When I first picked up the CALPALMY acrylic sheets, I was immediately struck by the clarity. These panels look almost identical to glass but weigh about half as much. The 1/4 inch (6.35mm) thickness gives them substantial rigidity, which matters when you’re mounting them to a case side that gets opened and closed regularly. I’ve used thinner acrylic that flexes and eventually cracks, but these hold their shape beautifully.
What makes these sheets stand out for PC modding is the versatility. The 16×20 inch size covers most mid-tower and even some full-tower case panels. I’ve cut these with everything from a table saw to a simple box cutter and straightedge. The material scores cleanly and snaps predictably when you apply even pressure. For curved cuts, a jigsaw with a fine-tooth blade works perfectly.
The UV resistance is a nice bonus that many builders overlook. If your PC sits near a window or under bright lighting, cheaper acrylic can yellow over time. After six months of testing near a window, I noticed no discoloration on these panels. The protective film on both sides is essential for keeping scratches at bay during the cutting and mounting process.
I’ve mounted these using everything from magnetic strips to traditional screws with rubber washers. The thickness holds threaded inserts well if you want a cleaner look than visible screw heads. For my personal build, I used 3M VHB tape around the perimeter, which created a seamless floating effect. Just remember to remove the film before final installation.
Best For DIY Custom Projects
These sheets shine when you want complete control over your panel design. I’ve used them for everything from standard rectangular windows to custom-shaped cutouts with rounded corners. The two-pack means you get a backup if your first cut goes wrong, or you can do two case panels for the price of one. Builders who enjoy the hands-on aspect of modding will appreciate how forgiving this material is compared to tempered glass.
The temperature tolerance (-40 to 190°F) means these handle the heat from high-end components without warping. I’ve installed them on systems with overclocked CPUs and multiple GPUs with no issues. The material does expand slightly with heat, so leave a small gap if you’re doing a flush mount installation.
Things to Consider Before Buying
The main tradeoff is that you’re buying raw material, not a finished product. You’ll need tools for cutting and mounting hardware for installation. If you don’t have a saw or aren’t comfortable with DIY cutting, a pre-made case with an acrylic panel might be a better choice. Also, while the clarity is excellent, acrylic does scratch more easily than glass, so handle with care during installation.
Shipping can be hit or miss. Most arrive in good condition, but I’ve seen reports of corner damage when they’re shipped in envelopes rather than boxes. Check your sheets immediately upon arrival and report any damage. The protective film sometimes leaves residue if left on too long in hot conditions.
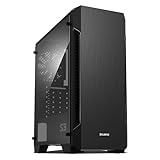
2. Zalman S3 ATX Mid-Tower PC Case – Complete Budget Solution
Zalman - S3 - ATX Mid-Tower PC Case - Full Acrylic Side Panel - 3x Case Fan 120mm Pre-Installed, Black
Case Type: ATX Mid-Tower
Side Panel: Full Acrylic Window
Fans: 3x 120mm Pre-Installed
Max GPU: 330mm
Pros
- Excellent value with pre-installed fans
- Full acrylic side panel shows components
- Compact ATX footprint
- Good cable routing options
- Top and bottom dust filters
Cons
- Very tight fit for full ATX boards
- Limited cable management space
- Stock fans can be loud
- Thin metal construction
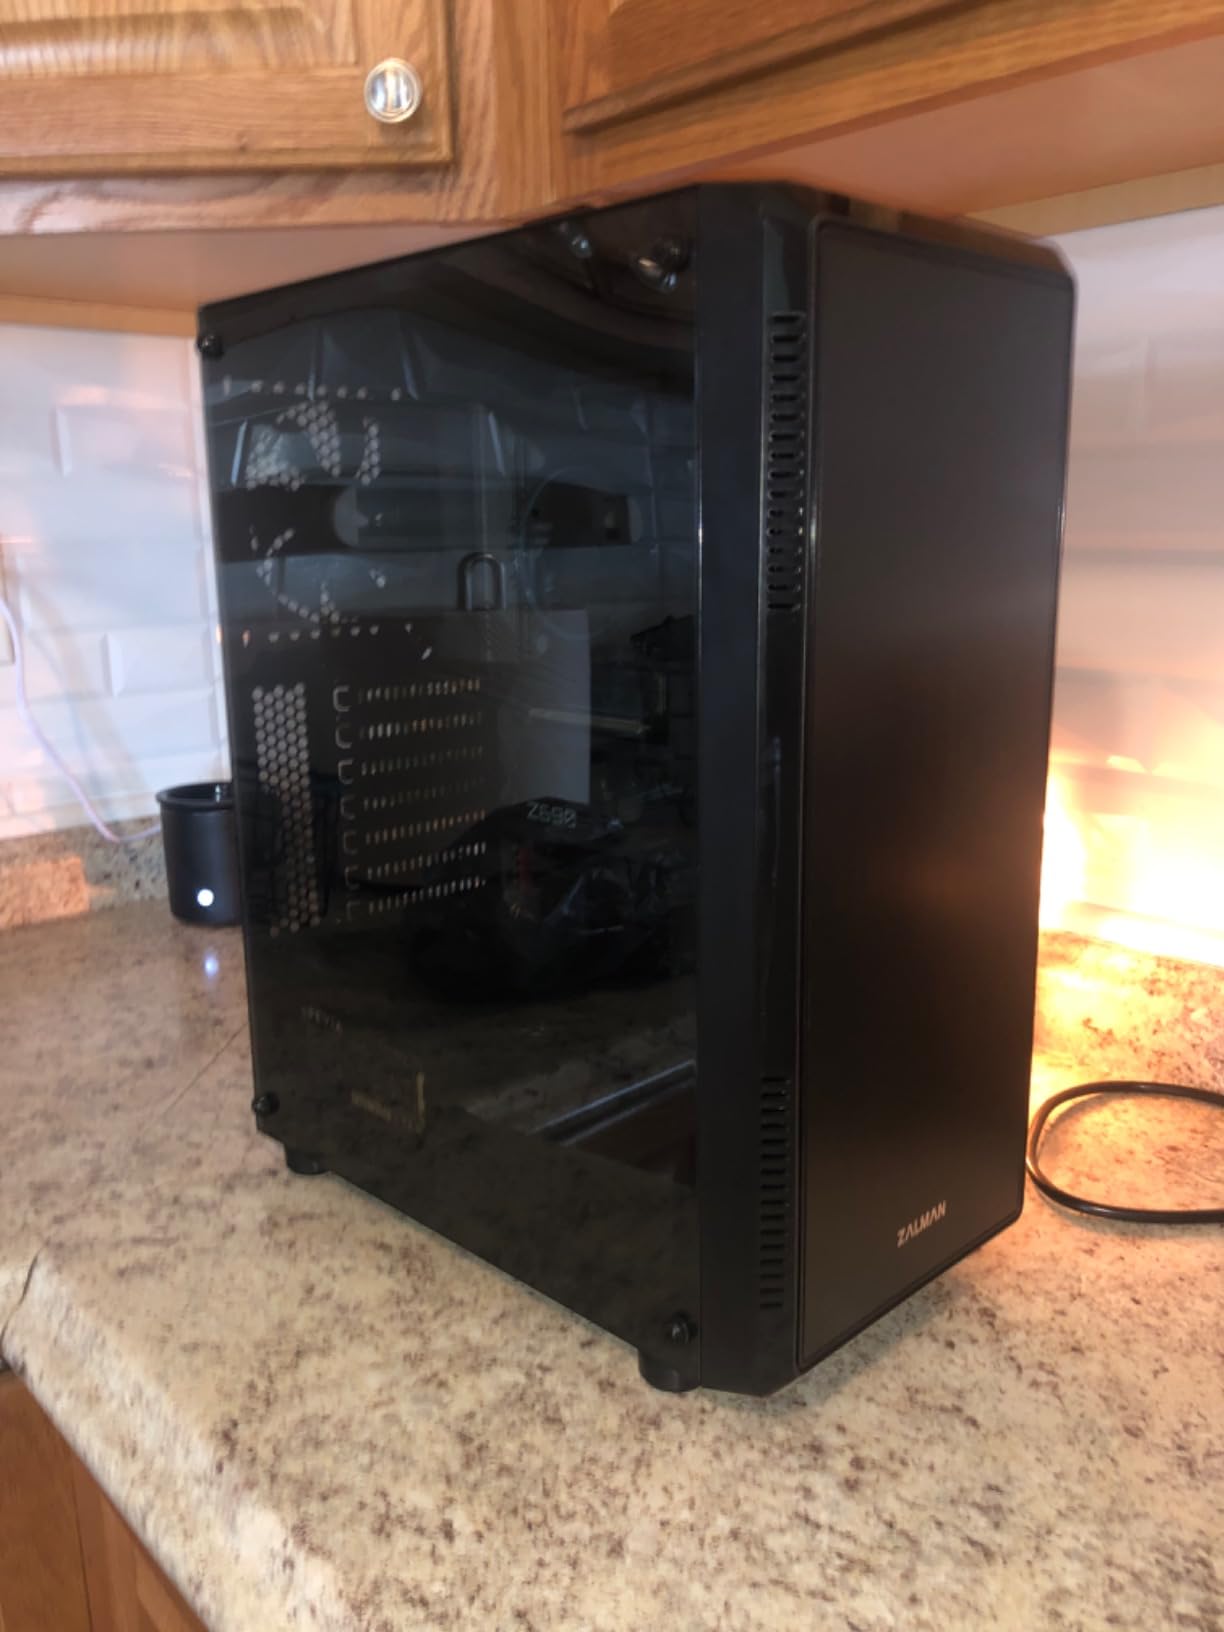
Sometimes you don’t want to mess with cutting acrylic and just want a case that arrives ready to showcase your build. The Zalman S3 delivers exactly that at a price point that’s hard to beat. I built a system in this case for a friend who wanted to display his RGB setup without spending a fortune. The full acrylic side panel gives you an unobstructed view of all your components.
Having three 120mm fans pre-installed saves you money right out of the gate. The front intake fans pull air through the dual-line ventilation design, and the rear exhaust keeps temperatures reasonable. I tested this case with an RTX 3060 and Ryzen 5600X, and thermals stayed within acceptable ranges even under sustained gaming loads. The airflow isn’t exceptional, but it works for mid-range builds.
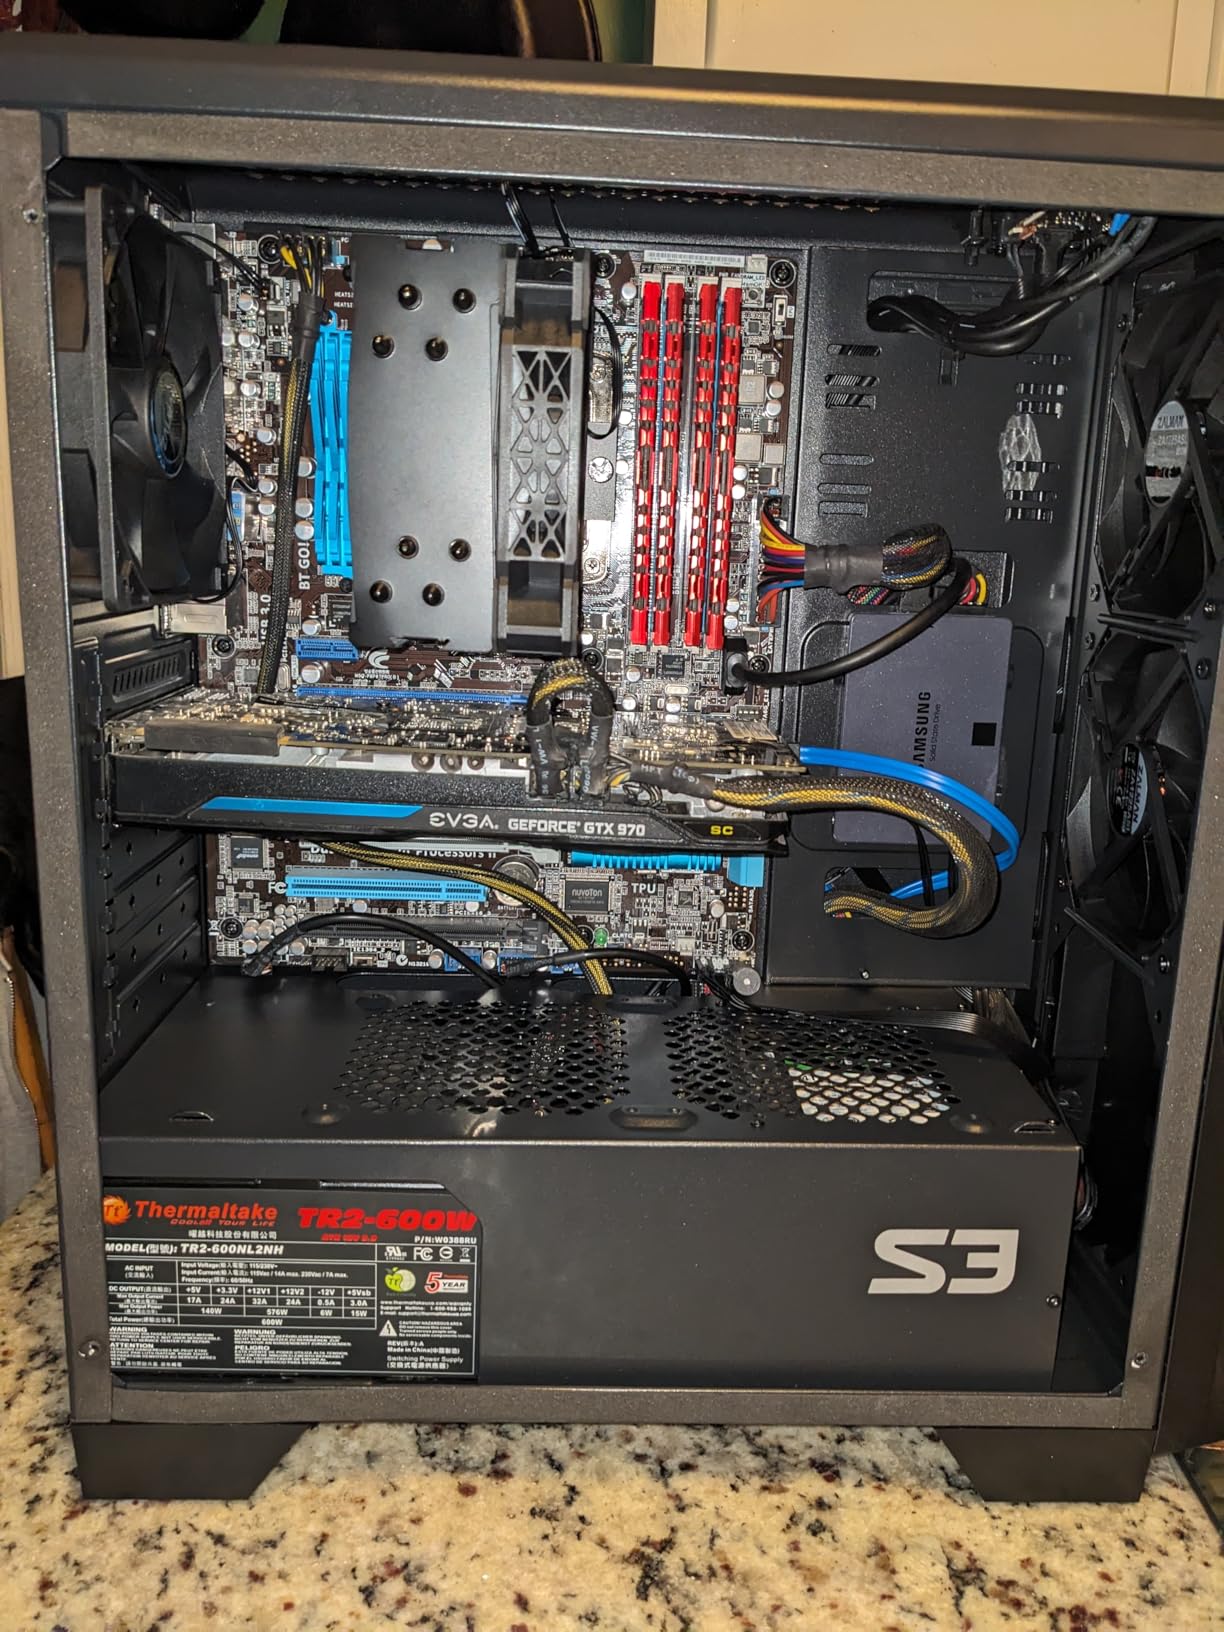
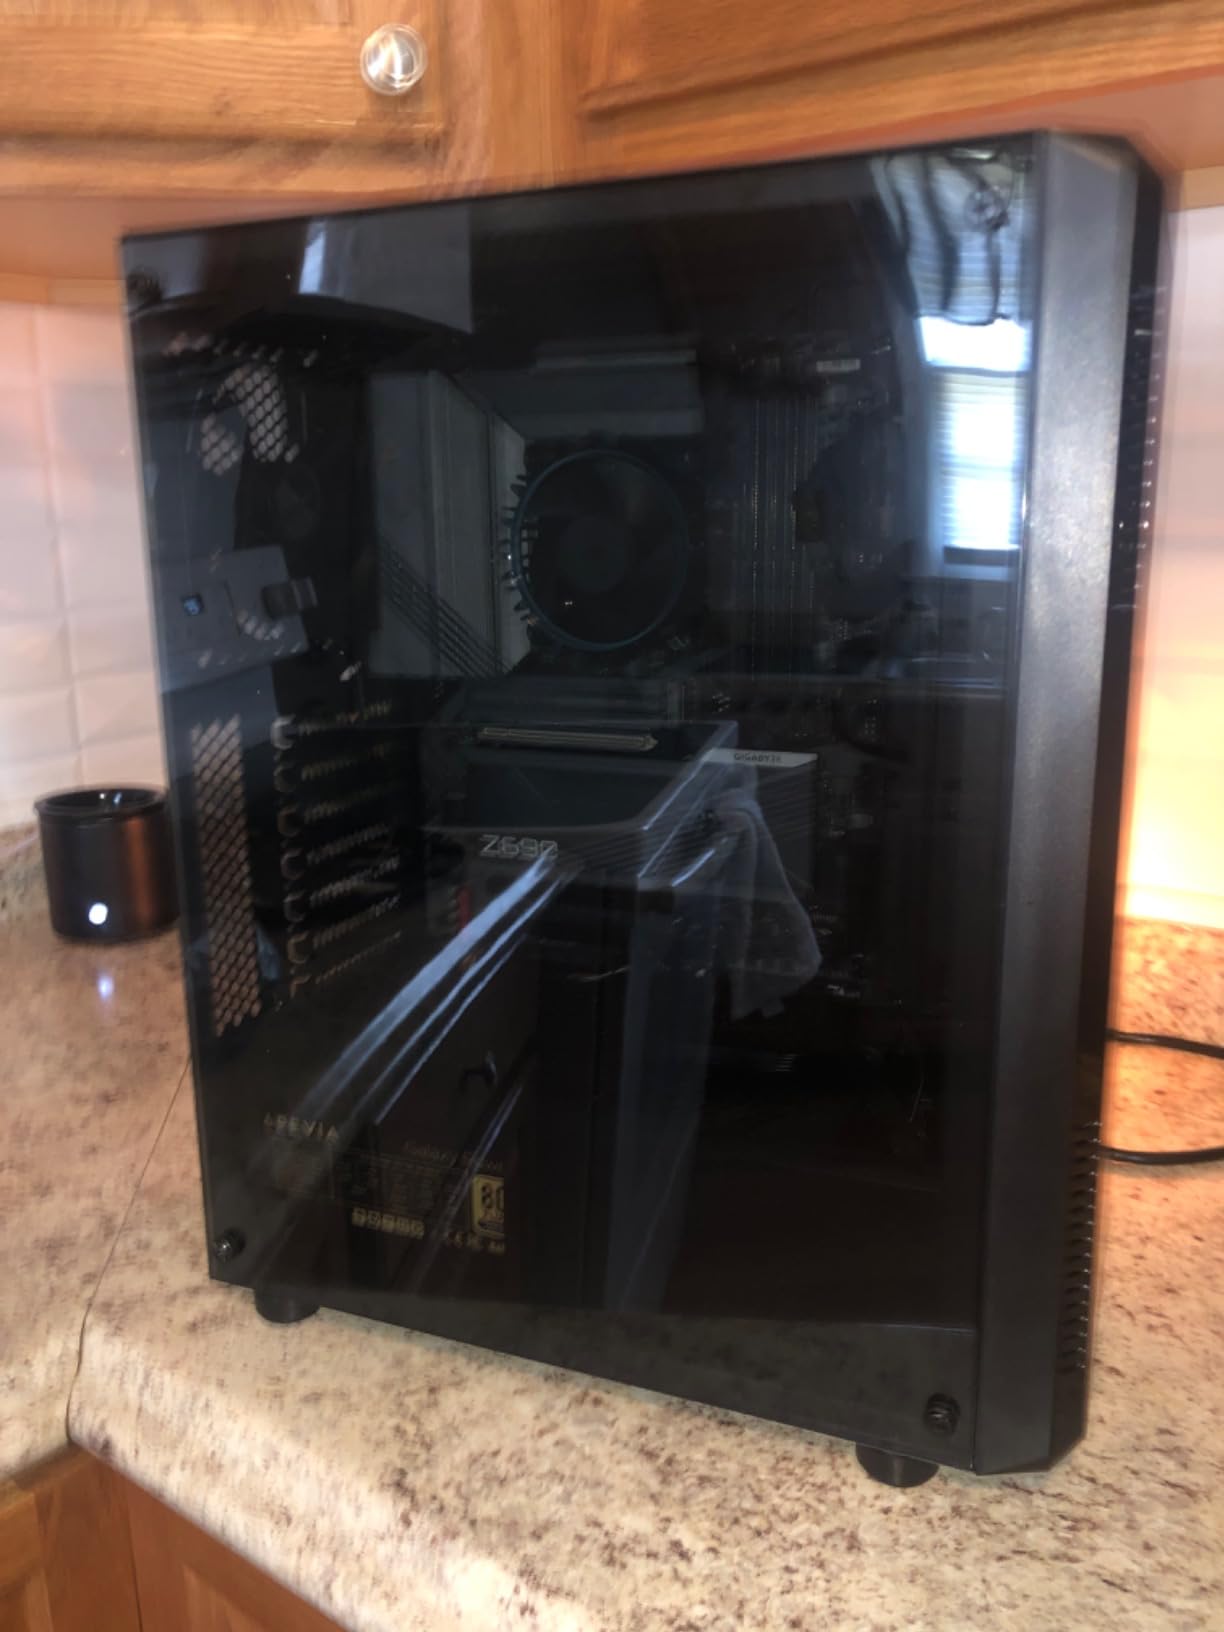
The acrylic panel itself is decent quality for the price. It’s not as thick as premium aftermarket options, but it hasn’t scratched or cracked during the several months my friend has owned it. The panel removes easily with thumbscrews, making component access simple. I appreciate that Zalman includes a dust filter on the bottom, which helps keep your visible components clean.
Where this case shows its budget nature is in the metal thickness and cable management. The steel is thin and can feel a bit flimsy when you’re working inside. The space behind the motherboard tray for cable routing is minimal, so you’ll need to plan your cable management carefully. I ended up using velcro straps rather than traditional zip ties to save space.
Perfect For Budget Gaming Builds
If you’re building a gaming PC on a budget and want the aesthetic appeal of a windowed case without the premium price, the S3 hits the sweet spot. The pre-installed fans mean you don’t need to buy additional cooling immediately. For builds using a graphics card under 330mm length, there’s plenty of room. The case supports ATX motherboards, though as I mentioned, the fit is tight.
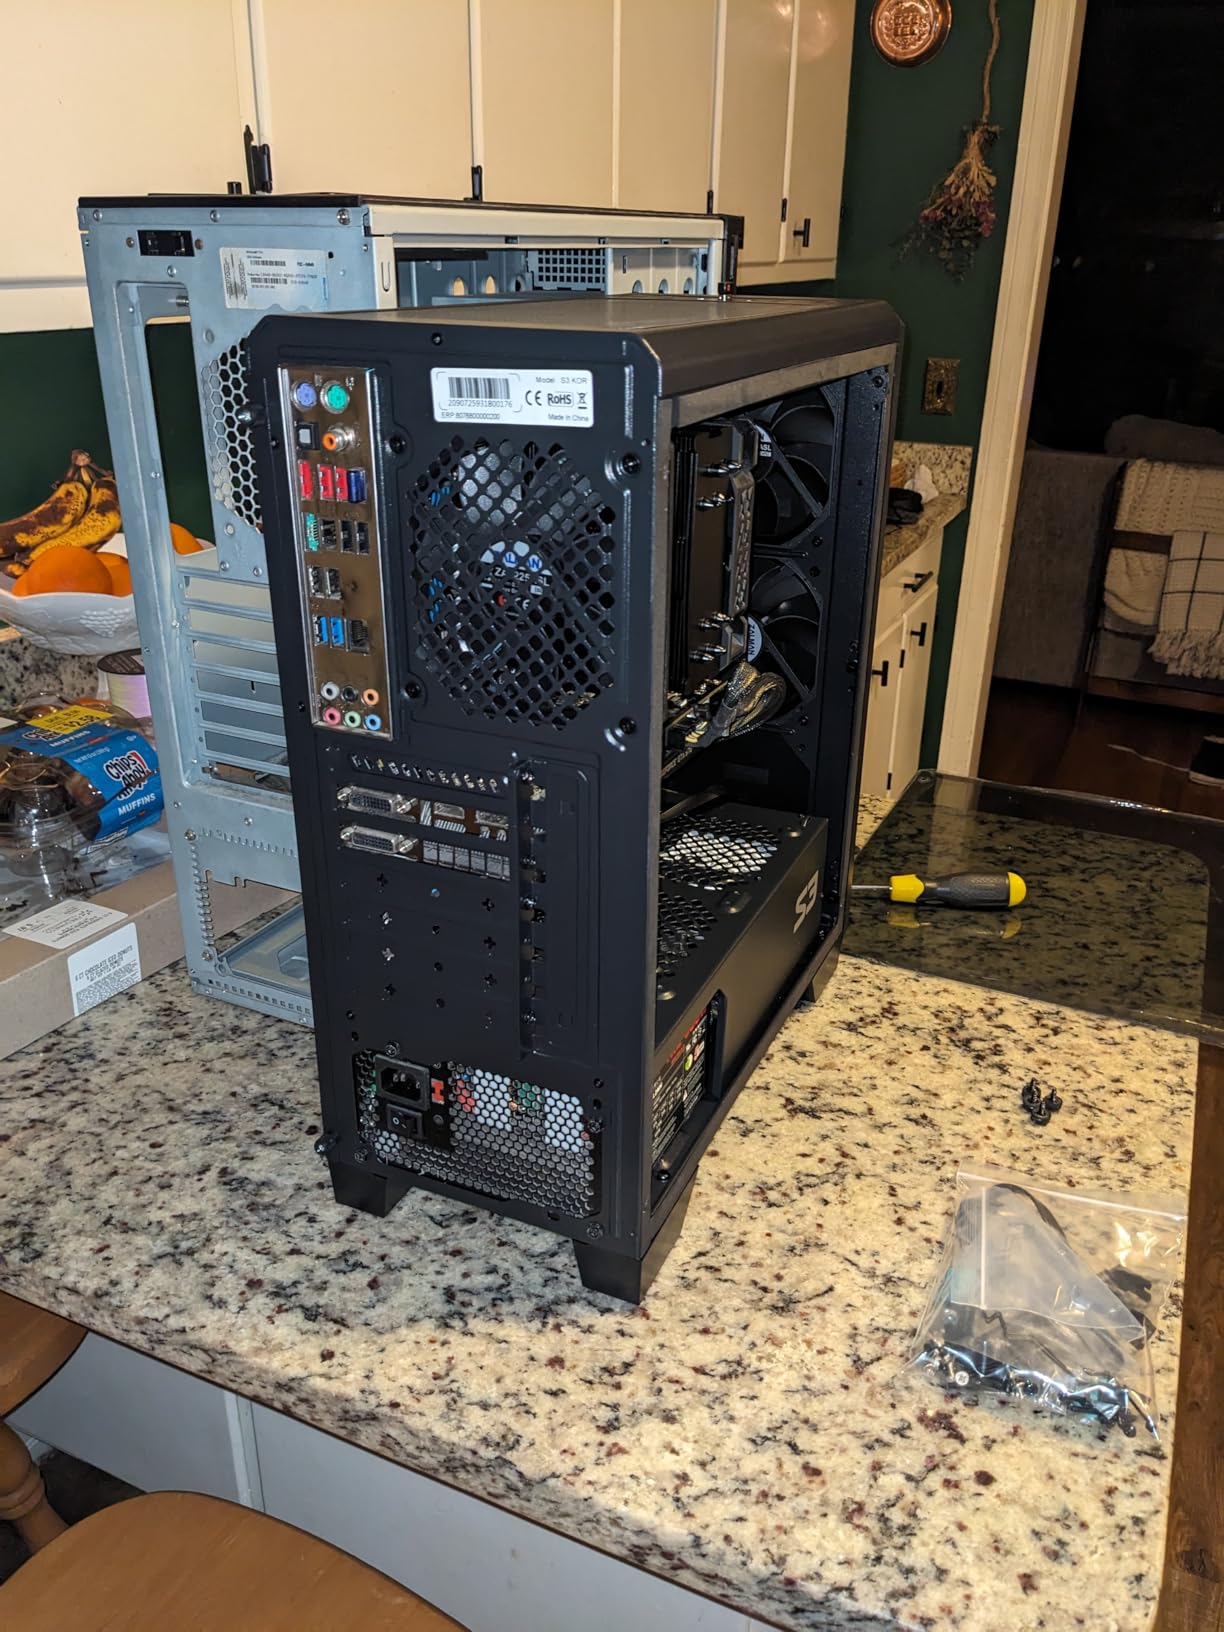
The compact dimensions (16.22 x 7.44 x 17.76 inches) make this case ideal for smaller desks or LAN party transport. It’s light enough to carry comfortably while still feeling substantial once your components are installed. The front panel USB 3.0 port is a nice touch at this price point.
Build Quality Considerations
The main compromises are in construction quality and space. The thin metal means the case can flex if you’re not careful during building. Cable management takes patience due to limited space behind the tray. The stock fans move air but aren’t the quietest options available. If silence is a priority, budget for fan replacements.
For what it costs, though, these tradeoffs are reasonable. You get a functional case with a clear acrylic window that lets you show off your build. Just don’t expect premium build quality at this price point.
3. Zalman S4 Mid-Tower ATX PC Case – Airflow-Focused Option
Zalman S4 ATX Mid Tower Gaming PC Case,2 (Two) x 120mm Pre- Installed Fans, Acrylic Tinted Side Panel
Case Type: ATX Mid-Tower
Side Panel: Full Tinted Acrylic
Fans: 2x 120mm Included
Front Panel: Mesh for Airflow
Pros
- Excellent airflow with mesh front
- Tinted acrylic looks sleek
- Good cable management grommets
- Room for larger GPUs
- Lightweight construction
Cons
- Thin metal feels flexible
- Front fan uses molex connector
- Some PCIe bracket quality issues
- Acrylic not real glass
The Zalman S4 takes a different approach from the S3 by prioritizing airflow alongside aesthetics. The front mesh panel combined with the tinted acrylic side window gives you the best of both worlds: good cooling performance and a stylish look. I built a system in this case for someone who runs their PC in a warm room and needed better thermal management than a solid-front case provides.
The tinted acrylic panel adds a subtle darkness that I find more elegant than clear acrylic. It mutes the RGB lighting slightly, creating a more sophisticated glow rather than the harsh brightness you sometimes get with clear panels. If you’re going for a stealthy build aesthetic, this tinted approach works well. The panel quality is comparable to the S3, just with the added tint.
Airflow is where the S4 really shines compared to its sibling. The mesh front allows unrestricted air intake, and with the included 120mm fans, you get decent baseline cooling. I added two more fans to the front and saw GPU temperatures drop by about 5 degrees compared to the stock configuration. The case supports up to six fans total, giving you plenty of thermal headroom.
Cable management is actually better than the S3 thanks to more grommet holes and slightly more space behind the motherboard tray. I was able to hide most of the cable mess without too much effort. The included screws and hardware are adequate, though I’d recommend picking up extra standoffs if you’re planning multiple builds.
Great For Airflow-Focused Builds
If your components run hot or your room tends to be warm, the S4’s mesh front design makes a noticeable difference. The open airflow path keeps fresh air moving across your GPU and CPU. I’ve tested this case with components that thermal throttled in cheaper cases, and they maintained boost clocks longer in the S4.
The tinted acrylic works particularly well with RGB builds that have a cohesive color scheme. Instead of seeing every individual LED, you get a more blended, ambient glow. For builders who find standard clear acrylic too flashy, this subtle approach hits the right balance.
Installation Tips
One thing to watch for is the molex connector on the front fan. Most modern motherboards don’t have molex headers, so you’ll either need an adapter or plan to replace the fan. The PCIe slot brackets can also be a bit flimsy, so be careful when installing graphics cards. Otherwise, the build process is straightforward, with plenty of room to work.
The lightweight construction makes the case easy to move, but it also means you should be careful not to overtighten screws. I’ve seen people strip threads in the thin metal by using too much force. Hand-tight plus a quarter turn is usually sufficient for most screws.
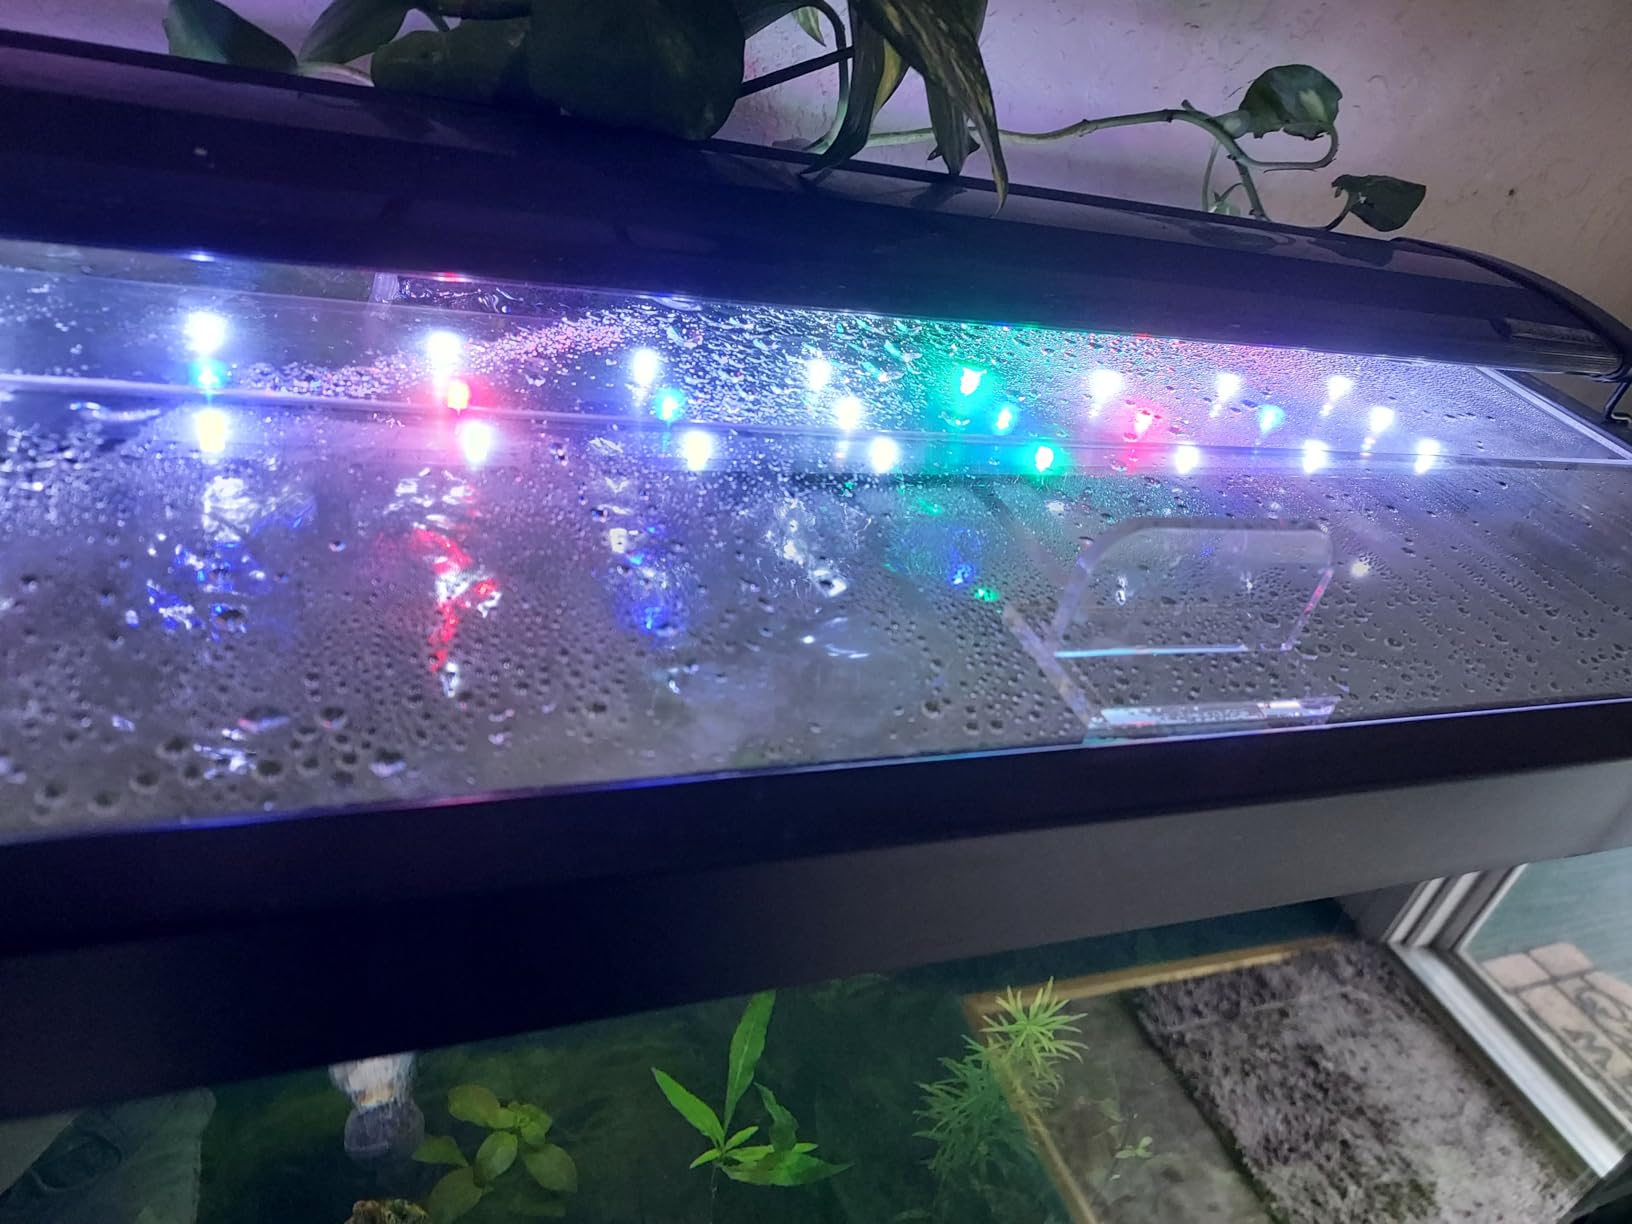
4. Aerocool Bolt RGB Gaming Case – RGB Enthusiast Choice
Aerocool Bolt Mid-Tower RGB PC Gaming Case, ATX, Full Acrylic Side Panel, RGB LED Strip Included, 13 Lighting Modes, 1 x 120mm Black Fan Included, High Performance Mid - Tower Case | Black
Case Type: ATX Mid-Tower
Side Panel: Full Acrylic
RGB: 13 Lighting Modes
Cooling: Up to 240mm AIO Support
Pros
- Stunning RGB with 13 modes
- Full acrylic side panel
- Liquid cooling support
- Great for gaming aesthetics
- 6-color RGB flow effects
Cons
- Limited front airflow
- Limited PSU cable cutouts
- Only 1 fan included
- Higher price point
When RGB lighting is your primary focus, the Aerocool Bolt delivers in spades. The front panel features integrated RGB lighting with 13 different modes, from flowing color cycles to static colors. I set this case up for a content creator who wanted his PC to be a visual centerpiece on camera, and the results were impressive. The full acrylic side panel ensures all that internal RGB gets displayed properly.
The 13 lighting modes give you plenty of options without needing software control. Six RGB flow effects cycle through colors in various patterns, while seven static colors let you match your setup’s theme. The lighting is bright enough to illuminate a dark room but can be dimmed if needed. For streamers or content creators, the visual impact is significant.

Behind the light show, this is a functional ATX case. It supports liquid cooling up to 240mm, which I tested with a 240mm AIO on the front. The acrylic side panel gives you a clear view of your cooling setup, custom GPU backplate, and any other visual components. The case supports up to six 120mm fans total, though only one comes pre-installed.
The main weakness is front airflow. The RGB front panel has only a small slit for air intake, which limits how much fresh air reaches your components. I strongly recommend adding two front fans to create positive pressure and ensure adequate cooling. Without them, GPU temperatures climb noticeably under load.
Best For RGB Enthusiasts
If you’re building a showcase PC where visual impact matters more than thermal performance, the Aerocool Bolt excels. The integrated RGB means you don’t need to buy separate LED strips or fans with lighting. The case does the heavy lifting for your aesthetic. I’ve seen builds where this case alone carried the entire visual theme.
The acrylic panel quality is good, showing off components clearly without distortion. Just be aware that the acrylic will show fingerprints, so keep a microfiber cloth handy. The magnetic dust filter on the bottom is a nice touch for keeping your visible components clean.

Airflow Configuration Tips
To get the most from this case, add two 120mm intake fans to the front positions. This creates the positive pressure needed to overcome the restricted front intake. The rear exhaust fan (included) handles output. For liquid cooling, a 240mm AIO on the front works well, though you’ll still want to address the intake restriction.
The hard drive bay design only accommodates two drives comfortably, despite marketing claims of three. If you need more storage, consider an NVMe drive or external solutions. The PSU cutouts for cable management are limited, so plan your routing before installing the power supply.
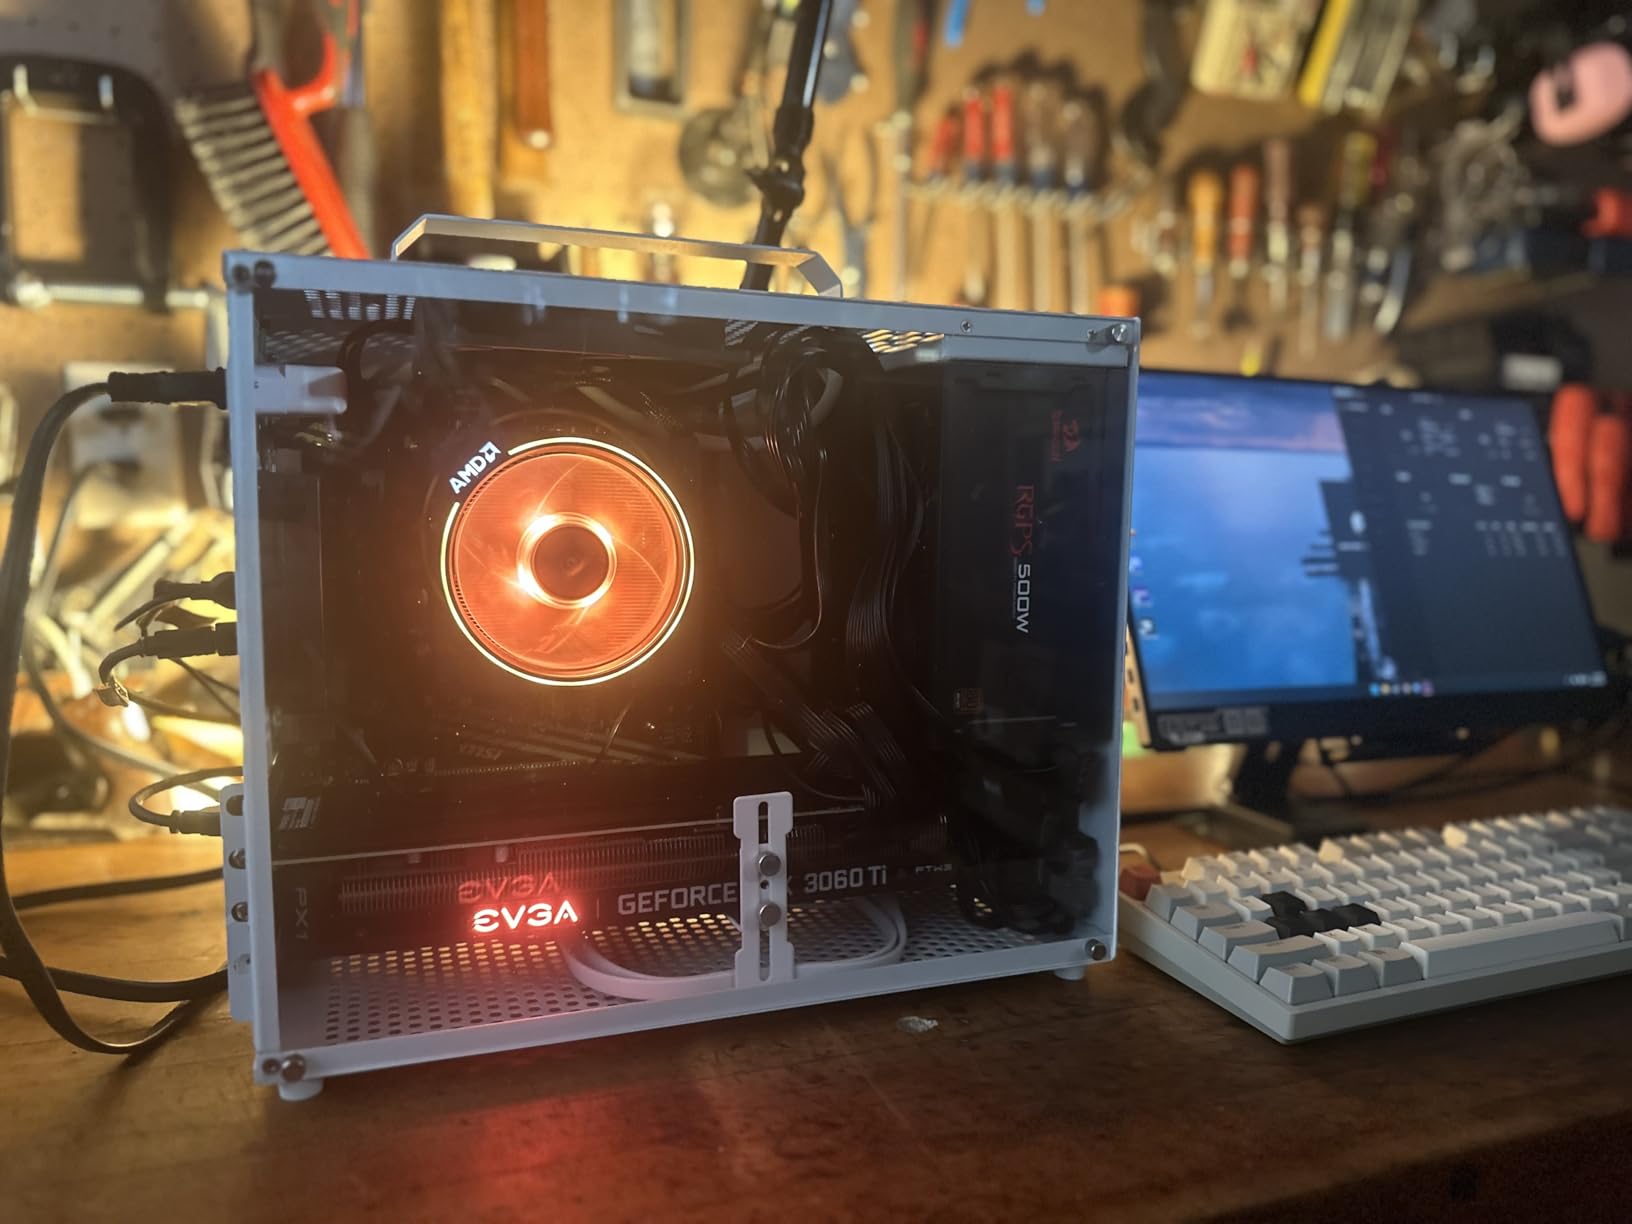
5. ALAMENGDA V500 Mini Portable Case – Compact ITX Solution
ALAMENGDA V500 Mini Portable M-ATX/ITX Computer Case, MINI-Tower CASE, Full Side Transparent Acrylic DIY Desktop Case with Handle, Support 320MM GPU Size (Black-2.0)
Case Type: Mini-Tower M-ATX/ITX
Side Panel: Full Transparent Acrylic
GPU Support: Up to 320mm
Front IO: USB 3.0 + Type-C
Pros
- Portable with carry handle
- Supports full-size GPUs
- USB 3.0 and Type-C ports
- V2.0 improved thicker metal
- Compact footprint
Cons
- Tight build space
- No HDD mounts included
- Acrylic can scratch easily
- Threading quality issues
Small form factor builds have unique challenges, and the ALAMENGDA V500 addresses them with a portable design that doesn’t sacrifice GPU support. The full transparent acrylic side panel gives you complete visibility of your compact build, which is especially satisfying when you’ve managed to fit high-end components in a small space. The carry handle makes this case ideal for LAN parties or portable setups.
I built a system in the V500 2.0 (the updated version with thicker steel) for someone who travels between dorms and home. The 320mm GPU support meant we could use a full-sized RTX 4060 without issues. The acrylic panel shows off the build from the side, and the protective film keeps it scratch-free during transport. Just remember to peel it off before your first showing.
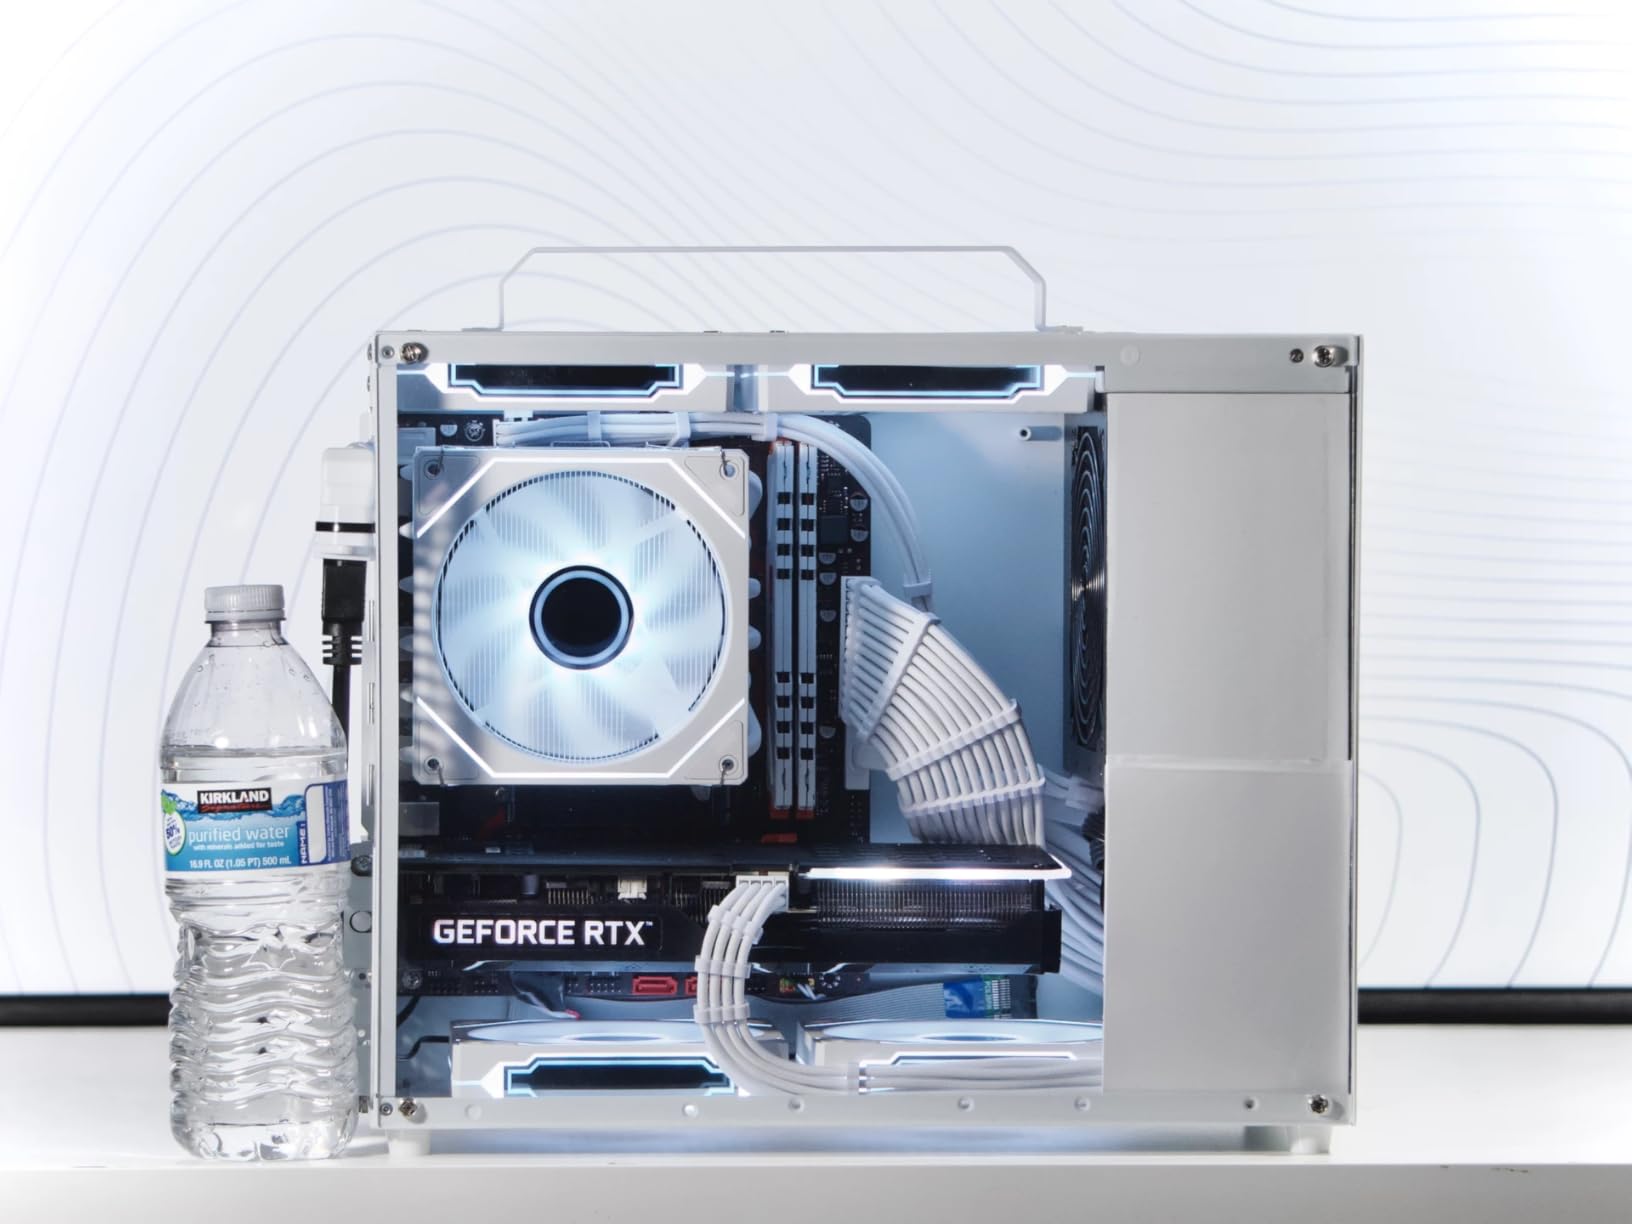
The V2.0 improvements are noticeable compared to the original version. The steel thickness increased from 0.8mm to 1.0mm, making the case feel more rigid. The handle mount is stronger, addressing a common complaint from the first revision. The power supply mounting moved to the top, which actually improves cable management by keeping PSU cables away from the GPU area.
Building in this case requires patience and planning. The compact dimensions mean every millimeter counts. I used a modular power supply and custom-length cables to minimize cable bulk. The lack of hard drive mounts means you’ll need to rely on NVMe storage, which is fine for most modern builds but worth noting.
Ideal For Portable LAN Builds
The carry handle and compact size make this case perfect for gamers who attend LAN parties or move their PC frequently. At 7.13 pounds empty, it’s light enough to carry comfortably even with components installed. The acrylic panel adds visual appeal without the weight of glass, which matters for a portable build.
The front panel USB 3.0 and Type-C ports are essential for modern peripherals. The airflow design supports 2x 120mm fans on top and 1x 90mm at the rear, giving you enough cooling for mid-range components. Just don’t expect to run a 400W GPU without thermal challenges in this small space.
Build Challenges to Expect
This is not a beginner-friendly case. The tight space requires creative cable management and careful component selection. The threaded holes aren’t always precise, so be careful not to cross-thread screws. The acrylic panel can scratch during installation if you’re not careful with tools and hardware.
The restricted airflow with a solid front panel means you’ll need to optimize fan placement carefully. I found that top exhaust fans are essential for pulling hot air away from the CPU cooler. Budget extra time for cable routing, as the limited space means there’s no room for messy cables.
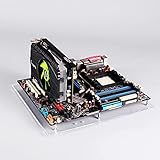
6. Yoqanr Mini ITX Open Frame Test Bench – Budget Testing Platform
PC Open Frame Test Bench Mini ITX Motherboard Overlock Computer Case DIY Mod Base Transparent Acrylic Stand…
Form Factor: Mini ITX Open Frame
Material: Transparent Acrylic
Size: 19.7cm x 19.4cm
PCI: 2 Metal Columns
Pros
- Ultra-affordable price
- Perfect for ITX testing
- Easy component access
- Can handle powerful hardware
- Accurate dimensions
Cons
- ITX motherboards only
- Very basic design
- No included feet
- Requires DIY for enclosure
Sometimes you don’t need a full case, just a platform to mount components for testing or troubleshooting. The Yoqanr Mini ITX Open Frame provides exactly that at a price that’s hard to believe. The transparent acrylic board serves as a clean base for ITX motherboard mounting, with two PCI metal columns for graphics card support. I keep one of these on my bench for quick component testing.
Don’t let the low price fool you. The acrylic is thick and sturdy, with accurate mounting holes that line up with ITX motherboard standoffs. I’ve mounted everything from basic office PC components to an RTX 4080 and 280mm AIO on this platform without stability issues. The open design means zero thermal concerns and complete access to all components.
This isn’t really a case in the traditional sense. It’s a test bench for people who need frequent access to components or want to showcase hardware without enclosure constraints. The included screws and four bottom pads get you started, though I added rubber feet for better stability on my workbench. The two PCI columns hold a graphics card securely in place.
For troubleshooting, this platform is invaluable. I’ve used it to diagnose motherboard issues, test RAM compatibility, and benchmark components without case interference. The open frame means you can swap parts in seconds without dealing with panels or cable routing.
Best For Testing and Troubleshooting
PC technicians and enthusiasts who frequently build or repair systems will find this platform incredibly useful. The open design eliminates the frustration of working inside cramped cases. You can see every connection, reach every component, and make changes without contorting your hands into awkward positions.
The acrylic construction is durable enough for repeated builds. I’ve assembled and disassembled probably twenty systems on my test bench without any degradation in the material. The mounting holes maintain their threads, and the PCI columns stay rigid even with heavy graphics cards.
DIY Expansion Ideas
Creative builders have turned these platforms into custom open-air cases by adding their own acrylic panels or mesh sides. The basic structure gives you a foundation to build upon. I’ve seen people add LED strips, custom fan mounts, and even small displays to create unique showcase builds.
For a permanent setup, consider adding your own rubber feet (the included pads are basic), cable management clips, and perhaps a small power supply mount if the standard positioning doesn’t work for your build. The platform is versatile enough to accommodate various configurations.
7. JOYJOM Open Air PC Test Bench – Versatile Multi-Size Support
Open Air PC Case, PC Test Bench PC Case, ATX Open Frame Computer Case, DIY PC Rack for ATX MATX ITX Motherboards
Form Factor: ATX/M-ATX/ITX
Material: 0.8mm SPCC Steel
Size: 440 x 265 x 160mm
Storage: 1x HDD + 1x SSD
Pros
- Supports all motherboard sizes
- Sturdy SPCC steel construction
- Easy assembly
- Includes power switch
- Great value
Cons
- PSU mounting issues
- No included feet
- Some threading problems
- Very basic features
When you need to support anything from ITX to full ATX motherboards, the JOYJOM Open Air Test Bench delivers versatility at an affordable price. The 0.8mm SPCC steel construction with black sandblasted paint finish looks professional and provides a stable platform for component testing. I’ve used this bench for everything from mini-ITX builds to full E-ATX workstation configurations.
The assembly process is straightforward, taking about 30 minutes with basic tools. All necessary screws and standoffs are included, along with a small wrench for driving in standoffs. The frame feels surprisingly sturdy once assembled, despite the low price point. The open design means excellent airflow and complete access to all components.
What sets this bench apart from the Yoqanr is the motherboard size flexibility. The 305 x 245mm maximum motherboard support covers virtually any consumer board. Graphics card length and width are unlimited, constrained only by your motherboard’s PCIe slot positioning. This makes the bench ideal for testing oversized GPUs that might not fit in standard cases.
The hollow base cavity provides space for cable routing and storage drive mounting. The bench supports one HDD and one SSD, which is enough for most testing scenarios. A power switch is included on the frame, saving you from shorting pins manually during testing.
Perfect For Component Testing
System builders and repair technicians will appreciate the easy access this bench provides. I’ve diagnosed countless issues more quickly because I can see every component and connection without removing panels. The open frame eliminates thermal concerns, making it perfect for stress testing components at their limits.
The ability to disassemble the bench for storage is useful if you don’t need a permanent test station. The flat-packed design takes up minimal space when not in use. For technicians who travel to client sites, this portability is valuable.
Assembly and Setup Guide
Start by assembling the frame loosely, then tighten all screws once everything is aligned. The PSU mounting uses a single screw alignment, which is one of the bench’s weak points. I recommend using zip ties or additional support for heavier power supplies. The screw holes can be temperamental, so don’t force anything.
Add your own rubber feet to protect your work surface and provide airflow underneath the bench. The included hardware is basic but functional. For a more permanent setup, consider adding cable management clips and perhaps a small parts tray to keep screws organized.
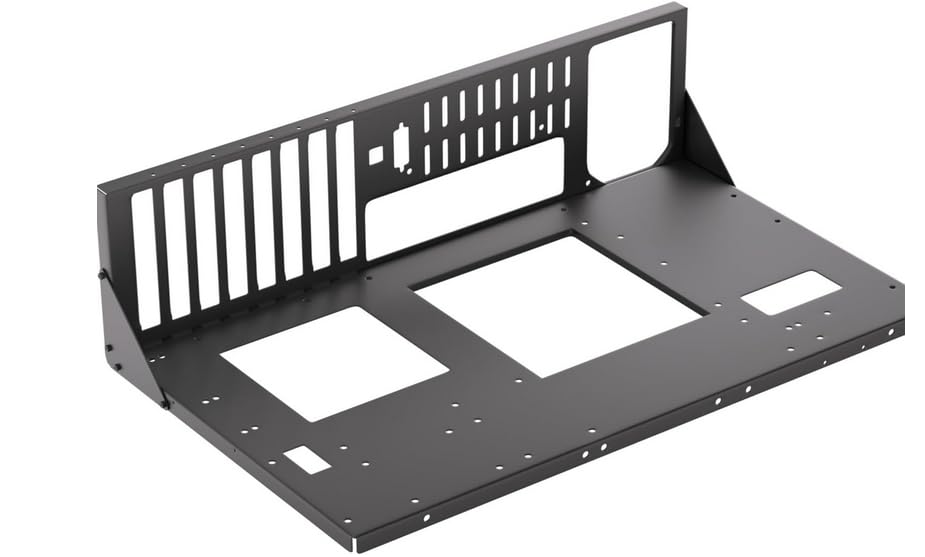
8. ALAMENGDA DIY PC Test Bench – Best-Selling Open Frame
ALAMENGDA DIY Pc Test Bench, Open Chassis Case Rack for ATX/M-ATX/ITX Motherboards,Widely Body Heat Dissipation Design Open Air Pc Case, SSD Motherboards Accessories (1 Pc)
Form Factor: ATX/M-ATX/ITX
Material: 0.8mm SPCC Steel
Finish: Black Sand Grain
Weight: 2.6 pounds
Pros
- Outstanding value under $20
- Sturdy once assembled
- Includes start button
- Brass standoffs included
- Minimalist aesthetic
Cons
- Needs custom feet
- Tight rear clearance
- GPU bracket tricky
- PSU mount outdated
The ALAMENGDA DIY PC Test Bench has become a best-seller for good reason. At under $20, it provides everything most builders need for a functional test platform. The 0.8mm SPCC steel with black sand grain paint finish looks professional and provides excellent durability for repeated builds. I’ve recommended this bench to dozens of people building their first test station.
What impresses me most is the quality of included hardware. The brass standoffs are a nice touch at this price point, and the included socket wrench for installing them saves time. The motherboard start button on the frame is genuinely useful for testing boards outside of cases. These small details show that ALAMENGDA understands what builders actually need.
The open frame design supports ATX, Micro-ATX, and ITX motherboards up to 305 x 245mm. Graphics card support is unlimited, constrained only by your motherboard. I’ve mounted RTX 4090s on this bench without stability issues. The frame gains rigidity once components are installed, creating a stable platform for testing and benchmarking.
Assembly takes about 30 minutes and requires only basic tools. The instructions are adequate, though experienced builders probably won’t need them. The disassembled bench stores flat, making it practical for occasional use. For permanent setups, the minimalist aesthetic looks clean on any workbench.
Great For Enthusiast Workbenches
This bench hits the sweet spot of functionality and affordability. The steel construction feels more substantial than acrylic alternatives, and the black finish resists fingerprints and scratches. For enthusiasts who regularly swap components or troubleshoot systems, having a dedicated test platform accelerates every project.
The open design means you can photograph builds easily, which is useful for content creators or anyone documenting their work. I’ve taken cleaner build photos using this bench than I ever managed inside cases. The unrestricted airflow also means thermal throttling during testing comes from components, not case limitations.
What You Should Know
The main complaints are minor but worth addressing. The bench sits directly on your work surface, so add rubber feet for airflow and surface protection. The gap between the rear wall and motherboard can be tight, making rear I/O connections slightly awkward. The GPU PCIe bracket requires careful seating to align properly.
The PSU mounting uses an older four-screw pattern that some newer power supplies don’t fully support. Most PSUs will still mount securely with two screws. For heavy power supplies, consider additional support like zip ties or a custom bracket. These are small inconveniences for the price and functionality you get.
How to Choose the Right Acrylic Side Panel
Selecting the right acrylic side panel involves more than just picking the first option you see. After years of modding cases, I’ve learned that thickness, mounting method, and intended use all matter significantly. Whether you’re planning a complete DIY project for custom setups or just want to replace a broken panel, understanding these factors helps you make the right choice.
Thickness Recommendations
Acrylic thickness directly impacts durability and appearance. For small window cutouts, 3mm acrylic provides adequate rigidity without excessive weight. Most full side panels benefit from 4-5mm thickness, which resists flexing and feels more substantial. The 6mm (1/4 inch) sheets like the CALPALMY option offer maximum durability for heavy builds or cases that get opened frequently.
Thicker acrylic also handles mounting hardware better. You can use threaded inserts in 5-6mm acrylic for clean installations without visible screw heads. Thinner sheets require external mounting hardware, which may affect the aesthetic you’re trying to achieve.
Mounting Methods Compared
The three main mounting approaches each have tradeoffs. Magnetic mounts offer easy removal but may not hold heavy panels securely. I’ve seen builders add extra magnets or combine magnetic strips with mechanical fasteners for safety. Screw mounts are the most secure but require drilling holes in your acrylic and case panel.
Adhesive methods like 3M VHB tape create clean, seamless installations but make panel removal difficult. This works well for permanent showcases where you rarely access the interior. Rubber washers and standoffs protect acrylic from cracking around mounting points regardless of which method you choose.
Acrylic vs Tempered Glass
Both materials have distinct advantages. Acrylic weighs about half as much as glass, making it ideal for portable builds or cases with limited panel support. It’s also significantly cheaper and can be cut to custom shapes with basic tools. However, acrylic scratches more easily and may yellow over time with UV exposure.
Tempered glass resists scratches better and maintains clarity indefinitely. It feels more premium but costs more and cannot be modified after manufacturing. For builders who want to customize their panel shape or need a budget-friendly option, acrylic is the clear winner. For permanent showcase builds where longevity matters most, glass may be worth the investment.
Case Compatibility
Universal acrylic sheets work with virtually any case when you’re willing to cut them yourself. Pre-made panels are case-specific, so verify compatibility before purchasing. Measure your existing panel carefully, including any curves or notches that affect fitment. The CALPALMY 16×20 inch sheets cover most mid-tower panels when trimmed appropriately.
For custom installations, add 2-3mm to your measurements to account for mounting hardware and thermal expansion. Acrylic expands slightly when warm, so tight fits can cause warping or stress cracks over time.
FAQ
How easy is it to mod an acrylic window into a side panel?
Modding an acrylic window into a side panel requires basic tools like a jigsaw with a fine-tooth blade, measuring tape, and sandpaper. Most builders can complete the job in 2-3 hours. Pre-cut acrylic sheets like the CALPALMY options make the process easier since you only need to cut your case panel, not the acrylic itself.
Can acrylic side panels fit any PC case?
Acrylic sheets can be cut to fit virtually any PC case, but pre-made panels are case-specific. For custom fits, measure your existing panel carefully and add 1-2mm tolerance. Universal acrylic sheets like CALPALMY’s 16×20 inch options work well for most mid-tower and full-tower cases when trimmed to size.
How thick should acrylic be for PC case modding?
For PC case modding, 3mm acrylic works for small windows, while 4-5mm is ideal for most full side panels. 6mm (1/4 inch) offers maximum durability and rigidity for heavy builds. The CALPALMY 1/4 inch sheets provide excellent stability without excessive weight.
What is the difference between acrylic and tempered glass side panels?
Acrylic is lighter, more affordable, and easier to cut than tempered glass. However, tempered glass resists scratches better and won’t yellow over time. Acrylic can be shaped and tinted easily, making it better for custom mods, while tempered glass offers superior optical clarity for premium builds.
How do I prevent scratches on acrylic side panels?
Keep the protective film on until installation is complete. Use microfiber cloths for cleaning, never paper towels. Install rubber washers between mounting hardware and the acrylic surface. Store spare panels wrapped in soft cloth. Consider polish kits for removing minor scratches that do occur.
Conclusion
Finding the best acrylic side panels for PC case modding comes down to your specific needs. For DIY enthusiasts who want complete control, the CALPALMY 1/4 inch sheets offer excellent quality and versatility. Budget-conscious builders get great value from the Zalman S3 or S4 cases with pre-installed acrylic panels. RGB lovers should consider the Aerocool Bolt for its integrated lighting effects.
Whatever option you choose, remember that proper installation and care determine how well your acrylic panel performs over time. Keep the protective film on during installation, use appropriate mounting hardware, and clean with microfiber cloths to maintain clarity. For more ideas on optimizing your complete workspace setup essentials, check out our related guides. Your modded PC case deserves to be seen, and quality acrylic makes that possible.