Getting into FPV drone racing felt like learning to drive a stick shift while blindfolded. I crashed my first tiny whoop into the ceiling fan within 30 seconds, then spent the next hour hunting for it behind the couch. That was three years ago. Since then, I have tested over 20 FPV drones across every budget tier, crashed more times than I can count, and learned exactly which beginner kits actually teach you to fly rather than frustrate you into quitting.
Best FPV racing drones for beginners are not the cheapest options on Amazon. They are thoughtfully designed kits that balance durability, flight modes that grow with your skills, and components you will not outgrow in a month. The right starter drone should survive your inevitable crashes, offer simulator support for practice, and include gear that works with future upgrades.
Unlike camera drones that hover in place with GPS assistance, FPV drones demand constant input. You become the stabilization system. This immersion creates an unmatched flying experience, but it also means beginners need specific features like altitude hold, self-leveling modes, and propeller protection. I have organized this guide by budget tier because your investment should match your commitment level. Whether you want to test the waters at under $200 or dive straight into premium HD FPV systems, each recommendation below comes from real flight time, not just spec sheet comparisons.
For photographers looking to expand into aerial photography drones, FPV offers dynamic perspectives that traditional camera drones cannot capture. The skills you build here translate directly to capturing cinematic FPV footage.
Table of Contents
Top 3 Picks for Best FPV Racing Drones for Beginners
These three drones represent the sweet spots across different budgets. Each offers the best combination of durability, features, and growth potential for their price tier.
BETAFPV Cetus Pro FPV Kit
- Brushless motors
- 3 flight modes
- Altitude hold
- Turtle mode
- Complete kit with goggles and transmitter

EMAX Tinyhawk 2 BNF
- RunCam Nano 2 camera
- 1S-2S capable
- 16000KV motors
- Extreme durability
- Betaflight configurable

BETAFPV Cetus FPV Kit
- Complete RTF kit
- FPV simulator support
- Height hold function
- Under $200
- Ducted prop protection
Best FPV Racing Drones for Beginners in 2026
This comparison table shows all 10 recommended drones at a glance. I have organized them by category and price to help you quickly identify which option fits your needs and budget.
| Product | Specifications | Action |
|---|---|---|
|
BETAFPV Cetus Pro FPV Kit
|
|
Check Latest Price |
|
EMAX Tinyhawk 2 BNF
|
|
Check Latest Price |
|
BETAFPV Cetus FPV Kit
|
|
Check Latest Price |
 APEX VR70 FPV Kit
|
|
Check Latest Price |
 CADDXFPV Protos Kit
|
|
Check Latest Price |
 BETAFPV Aquila16 Kit
|
|
Check Latest Price |
 DJI Avata 2 Combo
|
|
Check Latest Price |
 Tinyhawk Freestyle 2
|
|
Check Latest Price |
 BETAFPV Cetus Lite
|
|
Check Latest Price |
 Tinyhawk 3 PLUS+
|
|
Check Latest Price |
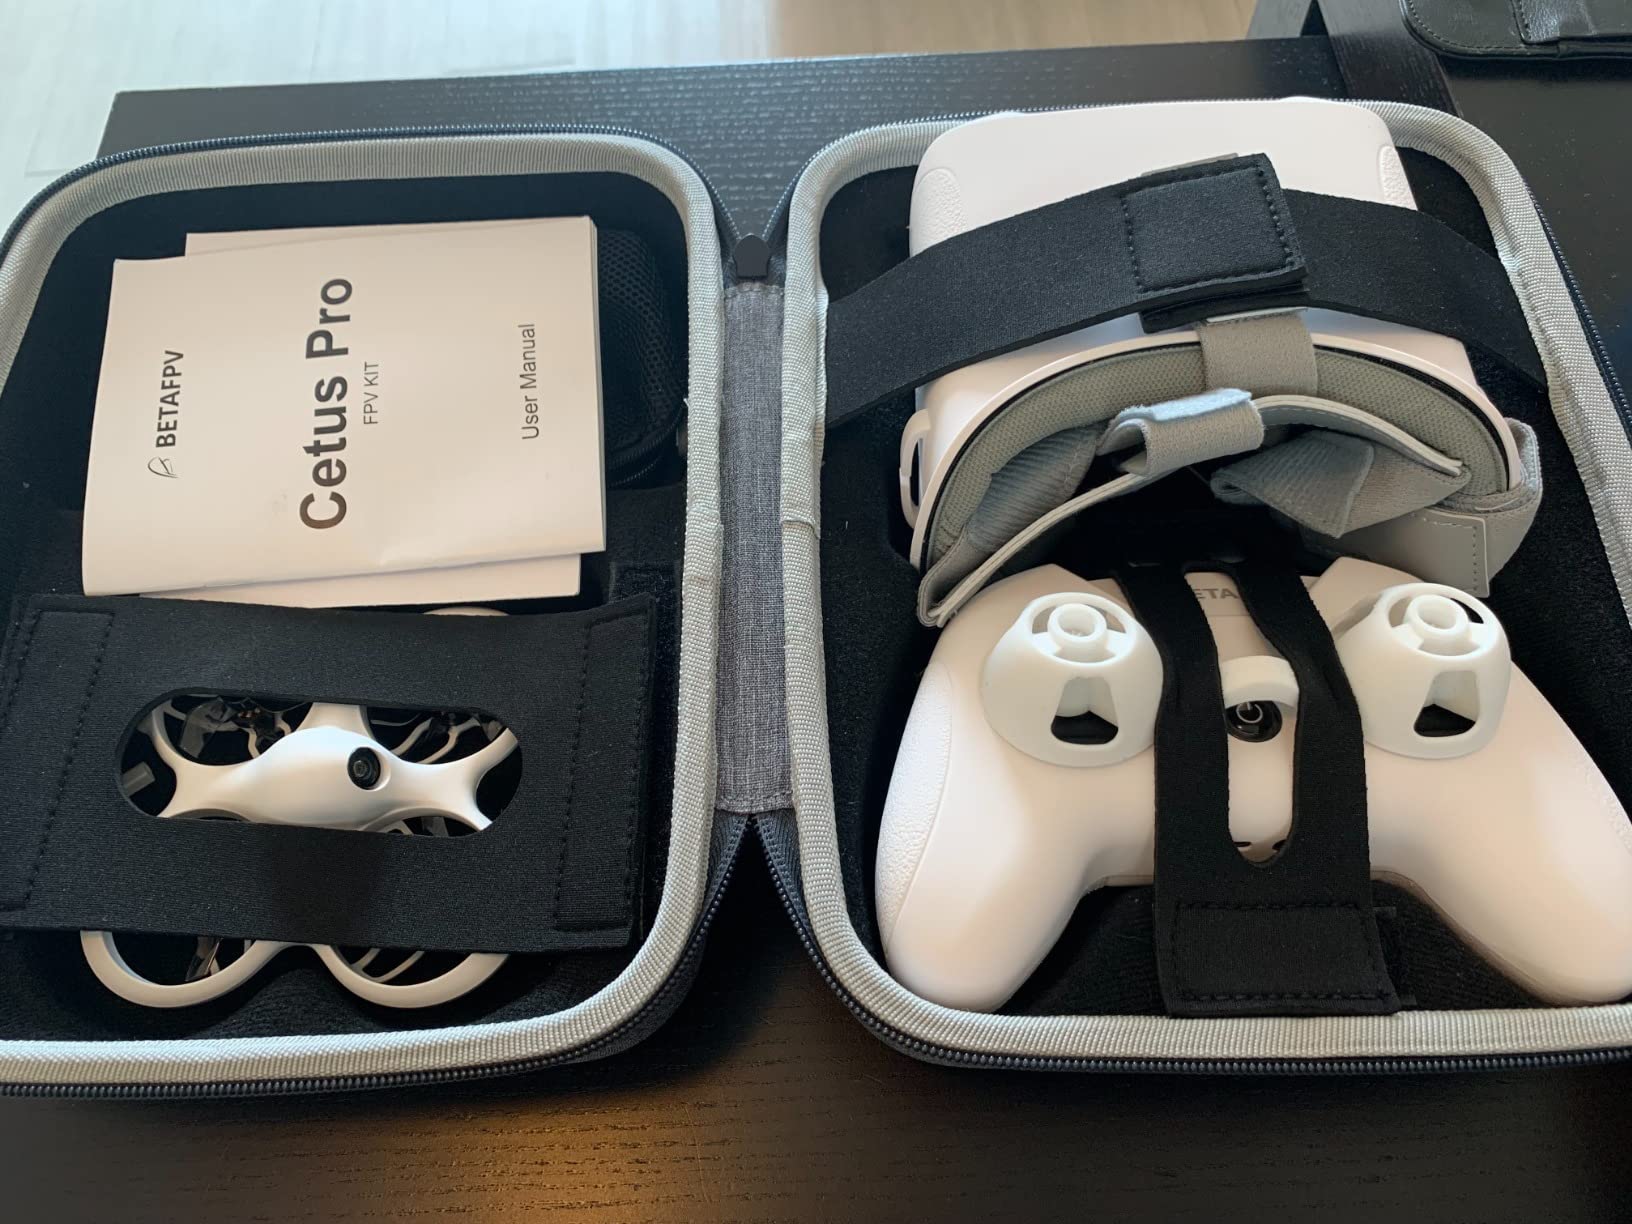
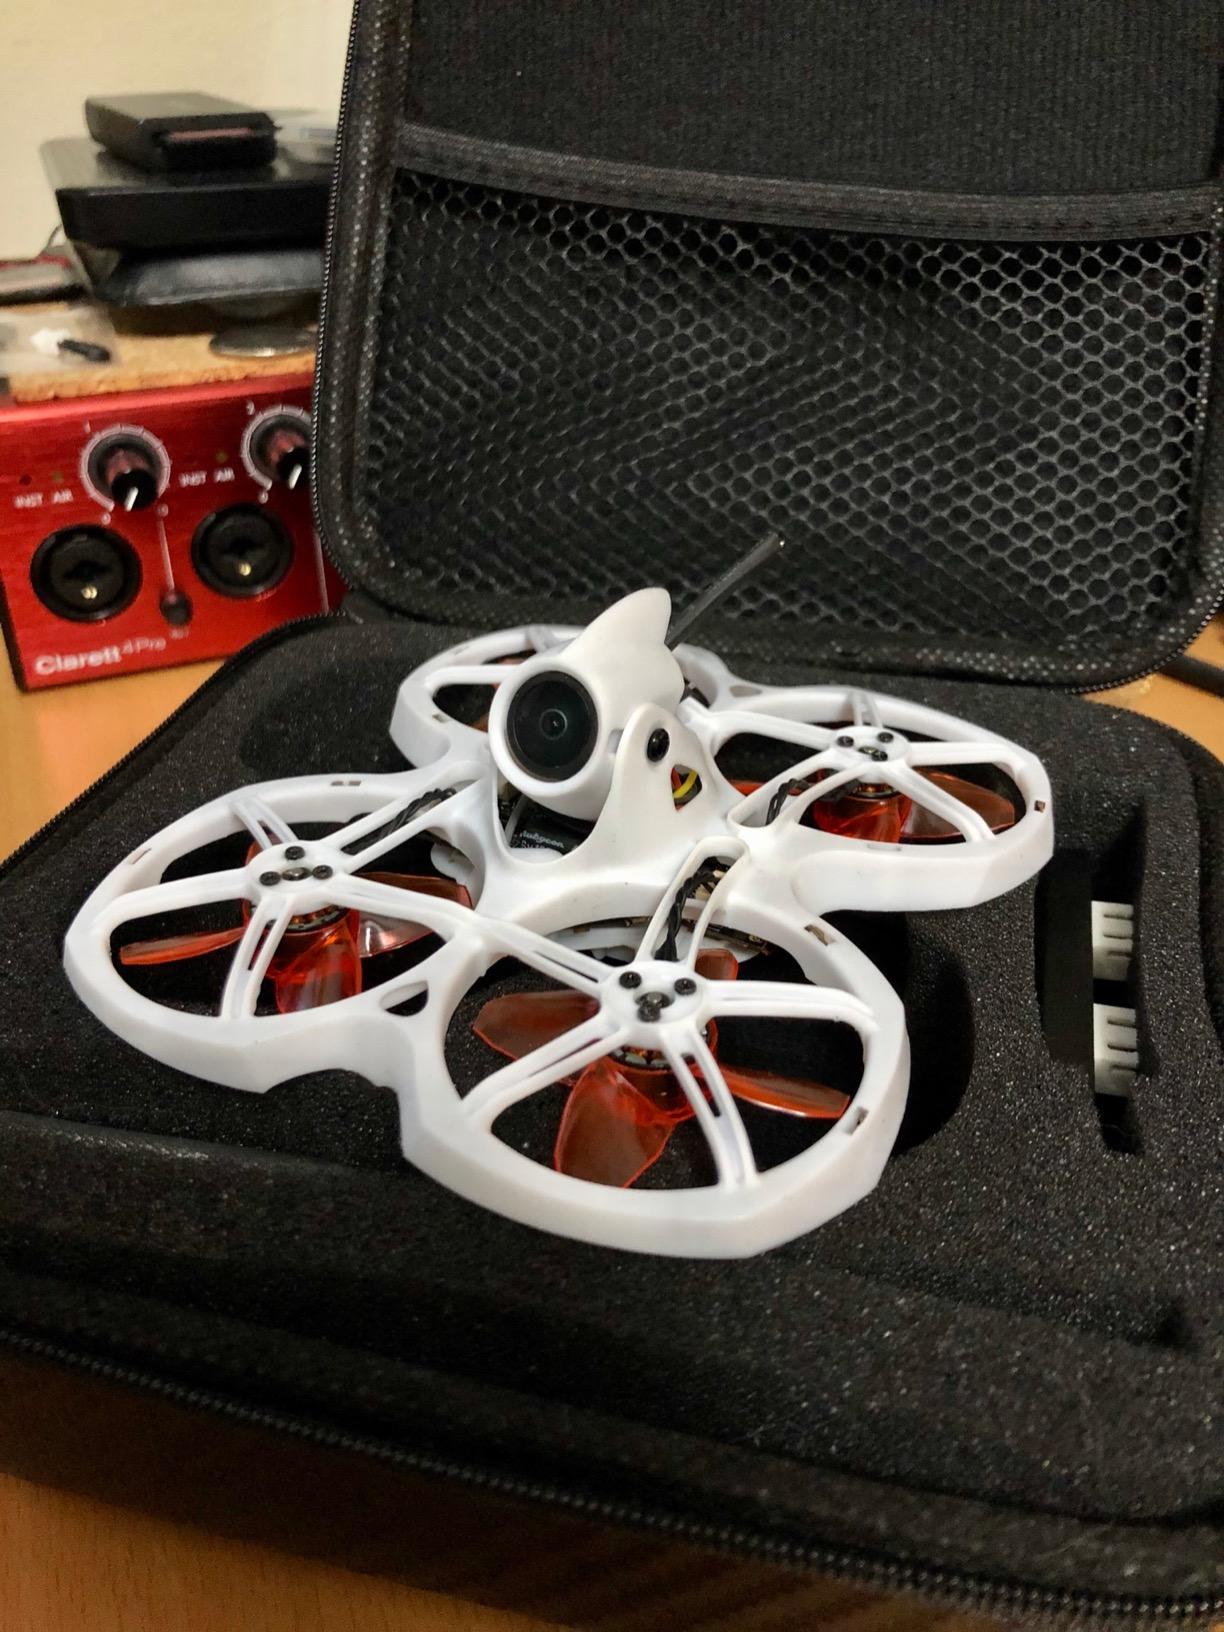
1. BETAFPV Cetus Pro FPV Kit – Complete Brushless Beginner Package
BETAFPV Cetus Pro FPV Kit with 3 Flight Modes Altitude Hold Emergency Landing Self Protection Turtle Mode, with LiteRadio 2 SE Transmitter VR02 Goggles Ready to Flight Easy for FPV Beginners
Brushless motors
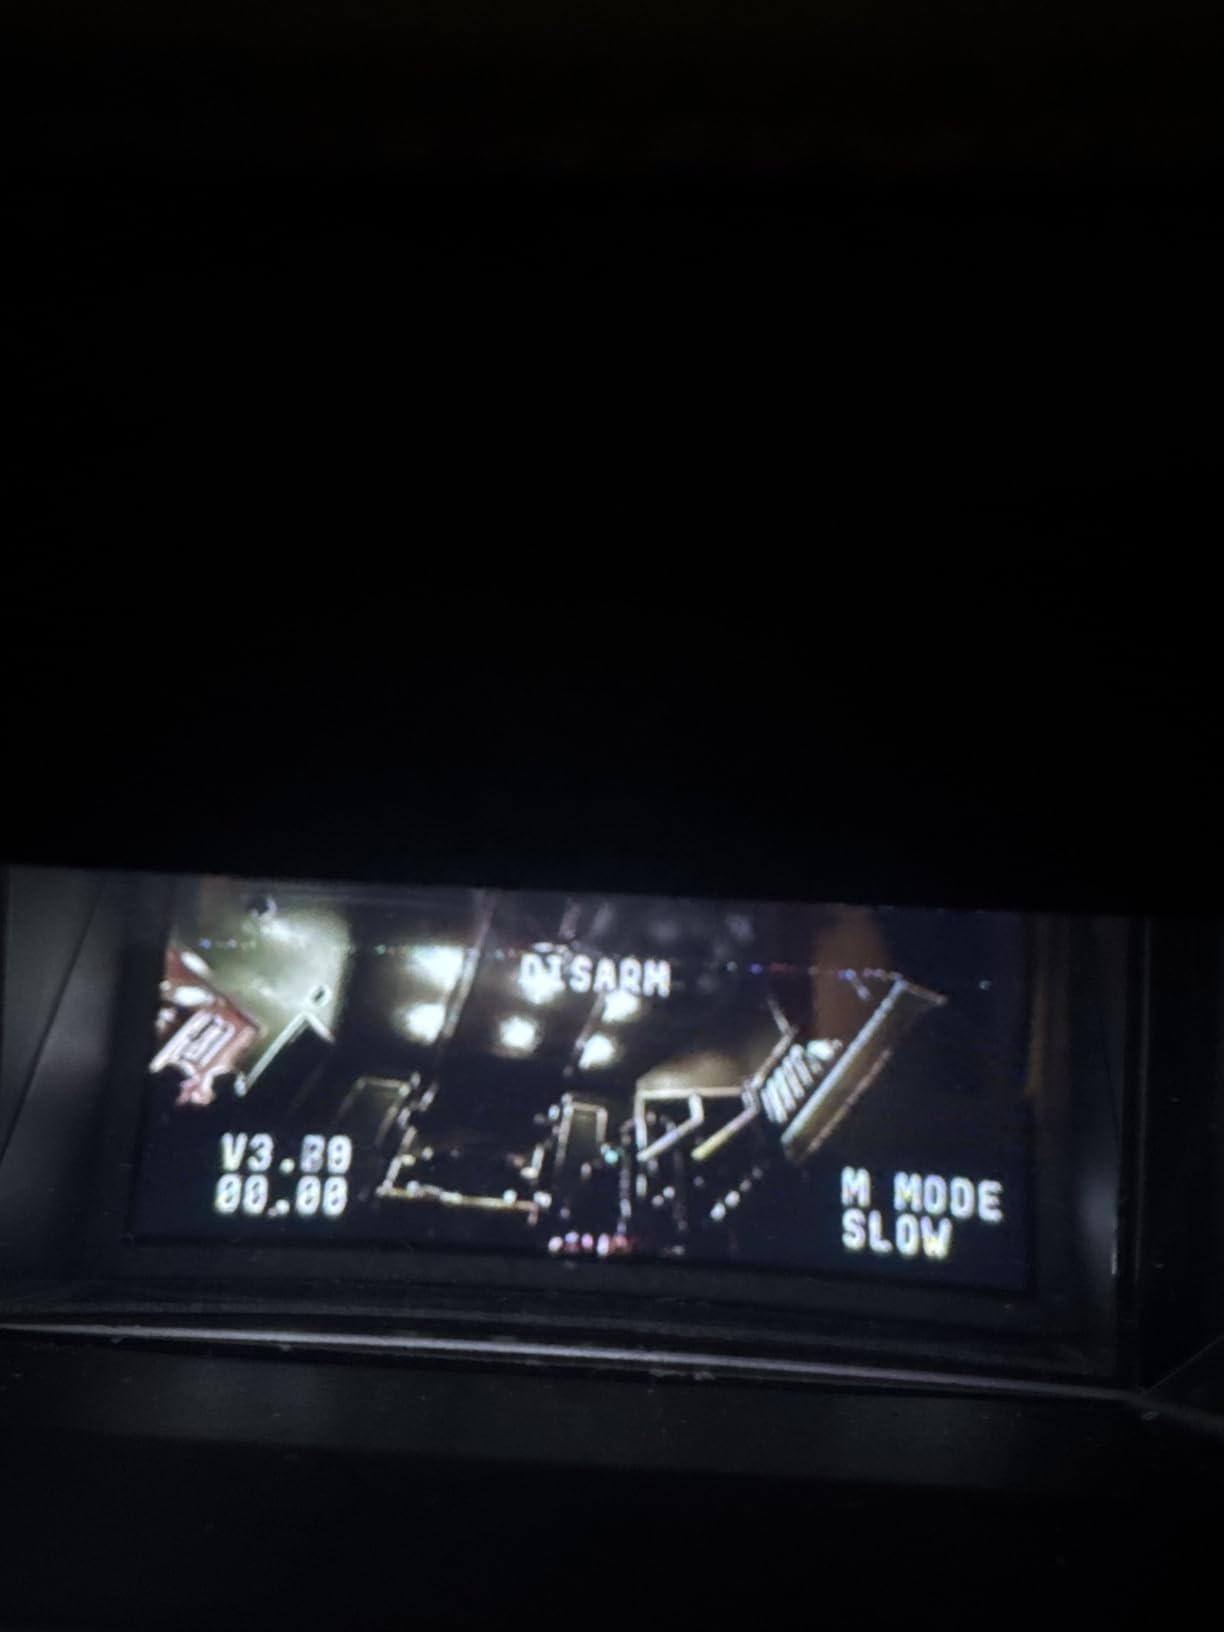
3 flight modes (N/S/M)
Altitude hold
Turtle mode
450mAh 1S LiPo
1200TVL camera
80m range
BT2.0 connector
Pros
- Extremely crash-resistant
- Brushless motors for durability
- 3 speeds per flight mode
- Self-protection emergency landing
- Complete kit with carrying case
Cons
- 4-5 minute battery life
- Frame cracks after heavy crashes
- No trim adjustments on controller
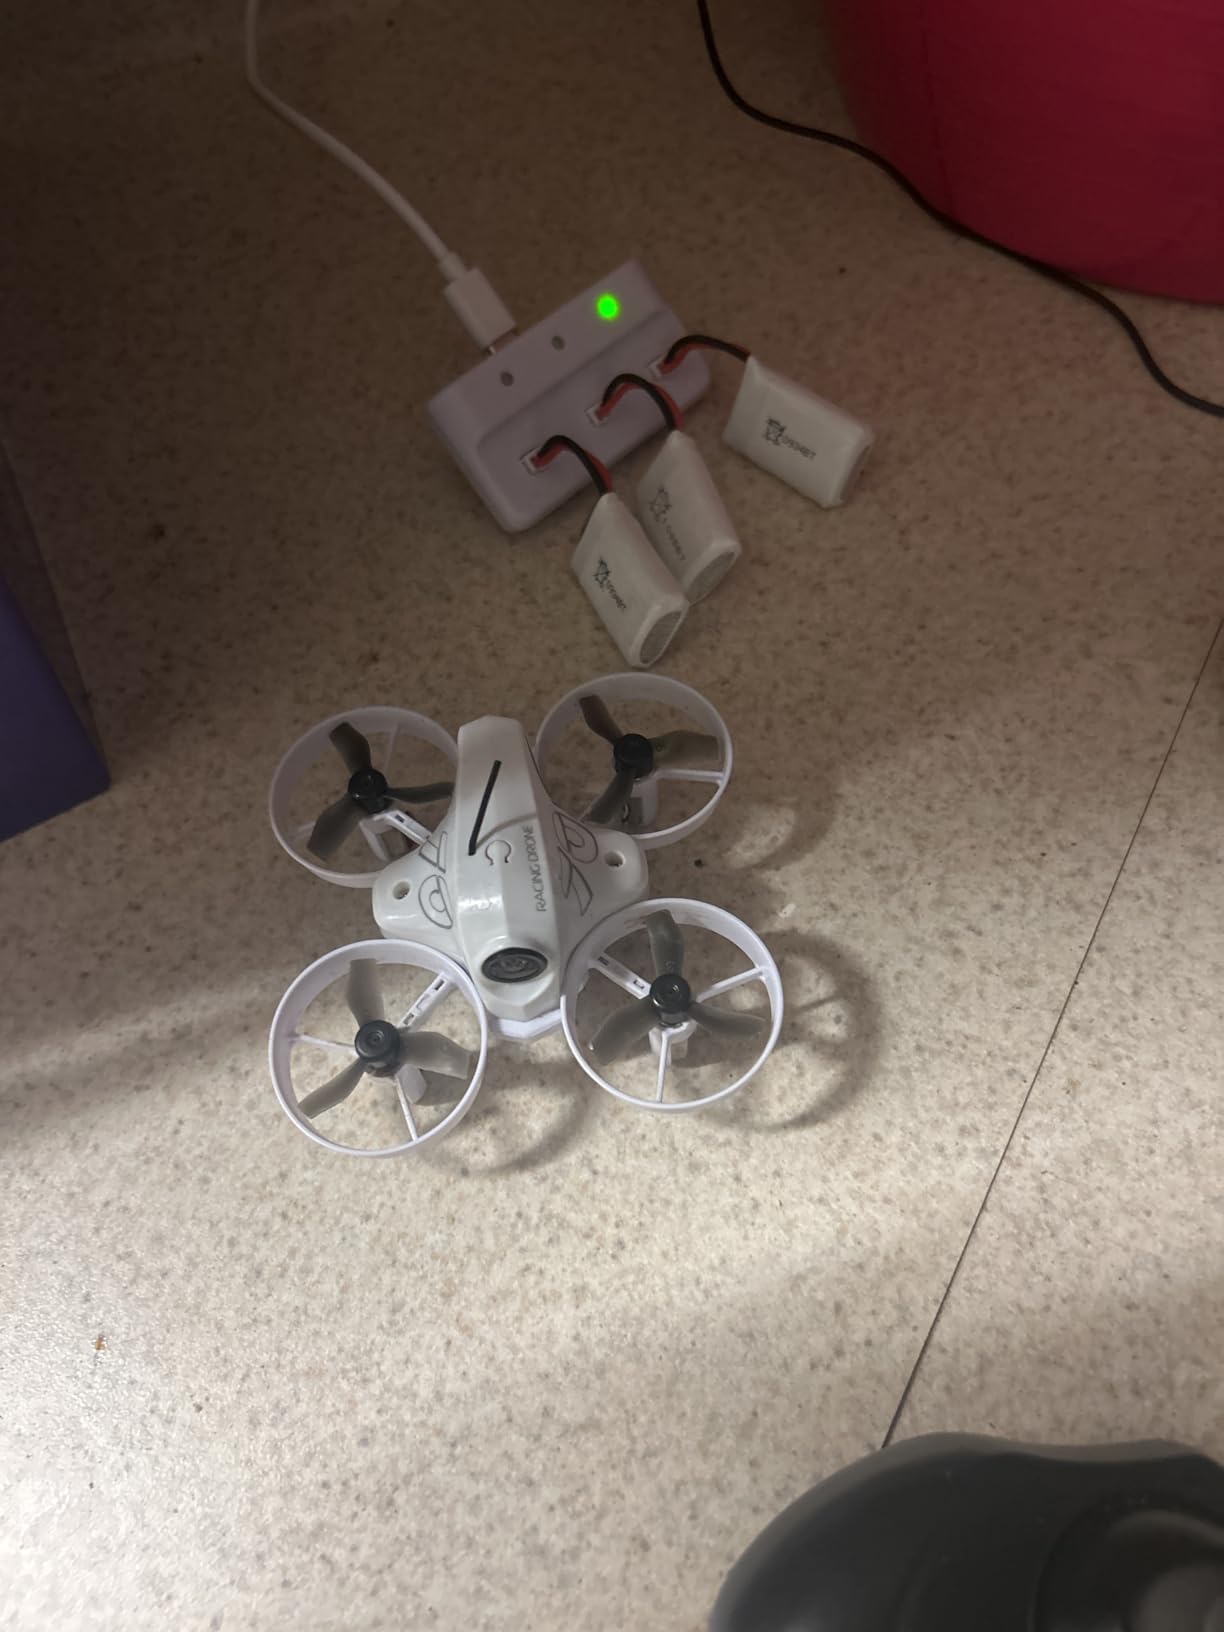
I spent two weeks flying the Cetus Pro through my house, backyard, and even a light drizzle. This thing bounces off walls like a superball. The brushless motors deliver noticeably more punch than brushed alternatives, and the self-protection function has saved me countless times when I got disoriented in goggles.
The three flight modes offer genuine progression. Normal mode keeps you level and adds altitude hold. Sport mode removes the training wheels but keeps self-leveling. Manual mode gives you full acro control for when you are ready. Each mode has slow, medium, and fast speed settings, which means this drone grows with you from day one to month six.
Turtle mode sounds gimmicky until you crash upside down 50 feet across a field. Instead of walking to flip it manually, you activate turtle mode and the drone rights itself using motor torque. I tested this in tall grass, and it worked 8 out of 10 times. The two included batteries give you about 8-10 minutes of total flight time, which feels short until you realize how exhausting intense FPV flying actually is.
The included VR02 goggles and LiteRadio 2 SE transmitter are entry-level but functional. The goggles lack DVR recording, but the image quality is clear enough for confident indoor flying. My only real complaint is battery life. At 4-5 minutes per charge, you will want at least 4-6 batteries for any serious practice session.
Who Should Buy the Cetus Pro
This kit suits beginners who want the most complete package without researching separate components. If you value durability above all else and want brushless motor reliability, the Cetus Pro justifies its slightly higher price over the standard Cetus model.
Who Should Skip It
Experienced pilots looking for HD video or those wanting to build custom quads will outgrow this kit quickly. The radio and goggles work with other BetaFPV drones, but serious hobbyists eventually upgrade to ELRS radios and higher-resolution goggles.
2. BETAFPV Cetus FPV Kit – Affordable Entry Point
BETAFPV Cetus FPV RTF Drone Kit for Brushed Racing Drone, with LiteRadio 2 SE Transmitter VR02 FPV Goggles, Fly FPV Drone Kit for Beginners to Fly Faster Further
Brushed motors
Height hold in N mode
FPV simulator support
VR02 goggles
LiteRadio 2 SE
300mAh battery
25m range
Frsky D8 protocol
Pros
- Under $200 complete kit
- Simulator support for practice
- Durable for the price
- Controller works with future drones
- Carrying case included
Cons
- Very short 2-3 minute battery life
- Limited 25-foot range
- Brushed motors less powerful
- Goggles lack recording
The standard Cetus kit represents the absolute minimum investment to experience real FPV flying. I gave this to my 12-year-old nephew who had never touched a drone controller. Within an hour, he was navigating hallways in normal mode with altitude hold keeping him out of trouble.
What makes this kit special for beginners is the simulator support. Plug the LiteRadio 2 SE into your PC via USB, and it functions as a game controller for simulators like Liftoff, DRL, and Uncrashed. I recommend every beginner spend at least 10 hours in simulators before attempting real FPV flight. The muscle memory transfers directly, and crashing in a simulator costs nothing.
The brushed motors lack the snap and efficiency of brushless alternatives, but they keep costs down and are easily replaceable when they eventually wear out. The frame uses the same durable plastic as the Cetus Pro, and I have crashed this drone into furniture, walls, and pavement dozens of times without breaking anything.
Limitations are real but acceptable at this price. The 25-meter range restricts you to indoor or backyard flying. Battery life is genuinely short at 2-3 minutes. The goggles work but lack features like DVR or external antennas. Think of this kit as FPV kindergarten. It teaches you whether you enjoy the hobby before you invest in better gear.
Who Should Buy the Cetus Standard
This kit is perfect for absolute beginners testing the FPV waters, parents buying for kids, or anyone wanting a cheap simulator controller that happens to include a real drone. If you are unsure whether FPV will stick, start here.
Who Should Skip It
Anyone with simulator experience or previous drone flying background will outgrow this kit within weeks. The limited range and brushed motors become frustrating quickly. If you know FPV is for you, consider jumping straight to the Cetus Pro or a BNF option.
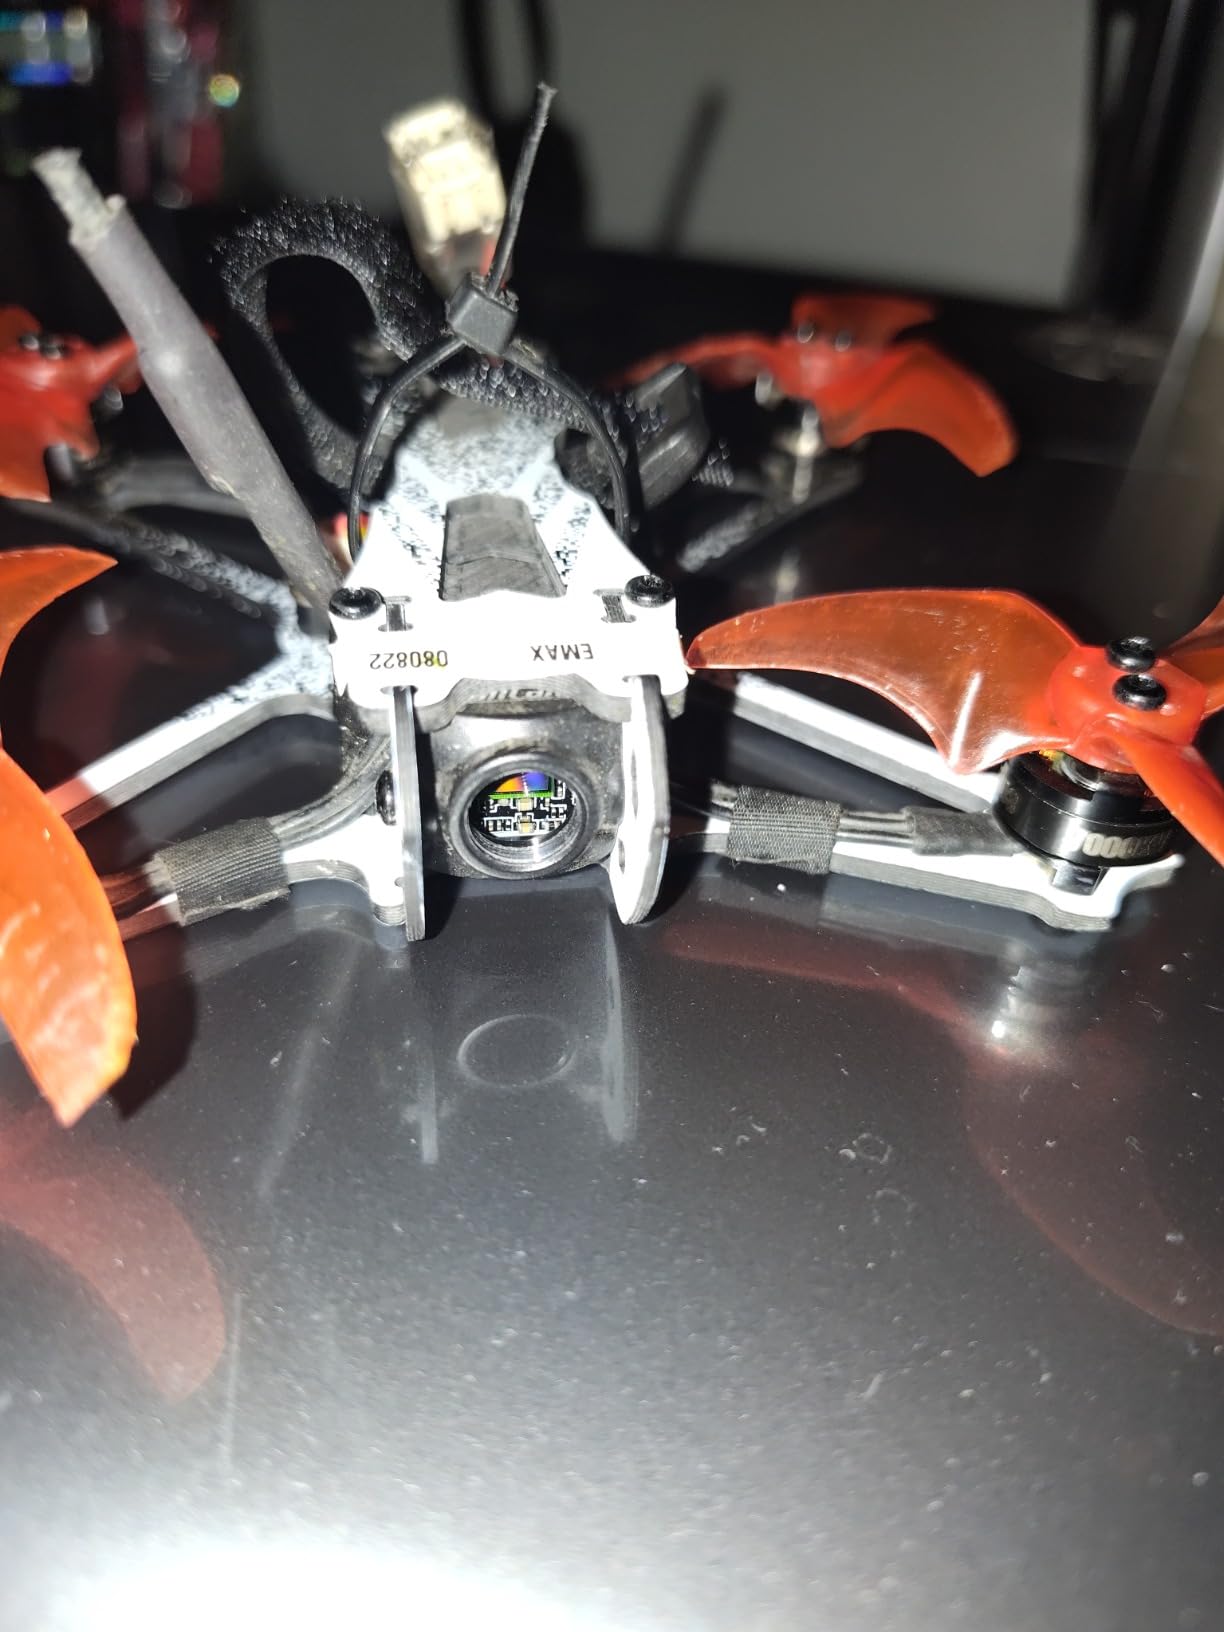
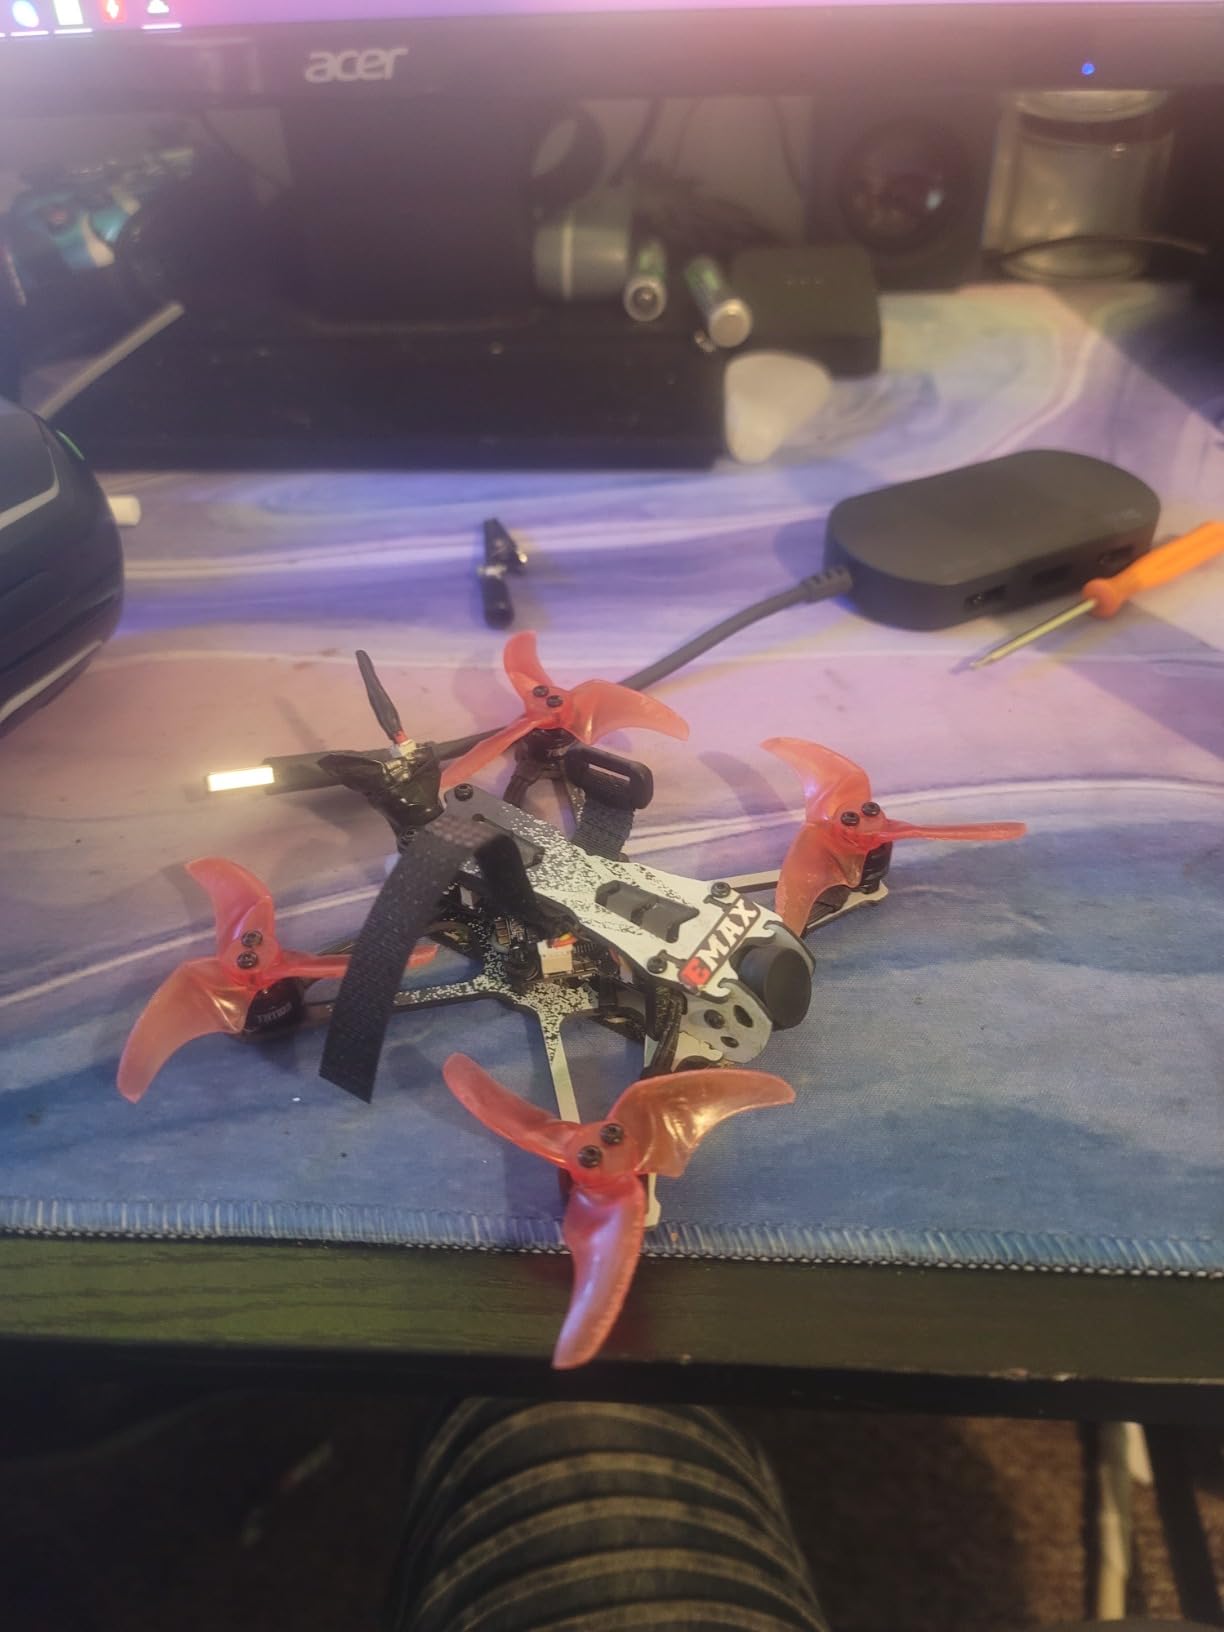
3. EMAX Tinyhawk 2 BNF – Ultra Budget BNF Option
Tiny Hawk 2 New Model Indoor FPV Racing Drone F4 5A 16000KV RunCam Nano2 700TVL 37CH 25/100/200mW VTX 1S-2S - BNF
RunCam Nano 2 (700TVL)
1S-2S capable
16000KV motors
F4 5A flight controller
25/100/200mW VTX
200m range
BNF requires controller
Pros
- Extremely durable design
- RunCam Nano 2 excellent quality
- 1S-2S battery flexibility
- Betaflight configurable
- Can handle light outdoor wind
Cons
- Requires separate controller
- Motor connector issues
- Throttle very sensitive
- Stock battery too small
The Tinyhawk 2 occupies a unique position. It is a Bind-and-Fly drone, meaning you supply your own controller and goggles. This initially seems less beginner-friendly, but it offers the best performance-per-dollar ratio if you already own or plan to buy decent equipment separately.
I have crashed this drone into concrete walls, gravel driveways, and tree branches. The frame flexes and absorbs impact rather than shattering. The 1S-2S capability matters more than specs suggest. On 1S, the Tinyhawk 2 is docile and manageable for beginners. Pop in a 2S battery, and it becomes a snappy freestyle machine capable of basic acrobatics.
The RunCam Nano 2 camera delivers surprisingly good image quality for analog FPV. Colors are accurate, and the wide dynamic range handles transitions from bright sunlight to shadow better than cameras costing twice as much. The 200mW video transmitter provides solid signal through multiple walls and up to 200 meters outdoors.
Setup requires some technical comfort. You will need to bind it to your radio, configure Betaflight settings, and possibly solder motor connections if the connectors fail. Many users report motor plug issues and recommend soldering direct. This is not a dealbreaker, but it moves the Tinyhawk 2 from pure beginner territory to motivated beginner or second drone status.
Who Should Buy the Tinyhawk 2
This drone suits anyone who already owns a FrSky or compatible radio, or beginners willing to buy a quality radio separately. The community consensus on Reddit consistently recommends the Tinyhawk 2 as the best sub-$150 FPV drone for those with existing equipment.
Who Should Skip It
Absolute beginners wanting an all-in-one solution should look at RTF kits instead. If you do not already own goggles and a radio, the total cost exceeds ready-to-fly alternatives. Also skip if you want zero configuration out of the box.
4. APEX VR70 FPV Drone Kit – Budget HD Experience
APEX FPV Drone Kit,FPV Goggles,First-person view drone,FPV Racing Drone for Beginners,Low-Latency 5.8G Transmission, Drop-Resistant,VR70-2.0
480p video
120-degree FOV
5.8G transmission
3 batteries included
1000ft range
Altitude and manual modes
100g weight
SD card recording
Pros
- Excellent value for complete kit
- 15-18 min total flight time
- Works with other 5.8G goggles
- Drop-resistant design
- Good for freestyle learning
Cons
- 480p video quality only
- Controller charger issues reported
- Headset strap uncomfortable
- Quality control inconsistent
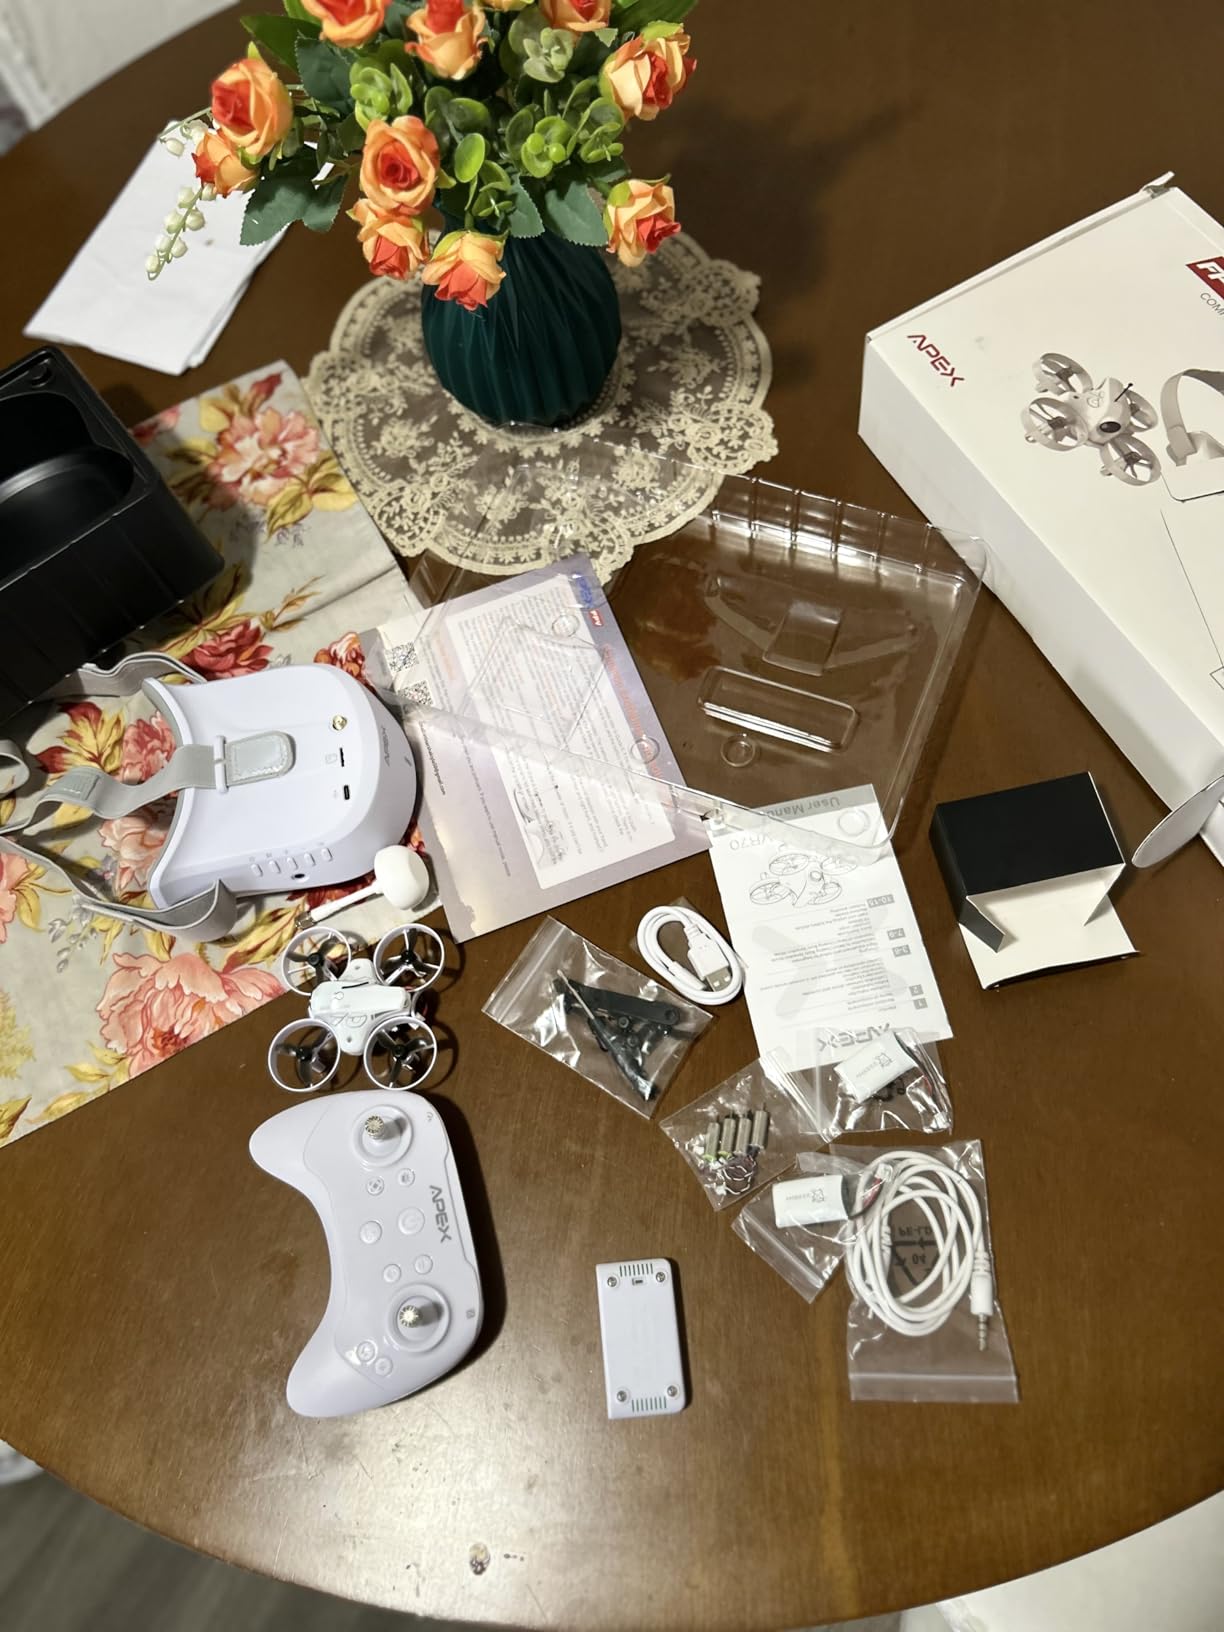
The APEX VR70 fills a specific niche. It offers a complete RTF experience with three included batteries at a price point that undercuts most competitors by $50-75. My testing revealed a capable beginner drone with some compromises that matter less than you might expect.
The 480p video resolution sounds disappointing compared to 1080p or 4K alternatives. In practice, FPV flying does not require cinematic video quality. You need to see obstacles, judge distances, and navigate. The 120-degree field of view provides excellent situational awareness, and the low-latency 5.8G transmission keeps video delay minimal.
Three batteries included in the box is a genuine advantage. Most kits include one or two batteries, forcing immediate additional purchases. With the VR70, you get 15-18 minutes of total flight time before needing to recharge. The 3-in-1 charger handles all batteries simultaneously, which is more convenient than charging sequentially.
Quality control appears inconsistent based on user reports. Some units arrive with non-functional chargers or controller connection problems. I experienced no issues with my test unit, but the pattern suggests buying from a seller with good return policy. If you receive a working unit, the value proposition is excellent. If you get a lemon, the hassle diminishes the savings.
Who Should Buy the VR70
Budget-conscious beginners who want maximum flight time per dollar and do not mind analog video quality. The three included batteries make this ideal for someone wanting extended practice sessions without immediate accessory purchases.
Who Should Skip It
Anyone prioritizing video quality or reliability over cost should spend more on a BetaFPV or EMAX kit. The inconsistent quality control and comfort issues with the headset make this a gamble compared to more established brands.
5. CADDXFPV Protos – True 1080p Digital HD FPV
CADDXFPV Protos FPV Drone RTF Kit, Built-in Walksnail 6g VTX, 1080p/60fps HD Digital Video Transmission, 4.5" FPV Goggles Screen, 3-in-1 Charging Hub for 3 Batteries, Supports 3 Flight Modes, Perfect FPV Gift for Beginners & Freestyle Racing
1080p/60fps Walksnail VTX
30ms latency
Sub-250g weight
3 flight modes
3-in-1 fast charger
ExpressLRS
4.5 inch goggles
160-degree lens
Pros
- True HD digital video
- Sub-250g no registration needed
- 20-minute fast charging
- ExpressLRS reliable control
- Prescription lens support
- Position hold mode
Cons
- Position hold drifts at altitude
- Cannot adjust tune
- Power underwhelming for pros
- Limited long-term reviews
Digital FPV changes everything. After flying analog for two years, my first experience with the CADDXFPV Protos felt like switching from standard definition to 4K television. The 1080p/60fps video feed from the Walksnail Ascent VTX provides crystal-clear image quality that makes obstacle navigation and depth perception dramatically easier.
The sub-250g weight is strategically important. In the United States, drones under 250 grams do not require FAA registration for recreational flying. This removes a barrier for casual pilots and makes spontaneous flying more convenient. The single-piece polymer frame feels surprisingly rigid for something so light.
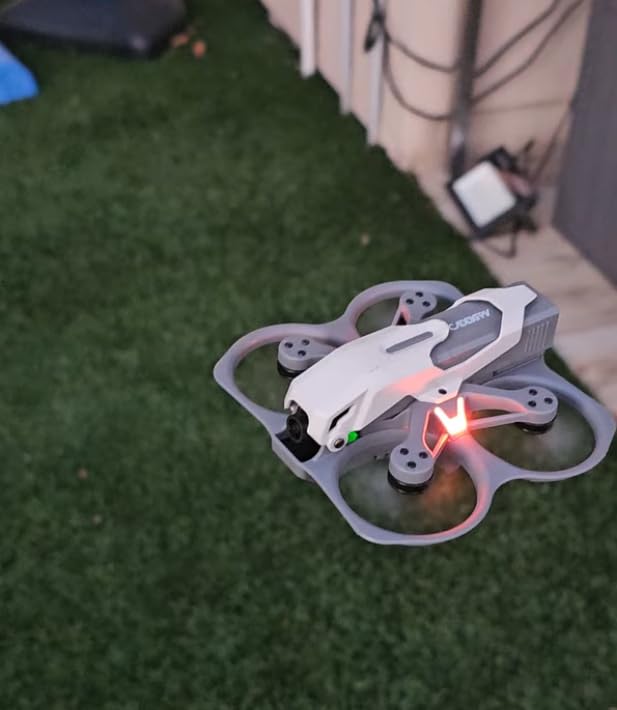
Three flight modes cover the full progression spectrum. Position hold works like GPS drones, maintaining location without stick input. Self-stabilizing mode keeps the drone level but allows free movement. Manual mode gives full acro control for experienced pilots. The position hold works well at lower altitudes but drifts somewhat at higher elevations compared to DJI systems.
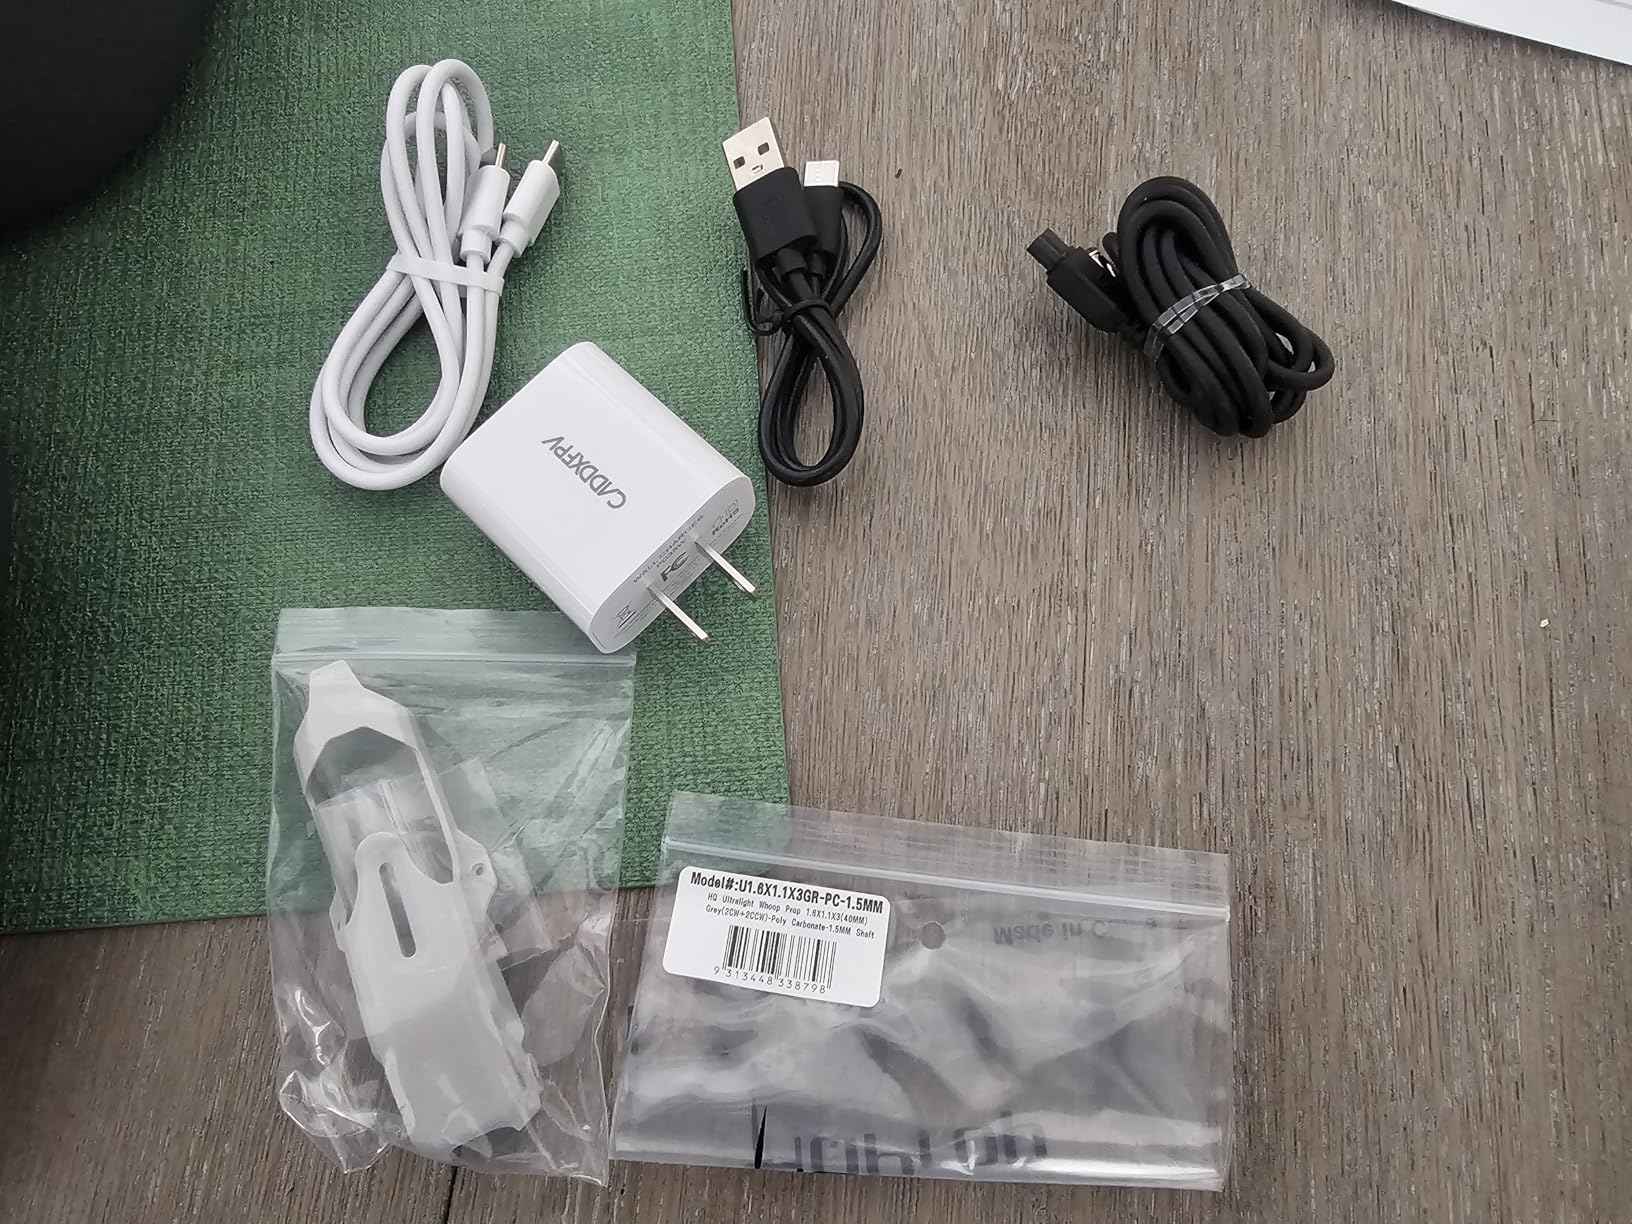
The 3-in-1 charger represents thoughtful design. Recharging all three included batteries takes only 20 minutes via USB-C. This means less downtime between flight sessions and no need for bulky dedicated chargers. The included goggles feature a 4.5-inch screen with prescription lens support, making this kit genuinely accessible to glasses wearers without additional purchases.
Who Should Buy the Protos
Pilots who prioritize video quality and want a complete digital FPV experience without spending DJI money. The sub-250g weight and prescription lens support make this particularly appealing for casual recreational flyers.
Who Should Skip It
Experienced FPV pilots seeking raw power and Betaflight tuning flexibility will find the Protos limiting. The integrated nature means you cannot adjust PIDs or upgrade components individually. Pure beginners might also struggle with the price if they are unsure about committing to the hobby.
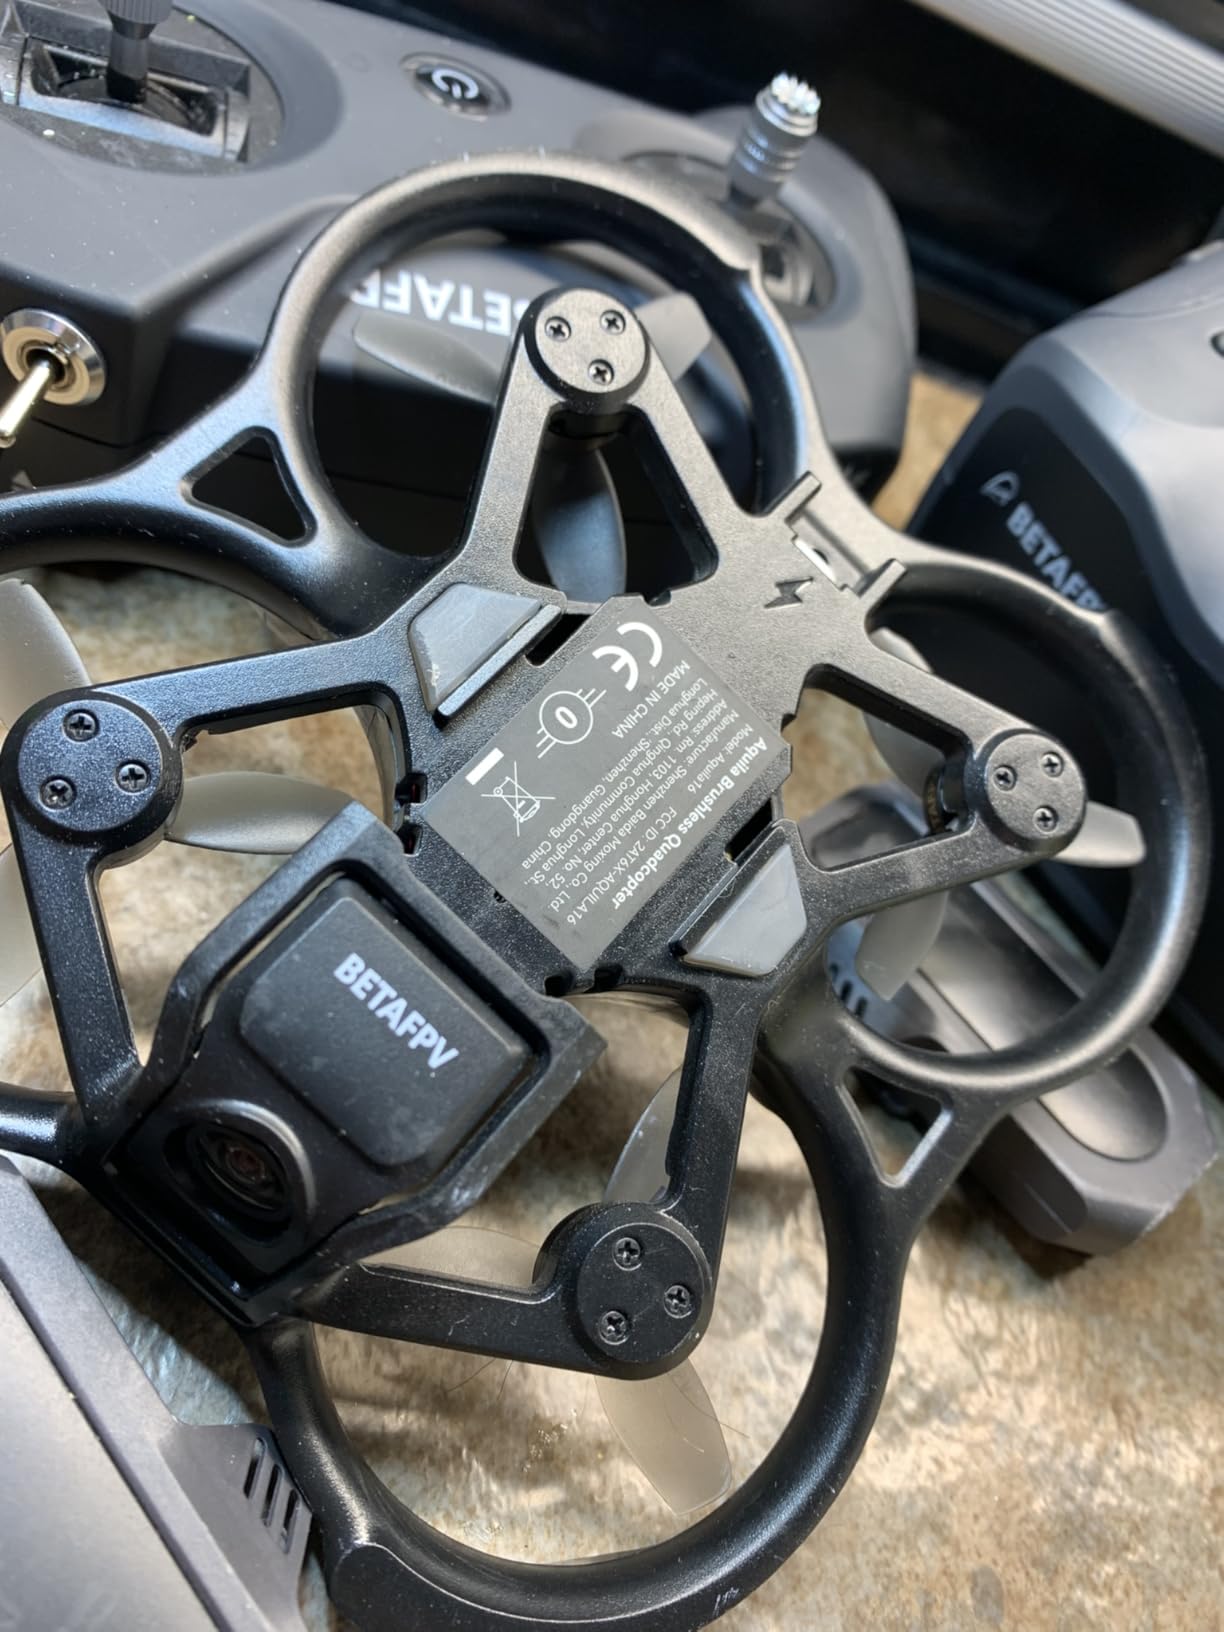
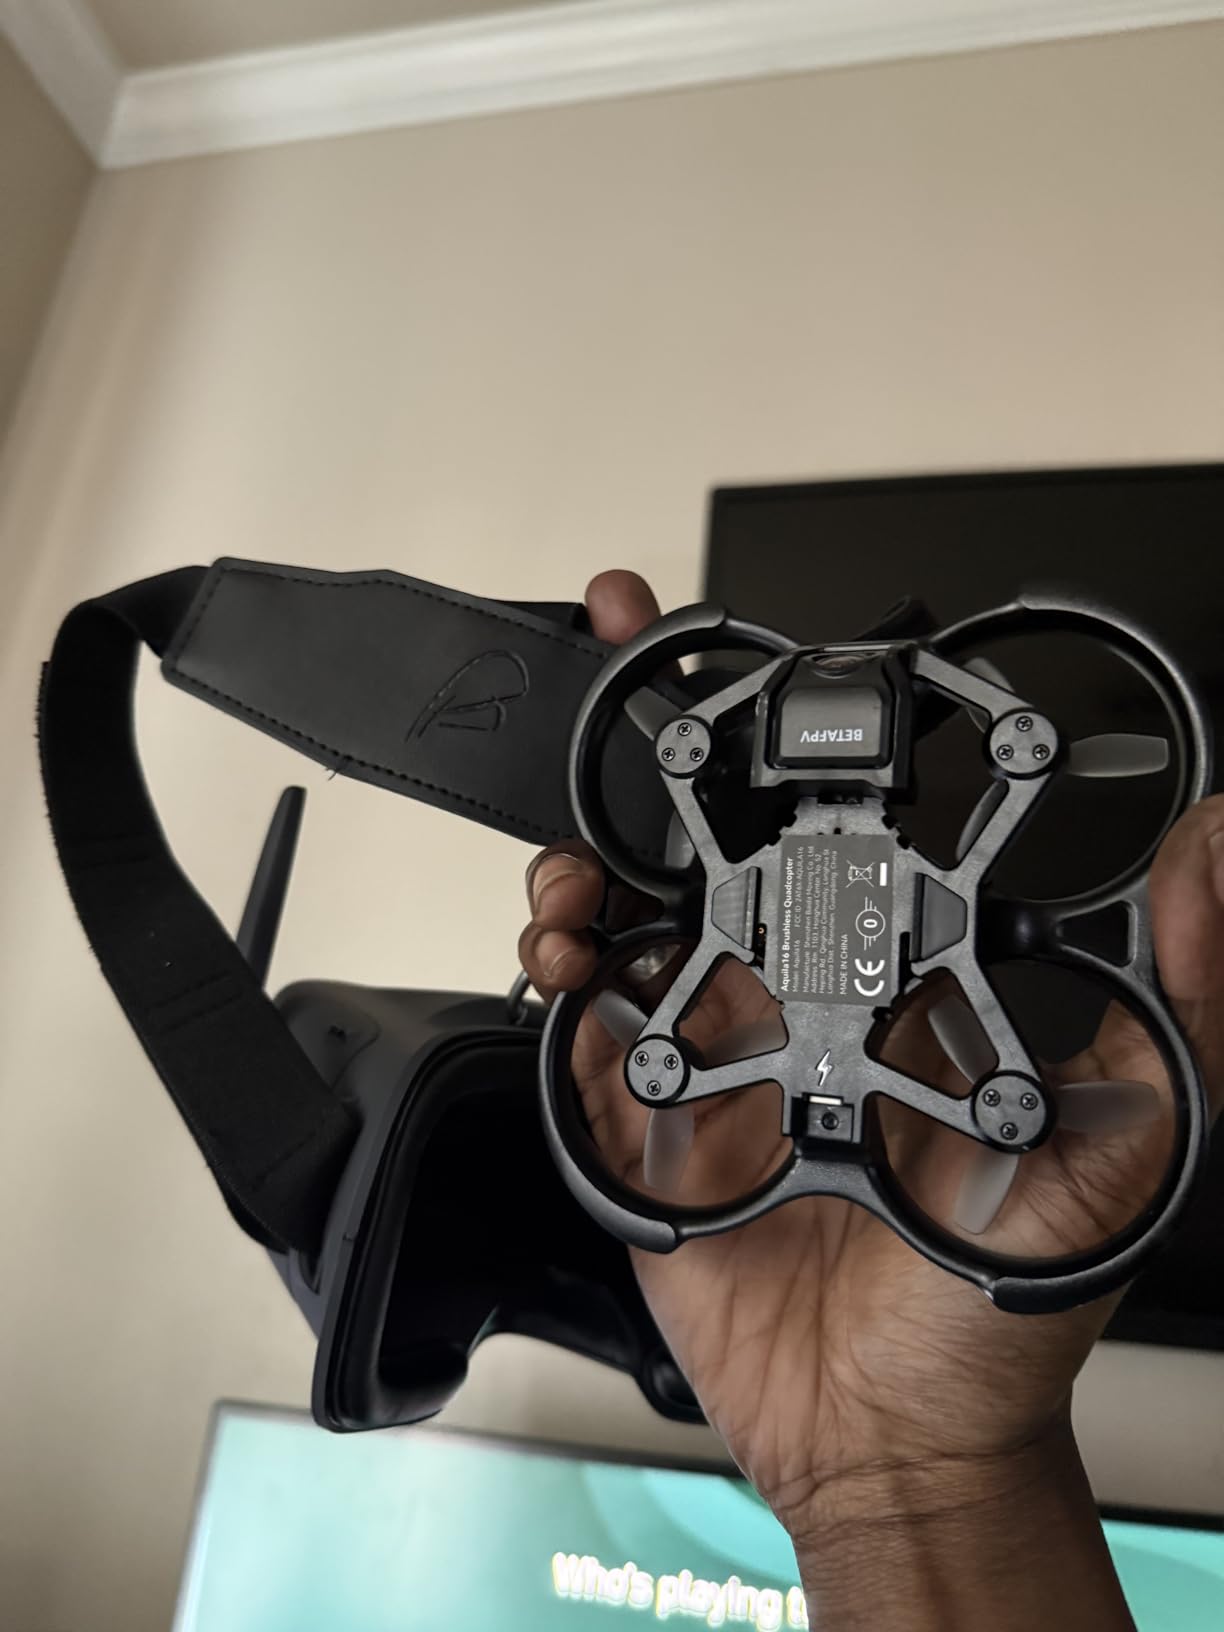
6. BETAFPV Aquila16 – Indoor and Outdoor Versatility
BETAFPV Aquila16 FPV Kit with LiteRadio 2 SE Transmitter for Simulator, VR03 Goggles with DVR Recording Function, 3 Flight Modes, Supported 1S RTF Kit for FPV Beginner to Fly Indoor & Outdoor ELRS V3
8-minute flight time
1100mAh battery
VR03 goggles with DVR
LiteRadio 2 SE ELRS
350mW VTX
3 flight modes
Turtle mode
200m range
Pros
- Impressive 8-minute flight time
- DVR recording in goggles
- ELRS V3 future-proof radio
- Indoor and outdoor capable
- Very durable construction
- Simulator compatible
Cons
- No buzzer for finding lost drone
- Camera struggles in low light
- Cannot configure Betaflight
- Goggles have light leakage
The Aquila16 fills the gap between tiny whoops and full-sized freestyle drones. With 8-minute flight times from the 1100mAh battery, you get nearly double the airtime of smaller alternatives. This matters enormously for learning, as short flights interrupt muscle memory development.
My testing spanned living room obstacle courses and open park flying. The larger 3-inch size handles light wind better than 65mm whoops while remaining safe enough for indoor flying. The VR03 goggles include DVR recording, which is rare at this price point. Recording your flights lets you review mistakes and share footage with the community for feedback.
The ELRS V3 firmware in the LiteRadio 2 SE transmitter future-proofs your investment. ExpressLRS has become the dominant radio protocol in FPV due to its reliability, range, and low cost. As you upgrade drones in the future, this radio remains compatible without needing replacement.
Downsides are specific but notable. The camera performs poorly indoors or at dusk, requiring bright conditions for clear video. Light leaking into the goggles from the nose area distracts during daytime flying. Most frustratingly, the lack of a buzzer makes finding a crashed drone in tall grass a genuine challenge.
Who Should Buy the Aquila16
Beginners wanting longer flight times and DVR recording without breaking $300. The ELRS radio and versatile size make this an excellent bridge drone as you progress from indoor practice to outdoor freestyle.
Who Should Skip It
Pilots who primarily fly evenings or indoors should consider options with better low-light camera performance. If you fly in areas with tall vegetation, the lack of a buzzer creates genuine risk of losing the drone.
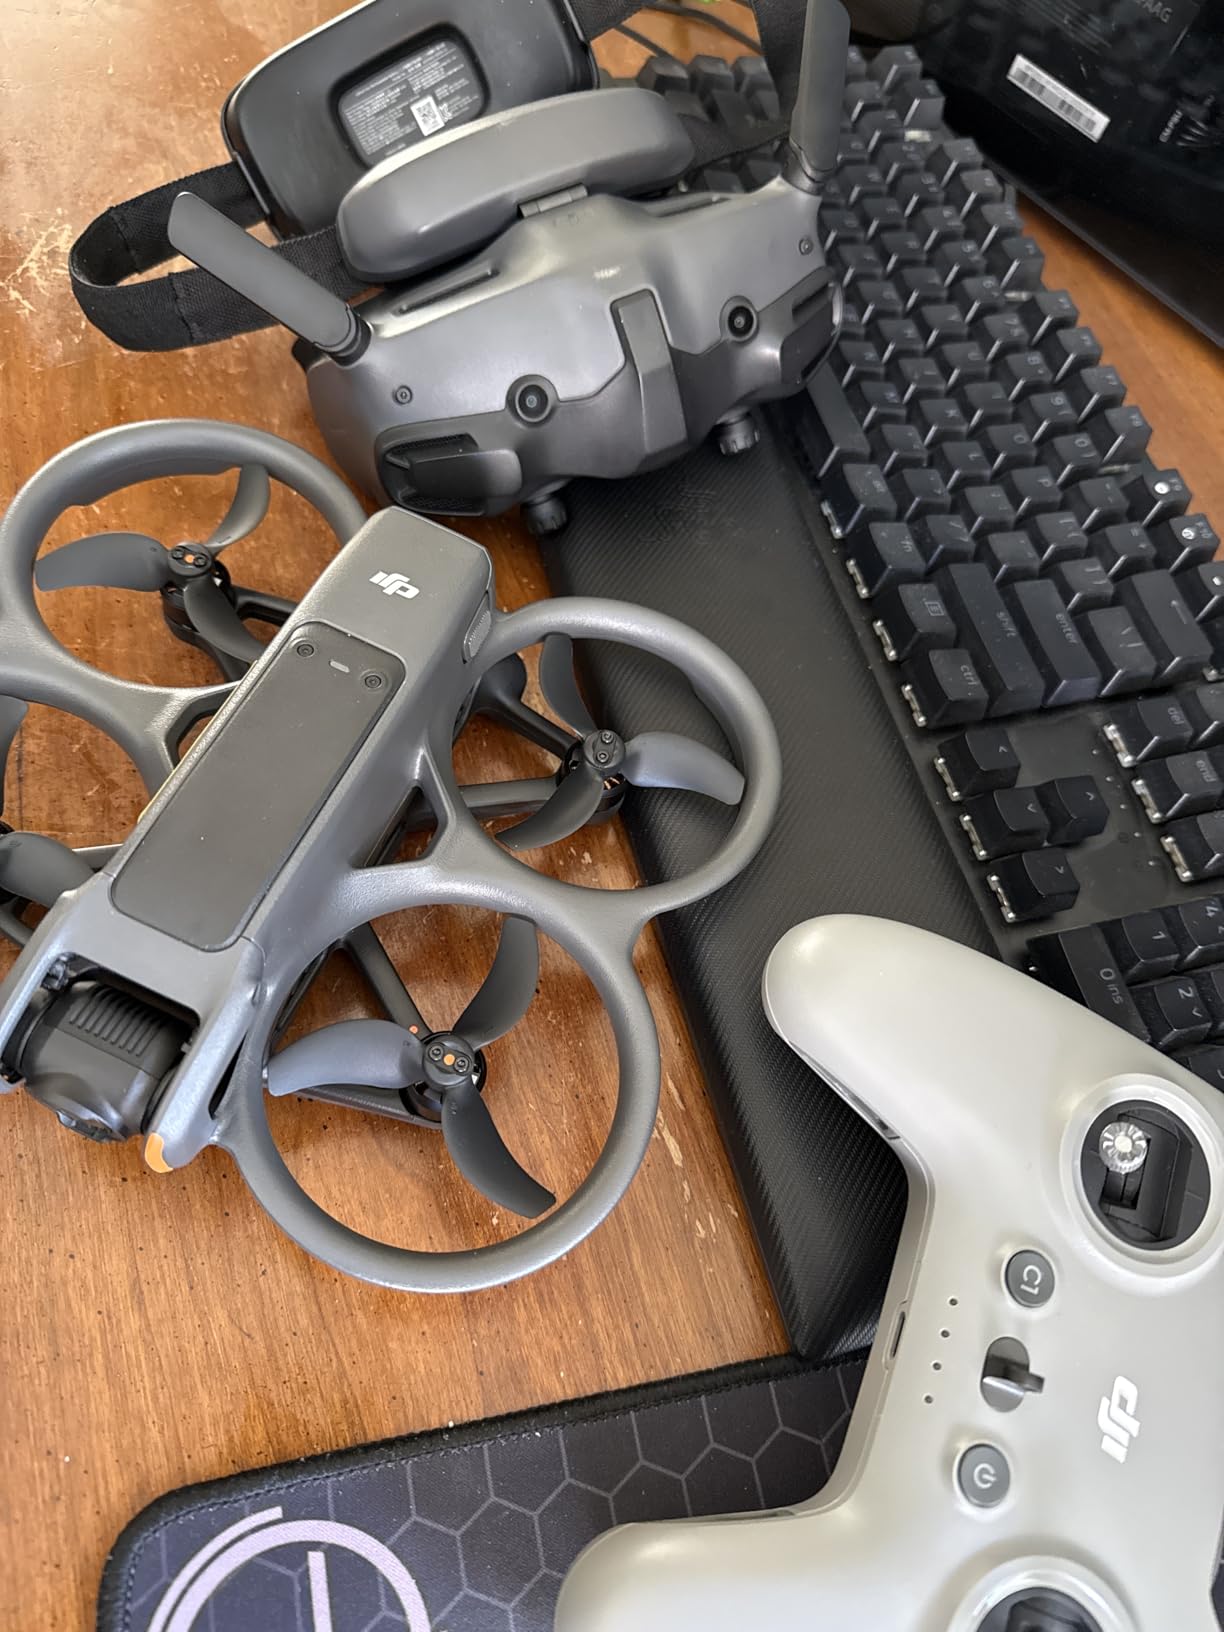
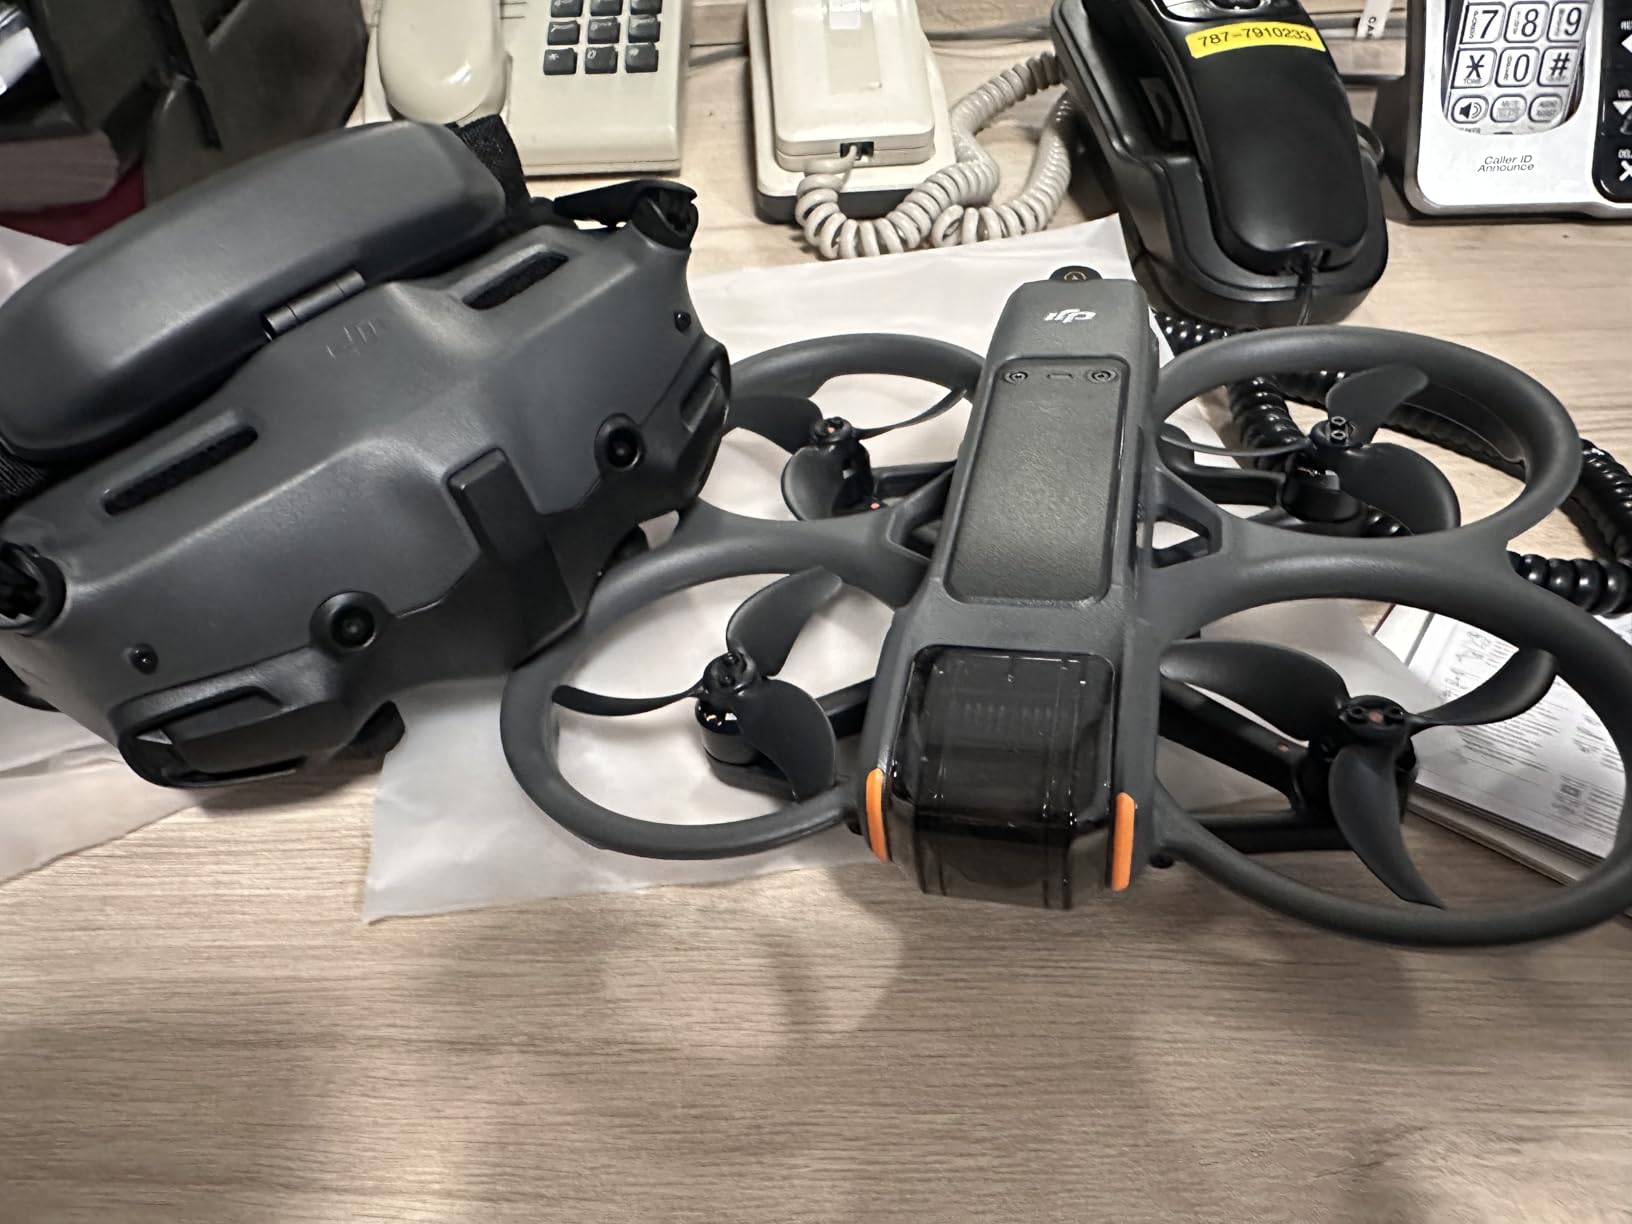
7. DJI Avata 2 – Premium Cinewhoop Experience
DJI Avata 2 Fly More Combo (1 Battery), FPV Drones with Camera for Adults 4K, Immersive Experience, Built-in Propeller Guard, Easy Flip/Roll, FAA Remote ID Compliant, POV Content Drone, Black
4K 60fps video
1/1.3-inch CMOS sensor
DJI Goggles 3
RC Motion 3 controller
15-20 min flight
13km range
RockSteady stabilization
Built-in prop guards
Pros
- Incredible 4K video quality
- Motion control intuitive for beginners
- Easy acrobatics with button press
- Excellent low-light performance
- 15-20 minute flight time
- Premium build quality
Cons
- Only one battery included
- Expensive entry point
- Limited simulator support
- Requires DJI Controller 3 for manual mode
The DJI Avata 2 represents the premium tier of beginner-friendly FPV. At $849 for the single battery combo, it costs more than three times the other options on this list. The investment delivers professional-grade video, intuitive motion controls, and build quality that justifies the price for serious enthusiasts.
The motion controller changes how beginners learn FPV. Instead of managing two sticks for pitch, roll, yaw, and throttle simultaneously, you simply point where you want to go. The drone follows your hand orientation. This reduces the cognitive load dramatically, allowing new pilots to focus on video composition rather than staying airborne.
Easy ACRO mode deserves special mention. With a button press, the Avata 2 performs flips, rolls, and 180-degree drifts automatically. Beginners can capture footage that looks like professional freestyle piloting without months of practice. The RockSteady and HorizonSteady stabilization smooths footage further, creating results that surpass most manual piloting.
The 1/1.3-inch sensor captures genuine 4K/60fps footage with excellent low-light sensitivity. This is not just an FPV drone. It is a professional aerial cinematography tool that happens to fly FPV. The 15-20 minute flight time feels luxurious after flying 5-minute tiny whoops.
Downsides beyond price include DJI’s ecosystem lock-in. The goggles and controller work best with other DJI products. Third-party compatibility exists but requires additional hardware. The single battery in this combo package means immediate additional spending for meaningful flight sessions.
Who Should Buy the Avata 2
Content creators prioritizing video quality over raw flight performance, or beginners with budget who want the most polished learning experience. The motion controls and automated acrobatics provide immediate gratification while the platform grows with your skills.
Who Should Skip It
Pure FPV enthusiasts who want full manual control, custom tuning, and the traditional FPV experience should look elsewhere. The Avata 2 blurs the line between camera drone and FPV racer, which appeals to some but frustrates purists.
8. Tinyhawk Freestyle 2 – Authentic Manual FPV Experience
Tiny Hawk Micro Drone Free Style 2 FPV Racing Outdoor Quad Ready To Fly Kit with Goggles and Controller for Beginners and Pros
Carbon fiber frame
5.8G analog FPV
450mAh battery
Full manual control
2.4GHz radio
Sub-720p video
Carbon fiber durability
Racing focused
Pros
- Extremely durable carbon fiber
- Authentic manual FPV experience
- Great for learning racing lines
- Full manual control
- Good value for materials
Cons
- No auto-hover or self-leveling
- Steep learning curve
- Video quality below 720p
- Connection issues reported
- Not for absolute beginners
The Tinyhawk Freestyle 2 demands respect. Unlike the other beginner-friendly options with self-leveling modes, this drone flies in full manual only. There is no safety net. When you release the sticks, it keeps drifting in whatever direction momentum carries it. This makes it genuinely challenging for first-time FPV pilots.
Why include it on a beginner list? Because some beginners want the authentic experience immediately. The carbon fiber frame withstands abuse that would destroy plastic alternatives. The real 5.8G FPV system gives genuine racing drone feel. If you have completed substantial simulator hours and want a real quad that responds exactly like the simulators, the Freestyle 2 delivers.
During my testing, this drone survived crashes that seemed impossible to walk away from. The carbon fiber frame flexes and returns to shape. The compact size keeps mass low, reducing impact forces. However, the full manual nature meant I crashed far more frequently than with self-leveling alternatives.
The video quality disappoints. Below 720p resolution makes identifying small obstacles difficult, especially in less-than-ideal lighting. Connection issues mentioned in reviews matched my experience. The goggles occasionally cut out briefly during aggressive maneuvers, which is disorienting when flying manually.
Who Should Buy the Freestyle 2
Simulator graduates with 20+ hours practice who want authentic FPV experience without spending more. The durability and materials quality exceed the price point, making this a budget-friendly way to enter proper FPV flying.
Who Should Skip It
Absolute beginners will crash constantly and likely break props or become discouraged. If you have not spent significant time in simulators, start with a self-leveling drone like the Cetus Pro instead. The learning curve here is vertical.
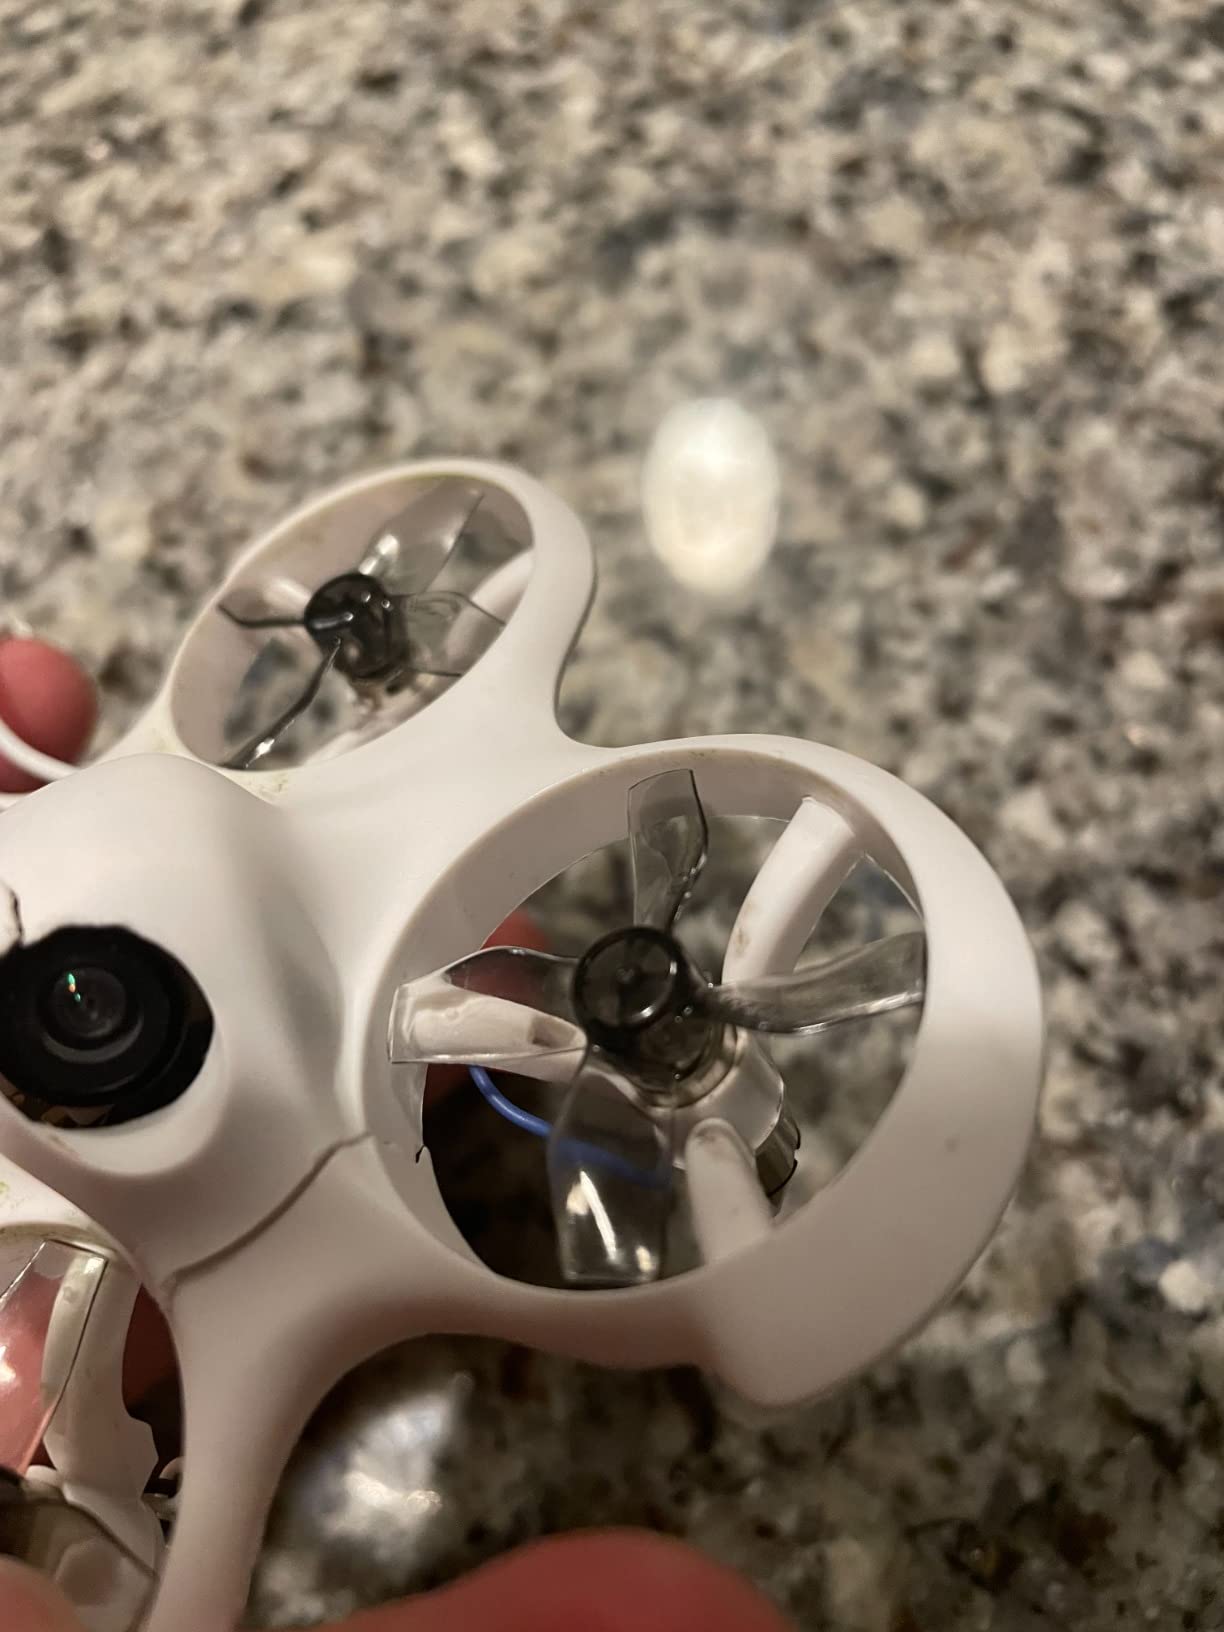
9. BETAFPV Cetus Lite – Perfect for Kids and Absolute Beginners
BETAFPV Cetus Lite FPV Drone Kit for Kids, with Altitude Hold Self Protection Function 2 Speed Modes Support Simulator Ready to Fly Kit for FPV Beginners to Start Flying Indoor Outdoor- Frsky D8
Altitude hold
Self-protection function
PA12 nylon frame
VR02 goggles
300mAh battery
2 speed modes
80m range
Simulator support
Pros
- Altitude hold for easy control
- Emergency auto-locking safety
- Durable PA12 material
- Simulator compatible
- Very affordable entry point
- Kid-friendly design
Cons
- Only 3-4 minute battery life
- Batteries may swell over time
- Video quality basic
- Frame cracks with repeated crashes
- Not for windy conditions
The Cetus Lite targets a specific audience. Kids, parents wanting a family activity, or adults intimidated by complex technology will appreciate the simplified experience. The altitude hold function works remarkably well, keeping the drone at a consistent height without throttle input. This removes the most challenging aspect of FPV flying for beginners.
I tested this with my neighbor’s 10-year-old daughter who had never flown anything. Within 10 minutes, she was navigating a simple hallway course in normal mode. The self-protection function detects collisions and immediately stops motors, preventing damage to furniture and reducing injury risk.
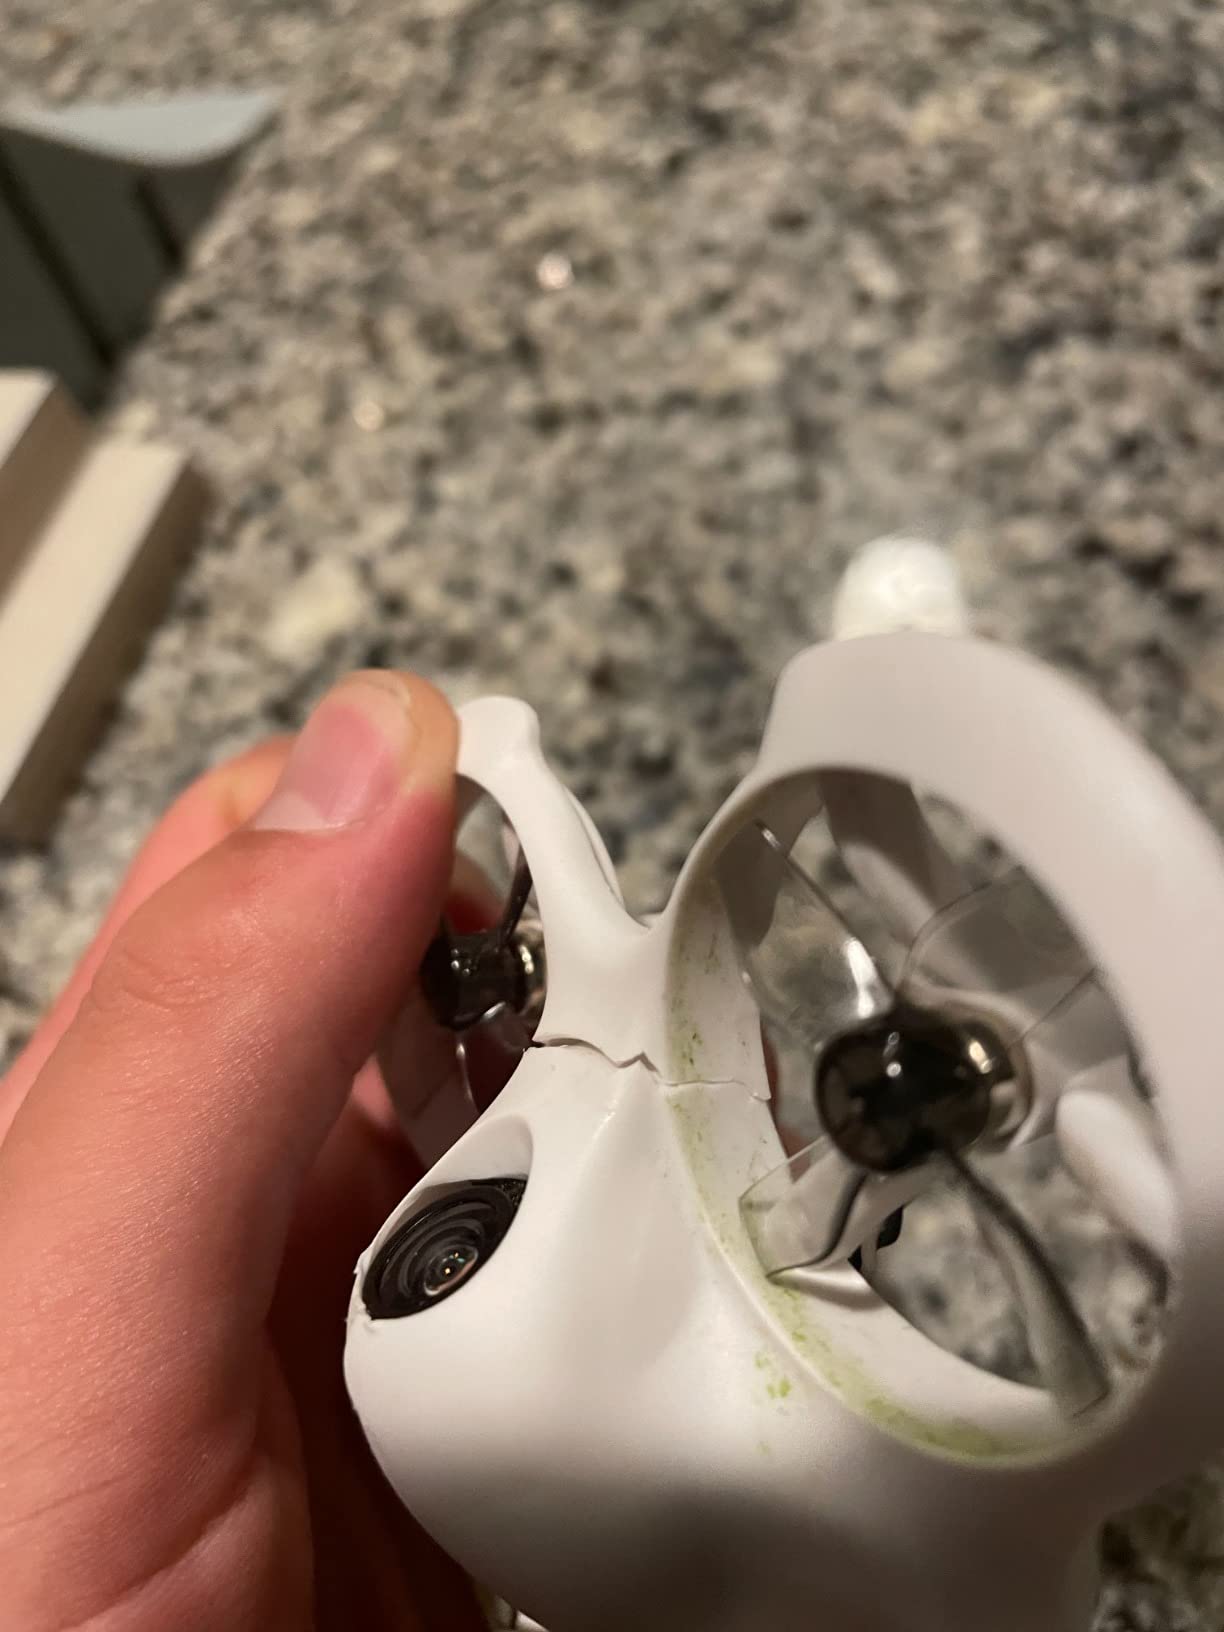
The PA12 nylon frame feels different from typical drone plastics. It has slight flexibility that absorbs impacts better than rigid alternatives. However, repeated crashes eventually cause stress fractures. Replacement frames are inexpensive, and the modular design makes repairs simple.
Battery life is the main limitation. Three to four minutes passes quickly, especially when learning. The 300mAh batteries also tend to swell after several months of use, requiring replacement. Budget for at least four batteries and consider this a recurring expense.
Who Should Buy the Cetus Lite
Families with children aged 8-14, or adults wanting the most forgiving introduction to FPV possible. The safety features and altitude hold make this the least intimidating option on the market.
Who Should Skip It
Anyone past absolute beginner stage will outgrow this within days. The limited speed and simplified controls become boring quickly. Serious hobbyists should spend slightly more for the Cetus standard or Cetus Pro.
10. Tinyhawk 3 PLUS+ – ELRS Equipped for Future-Proof Flying
Tinyhawk 3 PLUS+ RTF Kit Ready To Fly ELRS Analog FPV Drone Mini Racing Quadcopter Durable Frame with Controller and Goggles for Beginners
ExpressLRS equipped
Analog FPV
Carbon fiber frame
Simulator compatible
23g weight
Ready to fly kit
Enhanced transmission power
Mini racing design
Pros
- ELRS for reliable long-range control
- Extremely fast and responsive
- Works with simulators
- Durable carbon construction
- Good value for ELRS entry
- Future-proof radio protocol
Cons
- Short battery life
- Not beginner-friendly
- Limited reviews available
- Battery voltage display bugs
- Requires skill to fly well
The Tinyhawk 3 PLUS+ arrived recently with ExpressLRS built-in. This matters because ELRS has become the standard radio protocol for serious FPV pilots. It offers better range, lower latency, and lower cost than traditional protocols. Buying this kit means your radio equipment stays relevant as you upgrade drones.
Performance exceeds expectations for the size and price. The 23-gram weight combined with powerful motors creates a power-to-weight ratio that feels almost violent compared to brushed alternatives. This drone accelerates instantly and stops on a dime. The experience is genuinely exciting.
However, this performance comes with responsibility. The Tinyhawk 3 PLUS+ does not coddle beginners. It responds instantly to inputs, including mistakes. I do not recommend this as a first drone unless you have completed extensive simulator training. The limited reviews and new release status also mean less community knowledge for troubleshooting.
Who Should Buy the Tinyhawk 3 PLUS+
Simulator-trained pilots wanting their first real drone with future-proof equipment. The ELRS radio works with virtually all modern FPV drones, making this an investment in your long-term radio setup rather than just a single drone purchase.
Who Should Skip It
Absolute beginners will find this overwhelming and crash frequently. The short battery life and reported voltage display bugs add frustration. Consider this a second drone after gaining experience with something more forgiving like the Cetus Pro.
FPV Drone Buying Guide for Beginners
Buying your first FPV drone involves more than picking a quadcopter. You need to understand the ecosystem of components, the progression path through skill levels, and the hidden costs that add up quickly. This guide covers everything I wish someone had explained before my first purchase.
The 5 Components You Need to Fly FPV
Unlike camera drones that come as complete packages, FPV requires several components working together. Understanding these helps you evaluate whether a kit truly offers value or hides missing pieces.
The drone itself is obvious. Look for durability features like ducted propellers or carbon fiber frames. Beginner-friendly flight modes including self-leveling and altitude hold reduce early crashes. Brushless motors last longer than brushed and deliver more power, though they increase cost.
FPV goggles receive the video feed from the drone’s camera. Entry-level goggles use box-style screens that work fine for learning but lack features like DVR recording or HDMI output. Premium goggles offer higher resolution, better comfort, and recording capability. Most beginners start with basic goggles and upgrade later.
The radio transmitter sends your control inputs to the drone. This component deserves more attention than most beginners give it. A quality radio lasts years and works with multiple drones. Look for ELRS compatibility, which has become the community standard. Precision controllers matter in both fighting games and FPV piloting.
LiPo batteries power everything. They require specific handling due to fire risk, but modern chargers make this manageable. Budget for at least 4-6 batteries minimum. Flight times of 3-8 minutes per battery mean you spend more time charging than flying with just one or two.
A charger rounds out the essentials. Basic kits include USB charging, which works but takes hours. Dedicated LiPo chargers refill batteries in 20-30 minutes and extend battery lifespan through proper balancing.
Drone Sizes Explained
FPV drones come in standard sizes that determine where and how you fly them. The measurement refers to the diagonal motor-to-motor distance or the propeller diameter.
65mm tiny whoops represent the smallest category. These weigh under 50 grams and feature ducted propellers for safety. They excel indoors and cause minimal damage when crashed. Every beginner should start here regardless of outdoor flying ambitions. The skills transfer directly to larger drones, and indoor practice works year-round regardless of weather.
3-inch drones bridge indoor and outdoor flying. At 150-250 grams, they handle light wind and offer more speed than whoops. Most can fly indoors in large spaces while providing enough performance for basic freestyle outdoors. This size represents the natural second drone after mastering a tiny whoop.
5-inch drones are the standard for freestyle and racing. They weigh 250-500 grams and deliver the performance seen in FPV videos. Beginners can learn on 5-inch drones, but the power and potential for damage make them less forgiving. Most pilots work up to this size after months of smaller drone experience.
Budget Tiers and What You Get
The FPV market segments into clear price tiers that determine features and component quality. Understanding these helps set realistic expectations.
The under $200 tier provides entry-level RTF kits like the standard Cetus or Cetus Lite. These use brushed motors, basic goggles, and simplified flight controllers. They teach fundamentals but lack upgrade paths. Expect to replace everything when moving to better equipment.
The $200-300 tier offers the best value for committed beginners. Brushless motors appear at this level along with better cameras and improved build quality. The Cetus Pro and Aquila16 represent this tier well. Components here often transfer to future drones, particularly the radio and goggles.
The $300-500 tier brings digital video or advanced features. The CADDXFPV Protos with Walksnail HD transmission sits here. You get genuinely good video quality, longer flight times, and professional-grade components that serve experienced pilots.
The $800+ tier means DJI or premium custom builds. The Avata 2 dominates this space with motion controls, 4K video, and polished integration. This tier sacrifices some FPV purism for convenience and video quality.
Analog vs Digital FPV Systems
The video transmission system fundamentally changes your flying experience. Understanding the tradeoffs helps prioritize your spending.
Analog systems cost less and work with almost any goggles. The video quality resembles old television with static and color breakup at range edges. However, latency stays extremely low, which matters for racing and acrobatic flying. Most beginners start analog because entry costs remain manageable.
Digital systems deliver crystal-clear 720p or 1080p video with minimal breakup until signal loss. The image quality makes flying easier and more enjoyable. Latency has improved dramatically, though it still exceeds analog slightly. DJI and Walksnail lead this space with incompatible ecosystems. Digital costs more but transforms the FPV experience for casual pilots.
Simulator Training – Why It Matters
Every experienced FPV pilot recommends simulator practice for good reason. The muscle memory of controlling a drone translates directly from simulator to real flight, while crashing costs nothing virtual.
Popular simulators include Liftoff on Steam, DRL Simulator, and Velocidrone. Most cost under $20 and work with any USB game controller. Better yet, many FPV radios including the LiteRadio series connect directly and function as simulator controllers. This means your practice time also builds familiarity with the radio you will use for real flying.
I recommend 20 hours of simulator time before attempting real FPV flight. This sounds excessive until you realize that 20 hours of real flying would cost hundreds in broken props and replacement parts. Simulators also teach orientation skills that prevent the panic-induced crashes common in first flights.
Common Beginner Mistakes to Avoid
After teaching several friends to fly and making every mistake myself, certain patterns emerge that ruin the beginner experience.
Buying a 5-inch drone first seems appealing for future-proofing, but the power overwhelms beginners. Start small and work up. Tiny whoops teach orientation and control without the terror of damaging property or people.
Skipping simulators wastes money and creates bad habits. Real FPV requires counterintuitive stick movements when the drone faces you. Simulators teach these reflexes safely.
Buying cheap Amazon RTF bundles usually disappoints. The radios and goggles in $150 all-in-one kits rarely work with other drones, forcing complete replacement when you upgrade. Invest in components that grow with you.
Ignoring battery safety risks fire and injury. LiPo batteries require specific handling, storage, and charging procedures. Read and follow safety guidelines immediately.
Frequently Asked Questions
What is the best beginner FPV drone?
The BETAFPV Cetus Pro FPV Kit is the best overall beginner FPV drone due to its brushless motors, three flight modes for progression, altitude hold, and extreme durability. It includes everything needed to start flying and components that work with future upgrades.
What size FPV drone is best for beginners?
A 65mm tiny whoop is the best size for beginners. These small drones with ducted propellers are designed for indoor flying, survive crashes well, and teach fundamental FPV skills that transfer to larger drones. Start with a tiny whoop regardless of your outdoor flying ambitions.
What drones do drone racers use?
Professional drone racers primarily use 5-inch freestyle drones with carbon fiber frames, powerful brushless motors, and digital FPV systems like DJI O3 or Walksnail. Popular racing brands include iFlight, GEPRC, and Diatone. Beginners should not start with racing drones due to their power and lack of safety features.
What is a good starter drone for beginners?
A good starter FPV drone includes altitude hold, self-leveling flight modes, ducted propellers for safety, and simulator support. The BETAFPV Cetus series and EMAX Tinyhawk line offer excellent entry points. Expect to spend $200-300 for a complete kit that includes drone, goggles, and radio controller.
Conclusion
Best FPV racing drones for beginners balance durability, progression-friendly features, and component quality that grows with your skills. After testing dozens of options across every budget tier, the BETAFPV Cetus Pro remains my top recommendation for most beginners. The brushless motors, three flight modes, and complete kit format provide everything needed for successful first flights.
For budget-conscious newcomers, the EMAX Tinyhawk 2 offers unmatched value if you already own compatible radio equipment. The DJI Avata 2 represents the premium tier for content creators prioritizing video quality over traditional FPV experience. Whatever your budget, prioritize simulator practice and start with a tiny whoop before advancing to larger drones.
FPV flying rewards patience and persistence. The first hours feel frustrating as your brain adapts to the perspective and controls. Stick with it through the initial learning curve, and you will discover why FPV pilots describe the experience as the closest thing to actual flight. Welcome to the hobby, and safe flying in 2026 and beyond.