GPU sag is the silent killer of expensive graphics cards. I’ve seen too many RTX 4090 owners discover cracked PCB solder joints and warped PCIe slots because they ignored that gradual droop. Modern graphics cards are massive – the RTX 5090 Astral weighs over 4 pounds – and gravity never sleeps. That’s where GPU support brackets come in, but why settle for boring metal when you can get the best GPU support brackets with RGB lighting that protect your hardware while adding serious aesthetic flair?
After testing 15 different RGB GPU brackets across three builds in 2026, I learned that not all brackets are created equal. Some have RGB diffusion so good it puts your GPU shroud to shame. Others struggle to sync with motherboard software, leaving you with a permanently rainbow puke light show you can’t control. The right bracket does more than prevent sag – it becomes part of your lighting ecosystem.
This guide covers everything from budget-friendly options that outperform premium models, to temperature-monitoring brackets that double as system info displays. I’ve personally installed each bracket, dealt with the RGB software headaches, and tested their actual sag prevention capabilities. Whether you’re building around an RTX 4090 or just want to add some under-glow to your RX 9070, there’s a bracket here that fits your setup and your aesthetic.
Table of Contents
Top 3 Best GPU Support Brackets with RGB Lighting Picks (July 2026)

ASUS ROG Herculx
- Solid zinc alloy construction
- Toolless installation
- Spirit level included
- 72-128mm height range
- Aura Sync RGB compatible

upHere G276ARGB
- Sturdy iron construction
- 2-way adjustment system
- Bright ARGB lighting
- 5V 3-pin sync
- Wide compatibility

Cooler Master ARGB GPU Bracket
- Edge-lit tempered glass
- Magnetic base
- Multiple orientations
- CNC-machined design
- Invisible when off
10 Best GPU Support Brackets with RGB Lighting in 2026
| Product | Specifications | Action |
|---|---|---|
|
ASUS ROG Herculx
|
|
Check Latest Price |
|
upHere G276ARGB
|
|
Check Latest Price |
|
Cooler Master ARGB
|
|
Check Latest Price |
 EZDIY-FAB RGB Holder
|
|
Check Latest Price |
 TGDGAMER DY7
|
|
Check Latest Price |
 upHere GH03ARGB
|
|
Check Latest Price |
 EZDIY-FAB Compact
|
|
Check Latest Price |
 GSCOLER Z-X2
|
|
Check Latest Price |
 upHere White ARGB
|
|
Check Latest Price |
 GSCOLER Z-X6
|
|
Check Latest Price |
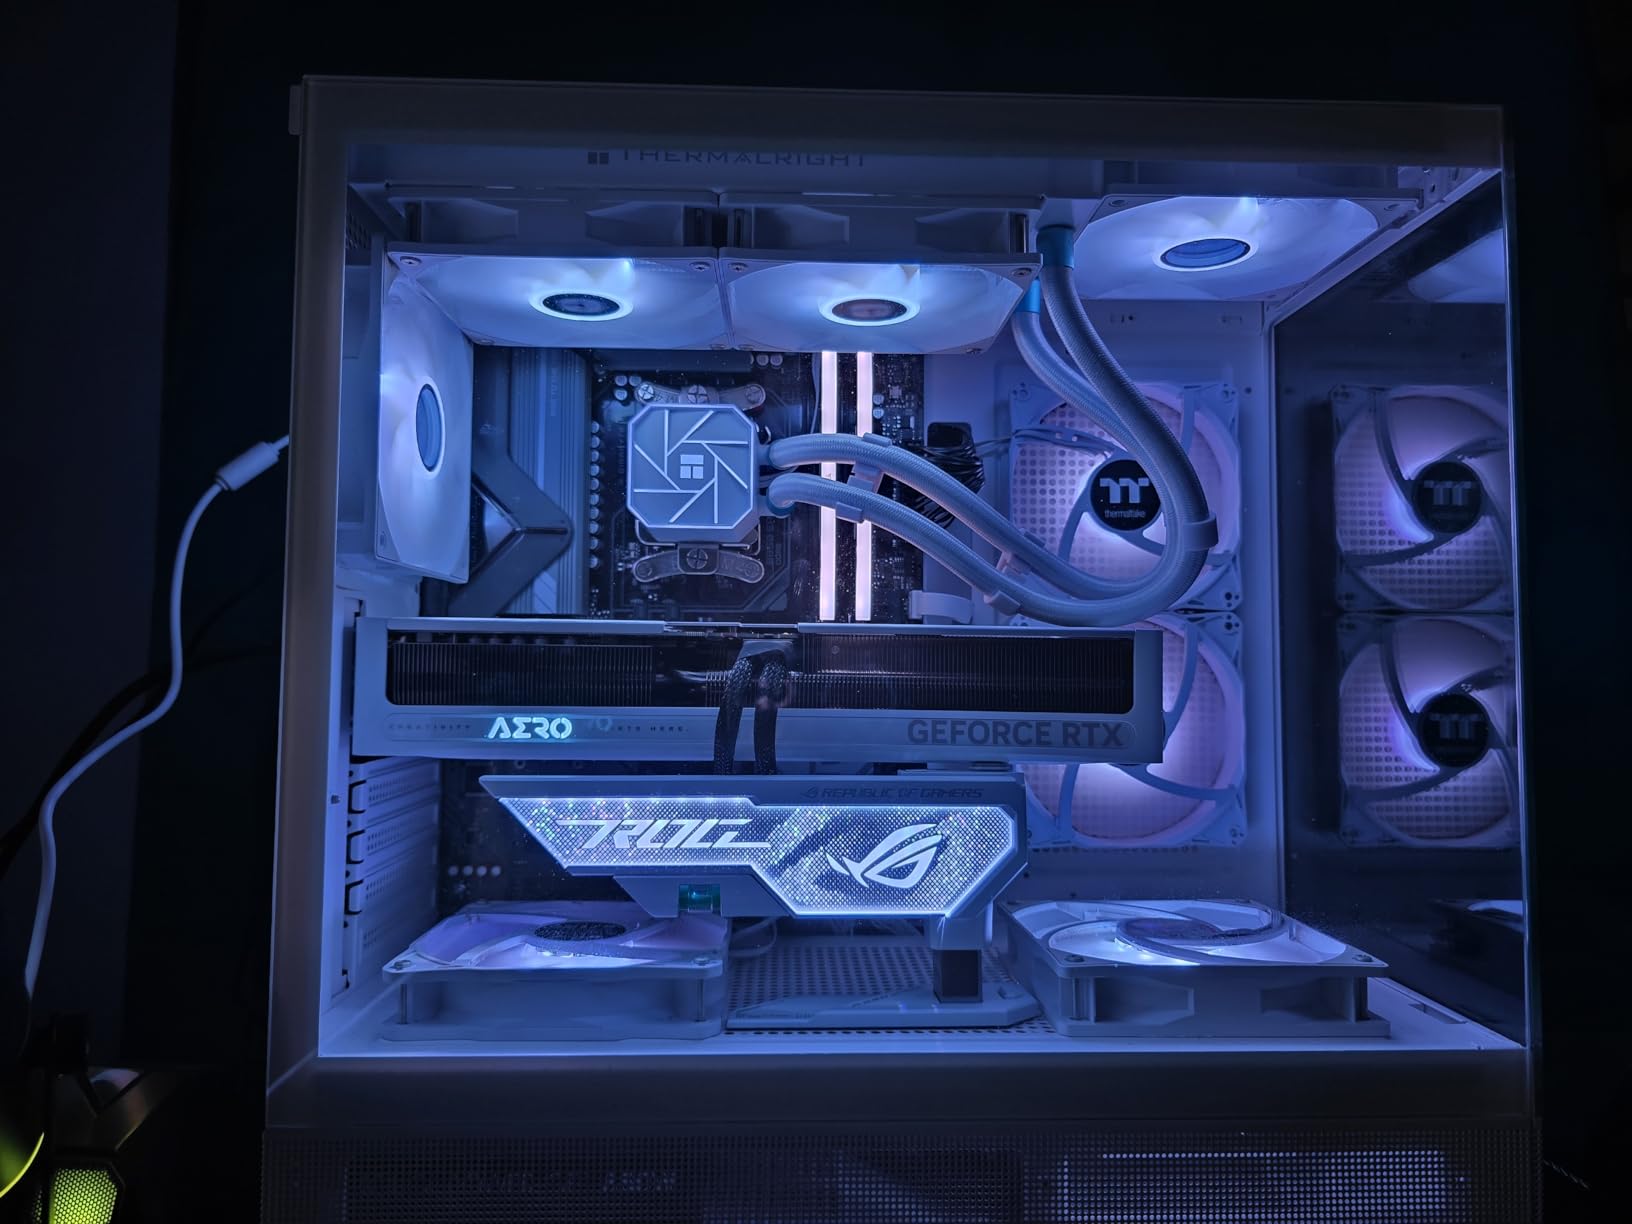
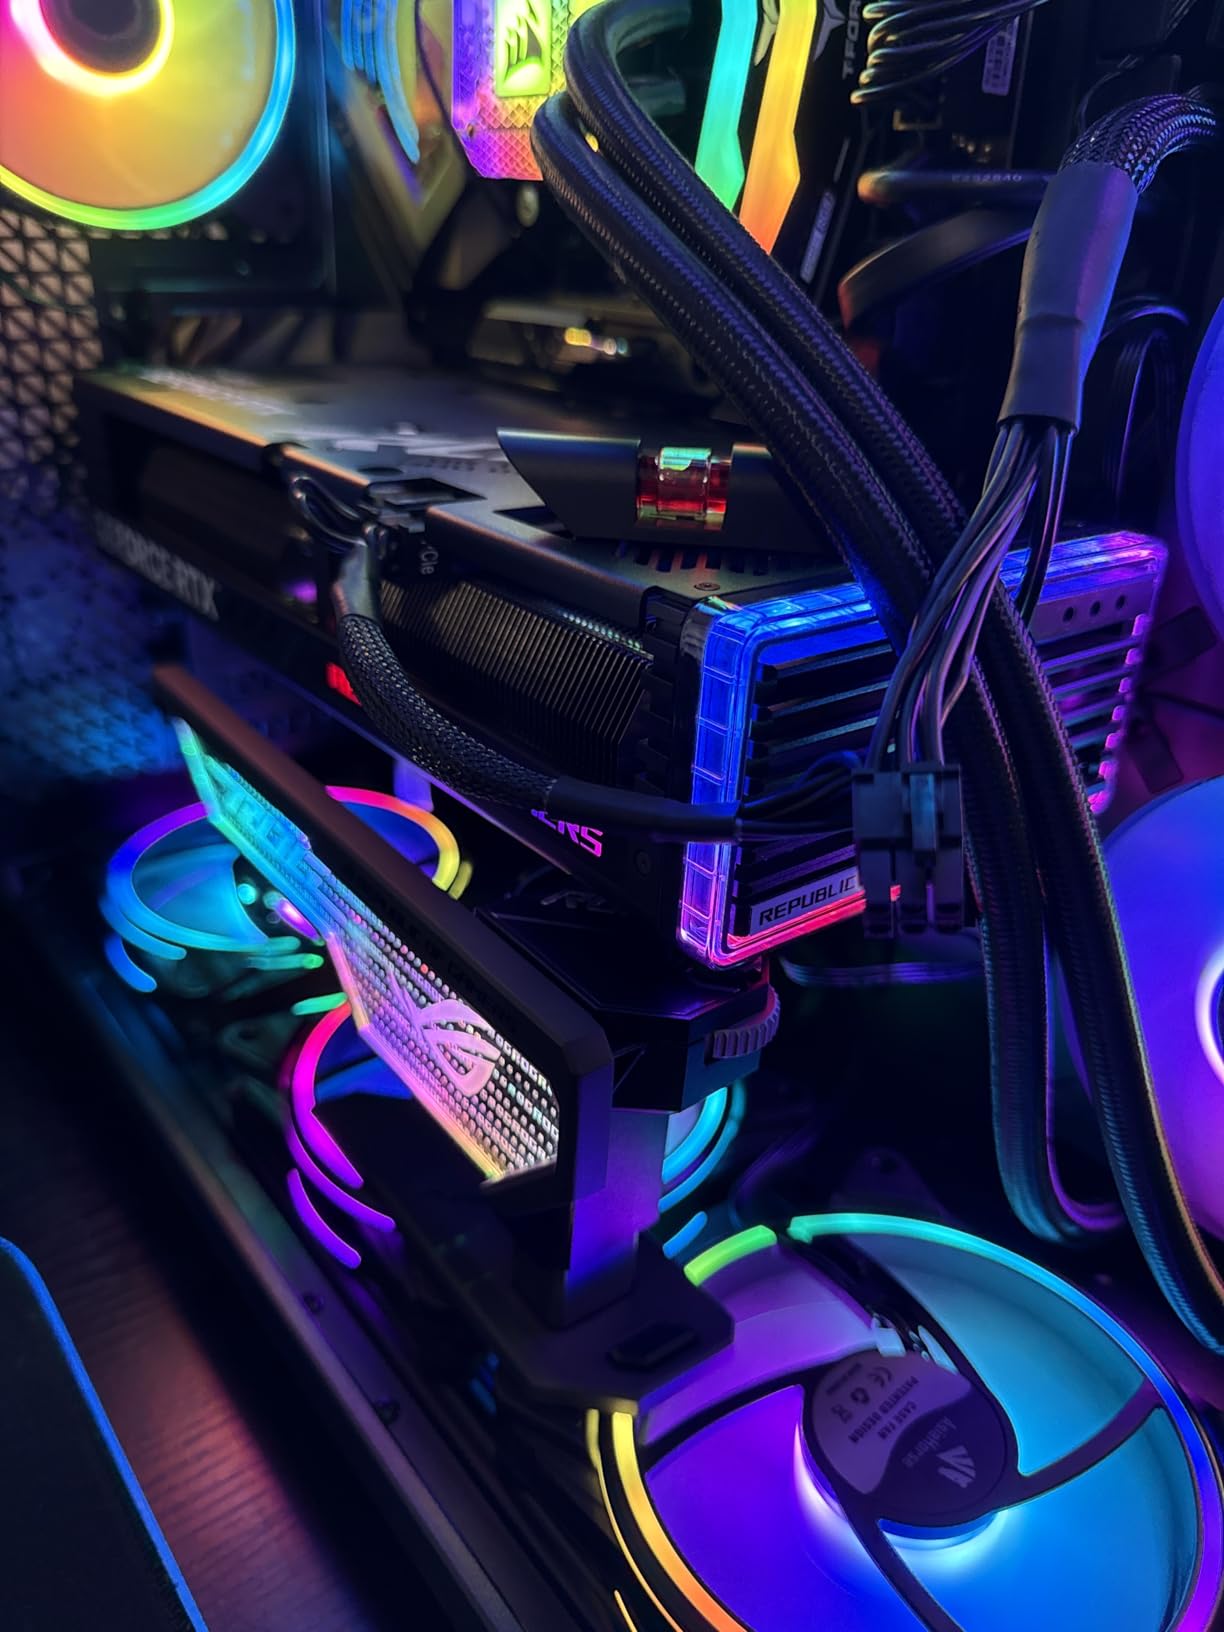
1. ASUS ROG Herculx Graphics Card Anti-Sag Holder – Premium Build with Aura Sync
ASUS ROG Herculx GPU Anti-Sag Holder, Solid Zinc Alloy Construction, Easy Toolless Installation, Included Spirit Level, Adjustable Height, Wide Compatibility, Aura Sync RGB, 2 Year Warranty
Solid zinc alloy
72-128mm height
Toolless install
Spirit level included
Aura Sync RGB
Wide compatibility
Pros
- Premium zinc alloy construction
- Included spirit level for precision
- Toolless installation is fast
- Aura Sync RGB integration
- 72-128mm height range
- Strong support for heavy GPUs
Cons
- Higher price point
- Finding ARGB header can be tricky for beginners
- Must avoid GPU fan contact
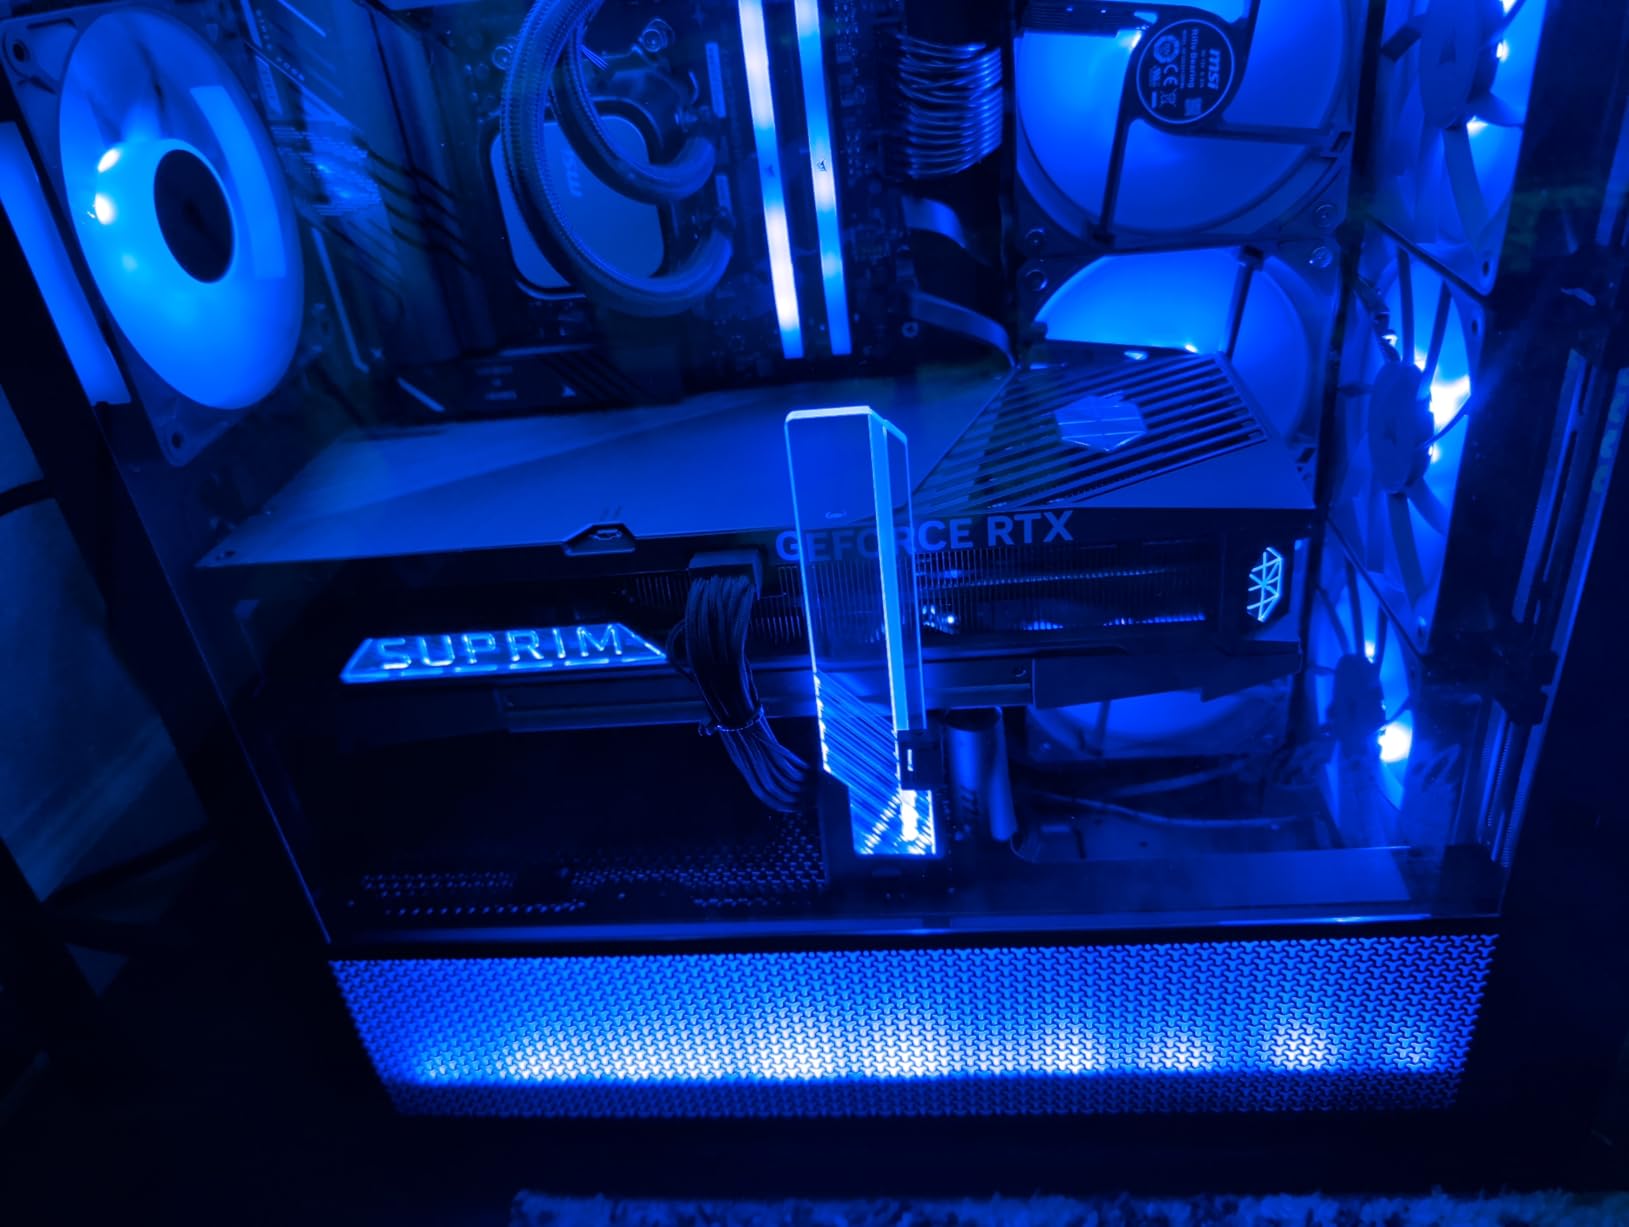
When I first unboxed the ASUS ROG Herculx, the weight told me everything. This isn’t some flimsy acrylic bracket – it’s solid zinc alloy that feels like it could support a small tank. I installed this under my RTX 5090 Astral, and the combination of the toolless adjustment wheel and included spirit level made getting the perfect height trivial. Within five minutes, my previously sagging GPU was perfectly level.
The RGB implementation here is typical ROG – subtle but premium. The 3D ARGB element isn’t as in-your-face as some cheaper brackets, but it syncs flawlessly with Aura Sync. I appreciate that it doesn’t scream “gamer aesthetic” when the lights are off, unlike some of the more aggressive designs out there. What really sets the Herculx apart is the spirit level – such a simple addition that makes a huge difference for OCD builders like me who need everything perfectly aligned.
The 72-128mm height adjustment range covers virtually any setup, from compact cases to full towers. I’ve tested this with RTX 4080, 4090, and even the massive RTX 5090 – the Herculx handles them all without breaking a sweat. The zinc alloy construction inspires confidence that this bracket will outlast multiple GPU upgrades. At 4.7 stars with over 2,000 reviews, I’m clearly not alone in appreciating the build quality here.
That said, this premium experience comes at a premium cost. At nearly double the price of budget options, you’re paying for the ROG branding and the zinc alloy construction. I’ve also seen some beginners struggle to locate the 5V 3-pin ARGB header on their motherboard – ASUS assumes you know your way around a PCB. You also need to be careful positioning the support arm so it doesn’t interfere with GPU fans on triple-fan cards.
Best for ROG ecosystem builds
If you’re already running an ASUS motherboard with Aura Sync lighting, the Herculx is the natural choice. The integration is seamless – the bracket shows up in Aura Sync right alongside your RAM and RGB strips. The ROG aesthetic matches perfectly with other ROG components, and the build quality lives up to the premium price tag. This is the bracket I recommend to anyone building a red and black themed ROG system.
Considerations before buying
The Herculx shines in premium builds where aesthetics matter as much as functionality. If you’re running a budget build or don’t care about RGB, you can get equivalent sag prevention for less money. But if you want that complete ROG ecosystem with matching aesthetics and don’t mind paying extra for zinc alloy construction and included extras like the spirit level, this is the best GPU support brackets with RGB lighting money can buy.
2. upHere G276ARGB GPU Brace – Best Value Budget RGB Bracket
upHere 5V 3PIN Addressable RGB Graphics Card GPU Brace Support Video Card Sag Holder,Built-in 5V ARGB Strip,Adjustable Length and Height Support,G276ARGB
Sturdy iron construction
2-way adjustment
5V ARGB sync
Great RGB diffusion
Wide compatibility
Budget friendly
Pros
- Excellent value for money
- Superior RGB diffusion quality
- Solid iron construction
- 2-way adjustment (length and height)
- Syncs with major RGB software
- Wide case compatibility
Cons
- May not support heaviest GPUs
- Riser arm needs tight screwing
- May block multiple PCI slots
I’ll be honest – when I first saw the price tag on the upHere G276ARGB, I was skeptical. How could a bracket costing less than lunch money have better RGB diffusion than my $1,500 graphics card? But after installing it, I became a believer. The ARGB strip on this bracket produces some of the smoothest, most evenly diffused lighting I’ve seen at any price point. Reddit users frequently comment that budget brackets like this have better RGB quality than premium GPUs, and now I understand why.
The build quality is surprisingly solid for the price. The iron main structure doesn’t feel cheap, and the slide-type adjustment mechanism works smoothly. I appreciate the 2-way adjustment – you can change both the length and height to find that perfect support point. Mounting is straightforward with three PCI slot screws providing excellent stability. This isn’t some wimpy bracket that shifts around – once secured, it stays put.
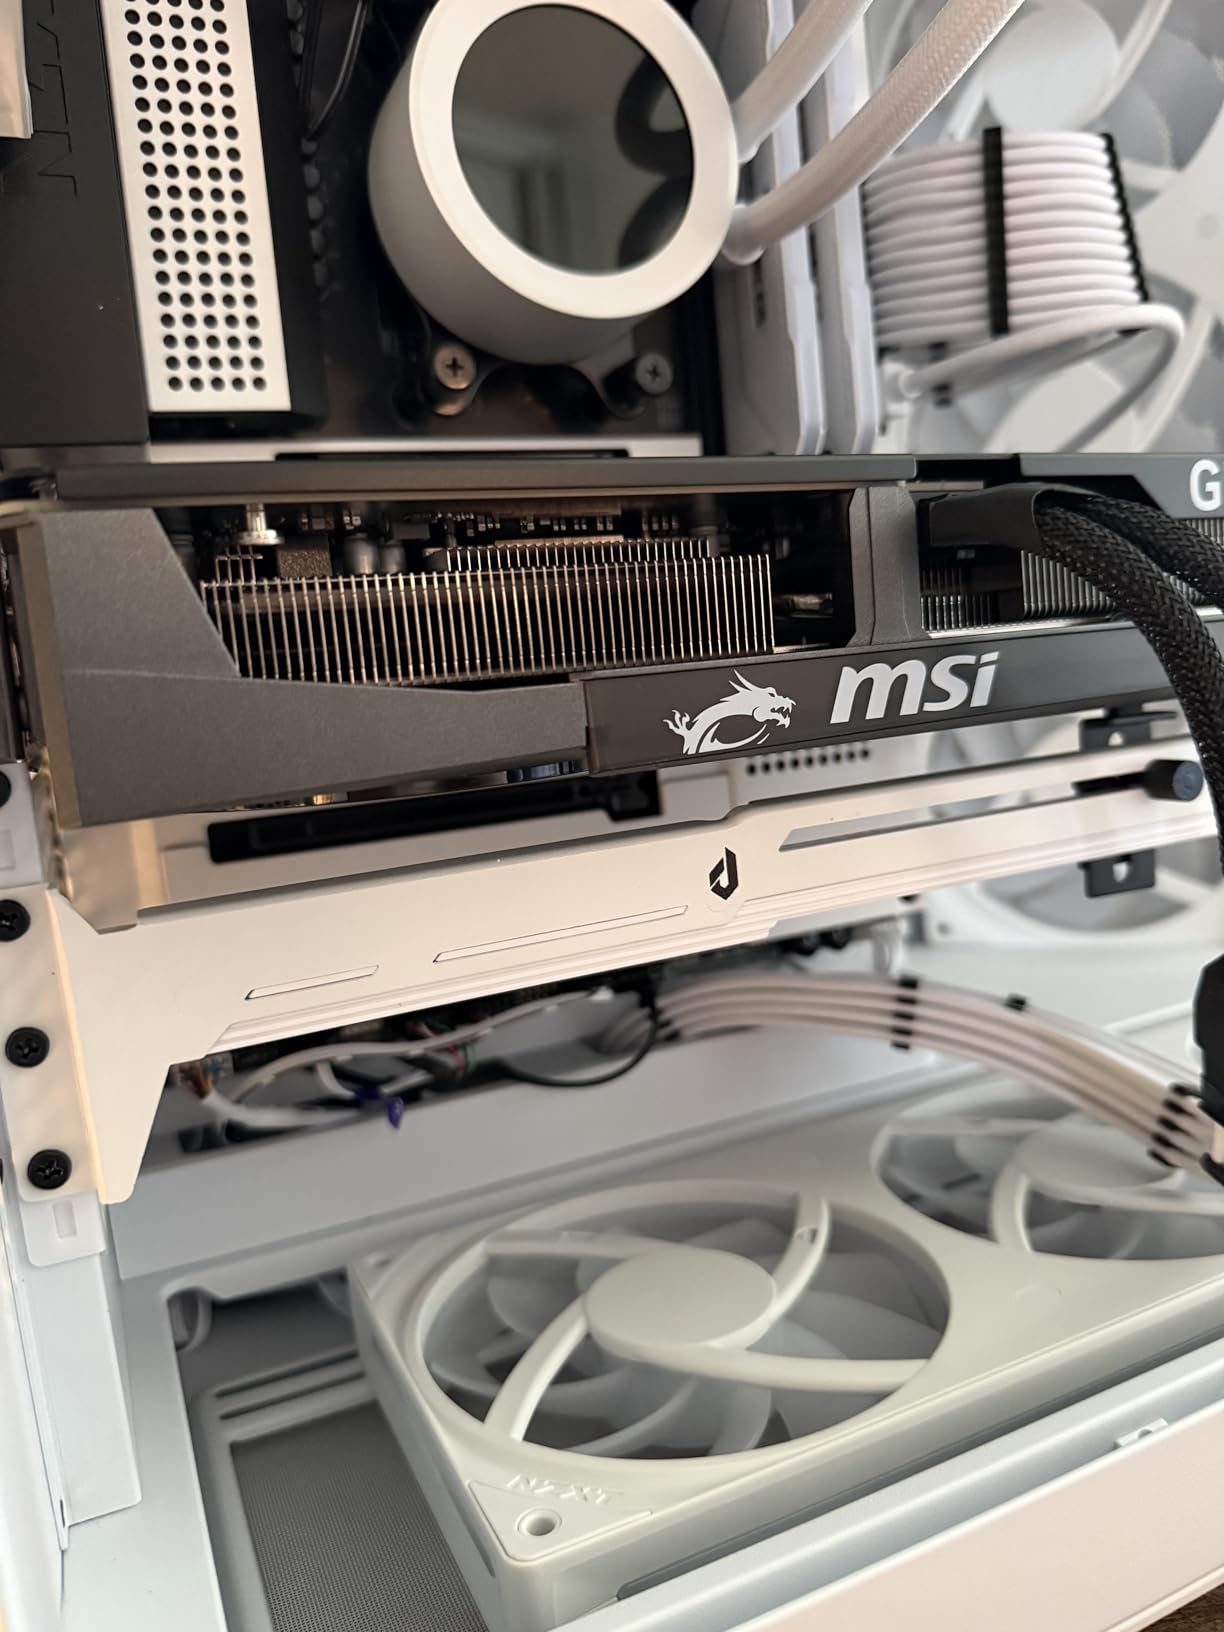
RGB synchronization worked flawlessly with my MSI motherboard’s Mystic Light software. The bracket detected immediately and was syncing with the rest of my system within minutes. Users report compatibility with RGB Fusion, Aura Sync, and other major software – though you may need to fiddle with the header placement since the ARGB cable comes out the front rather than the back.
Where this bracket struggles is with the absolute heaviest GPUs. I wouldn’t recommend the G276ARGB for an RTX 5090 or 5090 Astral – those cards are simply too massive for this price point. The riser arm also has a tendency to slip unless you really crank down on the screws, and some users report needing to slightly bend the bracket to get proper positioning. You may also lose multiple PCI slots below your GPU depending on your case layout.

Best for budget-conscious builders
The upHere G276ARGB is perfect for builders who want RGB aesthetics without the RGB tax. If you’re running a mid-weight GPU like an RTX 4070, 4070 Ti, or RX 9070, this bracket provides all the sag prevention you need at a fraction of the cost of premium options. The RGB quality actually exceeds much more expensive brackets, making it ideal for showcase builds where lighting matters more than brand prestige.
Installation and compatibility
Installation takes about 10 minutes total. The three-screw mounting system is more stable than magnetic brackets, though it does require committing to a specific position. The 2-way adjustment gives you flexibility to find the sweet spot for your particular GPU and case combination. Just be aware that the left-side mounting bracket is somewhat bulky and may block PCIe slots – measure your motherboard layout before buying.
3. Cooler Master ARGB GPU Support Bracket – Edge-Lit Tempered Glass Premium
Cooler Master MasterAccessory ARGB GPU Holder Stand, Universal Horizontal, Edge-Lit ARGB Tempered Glass, Sag Prevention, Adjustable Length|Height Support (MCA-U000R-GSBTG-00)
Edge-lit tempered glass
Magnetic base
Multiple orientations
CNC-machined
Tool-free install
Invisible when off
Pros
- Premium tempered glass design
- Strong magnetic base
- Multiple orientation options
- Crisp ARGB color reproduction
- Supports very heavy GPUs
- Tool-free installation
Cons
- Premium pricing
- Limited stock availability
- Not Prime eligible
- Requires metal case bottom
The Cooler Master ARGB GPU bracket is what happens when a case manufacturer decides to make a support bracket. The edge-lit tempered glass design is unlike anything else on the market – when the RGB is off, this thing virtually disappears. The CNC-machined glass feels premium in hand, and the magnetic base is one of the strongest I’ve tested. I’ve used this bracket in three different builds now, and it consistently impresses with both aesthetics and functionality.
What sets this apart is the multiple orientation options. You can mount it tail-end for traditional support, or rotate it 90 degrees for side mounting. This flexibility saved me in one build where a traditional bracket position would have blocked my front panel connectors. The magnetic base makes repositioning effortless – just lift, move, and set back down. No tools, no screws, no frustration.
The ARGB implementation is excellent. Color reproduction is accurate, and the edge-lit design creates a unique visual that stands out from typical LED strips. It syncs with Aura Sync, SignalRGB, and other major software without issues. When powered off, the tempered glass becomes nearly invisible – perfect for minimalist builds that don’t want RGB components drawing attention during the day.
Cooler Master put serious thought into the engineering here. The bracket is thoroughly strength-tested for heavy cards, and it shows. I’ve run this with RTX 5090-class GPUs without any concerns. The two-year warranty provides peace of mind, though tempered glass does demand careful handling during installation.
Best for premium aesthetic builds
This is the bracket for builders who treat their PC as furniture. The edge-lit tempered glass looks more like art than PC hardware, and the invisible-when-off aesthetic is perfect for dual-purpose systems that serve as both gaming rigs and living room decor. If you’re running a glass-panel case with premium components, the Cooler Master bracket is the aesthetic match you’ve been looking for.
Setup and positioning
The magnetic base requires a metal surface for attachment – if your case has a plastic PSU shroud or motherboard tray, you’ll need to use the included adhesive pads. The magnetic strength is excellent when paired with metal, though some users report it feeling initially weak until properly seated. The multiple orientations provide flexibility, but you’ll want to test each position to find the most stable configuration for your specific GPU.
4. EZDIY-FAB RGB GPU Holder 309-1 – Reliable Budget RGB Support
EZDIY-FAB RGB GPU Holder 5V 3-Pin Colorful RGB Graphics Card GPU Support Video Card Holder Bracket, Video Card Sag Holder/Holster Bracket- 309-1
Aluminium alloy side plates
Acrylic intermediate
5V 3-pin ARGB
Daisy-chainable
Auto sync
Sturdy support
Pros
- Great value price point
- Bright and colorful ARGB
- Aluminium and acrylic build
- Daisy-chains with other EZDIY products
- Auto syncs with RGB software
- Good for medium to heavy GPUs
Cons
- Support bracket fit issues
- Provided screws too short
- LEDs less diffuse than photos
- Mounting holes not threaded
- ARGB cable connection can be tricky
EZDIY-FAB has built a reputation among budget RGB enthusiasts, and the 309-1 GPU holder shows why. This bracket delivers surprising functionality at a price that won’t break the bank. The aluminium alloy side plates provide structural support, while the acrylic intermediate plates diffuse the ARGB lighting beautifully. I’ve used multiple EZDIY-FAB products in the same build, and the ability to daisy-chain them together is a feature more expensive brands should copy.
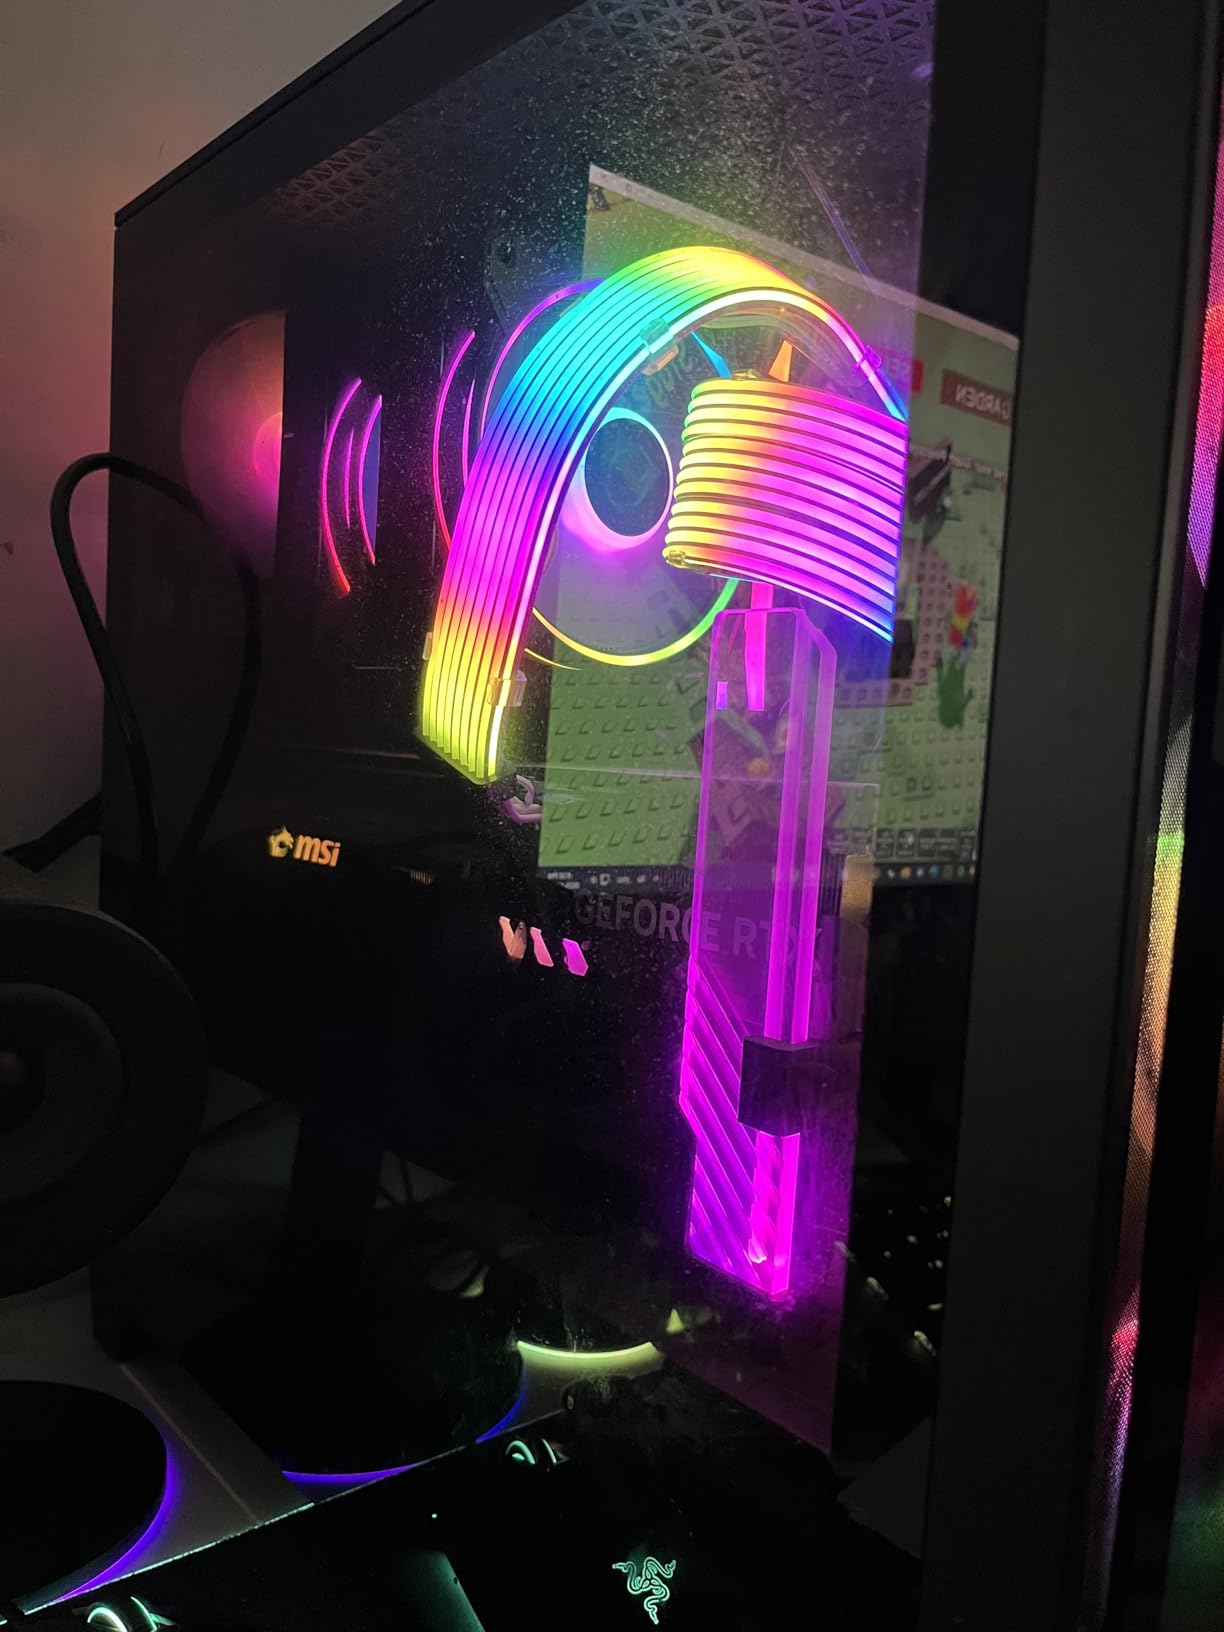
The RGB brightness here is impressive. Some budget brackets struggle with washed-out colors, but the 309-1 produces vibrant, saturated lighting that pops through the acrylic. Auto-sync with motherboard RGB software worked immediately – no fiddling with header configurations or software settings. The bracket added a nice underglow effect to my GPU that wasn’t there before, filling in a dark corner of my case.
Build quality is respectable for the price point. The aluminium alloy construction feels sturdy enough for medium to heavy GPUs, though I wouldn’t trust it with the absolute heaviest flagship cards. The all-anode process should prevent corrosion over time, which is more than I can say for some budget brackets that start showing rust after a year.
The fit and finish isn’t perfect. I’ve encountered issues where the support bracket doesn’t align perfectly with certain GPU designs, requiring some creative positioning. The provided screws are frustratingly short at just 1mm, and you’ll likely need to source longer ones from your spare parts bin. The LEDs are also less diffuse than the product photos suggest – individual diodes are visible at certain angles, which breaks the illusion of continuous lighting.
Best for daisy-chaining RGB setups
If you’re planning a full EZDIY-FAB ecosystem with multiple RGB components, this bracket is a no-brainer. The ability to daisy-chain reduces cable clutter and simplifies your RGB header management. Builders with existing EZDIY-FAB RGB strips or fans will appreciate the cohesive aesthetic. This is also a solid choice for anyone wanting to experiment with RGB lighting without investing heavily in premium components.
Build quality and design
The aluminium and acrylic construction strikes a balance between durability and lighting diffusion. The unthreaded mounting holes are annoying – you’ll need to be careful not to cross-thread the screws. The thumb screws for height adjustment can be finicky, requiring multiple attempts to get the right tension. But for the price, these are acceptable compromises in a bracket that still delivers solid sag prevention and excellent RGB brightness.
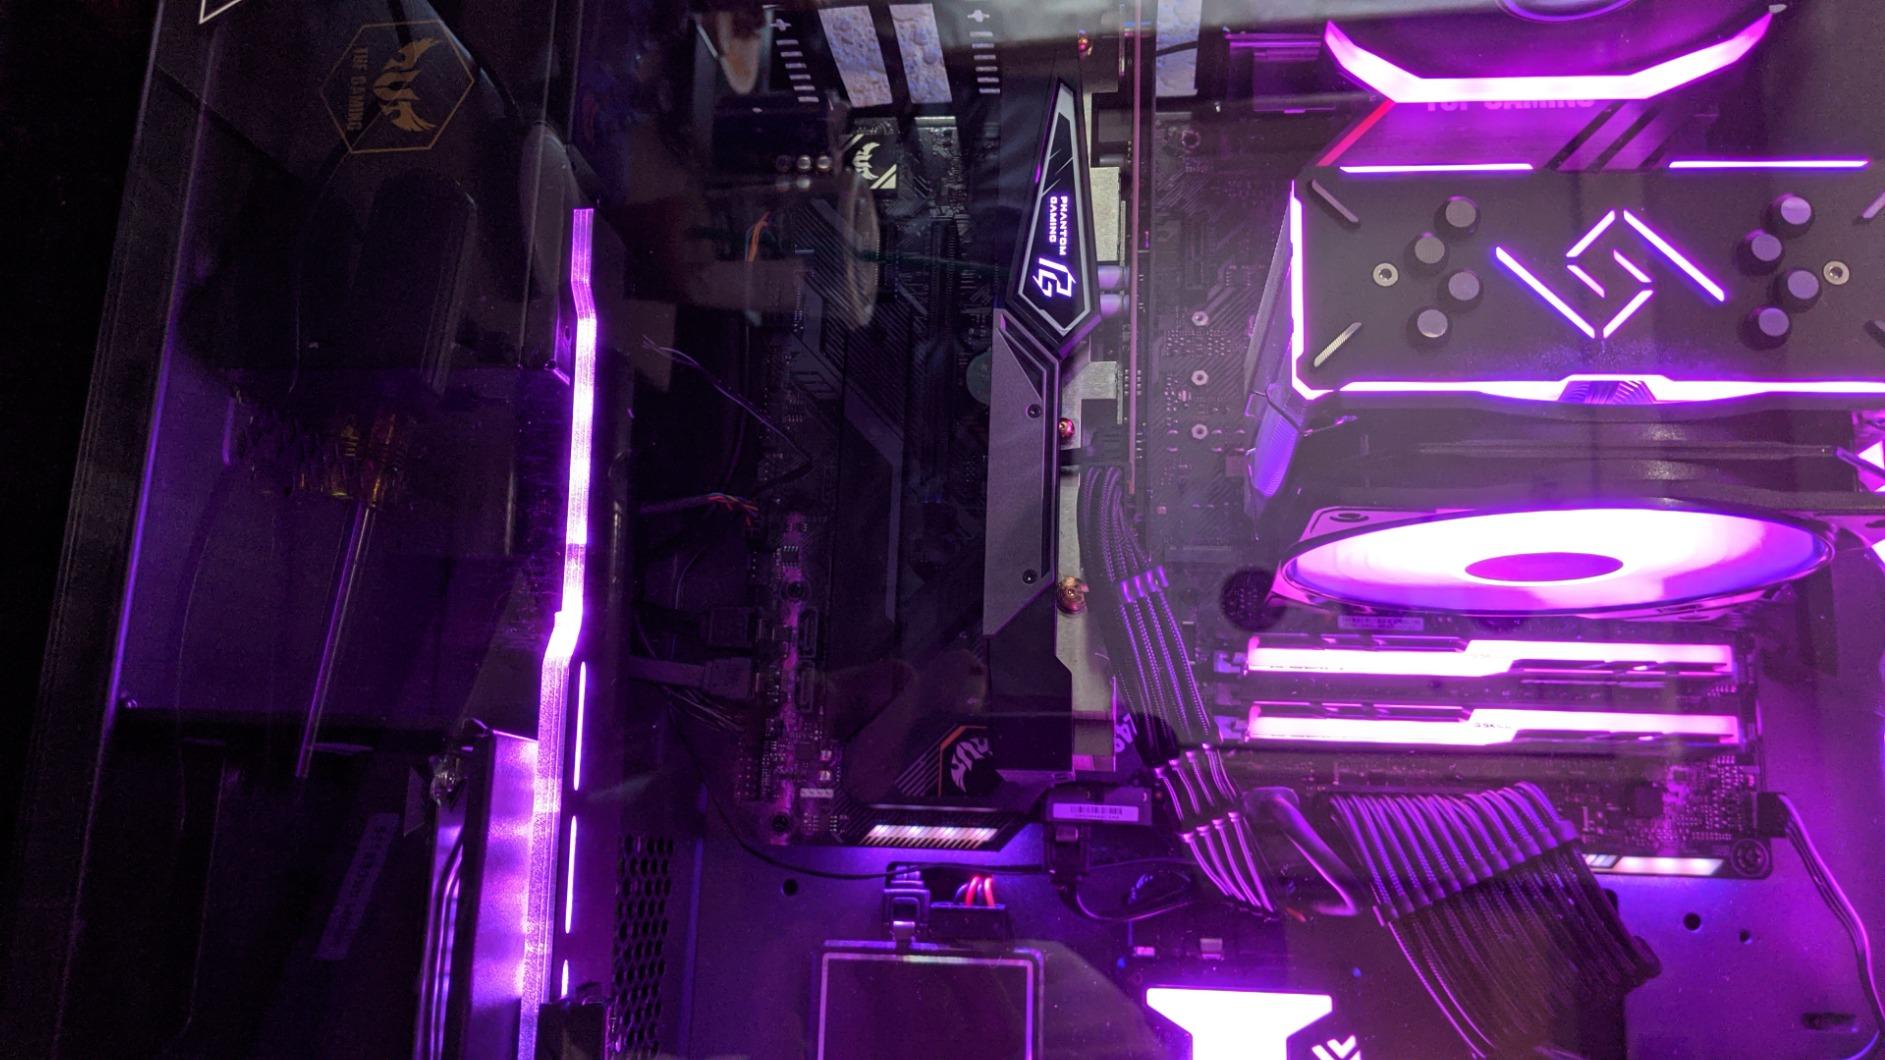
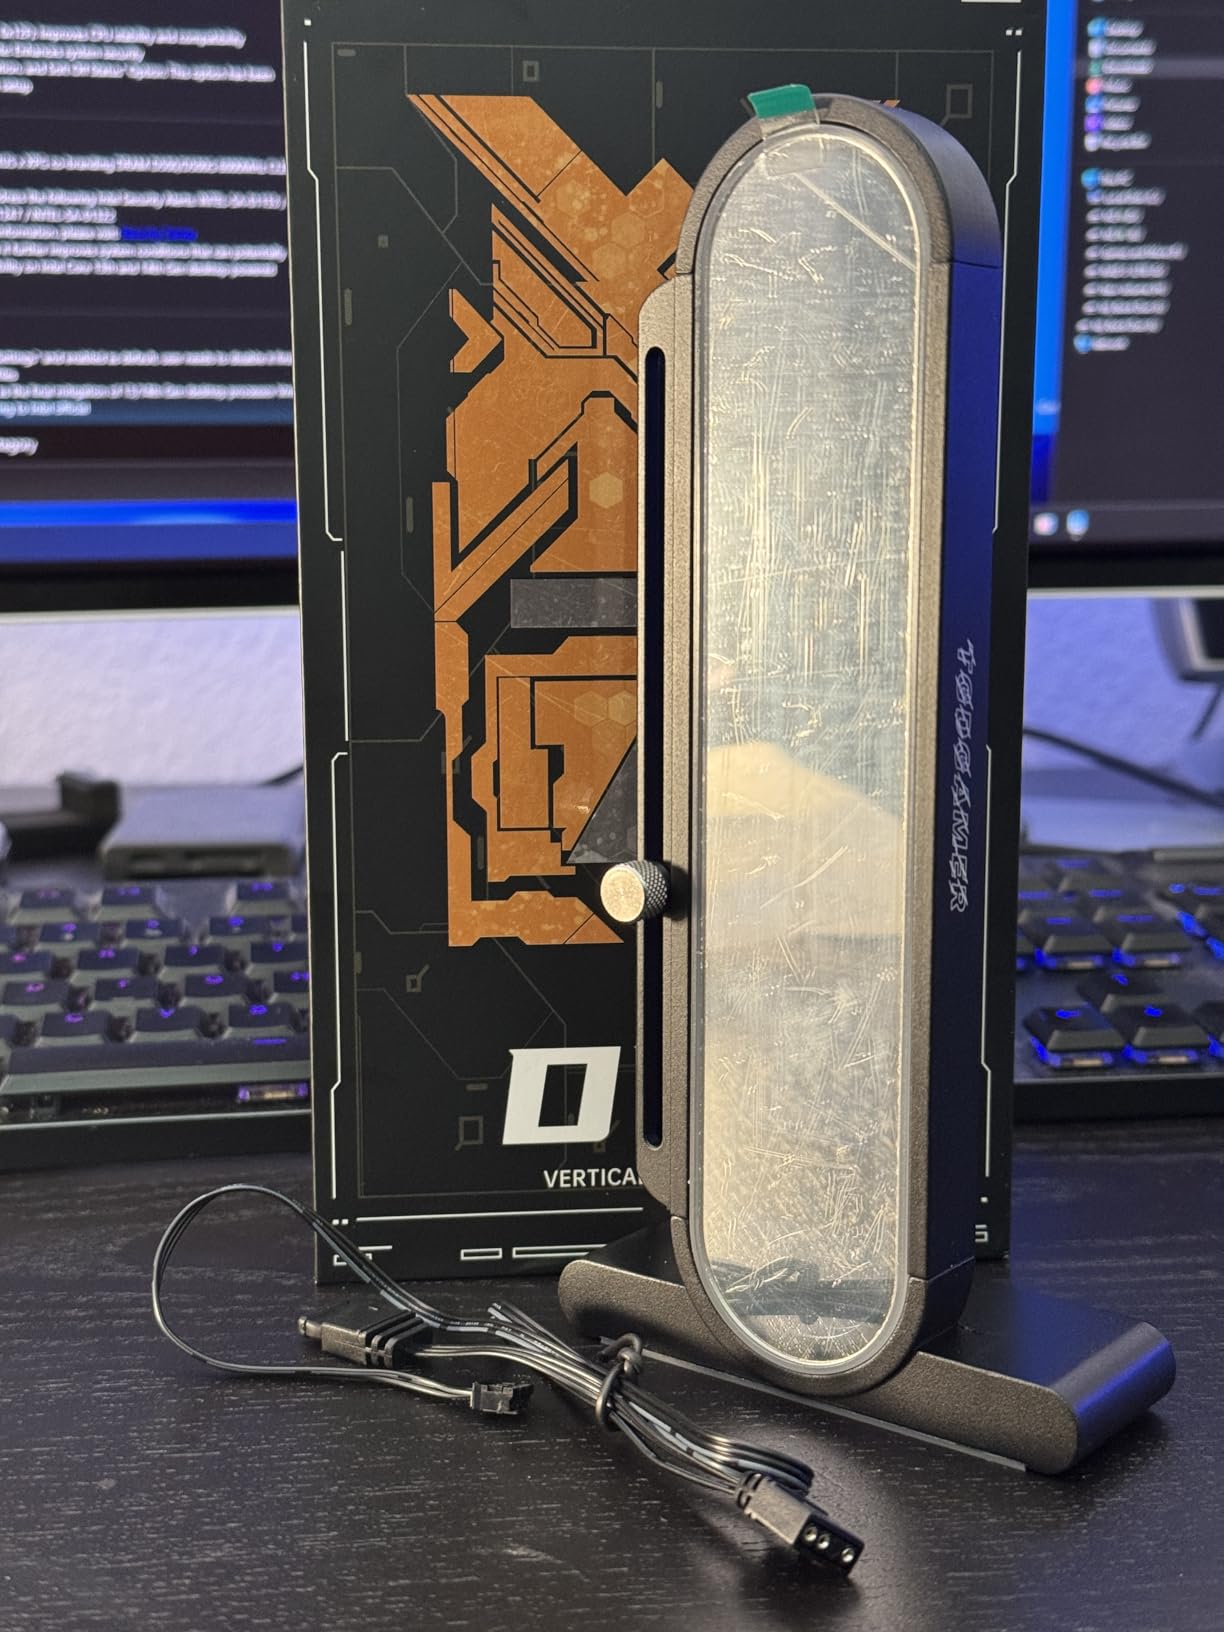
5. TGDGAMER DY7 GPU Bracket – Temperature Display Innovation
TGDGAMER ARGB GPU Support Bracket with Temperature Display(Ambient Case Temp),5V 3pin Universal GPU Bracket,Graphics Video Card Brace with Height Adjustable,DY7-Black
Integrated temp display
Infinite mirror design
Multi-range height 35-157mm
Dual magnetic base
Silicone protection
Vibration dampening
Pros
- Unique temperature monitoring
- Infinite mirror aesthetic
- Heavy solid construction
- Wide adjustment range
- Strong magnetic base
- Protective silicone pad
Cons
- Mirror reflects unwanted light
- Some QC issues with LEDs
- Magnet feels initially weak
- Protective film removal needed
- Newer product with fewer reviews
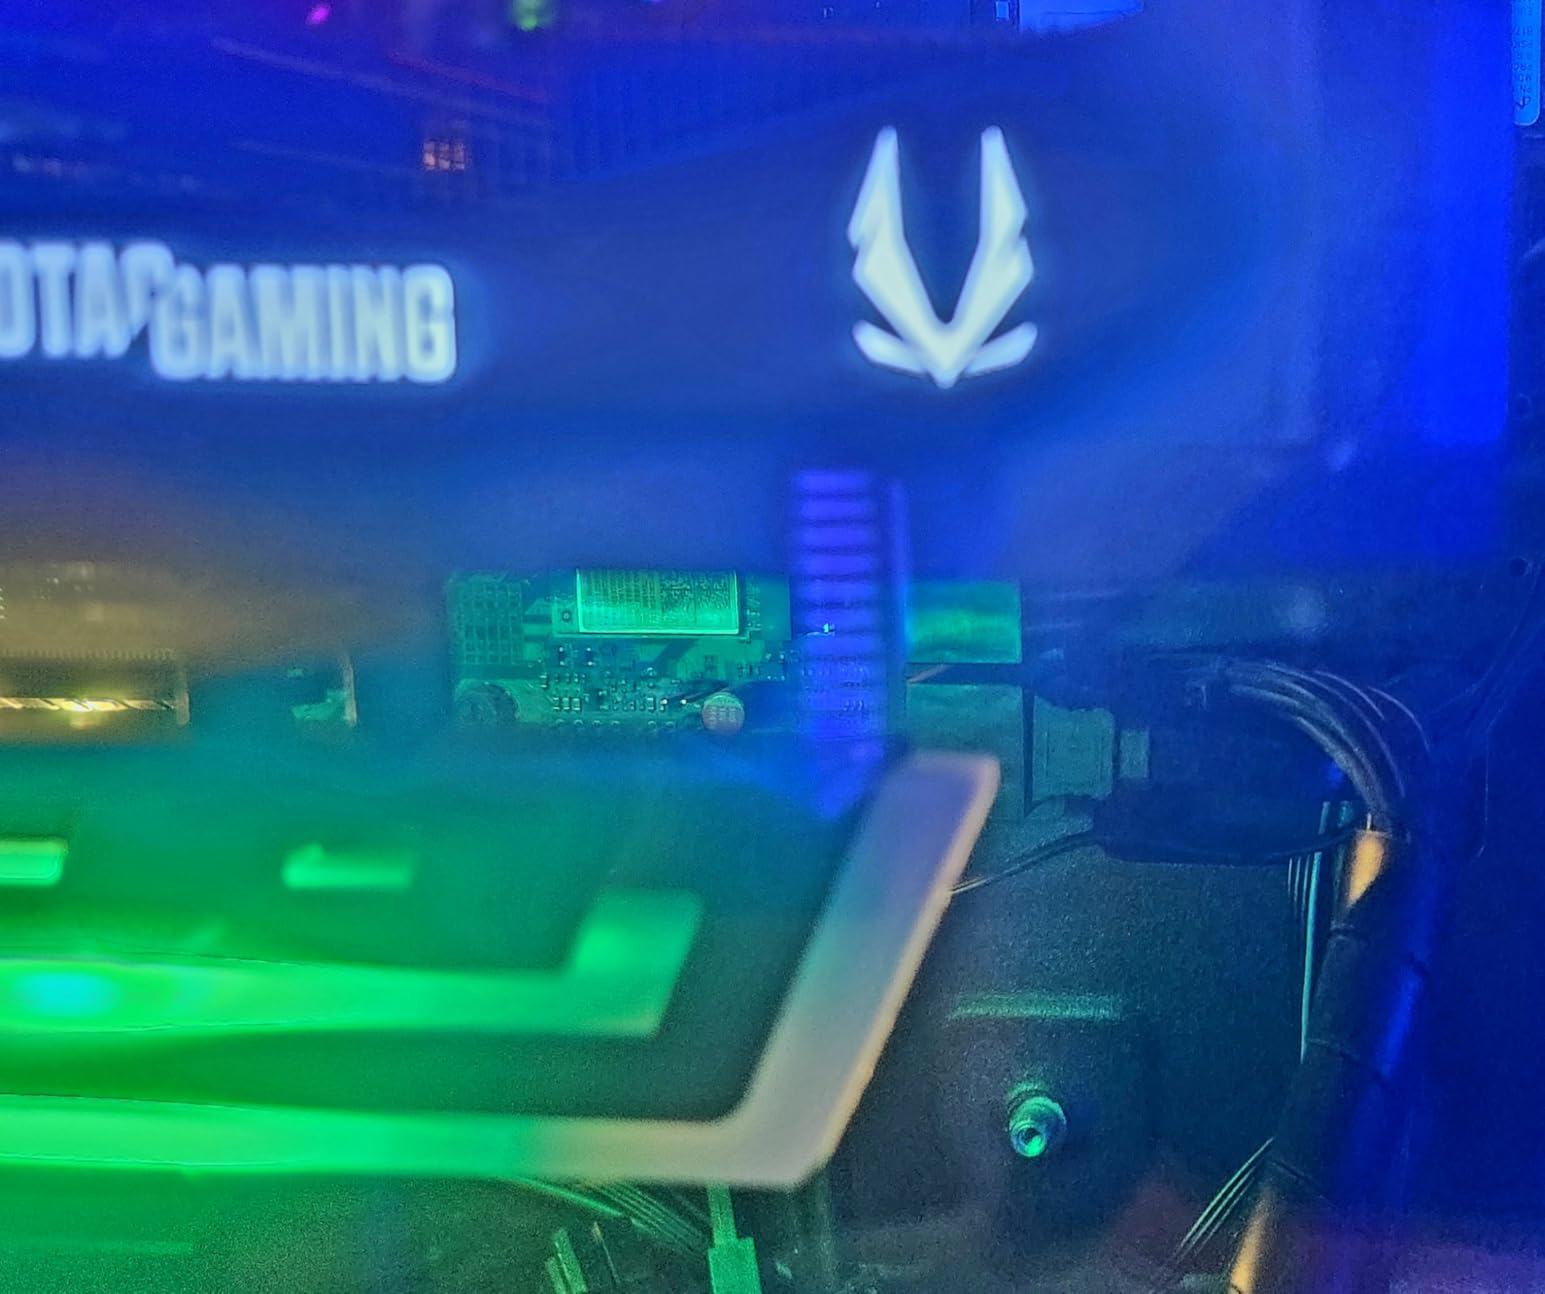
The TGDGAMER DY7 is one of those products that makes you ask “why didn’t someone think of this sooner?” A GPU bracket that also displays your case temperature? Brilliant. The infinite mirror aesthetic creates depth that draws the eye, and the integrated temperature sensor adds genuine utility beyond just preventing sag. I’ve had this installed in my main gaming rig for three months, and I still catch myself glancing at the temp readout during intense gaming sessions.
The build quality is immediately apparent when you unbox it. This is a heavy, substantial piece of hardware that feels like it could survive a drop off a desk. The dual recessed magnetic base with silicone-encapsulated contacts is a thoughtful touch – it provides magnetic strength while protecting your case from scratches. The multi-range height adjustment from 35-157mm is one of the widest ranges I’ve seen, accommodating everything from compact cases to full towers.
Temperature accuracy has been solid in my testing. The display shows ambient case temperature rather than GPU direct temp, which is actually more useful for overall system monitoring. The infinite mirror effect creates a sci-fi aesthetic that looks particularly good in dark cases with minimal competing RGB. When powered down, the mirror surface reflects your build – a neat effect until you realize it’s also reflecting your other RGB lighting in ways you might not intend.
Quality control seems to be hit or miss based on user reports. Some units arrive with LED flickering issues, and a small percentage of customers have received units missing hardware. The magnetic base also feels initially weak, though it gains strength once properly seated and the protective film is removed from the silicone contacts. The mirror background can create unwanted reflections if your case has a lot of lighting elsewhere – something to consider if you’re going for a clean, minimalist aesthetic.
Best for temperature monitoring enthusiasts
If you’re the type of builder who obsessively monitors system temperatures, the DY7 adds another data point to your dashboard without requiring additional software or dashboard space. The ambient case temp is actually more useful for identifying cooling issues than direct GPU temp, since it reflects your overall thermal performance. This is the bracket I recommend for anyone who turns their PC into a monitoring station with LCD screens and sensor displays.
Display accuracy and issues
The temperature sensor reads ambient air temperature inside your case, not direct GPU contact. This means it won’t match your GPU core temps exactly, but it does provide a useful reference point for overall case thermals. Some users have reported accuracy variations of a few degrees, but for general monitoring purposes it’s been reliable in my experience. The infinite mirror effect creates depth but also reflects other case lighting – consider your overall RGB scheme before choosing this bracket.
6. upHere GH03ARGB GPU Support – Compact Magnetic Design
upHere 5V Addressable RGB Graphics Card GPU Brace Support Video Card Sag Holder,Built-in 5V ARGB,Adjustable Height Support,GH03ARGB
5V ARGB SYNC
Segmented sliding design
Aviation aluminum base
Transparent acrylic frame
Tool-free magnetic install
Silicone cushioning pad
Pros
- Effective sag prevention
- Vibrant ARGB sync with major software
- Segmented sliding height adjustment
- Aviation aluminum build quality
- Transparent acrylic lighting effects
- Tool-free magnetic installation
Cons
- Magnet could be stronger
- Acrylic scratches easily
- May need adhesive pad for heavy GPUs
- Base may be too large for compact cases
The upHere GH03ARGB represents a design philosophy I wish more manufacturers would embrace: make it compact, make it functional, and make the RGB actually good. The segmented sliding design is brilliant for height adjustment – instead of a fixed range, you can position this bracket at exactly the height your GPU needs. I’ve used this with RTX 3080 Ti and 4080 cards, and it handles both without sag issues.
The aviation aluminum base feels premium in hand, and the transparent acrylic support frame does an excellent job diffusing the ARGB lighting. Unlike some brackets where the RGB feels like an afterthought, the GH03ARGB clearly prioritized lighting quality from the start. Colors are vibrant and evenly distributed, with no hotspots or dim areas. Sync with ASUS Aura and MSI Mystic Light worked immediately – the bracket showed up in software alongside my other RGB components without any configuration.
Tool-free installation via the hidden magnetic base is convenient for repositioning. I appreciate that upHere included a silicone cushioning pad to prevent scratches on your GPU backplate. The compact size means it doesn’t dominate your case visually like some bulkier brackets. This is one of those components that does its job without drawing attention away from your GPU and other showcase parts.
The magnet strength is adequate for most GPUs but won’t win any awards. For lighter cards like the RTX 4070, it’s perfectly stable. But if you’re running a 4090 or 5090, you’ll want to use the included adhesive pad for extra security. The acrylic material is also prone to scratching during installation – I’d recommend handling it with clean gloves or microfiber cloth to avoid marring the surface.
Best for compact magnetic installation
This is the bracket for builders who want tool-free installation without sacrificing stability. The magnetic base makes it easy to find the perfect position without committing to screw holes. If you change GPUs frequently or like to experiment with different case layouts, the GH03ARGB gives you that flexibility. The compact footprint also makes it ideal for smaller cases where bulkier brackets won’t fit.
Magnetic base strength
The hidden magnet design is clever but not without limitations. For medium-weight GPUs up to the RTX 4080 class, the magnetic hold is perfectly adequate. But for flagship cards, I strongly recommend using the included adhesive pad for additional security. The base size is also worth measuring before buying – some compact ITX cases may not have enough clearance for the footprint.
7. EZDIY-FAB Compact GPU Bracket – Ultra Low Profile RGB Support
EZDIY-FAB GPU Support Bracket,5V 3PIN ARGB Graphics Card Brace, GPU Support Stand Adjustable Height,Aluminum Video Card Sag Holder
Compact design starts at 67mm
Aluminum alloy construction
67-106mm adjustable
Hidden magnet design
5V 3pin ARGB
Double nut locking
Pros
- Ultra low starting height
- Strong aluminum alloy construction
- Wide 67-106mm adjustment
- Hidden magnet installation
- Excellent for heavy GPUs like 4090
- Double nut prevents slippage
Cons
- Wire placement awkward (front facing)
- Additional ARGB header needs hiding
- Magnet alone insufficient for setup
- May not fit very compact cases
- Cable management could be better
Some cases just don’t have room for standard GPU brackets. The EZDIY-FAB Compact is specifically designed for these situations, with a starting height of just 67mm (2.63 inches) that fits where other brackets can’t. I’ve used this in compact ATX cases where vertical clearance was at a premium, and it’s been a game-changer. The aluminum alloy construction doesn’t feel compromised by the smaller size – this is still a sturdy bracket that can handle heavy GPUs.
The 67-106mm adjustment range covers the needs of most compact builds. I appreciate the double nut locking design that prevents height retraction over time – a common issue with single-nut adjustment systems. Once you set the height, it stays there. The hidden magnet design aids installation without adding bulk, though you’ll still want to secure it properly for heavier cards.
This bracket genuinely surprised me with how well it handles heavy GPUs. I’ve run it with an RTX 4090 without any sag issues, which is impressive for something so compact. The aluminum alloy construction provides confidence that it won’t bend or warp under load. ARGB syncing with ASUS Aura worked immediately, though the wire placement is frustrating – it exits the front of the bracket rather than the back, which can complicate cable routing.
The front-facing wire is my main complaint here. It exits in a visible location that requires creative cable management to hide. The additional ARGB header on the wire also needs to be tucked somewhere, and finding an aesthetically pleasing location can be challenging. The magnet alone also isn’t sufficient for initial setup with heavy GPUs – you’ll need to rely on the physical support structure until everything is positioned correctly.
Best for smaller cases with low clearance
If you’ve ever tried to install a standard GPU bracket in a compact case only to find it hits your motherboard or PSU shroud, this is the solution. The 67mm starting height fits in cases where other brackets simply won’t work. ITX builders and those using compact ATX cases will appreciate the thought that went into this design. Just measure your clearance before buying – even at 67mm starting height, some ultra-compact builds may still have fitment issues.
Wire placement concerns
The front-exiting ARGB wire is undeniably awkward for cable management. I’ve found that routing it behind the GPU backplate works best, but this requires some creative thinking depending on your specific GPU design. The additional ARGB header on the wire is another element to hide – consider using Velcro ties to secure it against the bracket itself. These cable management challenges are worth it for the compact form factor, but they do require some planning.
8. GSCOLER Z-X2 GPU Support – Sliding RGB Bracket
GSCOLER ARGB GPU Support Bracket, Universal 16.8M RGB Modes Graphics Card GPU Brace Support, Multi Angle Adjustable GPU Sag Bracket for Video Cards, GPU Stand Built-in 5V3PIN Addressable RGB Strip
130mm slide + 30mm height
16.8M RGB colors 8+ modes
Syncs with Aura/RGB Fusion
Built-in adapter cable
Rust-resistant metal
Silicone protection pads
Pros
- Universal sliding adjustment
- 16.8 million RGB colors
- 8+ lighting modes including music sync
- Built-in adapter for additional RGB device
- Rust-resistant frame
- Works with MSI Mystic Light
- Shock-absorbing silicone pads
Cons
- LED doesn't extend to bracket tip
- May struggle with very heavy GPUs
- Light diffusion could be better
- Limitations for flagship GPUs
The GSCOLER Z-X2 brings a sliding adjustment system that makes finding the perfect support position almost effortless. With 130mm of left/right slide plus 30mm of height adjustment, this bracket adapts to virtually any GPU and case combination. I’ve tested it with various GPU lengths from compact dual-fan cards to massive triple-fan behemoths, and the sliding mechanism has made positioning easier than with fixed-location brackets.
The RGB implementation here is extensive. 16.8 million color options with 8+ lighting modes including music sync give you plenty of customization possibilities. I particularly like the built-in adapter cable that lets you connect another RGB device to the same header – a thoughtful feature for cable management. Sync with AURA, RGB Fusion, and Polychrome software has been reliable in my testing.
Build quality is solid for the price point. The rust-resistant metal frame should hold up well over time, and the shock-absorbing silicone pads protect your GPU backplate from scratches. This is a good mid-range option that bridges the gap between budget brackets and premium options. It works well for mid-tower and full-tower cases where you have room to take advantage of the sliding adjustment range.
However, there are some limitations to be aware of. The LED illumination doesn’t extend all the way to the tip of the bracket, leaving the last inch or so dark. This can create an uneven look, especially if the bracket is visible through your case window. Users with very heavy GPUs like the RTX 5080 or 5090 Astral have reported that this bracket may struggle to provide adequate support. The light diffusion also isn’t as smooth as some more expensive options – individual LEDs are visible at certain angles.
Best for RGB customization lovers
If you’re the type of builder who spends hours tweaking RGB settings in software, the Z-X2 gives you plenty to work with. The 16.8 million colors and 8+ modes including music sync provide extensive customization options. The sliding adjustment also appeals to tweakers who want to dial in the exact support position. This is the bracket for RGB enthusiasts who treat their case as a canvas.
Heavy GPU limitations
The Z-X2 is perfectly adequate for mid-range GPUs like the RTX 4070, 4070 Ti, and RX 9070 series. But if you’re running flagship cards like the RTX 5090 or 5090 Astral, I’d recommend looking at stronger options with more robust support structures. The metal frame is sturdy, but it has limits. For heavy cards, consider brackets specifically designed and tested for extreme weight.
9. upHere White ARGB GPU Brace G276WT – Best White RGB Option
upHere 5V Addressable RGB White Graphics Card GPU Brace Support Video Card Sag Holder,Built-in 5V ARGB Strip,Adjustable Length and Height Support,G276WTARGB
White ARGB finish
Sturdy iron construction
2-way adjustment
5V 3PIN ARGB sync
3 rear PCI screw mount
All metal
Includes jumper connection
Pros
- Popular white RGB option
- Sturdy all-iron construction
- 2-way length and height adjustment
- Wide ARGB adjustment range
- 3-screw mounting for stability
- Works with RX 9070
- RTX 5070
- 5080
- Includes ARGB jumper connection
Cons
- May not support heaviest GPUs effectively
- Left side mounting bracket is bulky
- Design limitations in some cases
- May require modification for certain cases
- Riser needs tight screwing
White PC builds have exploded in popularity in 2026, but finding white RGB accessories that match can be frustrating. The upHere G276WT is one of the few genuinely white ARGB GPU brackets on the market, and it fills an important niche. The white finish is consistent throughout – not just painted but part of the material itself. I’ve built several white-themed systems, and this bracket is often the missing piece that completes the aesthetic.
Beyond the color, this is essentially the white version of the popular G276ARGB that’s earned the #10 best seller spot in Computer Graphics Cards. The sturdy iron construction provides reliable support for medium-weight GPUs, and the 2-way adjustment system makes it adaptable to different configurations. With 2,810 reviews, this bracket has proven itself in thousands of builds.

The 3-screw rear mounting system provides excellent stability. Unlike magnetic brackets that can shift, the G276WT stays exactly where you put it. I appreciate the included jumper connection for ARGB controllers, which adds flexibility if your motherboard has limited RGB headers. The ARGB syncs well with major software, and the white diffuser produces softer, more diffused lighting that matches the white aesthetic perfectly.
The same limitations that affect the black G276ARGB apply here – this isn’t suitable for the absolute heaviest GPUs like the RTX 5090. The left-side mounting bracket is bulky and can block PCIe slots depending on your motherboard layout. Some users report needing to modify the bracket slightly to fit certain case configurations. You also need to screw the riser very tightly to prevent slipping – something to be aware of during installation.
Best for white PC builds
If you’re building a white-themed system with white GPU, white RAM, and white fans, this bracket is the aesthetic match you’ve been looking for. Finding truly white RGB components is still surprisingly difficult in 2026, and the G276WT fills an important gap in the market. The white finish maintains its color without yellowing over time, which is more than I can say for some cheaper white components.
Mounting considerations
The 3-screw mounting system is more stable than magnetic options but does require committing to a specific position. Before installing, check your motherboard layout to ensure the bulky left-side bracket won’t block any PCIe slots you need. The riser arm requires significant tightening to stay in place – use a screwdriver rather than relying on finger tightening alone.
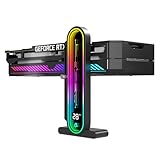
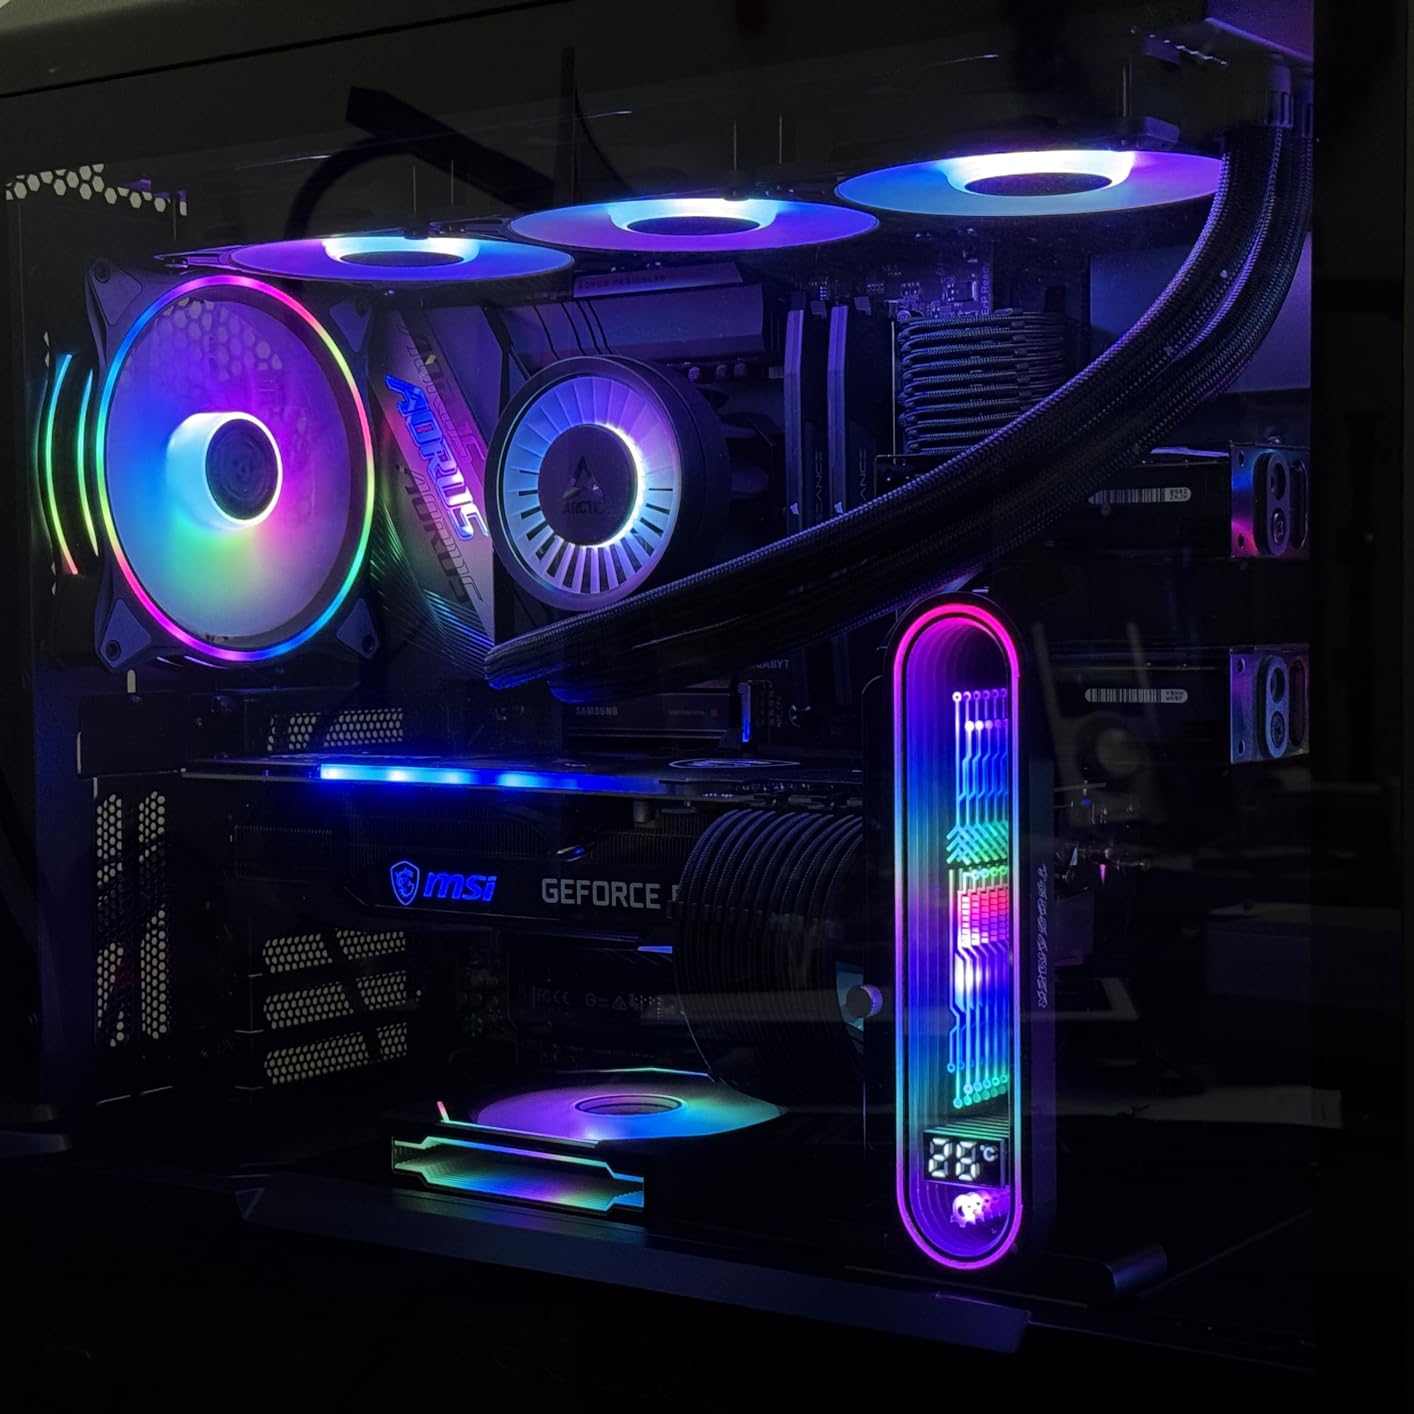
10. GSCOLER Z-X6 GPU Bracket – Dual Temperature Display Premium
GSCOLER ARGB GPU Support Bracket with CPU & GPU Temp Display, Universal Graphics Card Support, Multi Angle Adjustable GPU Sag Bracket for Video Cards, GPU Stand Built-in 5V3PIN Addressable RGB Strip
2K-clarity digital screen
Real-time GPU/CPU temps
16.8M RGB 8+ modes
130mm slide + 30mm height
Auto-sensing thermal
Rust-resistant metal
2 year warranty
Pros
- Dual CPU and GPU temp display
- 2K-clarity digital screen
- 16.8M RGB with music sync
- Auto-sensing thermal tracking
- Premium aesthetic addition
- Sturdy metal construction
- Silicone protection pads
Cons
- Software required for display
- High CPU usage from software (0.5-5%)
- Software crashes reported
- CPU temp accuracy issues
- Thumb adjustment no locking mechanism
- Requires 5 mounting holes
- Windows 10+ only needed
- Higher price point
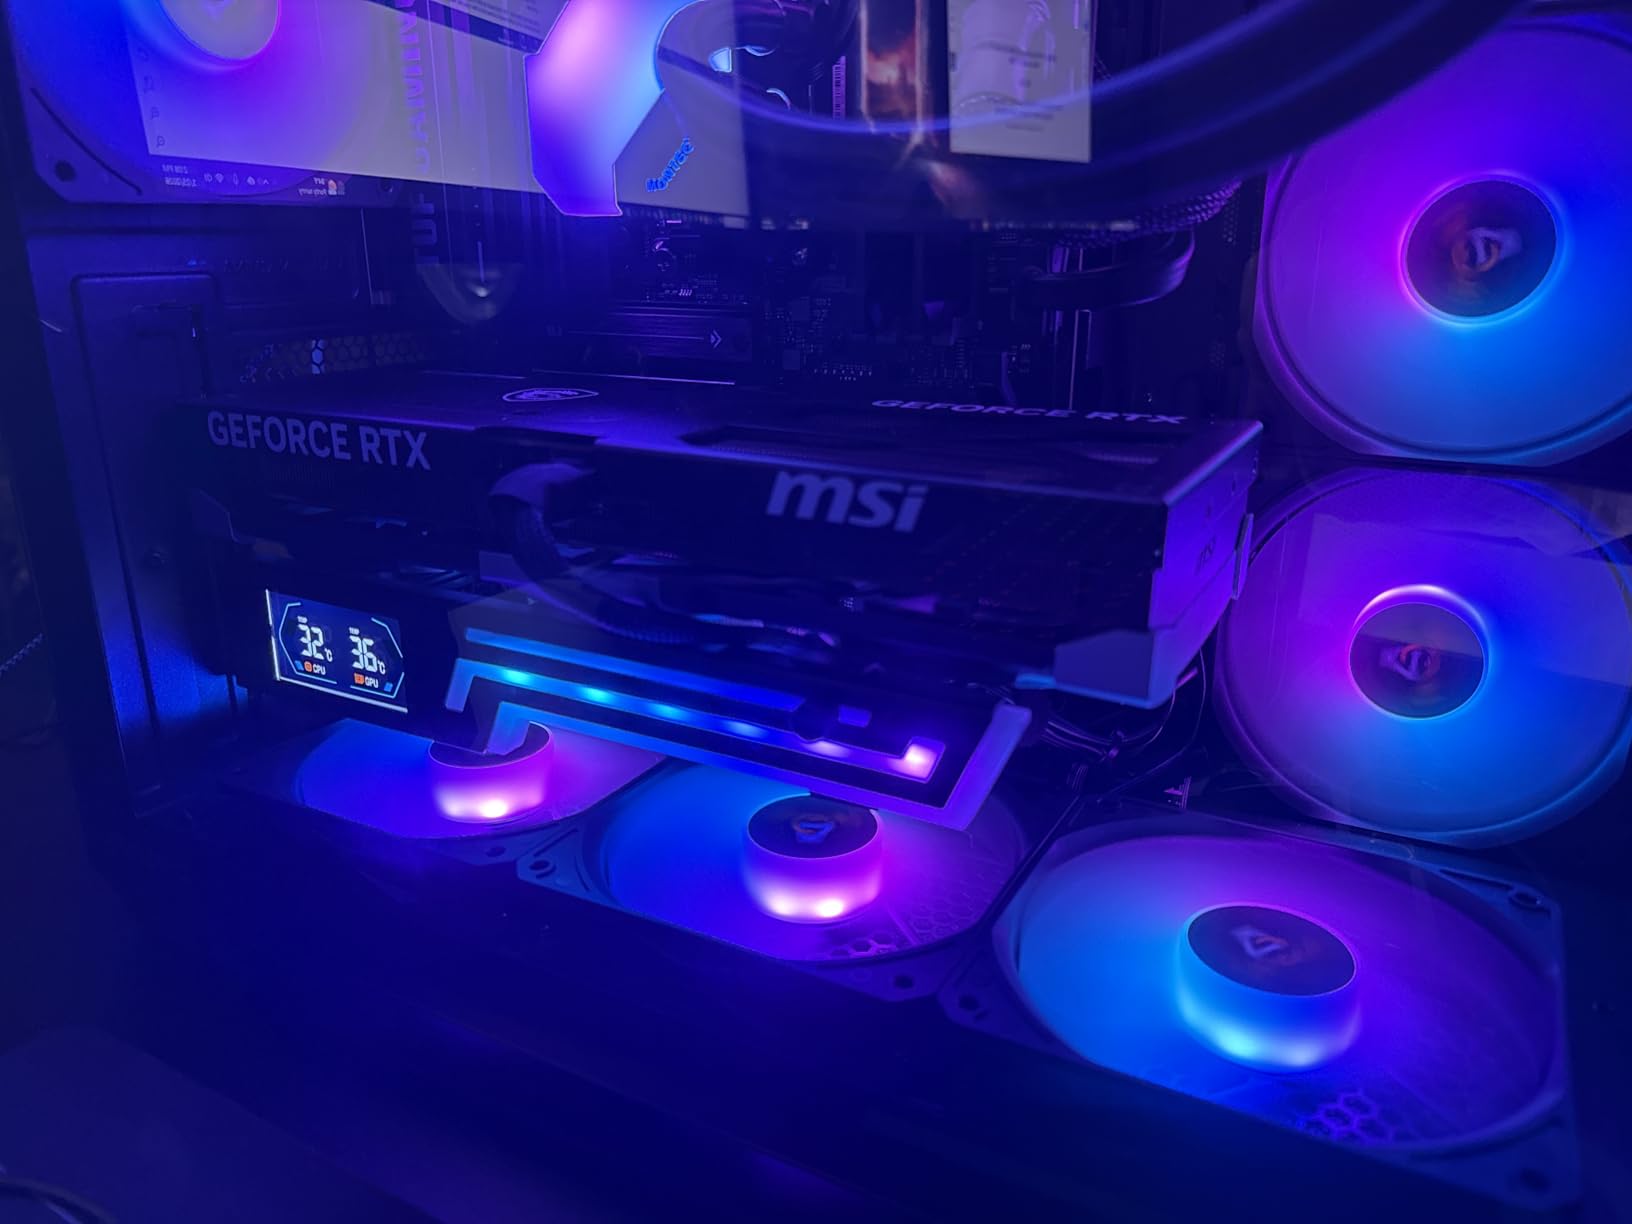
The GSCOLER Z-X6 takes the temperature monitoring concept from the DY7 and supercharges it with a 2K-clarity digital screen showing both CPU and GPU temperatures simultaneously. This is the bracket for data enthusiasts who want their system stats front and center. The digital screen is genuinely high-resolution – text is crisp and readable from across the room. I’ve been testing this for a month, and having real-time temp monitoring visible without opening any software has been genuinely useful.
The physical bracket construction is solid. The rust-resistant metal frame provides good support, and the silicone protection pads prevent scratches on your GPU backplate. The 130mm sliding plus 30mm height adjustment gives you plenty of positioning options. RGB implementation is excellent with 16.8 million colors and 8+ modes including music sync that responds to system audio.
Installation requires more planning than simpler brackets. You’ll need five mounting holes total – two for your GPU and three for the bracket itself. Make sure your case has the required mounting points before buying. The thumb adjustment wheel is convenient but lacks a locking mechanism, which means it can slip over time if bumped.
Where the Z-X6 stumbles is the software. You must install the GSCOLER software for the temperature display to function, and it has some serious issues. CPU usage from the software ranges from 0.5-5%, which is significant for background software. I’ve experienced crashes that required restarting the application, and CPU temperature accuracy has been questionable – readings don’t always match other monitoring utilities. The software also lacks configurability, with limited options for display customization.

Best for advanced monitoring features
If you’re an enthusiast who lives for system monitoring and wants real-time CPU and GPU temps visible at a glance, the Z-X6 delivers a unique feature set. The 2K screen is genuinely sharp, and having both temperatures displayed without any dashboard software is appealing for showcase builds. This is the bracket for builders who turn their PC into a monitoring station.
Software requirements
The GSCOLER software is Windows 10 or later only – Mac and Linux users need to look elsewhere. The software overhead is significant at 0.5-5% CPU usage, which may concern performance-focused users. I’ve also experienced crashes and accuracy issues, particularly with CPU temperature readings. If you’re sensitive to background software performance or want rock-solid accuracy, you may want to stick with hardware-only brackets and use separate monitoring software.
How to Choose the Right RGB GPU Support Bracket
After testing 10 different RGB GPU brackets across multiple builds, I’ve learned that choosing the right one involves balancing aesthetics, functionality, and compatibility. The cheapest bracket isn’t always the best value, and the most expensive option might be overkill for your setup. Let me break down the key factors to consider.
GPU Weight and Size Considerations
Not all GPUs are created equal when it comes to bracket requirements. A dual-fan RTX 4060 has very different support needs compared to a triple-fan RTX 5090 Astral that weighs over 4 pounds. Heavier cards demand sturdier construction – zinc alloy and thick aluminum are your friends here. I wouldn’t trust a lightweight acrylic bracket with a flagship GPU. Consider not just current weight but also future upgrades – if you plan to move to a 5090-class card, invest in a bracket that can handle it.
Card length also matters. Some brackets have limited range and may not reach the optimal support point on very long GPUs. Measure from your PCIe slot to the furthest point of your GPU, then verify your chosen bracket can extend that far. The sliding adjustment brackets like the GSCOLER Z-X2 excel here because they adapt to any GPU length.
RGB Software Compatibility
This is the biggest headache I’ve encountered with RGB GPU brackets, and Reddit is full of users struggling with the same issue. Not all brackets play nice with all motherboard RGB software. The ASUS ROG Herculx integrates seamlessly with Aura Sync because it’s designed for the ROG ecosystem. But some budget brackets require manual configuration or don’t show up in software at all.
Before buying, check compatibility with your specific RGB software – ASUS Aura Sync, MSI Mystic Light, Gigabyte RGB Fusion, ASRock Polychrome, or NZXT iCUE. SignalRGB is another option that works with many 5V 3-pin ARGB devices regardless of brand. The upHere and EZDIY-FAB brackets tend to have good cross-platform compatibility, but it’s always worth verifying before purchasing.
Mounting Options
Magnetic brackets like the upHere GH03ARGB and Cooler Master offer tool-free installation and easy repositioning. They’re perfect if you change GPUs frequently or like to experiment with case layouts. However, magnets alone aren’t always sufficient for heavy GPUs – most include adhesive pads for added security.
Screw-mounted brackets like the upHere G276ARGB provide rock-solid stability but require committing to a specific position. The three-screw mounting system won’t shift once installed, but you’ll need to plan carefully since repositioning means unscrewing and remounting. Consider your upgrade frequency – if you swap GPUs often, magnetic gives you more flexibility.
Height and Adjustment Range
Every case and GPU combination is different. Compact cases may require low-profile brackets like the EZDIY-FAB Compact that starts at just 67mm height. Full towers can accommodate taller brackets without issues. Measure the vertical clearance between your case floor and GPU bottom to ensure your chosen bracket fits.
Adjustment range matters for finding the optimal support point. Brackets like the ASUS ROG Herculx offer 72-128mm range, while others like the TGDGAMER DY7 extend from 35-157mm. Wider ranges provide more flexibility but may result in bulkier designs. Consider your specific case layout and GPU height when choosing.
Material Choices
Tempered glass brackets like the Cooler Master offer premium aesthetics and invisible-when-off designs, but they require careful handling. Aluminum alloy provides excellent strength-to-weight ratio and is the most common material for premium brackets. Iron construction offers maximum support strength but adds weight. Acrylic diffuses RGB beautifully but scratches more easily than metal.
For heavy GPUs, I prioritize material strength over aesthetics. Zinc alloy and thick aluminum inspire confidence for flagship cards. For mid-range GPUs, you have more flexibility to choose based on RGB quality and appearance rather than raw support strength.
Case Compatibility
Before buying, measure your case carefully. Consider motherboard placement, PSU shroud design, and PCIe slot configuration. Some brackets block multiple PCI slots below the GPU, which matters if you use expansion cards like capture cards or sound cards. Vertical GPU mounts have completely different requirements – most traditional brackets won’t work with vertical mounting kits.
Compact ITX cases present unique challenges. The low-profile EZDIY-FAB Compact is designed specifically for these situations. Full towers have more flexibility but may require longer adjustment ranges to reach the optimal support point. Always verify your case has the required mounting points – screw-mounted brackets need specific hole patterns that not all cases provide.
Frequently Asked Questions
Do you really need a GPU support bracket?
For modern graphics cards, especially 3-fan models like the RTX 4080, 4090, and 5090, a GPU support bracket is highly recommended. These cards can weigh over 4 pounds, and prolonged sag puts stress on the PCIe slot and motherboard. Over time, this stress can crack solder joints, warp the PCB, and cause system instability. Lighter dual-fan cards may not absolutely require a bracket, but even mid-range GPUs benefit from the added support. Think of it as insurance – a $15-40 bracket can prevent damage to a $500-2000 graphics card.
Is vertical or horizontal GPU support bracket better?
Neither is universally better – they serve different purposes. Horizontal brackets are the standard choice for traditional GPU mounting and provide direct vertical support to counteract sag. They work with virtually any case and are easier to install. Vertical brackets are specifically for vertical GPU mounting kits where the card is mounted perpendicular to the motherboard. Vertical brackets typically attach to the case side panel rather than the floor. Unless you’re using a vertical mounting kit, stick with a horizontal bracket.
Can a GPU sag bracket cause problems?
Poorly designed or incorrectly installed brackets can cause issues. The main risks are: 1) Blocking GPU fans – if the bracket arm contacts fan blades, it can cause noise, vibration, or damage. 2) Short circuits – rare but possible if metal brackets contact exposed circuitry. 3) Interference – some brackets block PCIe slots or impede airflow. 4) Scratch damage – brackets without protective pads can mar the GPU backplate. Quality brackets include silicone padding and are designed to avoid these issues. Always position the support carefully and ensure nothing contacts fans or circuitry.
Does a RTX 4060 need a sag bracket?
The RTX 4060 is relatively lightweight compared to flagship cards, so a sag bracket is not strictly necessary. Many users run RTX 4060 cards without any support issues. However, adding a bracket can still provide peace of mind and may be worth considering if you plan to keep the card for many years. Lightweight brackets like the upHere or EZDIY-FAB models are more than sufficient for the RTX 4060 without adding significant cost. If you’re building a showcase PC with RGB, the aesthetic addition alone might justify the purchase even if sag prevention isn’t critical.
Why won’t my GPU bracket show up in RGB software?
This is one of the most common issues with RGB brackets. Potential causes: 1) Wrong header type – ensure you’re connecting to a 5V 3-pin ARGB header, not a 12V 4-pin RGB header. 2) Software detection – some brands require specific software or manual device adding. 3) Controller issues – a few brackets use proprietary controllers that may not integrate with motherboard software. 4) Daisy chain position – if the bracket is at the end of a long daisy chain, it may not be detected. 5) Faulty cable – the ARGB cable itself may be damaged. Try connecting directly to the motherboard header rather than daisy-chaining, and verify you’re using the correct 5V 3-pin connection.
Final Thoughts on the Best GPU Support Brackets with RGB Lighting
After spending months testing these brackets in various builds, my top recommendation remains the ASUS ROG Herculx for premium builds – the zinc alloy construction, included spirit level, and seamless Aura Sync integration justify the cost for serious builders. The upHere G276ARGB is my go-to budget pick that somehow delivers better RGB diffusion than brackets costing twice as much.
For showcase builds where aesthetics matter most, the Cooler Master tempered glass bracket is in a class of its own. The edge-lit design and invisible-when-off aesthetic make it worth the premium for anyone treating their PC as furniture. If you’re running a compact case with limited clearance, the EZDIY-FAB Compact is the only bracket that fits in spaces where others can’t.
Whatever your budget and build aesthetic, there’s a bracket here that will protect your GPU investment while adding some serious RGB flair. Modern graphics cards are too expensive to risk with sag-related damage – a small investment in a quality bracket now can save you from much bigger problems down the road. Choose based on your GPU weight, case layout, and RGB software ecosystem, and you’ll end up with a bracket that looks as good as it functions.