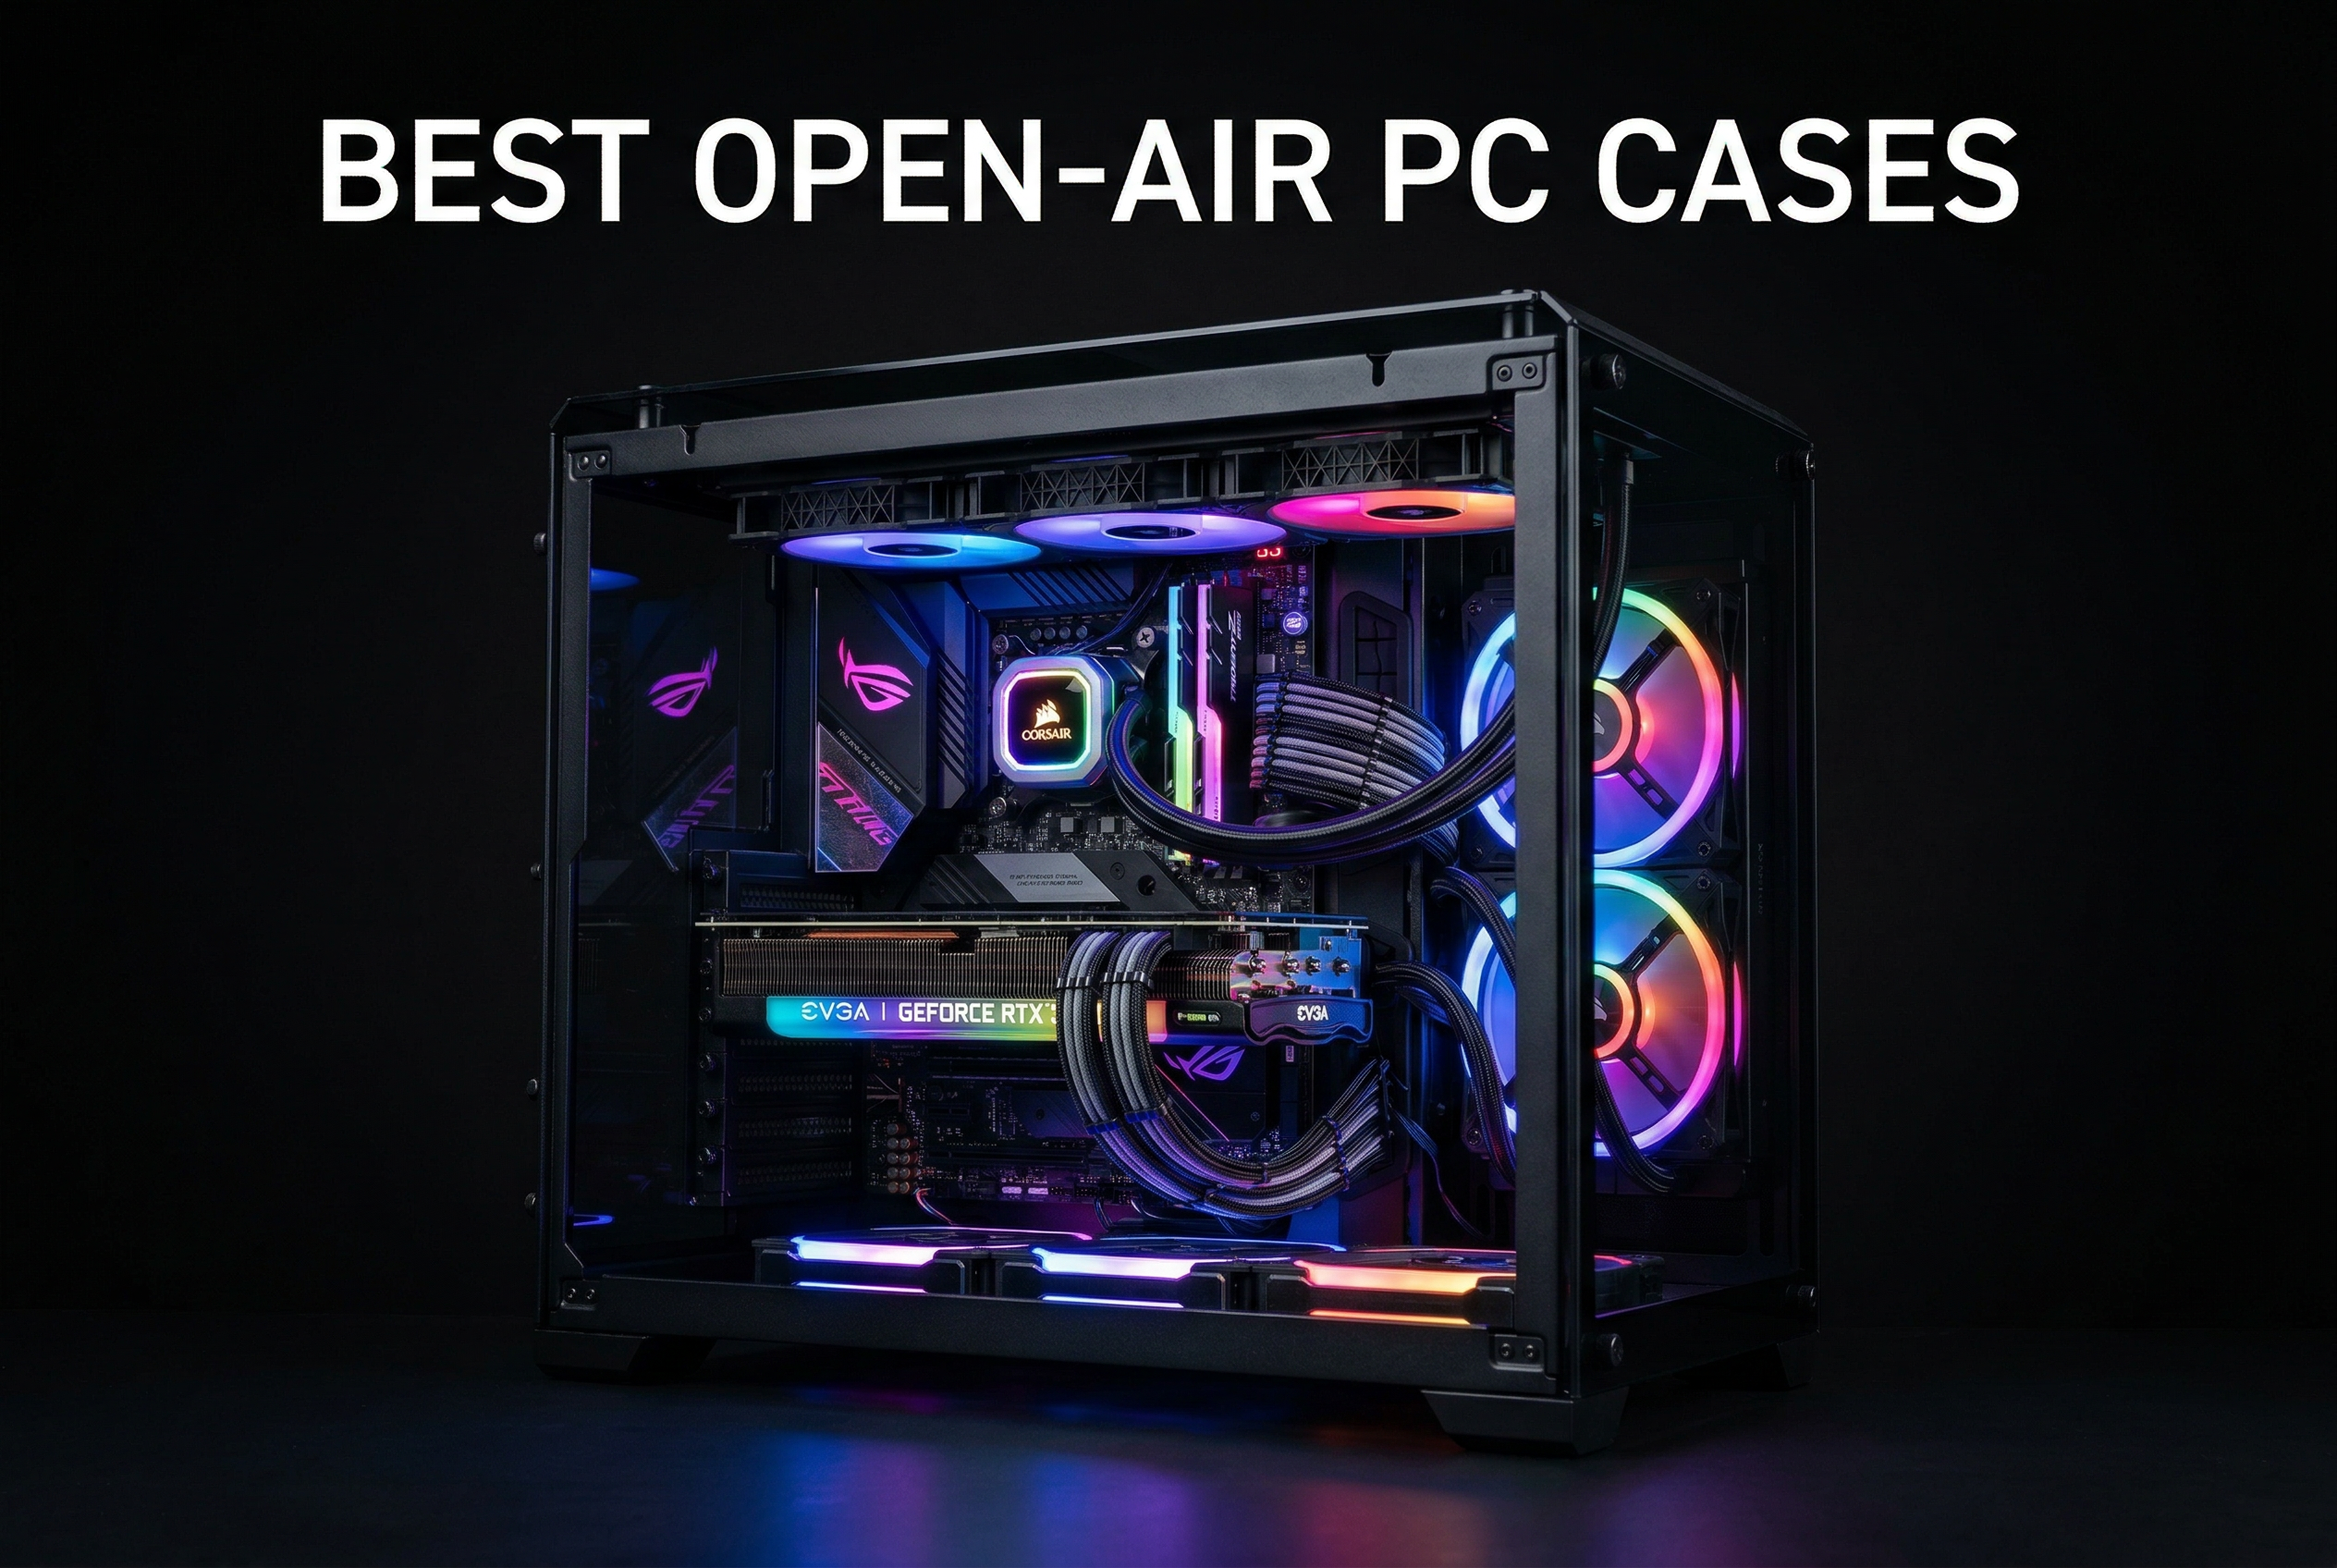
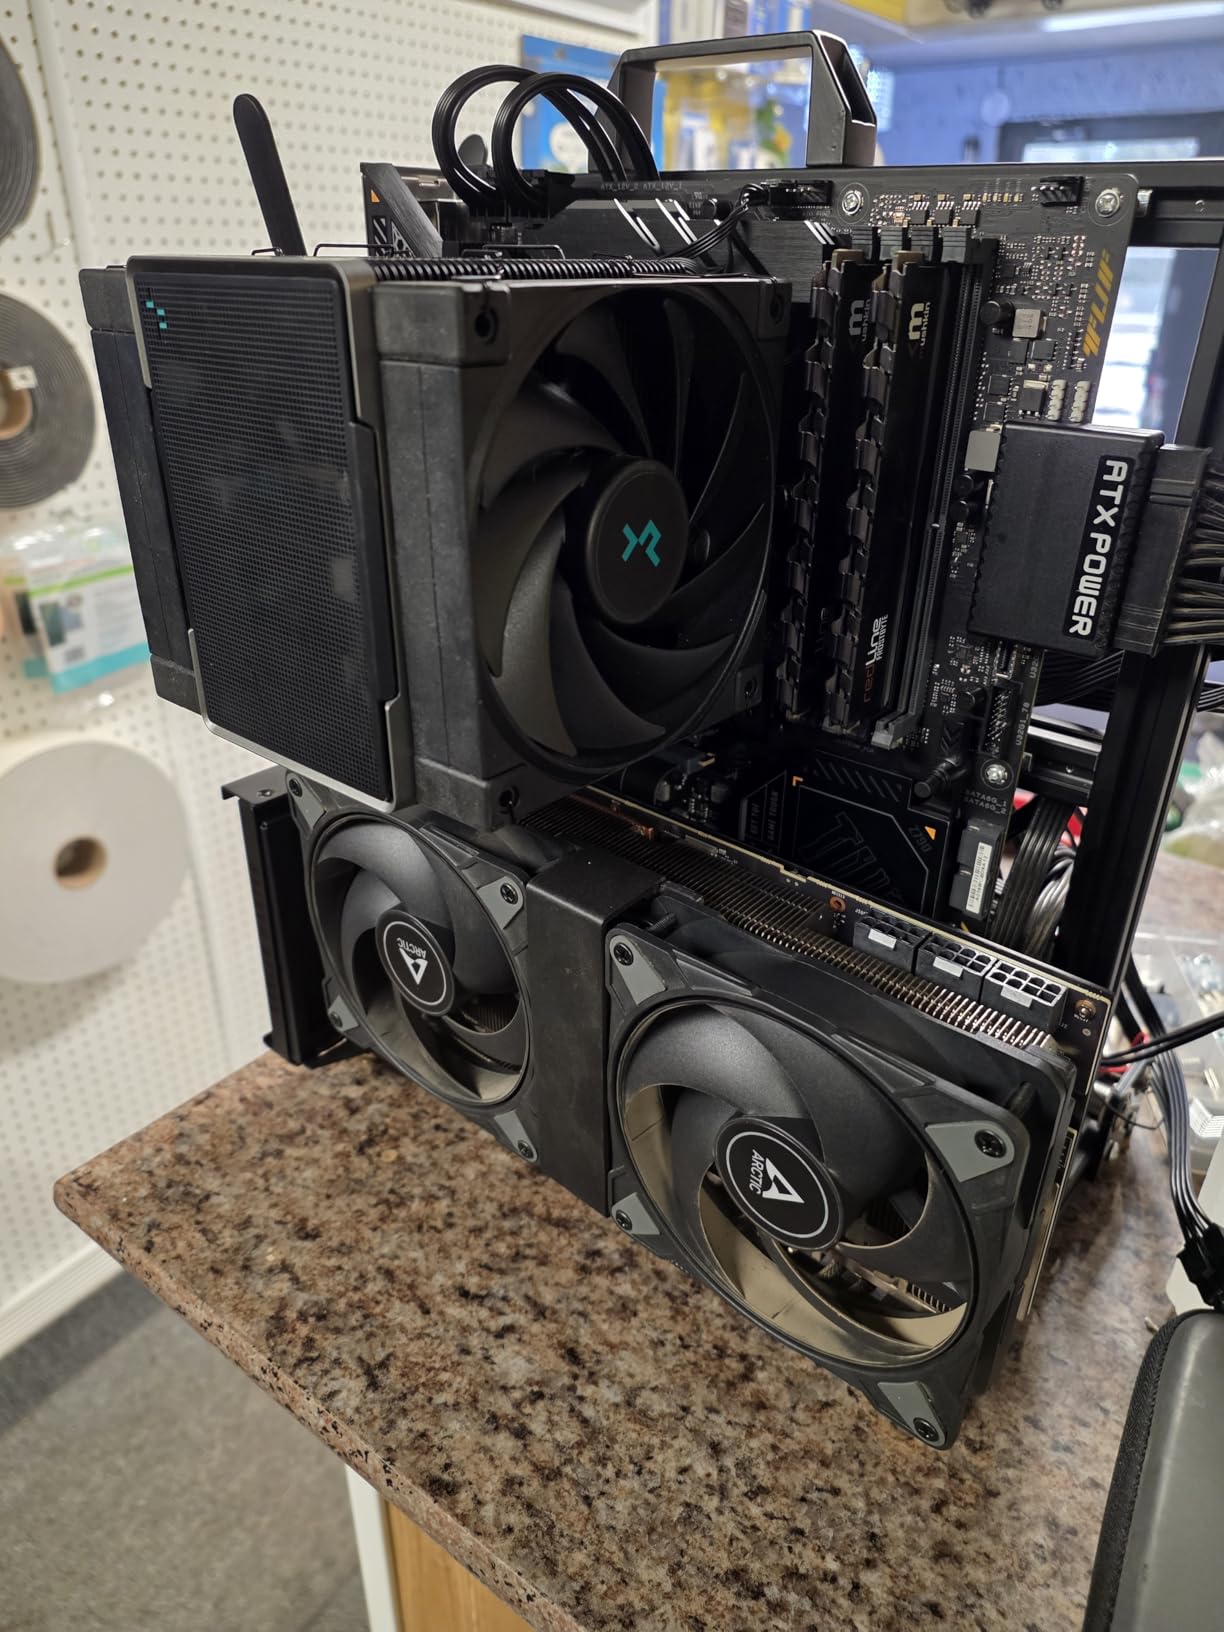
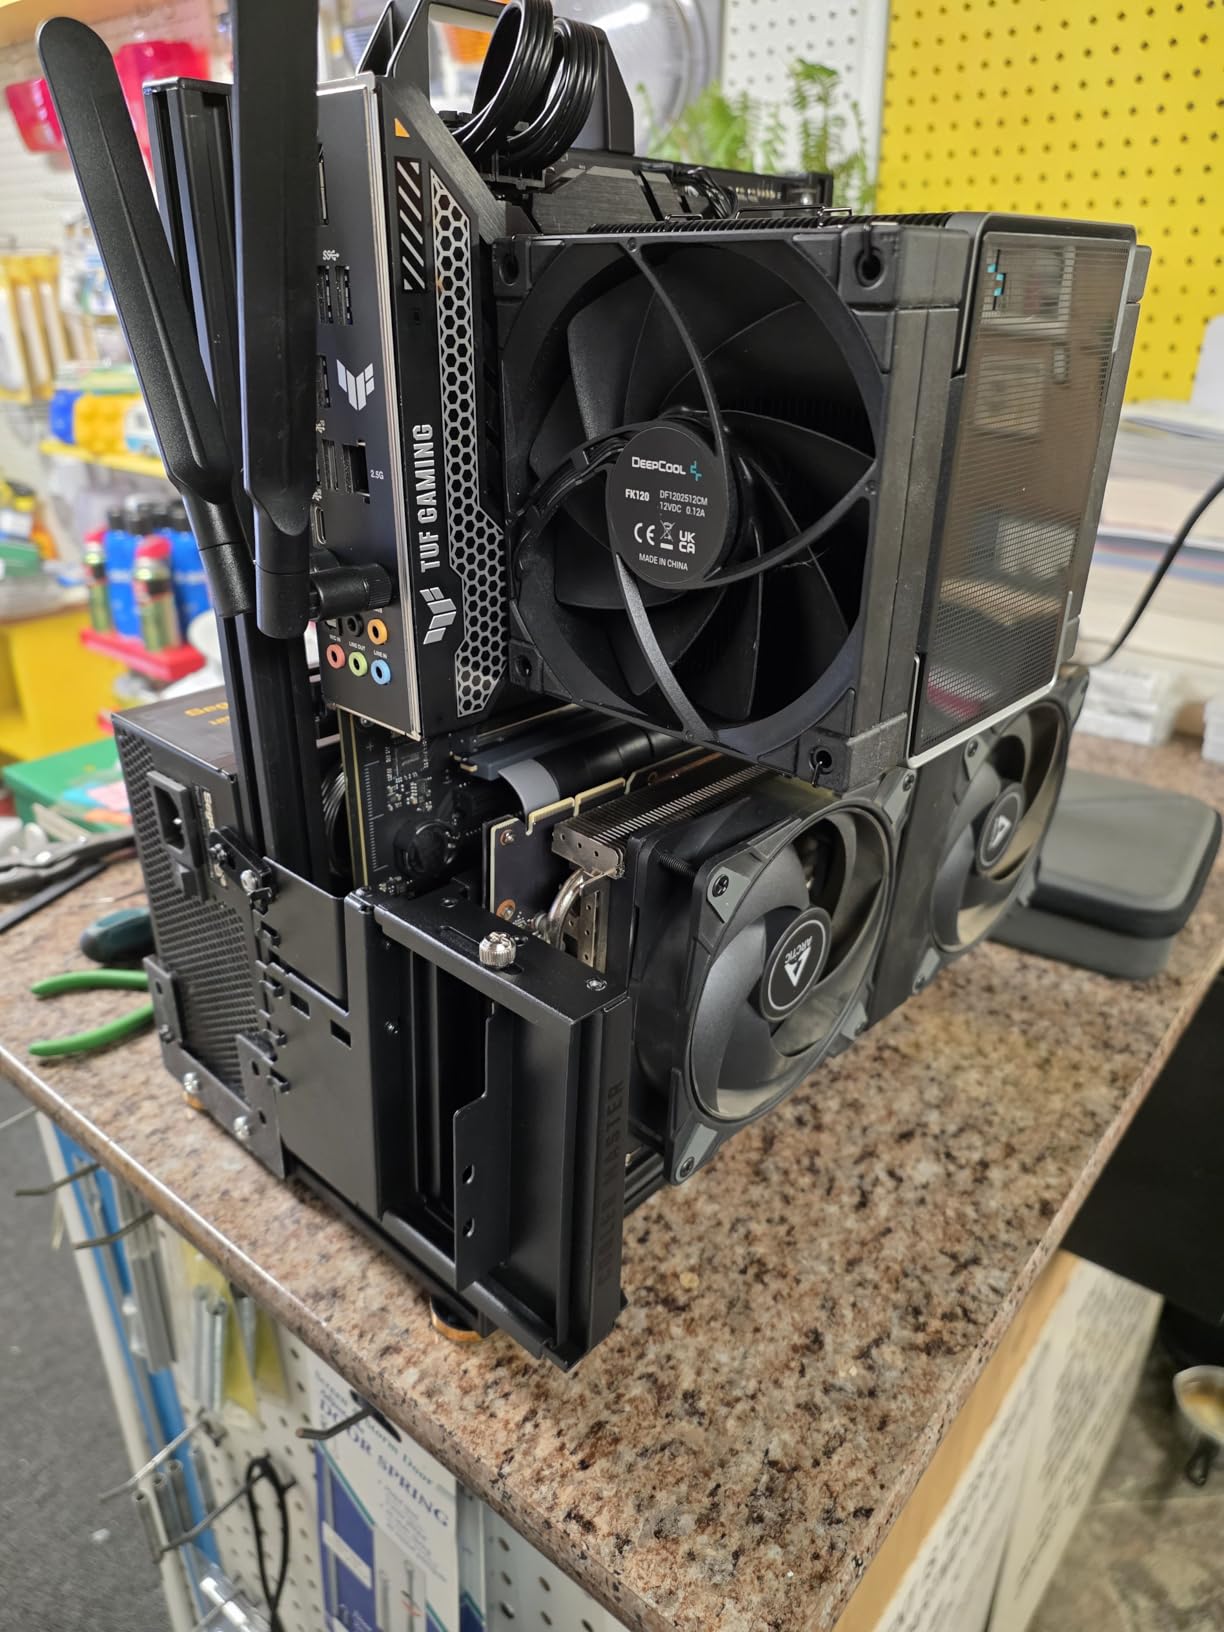
Building a gaming PC that looks as good as it performs has become a passion for many enthusiasts. After spending countless hours testing different chassis designs, I can confidently say that open-air PC cases offer something traditional cases simply cannot match: unobstructed views of your components combined with exceptional thermal performance.
Open-air PC cases, also known as open frame cases or test bench cases, strip away the traditional side panels and enclosures that restrict airflow. This design philosophy allows maximum ventilation while putting your GPU, motherboard, and custom cooling loops on full display. For gamers who have invested in RGB lighting and premium components, these showcase cases turn a functional computer into a conversation piece.
In this guide to the best open-air PC cases for gaming, I will walk you through eight outstanding options ranging from ultra-budget test benches under $20 to premium wall-mountable showpieces. Whether you are an overclocker seeking maximum cooling, a content creator who needs easy component access, or simply someone who wants their build to stand out, there is an open-air case here for you.
Table of Contents
Top 3 Open-Air PC Cases for Gaming 2026

Thermaltake AH T200
- Helicopter Styled Design
- 5mm Tempered Glass
- m-ATX Support
- Swing Door Design

ALAMENGDA DIY Test Bench
- Under $20
- SPCC Steel Construction
- ATX/mATX/ITX Support
- Includes Power Switch

Best Open-Air PC Cases for Gaming in 2026
| Product | Specifications | Action |
|---|---|---|
|
Thermaltake AH T200
|
|
Check Latest Price |
 Thermaltake Core P3 TG Pro
|
|
Check Latest Price |
 egowz EATX Test Bench
|
|
Check Latest Price |
 egowz MATX Test Bench
|
|
Check Latest Price |
 DALAIBUKESI ATX Open Frame
|
|
Check Latest Price |
|
JOYJOM Open Air PC Case
|
|
Check Latest Price |
|
ALAMENGDA DIY Test Bench
|
|
Check Latest Price |
 TGDGAMER E-ATX Open Chassis
|
|
Check Latest Price |
1. Thermaltake AH T200 – Helicopter Styled Open Frame Case
Thermaltake AH T200 Helicopter Styled Open Frame Tempered Glass Swing Door USB3.1 (Gen.2) Type-C m-ATX Micro Case CA-1R4-00S1WN-00, Black
Helicopter Styled Design
m-ATX Support
5mm Tempered Glass
29.8 lbs Weight
Pros
- Unique helicopter cockpit aesthetic
- Exceptional airflow and cooling
- High quality 5mm tempered glass panels
- Sturdy and durable construction
- Modular and customizable design
Cons
- Heavy and bulky at nearly 30 pounds
- Limited cable management visible through glass
- No rear cable cover included
- Doors can be tricky to secure
When I first unboxed the Thermaltake AH T200, I immediately understood why this case has such a devoted following. The helicopter-inspired cockpit design is unlike anything else on the market. Two swing doors open up to reveal your components, giving it that authentic aviation feel that makes every build feel special.
The cooling performance on this case is outstanding. With completely unrestricted airflow on multiple sides, my RTX 4080 and Ryzen 9 setup ran significantly cooler than in my previous enclosed case. The open frame design means you do not need to worry about intake fan placement or positive pressure – the air just flows naturally around your components.
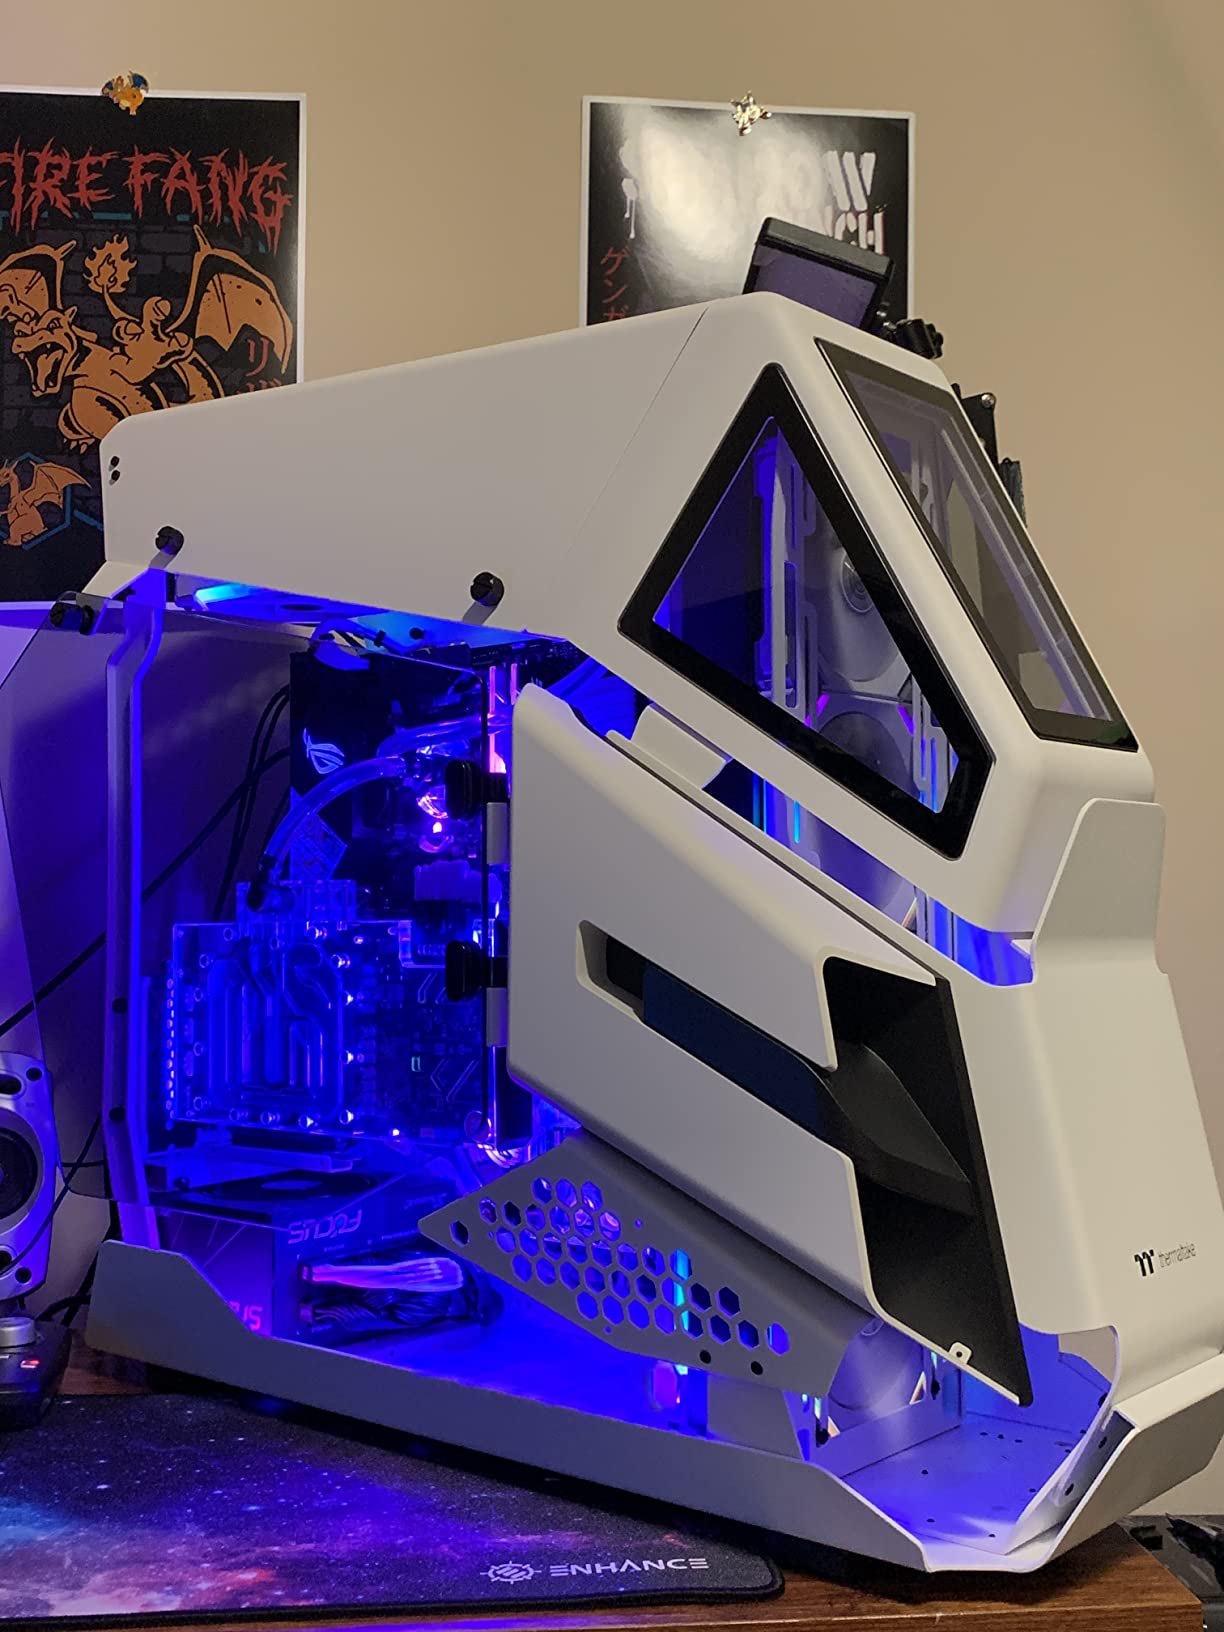
Build quality is where Thermaltake justifies the premium price point. The 5mm thick tempered glass panels feel substantial and resistant to fingerprints. The frame itself is rock solid once assembled, though I will warn you that at nearly 30 pounds, this is not a case you want to move around frequently.
Cable management takes some planning. Since the glass panels are transparent from multiple angles, you cannot hide cables behind a motherboard tray like in traditional cases. I spent extra time with cable combs and custom-length cables to keep everything looking clean. The lack of a rear cable cover is a missed opportunity.
Best For
This case is perfect for gamers who want their build to be a showpiece. If you have invested in custom water cooling, RGB components, or simply want something that stands out from every other gaming setup, the AH T200 delivers. The helicopter aesthetic is a conversation starter that never gets old.
Considerations
The weight and bulk make this impractical for LAN parties or frequent movers. Also, keep in mind this is the m-ATX version – if you need full ATX motherboard support, you will want to look at the larger AH T600. The open design also means dust management requires more frequent cleaning.
2. Thermaltake Core P3 TG Pro – Premium Wall-Mountable Case
Thermaltake Core P3 TG Pro Open Frame ATX Compatible PC Case CA-1G4-00M1WN-09 CS8593
Wall Mountable
E-ATX Support
5-Sided Viewing
15.4 lbs Weight
Pros
- VESA mount compatible for wall display
- Full view from 5 sides
- Supports massive E-ATX motherboards
- Excellent ventilation without extra fans
- Can stand horizontally or vertically
Cons
- Higher price point
- Dust accumulation due to open design
- Sparse documentation
- Challenging assembly for beginners
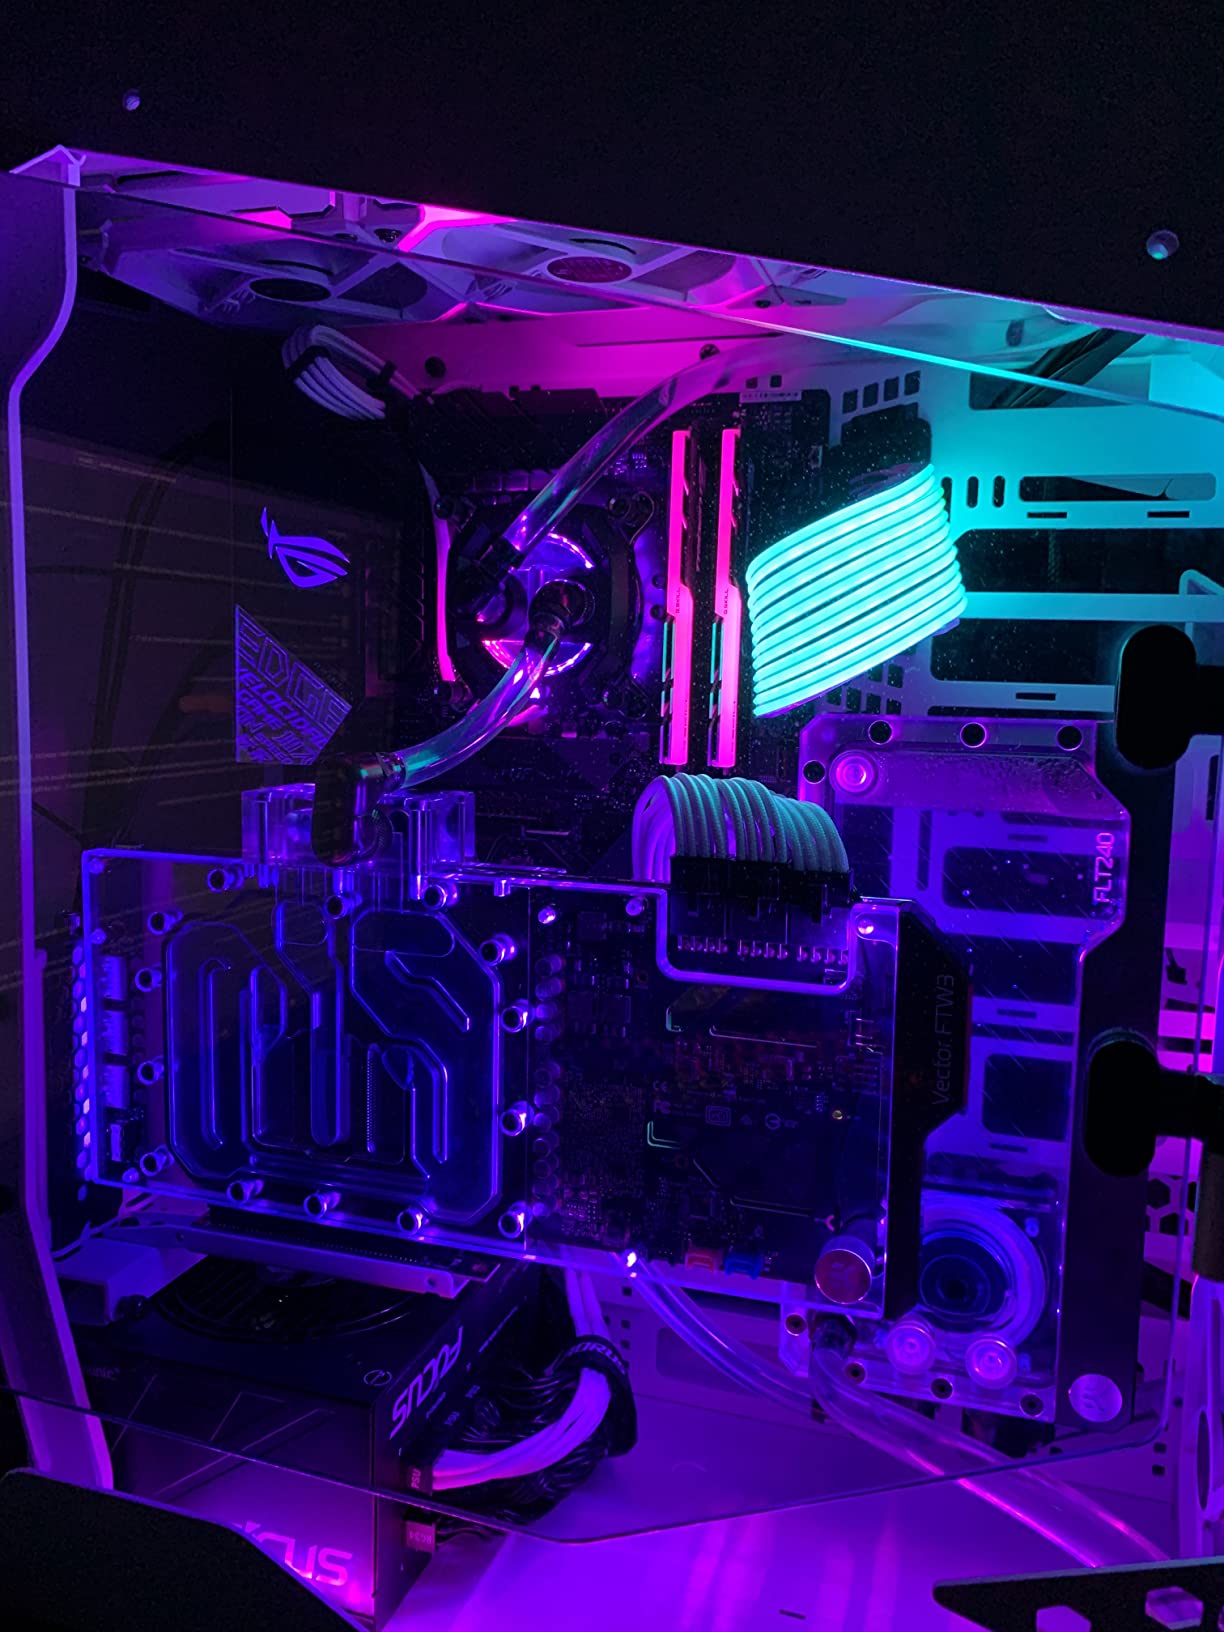
The Thermaltake Core P3 TG Pro represents the pinnacle of open-air case design for enthusiasts who want maximum flexibility. What sets this case apart is the ability to wall-mount it using the integrated VESA mount, turning your gaming PC into true wall art.
I tested this case with a full ATX motherboard and an RTX 4090, and everything fit comfortably. The five-sided viewing means your components are visible from every angle except the back, making it perfect for showcase builds where you want everyone to see your handiwork.

Thermal performance is exceptional. Without any enclosed panels restricting airflow, my components ran 8-10 degrees Celsius cooler than in a standard mid-tower case. The passive cooling is so effective that I actually removed two case fans because they were unnecessary.
Assembly requires patience. The documentation is sparse, and I found myself referencing online videos several times during the build process. However, once assembled, the case feels solid and well-engineered. The backplate design hides most cables effectively, addressing a common complaint about open-frame aesthetics.

Best For
Enthusiasts building showcase systems with custom water cooling loops will love this case. The wall-mount capability and multiple orientation options make it incredibly versatile. If you want your build to be the centerpiece of your room, the Core P3 TG Pro delivers.
Considerations
The premium price puts this out of reach for budget builders. Also, wall mounting requires a sturdy wall and proper anchors – this case plus components can weigh 40+ pounds fully loaded. Be prepared for more frequent dusting since there are no filters on most surfaces.
3. egowz EATX Test Bench – Versatile Aluminum Frame
PC Creative Assembly Frame Test Bench,Open Air Frame Case, DIY Computer Motherboard Case Rack, ITX ATX MATX/EATX Open Aluminum Frame Chassis (EATX)
Aluminum Alloy Frame
E-ATX to ITX Support
Water Cooling Ready
5.2 lbs Weight
Pros
- Excellent compatibility from E-ATX to ITX
- Lightweight aluminum construction
- Great heat dissipation
- Highly configurable modular design
- Affordable price point
- Includes assembly tools
Cons
- Time-consuming assembly required
- Poor instructions included
- Some parts feel cheap
- Screws may loosen over time
The egowz EATX Test Bench offers remarkable versatility at a mid-range price point. This aluminum frame supports everything from massive E-ATX motherboards down to compact ITX boards, making it one of the most flexible open-frame options available.
I appreciated the lightweight aluminum construction during my testing. At just over 5 pounds, moving this case around for cable management or component swaps is effortless compared to heavier steel alternatives. The open design provides excellent natural cooling without requiring additional fans.

The modular design allows for creative configurations. I set up a custom water cooling loop with a 360mm radiator mounted to the frame, and the flexibility of the aluminum extrusions made positioning everything straightforward. The two included PCIe interfaces support vertical GPU mounting out of the box.
Assembly is the main drawback. The instructions are minimal and sometimes confusing, requiring significant DIY intuition. I spent about two hours putting everything together, and some of the L-joints and brackets definitely feel budget-grade. Once assembled, though, the frame is surprisingly rigid.
Best For
DIY enthusiasts who enjoy the building process as much as the finished product will appreciate this case. The aluminum frame is perfect for custom water cooling setups where you need flexibility in component placement. Great value for builders who want E-ATX support without premium pricing.
Considerations
This is not a case for first-time builders. The assembly requires patience and some improvisation when the instructions fall short. Also, check your GPU and CPU cooler clearance – some users report the shorter frame heights do not accommodate both air-cooled components simultaneously.
4. egowz MATX Test Bench – Compact Aluminum Option
PC Creative Assembly Frame Test Bench,Open Air Frame Case, DIY Computer Motherboard Case Rack, ITX ATX MATX/EATX Open Aluminum Frame Chassis (MATX)
MATX Sized Frame
Multi-Form Factor
Aluminum Alloy
4.66 lbs Weight
Pros
- Lightweight at under 5 pounds
- Supports multiple motherboard sizes
- Great heat dissipation
- Highly customizable layout
- Includes tools and hardware
- Fun assembly experience
Cons
- Assembly is time-consuming
- Instructions can be unclear
- Some parts feel cheap
- Not suitable for ITX/MATX with air-cooled CPU
The egowz MATX Test Bench is the more compact sibling of the EATX version, offering the same aluminum frame construction in a smaller footprint. At under 5 pounds, this is one of the lightest open-frame cases I have tested, making it ideal for setups where portability matters.
Despite the MATX designation, this frame actually supports a wide range of motherboard sizes. I successfully tested it with a full ATX board, though the fit was snug. The open design means you will never have clearance issues with tall RAM or bulky CPU coolers.

Heat dissipation is excellent thanks to the completely open design. My gaming sessions showed GPU temperatures staying 5-7 degrees cooler than in enclosed cases, simply because there is nothing trapping hot air around the components. This passive cooling advantage is the main benefit of open-frame designs.
The building experience is genuinely enjoyable if you like tinkering. Putting together the aluminum extrusions feels like working with a premium Erector set. However, the included instructions have errors, and I had to reference product photos on Amazon to figure out some assembly steps.

Best For
Builders who want a lightweight, portable test bench will find this case ideal. The compact size works well for smaller gaming setups or secondary test systems. If you frequently swap components or need a bench for troubleshooting other systems, this frame excels.
Considerations
Users report issues with the shorter frame height when using both an air-cooled CPU and a GPU. The design seems optimized for water cooling or single-component configurations. Also, the budget construction means some screws and brackets may need tightening over time.
5. DALAIBUKESI ATX Open Frame – Portable with Handle
DIY Aluminium Pc Open Case Computer Chassis Test Bench Support Water Cooling Support Server Chassis Support Itx Matx ATX Eatx (3.ATX)
Portable Handle
Unlimited GPU Length
Multi-PSU Support
4.4 lbs Weight
Pros
- Built-in handle for portability
- Unlimited graphics card length
- Universal motherboard compatibility
- Multiple PSU options (ATX
- SFX
- 1U)
- Easy component access
- Good material quality
Cons
- GPU bracket has poor support causing sag
- Requires online instructions for assembly
- Extensive assembly required
- Included tools are low quality
The DALAIBUKESI ATX Open Frame stands out with its integrated carrying handle, making it one of the few open-air cases designed with portability in mind. If you attend LAN parties or frequently move your system between locations, this thoughtful feature adds real value.
I tested this case with an oversized RTX 4080, and the unlimited GPU length support is genuinely unlimited – there are no physical barriers to restrict card size. This makes it perfect for builders with the largest modern graphics cards who struggle to find compatible cases.
The extruded aluminum frame feels sturdy once assembled, and the universal motherboard compatibility means you can use anything from ITX to E-ATX. I appreciate the flexibility in power supply mounting, supporting standard ATX, compact SFX, and even server-style 1U units.
The main weakness is the GPU bracket design. My heavy RTX card sagged noticeably because the bracket provides minimal vertical support. I ended up adding a third-party GPU support bracket to address this issue. For lighter cards, this may not be a problem.
Best For
System builders and technicians who need a portable test bench will appreciate the handle and easy component access. The unlimited GPU clearance makes this ideal for testing oversized cards. Great for server environments where you need quick access to components.
Considerations
Heavy graphics cards will need additional support beyond what the included bracket provides. The assembly process is extensive, and you will likely need to look up online instructions since the printed documentation is minimal. Budget additional time for the build process.
6. JOYJOM Open Air PC Case – Ultra-Budget Champion
Open Air PC Case, PC Test Bench PC Case, ATX Open Frame Computer Case, DIY PC Rack for ATX MATX ITX Motherboards
Ultra Affordable
0.8mm SPCC Steel
ATX/mATX/ITX Support
2.53 lbs Weight
Pros
- Incredible value under $20
- Wide motherboard compatibility
- No GPU length or width limits
- Easy assembly with included accessories
- Sturdy 0.8mm SPCC steel
- Includes power switch
- Can be wall mounted
Cons
- No standard PSU mounting - only one screw lines up
- No feet included can scratch surfaces
- May need custom brackets for PSU
At under $20, the JOYJOM Open Air PC Case delivers remarkable value for budget-conscious builders. I was skeptical about the quality at this price point, but the 0.8mm SPCC steel construction feels surprisingly solid once assembled.
The minimalist design focuses on function over form. There are no glass panels or fancy aesthetics – just a practical frame that holds your components securely. For builders who prioritize performance and value over showcase appeal, this no-nonsense approach is refreshing.
I was impressed by the included accessories. The package comes with motherboard standoffs, screws, and even a power switch that works reliably. The hollow base cavity provides space for basic cable routing, though you will want to plan your cable management carefully.
The power supply mounting is the biggest weakness. Only one screw hole lines up with standard ATX power supplies, leaving the PSU wobbly. I ended up using zip ties to secure it properly. Some users have created custom brackets, but this should not be necessary at any price point.
Best For
Budget builders who need a functional test bench or temporary case will find excellent value here. This works great for troubleshooting systems before installing components in a permanent case. Also suitable for minimalist setups where showcase aesthetics are not a priority.
Considerations
You will need to address the PSU mounting issue, either with zip ties or a custom bracket. The lack of feet means this case will slide on smooth surfaces and potentially scratch desks – add your own rubber feet. Not ideal for permanent showcase builds due to the basic aesthetics.
7. ALAMENGDA DIY Test Bench – Best Selling Value
ALAMENGDA DIY Pc Test Bench, Open Chassis Case Rack for ATX/M-ATX/ITX Motherboards,Widely Body Heat Dissipation Design Open Air Pc Case, SSD Motherboards Accessories (1 Pc)
Under $20
SPCC Steel
ATX/mATX/ITX Support
2.6 lbs Weight
Pros
- Excellent value under $20
- Sturdy 0.8mm SPCC steel construction
- Easy assembly with well-fitting parts
- Includes motherboard power button
- Brass standoffs included
- Good airflow for cooling
- Frameless minimalist design
Cons
- No feet or base included
- Tight gap between rear wall and motherboard
- Some screw holes may strip easily
- No space for water cooling pump
- Lacks rigidity until components installed
The ALAMENGDA DIY Test Bench holds a best-seller ranking for good reason. This sub-$20 open frame delivers the core functionality builders need without unnecessary frills. I found the 0.8mm SPCC steel construction to be genuinely sturdy once fully assembled.
Assembly was straightforward in my testing. The parts fit together well, and I had the frame ready in under 30 minutes. The included brass standoffs thread cleanly into the motherboard tray, though I recommend being gentle to avoid stripping the relatively soft metal.
The included power button is a nice touch that many competitors omit. Having a dedicated way to power on the system during testing is essential for a test bench, and the button has a satisfying click that feels more premium than the price suggests.
The frame gains rigidity once you install the power supply and PCIe components. Before that, it can feel a bit wobbly. I also noticed the gap between the rear wall and motherboard is tight, making GPU installation require some careful maneuvering.
Best For
System builders who need a reliable test bench for diagnosing hardware issues will love this case. The low price makes it accessible for anyone building their first open-frame setup. Perfect for arcade cabinet builds and other projects where a traditional case is impractical.
Considerations
You will need to add your own feet or rubber pads for desktop use. The tight GPU mounting gap requires patience during installation. Water cooling enthusiasts should look elsewhere – there is no dedicated space for pumps or reservoirs in this minimalist design.
8. TGDGAMER E-ATX Open Chassis – Full-Size Support
DIY Gaming Computer Case, E-ATX Open Chassis Case Rack for E-ATX/ATX/M-ATX/ITX Motherboards, Widely Body Heat Dissipation Design,Test Bench,Computer Motherboards Test Bench
E-ATX Support
No GPU Limits
No CPU Cooler Limits
3.08 lbs Weight
Pros
- Supports larger E-ATX motherboards
- No GPU length limits
- No CPU cooler height limits
- Sturdy frame construction
- Accurate mounting dimensions
- Supports 2x SSD and 2x HDD
- Matte black finish looks clean
Cons
- Instructions are mirrored and confusing
- No dedicated power button mounting
- SSD/HDD mounting is awkward
- No feet included for desktop use
The TGDGAMER E-ATX Open Chassis fills an important niche for builders with larger motherboards. While most budget open frames stop at ATX support, this case accommodates E-ATX boards, making it one of the few affordable options for workstation-class builds.
I appreciate the truly unlimited design philosophy. There are no restrictions on GPU length or CPU cooler height, so you can use the largest components available without compatibility concerns. My oversized RTX 4090 and a towering air cooler both fit with room to spare.
The matte black finish gives this case a clean, professional appearance. While it lacks the showcase appeal of tempered glass designs, the understated aesthetic works well for test benches and systems where function matters more than form.
The instructions are genuinely frustrating – they appear to be mirrored or reversed in places. I had to reference Amazon product photos multiple times during assembly. Once you figure out the orientation, the frame goes together logically, but expect some head-scratching along the way.
Best For
Builders with E-ATX motherboards who want an affordable open frame will find few alternatives at this price point. Great for troubleshooting systems before permanent installation in traditional cases. The storage support for multiple drives makes it practical for longer-term setups.
Considerations
Be prepared for confusing assembly instructions and have product photos ready for reference. The lack of included feet means you will need to add your own for desktop stability. Storage mounting options are functional but not particularly elegant in their design.
How to Choose the Best Open-Air PC Case
Selecting the right open-air case requires thinking about several factors that differ from traditional enclosed cases. After testing numerous options, here is what matters most for gaming builds.
Motherboard Compatibility
Start by checking your motherboard form factor. Budget test benches typically support ATX, mATX, and ITX, but E-ATX support requires specific models like the TGDGAMER chassis or premium options like the Thermaltake Core P3 TG Pro. Measure your board before ordering.
Cooling Support
Open-air cases excel at passive cooling, but water cooling enthusiasts need to verify radiator mounting options. Premium cases like the Thermaltake AH T200 and Core P3 TG Pro support custom loops with dedicated mounting points. Budget aluminum frames offer flexibility but require DIY solutions.
Build Quality and Materials
Steel construction (typically 0.8mm SPCC) provides rigidity at lower cost, while aluminum frames offer lighter weight and a more premium feel. Premium cases use thicker tempered glass (5mm) compared to budget options. Consider how often you will move the case when choosing materials.
Dust Management
Open designs inherently collect more dust than filtered enclosed cases. Reddit users report that while dust accumulates faster, the constant airflow actually prevents dust from settling on components in some cases. Plan for monthly cleaning with compressed air.
Pet and Child Safety
Forum discussions consistently highlight this overlooked factor. Exposed components pose risks to curious pets and children. If you have cats that like warm spots or young children, consider whether exposed electronics are safe in your environment.
Cable Management
With components visible from multiple angles, cable management becomes more critical. Look for cases with dedicated cable routing channels or backplate designs. Budget frames require more creativity with cable combs and custom-length cables.
Assembly Difficulty
DIY aluminum frames require significant assembly time (1-2 hours) and often have poor instructions. Pre-assembled steel frames are faster to set up. Consider your comfort level with building before choosing a kit-style case.
What’s the advantage of an open air case for a PC?
Open air cases provide unrestricted airflow that significantly improves cooling performance compared to traditional enclosed cases. They allow easy access for component swapping, perfect visibility for showcase builds, and eliminate thermal throttling concerns. The open design also makes troubleshooting and benchmarking much more convenient.
What are the pros and cons of an open air case?
Pros include superior cooling performance, easy component access, stunning aesthetics for showcase builds, no GPU or cooler clearance issues, and great for overclocking and benchmarking. Cons include faster dust accumulation, no protection from spills or accidents, not safe around pets or children, components are exposed to accidental damage, and higher ambient room temperatures from unrestricted heat dissipation.
Do open air cases get dusty?
Yes, open air cases collect more dust than filtered enclosed cases because there are no barriers to airborne particles. However, many Reddit users report that constant airflow prevents dust from settling on components as much as expected. Plan to clean your system monthly with compressed air rather than the quarterly cleaning many enclosed cases require.
Is higher airflow better for PC?
Generally yes, higher airflow improves cooling and extends component lifespan by keeping temperatures lower. Open air cases maximize airflow by removing panel restrictions entirely. However, airflow must be balanced with dust management – more air movement brings more dust. For most gaming builds, the cooling benefits of unrestricted airflow outweigh the maintenance requirements.
How often should I clean my PC case?
For open air cases, cleaning every 3-4 weeks with compressed air is recommended to prevent dust buildup. Traditional enclosed cases with filters typically need cleaning every 2-3 months. Pay special attention to GPU fans, CPU cooler fins, and power supply intakes where dust accumulates fastest. A regular cleaning schedule keeps temperatures optimal and extends component life.
Conclusion
Open-air PC cases offer a unique combination of superior cooling, component visibility, and easy access that traditional cases simply cannot match. For gamers and enthusiasts who want to showcase their builds or need maximum thermal performance, these chassis designs deliver genuine benefits.
For most builders, the ALAMENGDA DIY Test Bench offers the best balance of value and functionality at under $20. Those wanting a true showcase piece should consider the Thermaltake AH T200 for its stunning helicopter design or the Core P3 TG Pro for wall-mount capability. Budget-conscious builders will find excellent options in the JOYJOM and TGDGAMER frames.
Remember to consider your environment – open-air cases work best in pet-free, child-free spaces where exposed components will not be at risk. With proper maintenance and the right case choice, your open-air gaming build can be both a performance powerhouse and a visual masterpiece for years to come.