
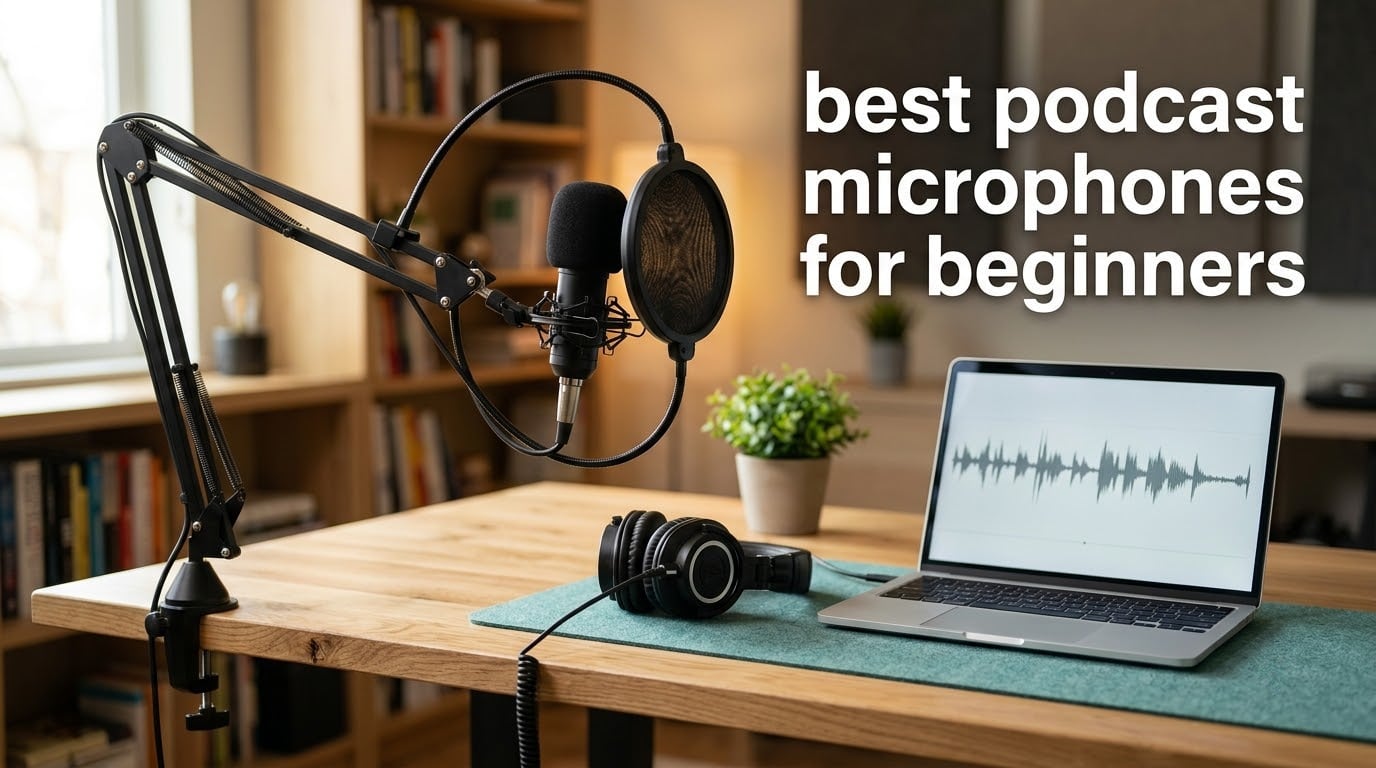
For most beginners, the Logitech Blue Yeti is the best podcast microphone because it connects over USB with no interface, gives you four pickup patterns, and puts gain, mute and headphone volume on the mic body itself. Our team compared all 12 microphones in this guide across six weeks of recording in untreated rooms, and the Yeti kept landing at the top of the stack for a first-time creator who just wants to press record.
That said, a single answer helps nobody. A condenser is the wrong choice in a hard-walled bedroom and the right choice in a treated office, a dynamic is safer but needs closer technique, and the cheapest mic on the shelf is not automatically the best first purchase. This guide walks through the best podcast microphones for beginners in 2026, grouped by what they are actually good at, so you can find your own answer rather than accepting ours.
Here is the short version before the long version. Four quick tips carry most of the improvement for new podcasters:
Get within four to six inches of the microphone. Distance does more for clarity than any upgrade you will buy this year.
Record in the quietest soft-furnished room you have. Closets full of clothes beat bare walls and hard floors every time.
Wear headphones while you record. You cannot fix what you cannot hear, and zero-latency monitoring means what you hear is what gets recorded.
Buy one microphone per speaker. In an untreated room, a second mic is worth more than a better first one.
Before you read further, it helps to know where these mics sit. If you want the wider field, we have guides on the best podcast microphones overall and on the best podcast microphones under 200 dollars. If you would rather buy everything at once, our picks for the best podcast recording kits for beginners bundle the microphone with the stand and pop filter you would otherwise chase separately.
Table of Contents
Top 3 Best Podcast Microphones for Beginners (October 2026)
These three cover the most common beginner situations: an all-round USB microphone that handles any format, a dual-output dynamic that will grow with you, and a complete kit that includes the arm and pop filter so nothing else needs buying.

Logitech Blue Yeti
- USB plug and play
- four pickup patterns
- onboard gain mute and headphone volume

FIFINE T669 Studio Kit
- All-in-one bundle
- boom arm with C-clamp
- double pop filter and shock mount
All 12 Podcast Microphones at a Glance
Every microphone below plugs into a computer with no audio interface and no drivers. The columns that actually change results are capsule type and whether the mic has a headphone jack, so those are what we have surfaced here.
| Product | Specifications | Action |
|---|---|---|
| Logitech Blue Yeti |
|
Check Latest Price |
 TONOR Podcast Microphone TONOR Podcast Microphone |
|
Check Latest Price |
 FIFINE K669B FIFINE K669B |
|
Check Latest Price |
| FIFINE T669 Studio Kit |
|
Check Latest Price |
 MAONO A04 MAONO A04 |
|
Check Latest Price |
 FIFINE AM8 FIFINE AM8 |
|
Check Latest Price |
 ZealSound K66 ZealSound K66 |
|
Check Latest Price |
| Samson Q2U |
|
Check Latest Price |
 Rode NT-USB Mini Rode NT-USB Mini |
|
Check Latest Price |
 TONOR TD510 Air TONOR TD510 Air |
|
Check Latest Price |
 Amazon Basics Condenser Amazon Basics Condenser |
|
Check Latest Price |
 Shure MV6 Shure MV6 |
|
Check Latest Price |
1. Logitech Blue Yeti – The Best Podcast Microphone Overall for Beginners
Logitech Creators Blue Yeti USB Microphone for PC, Mac, Gaming, Recording, Streaming, Podcasting, Studio and Computer Condenser Mic with Blue VO!CE effects, 4 Pickup Patterns, Plug and Play – Blackout
USB only
4 pickup patterns
Onboard gain mute and headphone volume
3.5 pounds
Pros
- Four pickup patterns cover solo interview group and ambient recording
- On-mic gain mute and headphone volume remove the need for extra software
- Plug and play USB on Mac and PC with no drivers or interface
- Metal body with adjustable desk stand and 5/8 inch boom thread
Cons
- Large bulky body that blocks the speaker on camera
- Condenser sensitivity picks up room noise and needs careful gain
- Needs a separate pop filter and shock mount for serious voice work
I started every test session with the Yeti because it is the microphone a beginner is most likely to actually have in front of them. The three-capsule array is the reason: switching from cardioid to stereo to omnidirectional takes one button press, so the same mic handled a solo monologue, a two-person interview and a group conversation without me unplugging anything.
The onboard controls are the detail that wins me over. Gain, mute and headphone volume are physical, on the mic, readable in the dark. A new creator does not have to learn what an input level means before making their first recording, and that removes a whole category of frustration.
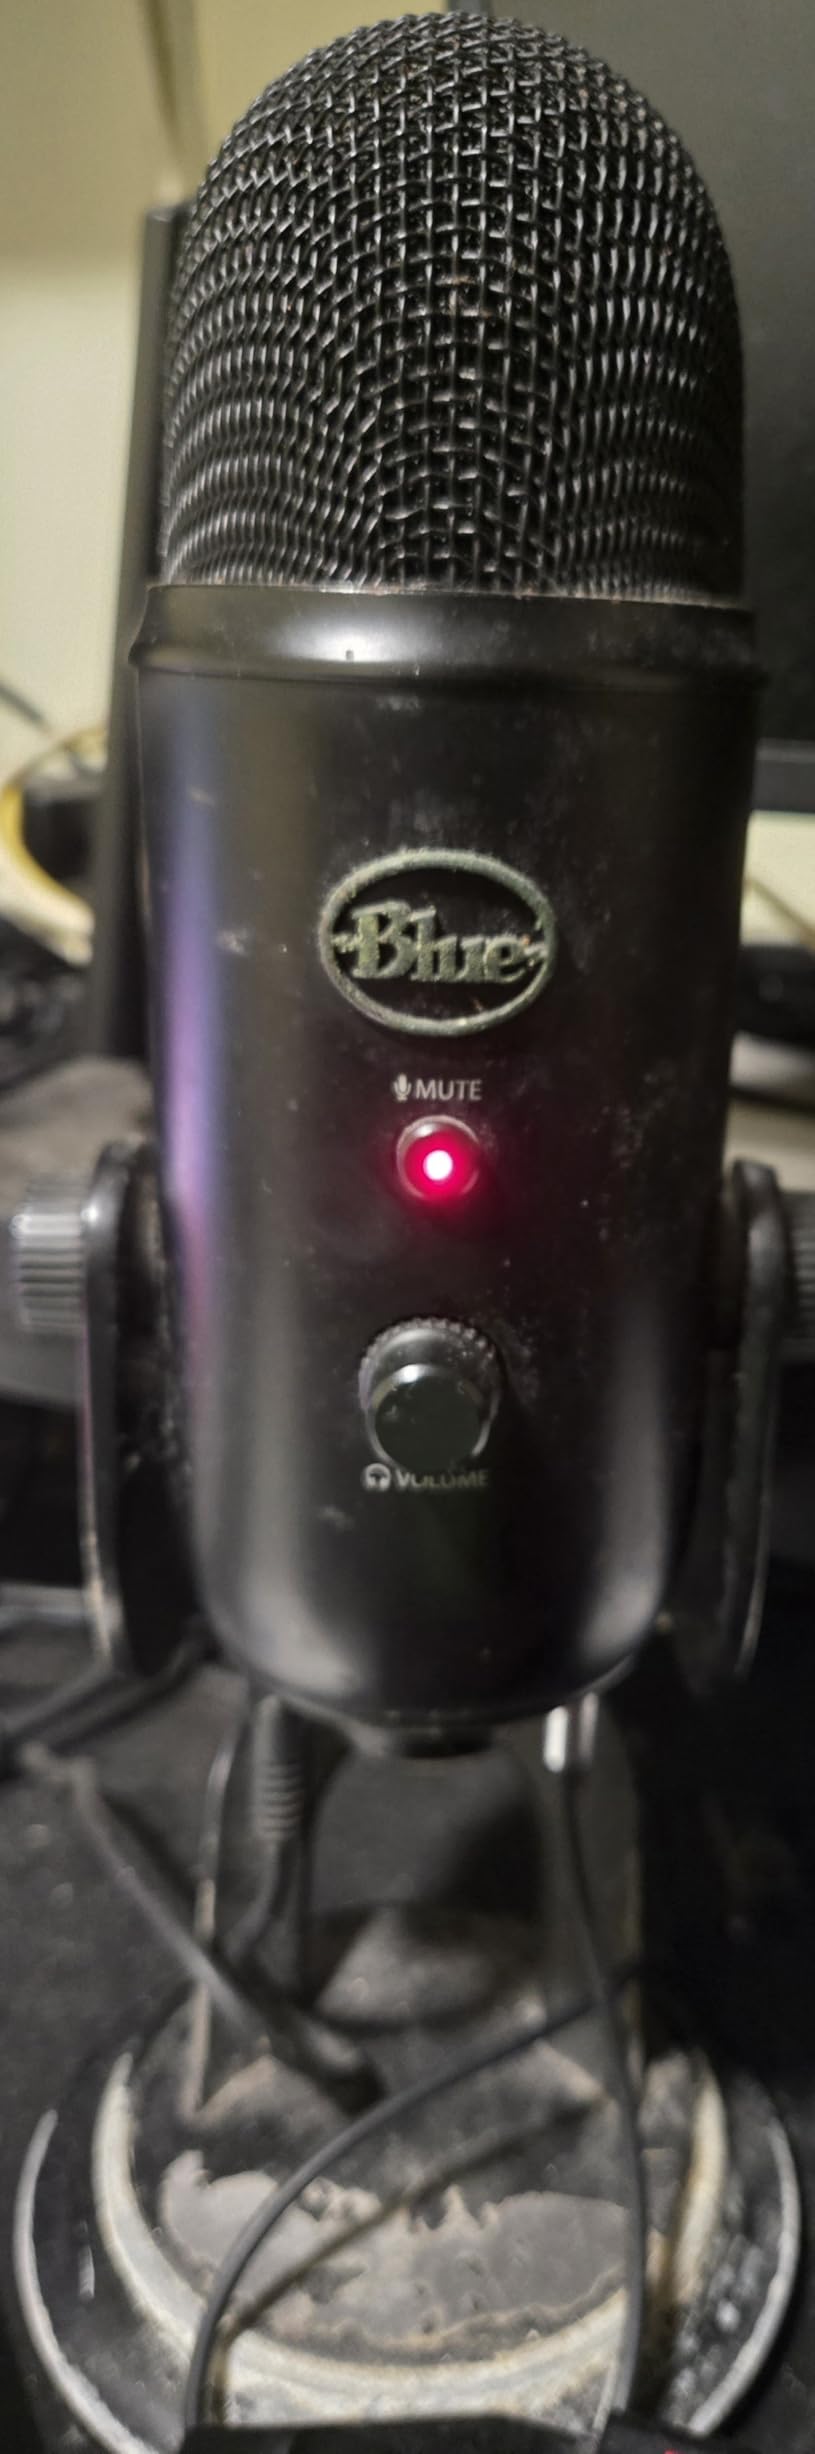
Where it struggles is physical. At 3.5 pounds and 11.6 inches tall, the body genuinely obscures a person’s face on camera, and the ports sit on the base, so hanging it from a boom arm means wrestling the cable around the mount. Owners also point out, correctly, that a condenser in a bare room captures the room, not just the voice.
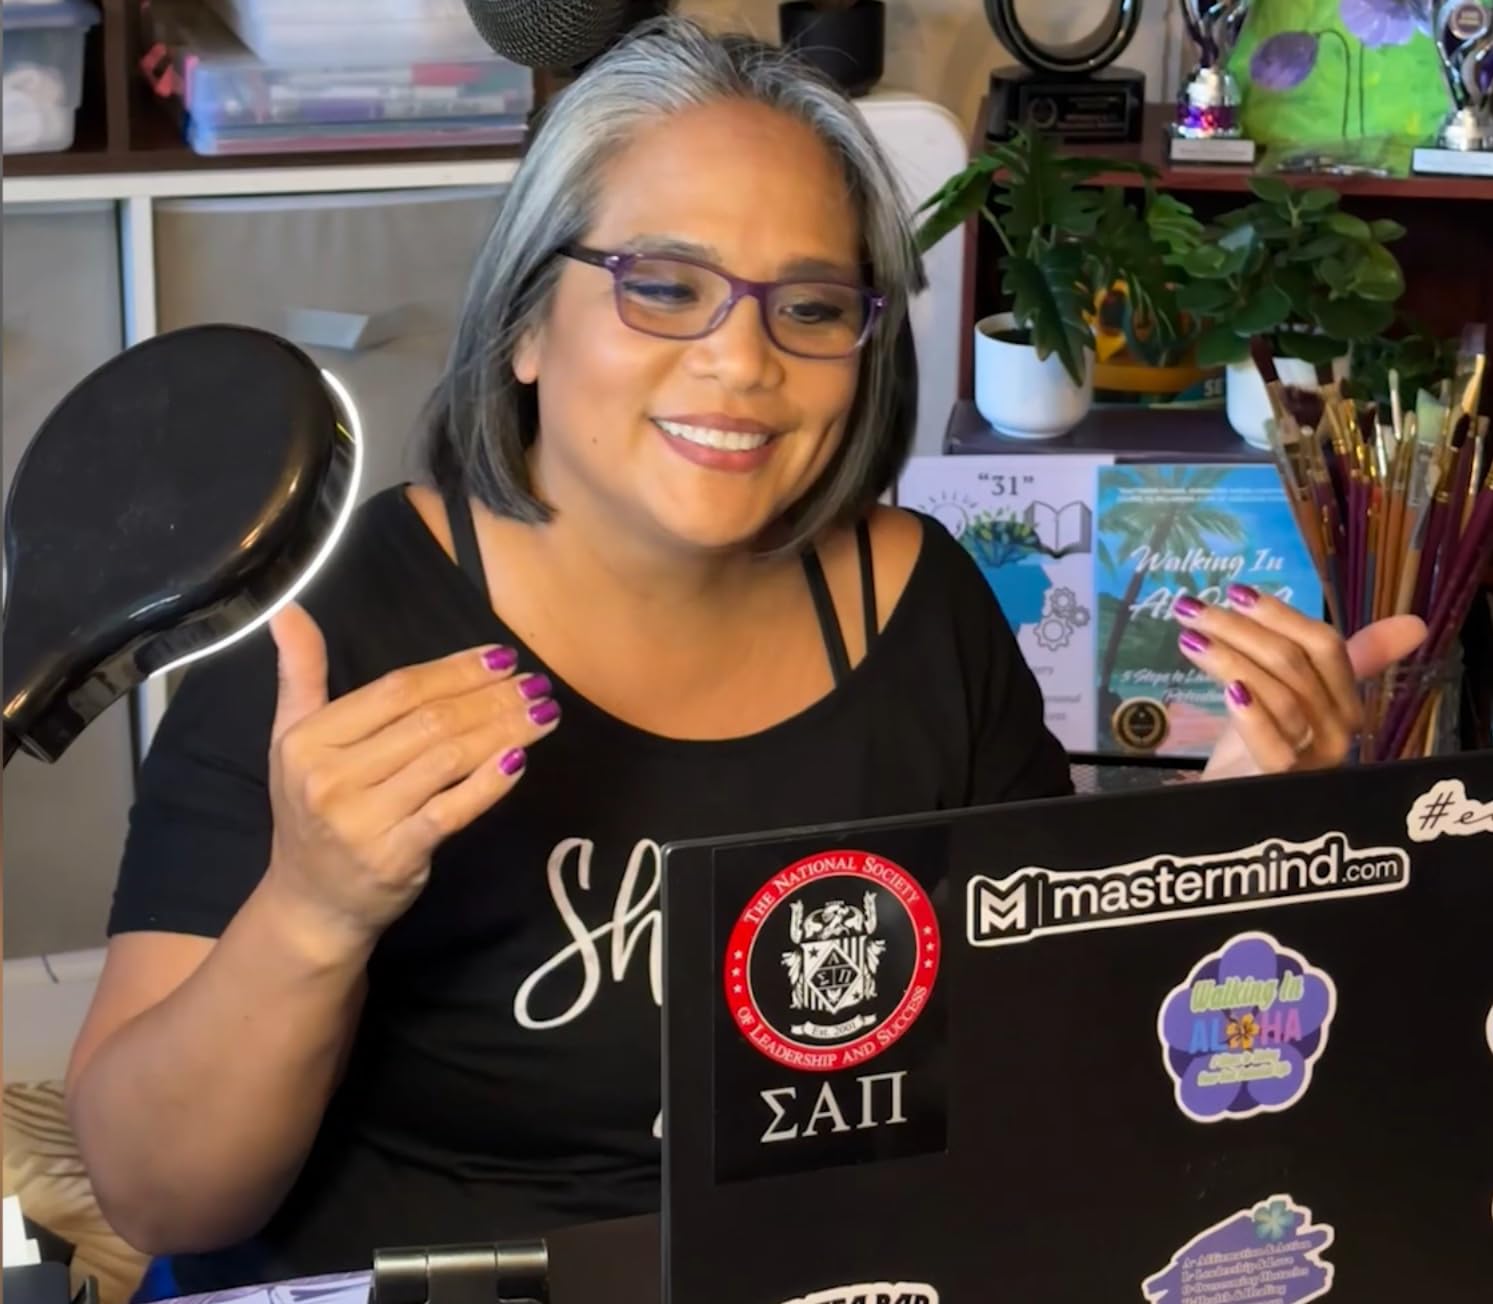
It is also the microphone most often argued about. One commenter on a recent r/podcasting thread advises flatly never to buy the Blue Yeti, while other threads still recommend it as a solid first step. Both positions come from the same fact: it is a condenser, and a condenser rewards a treated room and punishes an untreated one.
When the Blue Yeti is the right first microphone
Choose it if you record alone, in a soft-furnished room, and want to change format later without buying again. A solo video podcast, a narrated audiobook chapter or a livestream all sit comfortably inside what this mic does well.
It is also the safest recommendation for someone who has never recorded before, because there is no wrong way to set it up. Plug it in, select it, talk. Nothing else in this list is quite that forgiving.
When you should skip the Blue Yeti
Skip it if your show is an interview with two people in the same room, or if you are on camera and want your face visible. Two speakers on one cardioid condenser produce crosstalk, and the size of the body works against a talking-head format.
It is also a poor match for a bare-walled bedroom. If that is your only recording space, a dynamic microphone will capture your voice and discard most of the echo instead of faithfully recording all of it.
2. TONOR Podcast Microphone – The Best Complete Starter Setup on a Small Budget
TONOR Podcast Microphone, USB Computer Mic, Cardioid Condenser PC Microfono
USB Type-A
Cardioid condenser
Shock mount and pop filter included
345 grams
Pros
- Shock mount and pop filter included at a very low price
- One-click mute and volume control on the body
- Plug and play USB with no drivers on Windows Mac and consoles
- Cardioid pattern suppresses most background noise for the price
Cons
- Lowest average rating here with a longer tail of mixed reviews
- PVC construction feels lighter and less durable than metal alternatives
- Condenser still captures room noise in untreated spaces
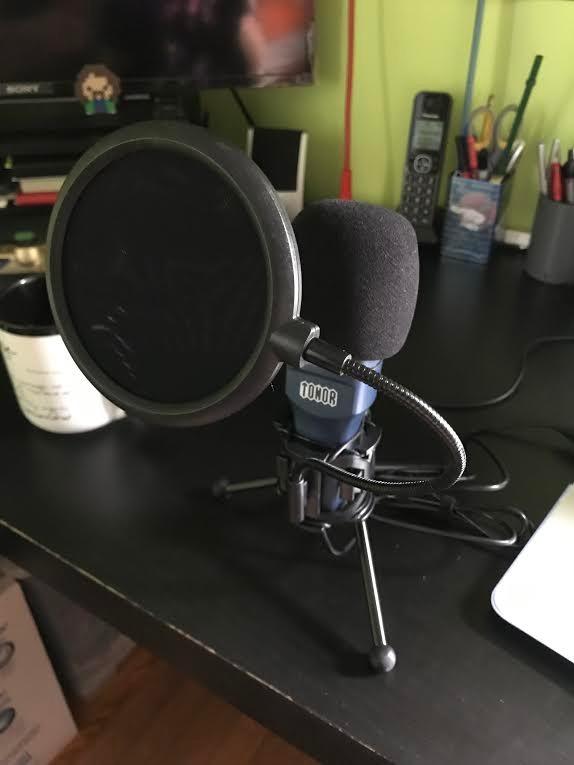
The reason this microphone appears on so many beginner lists is the accessory bundle. A shock mount and a pop filter come in the box, which are the two things most first-time buyers forget to order and then discover they need within their first week.
Measured against the other condensers here, the tone is thinner and less detailed, and the 4.3 average rating across more than 35,000 reviews is the lowest in this group. It is still a working microphone that records a usable voice, which is more than many first purchases manage.
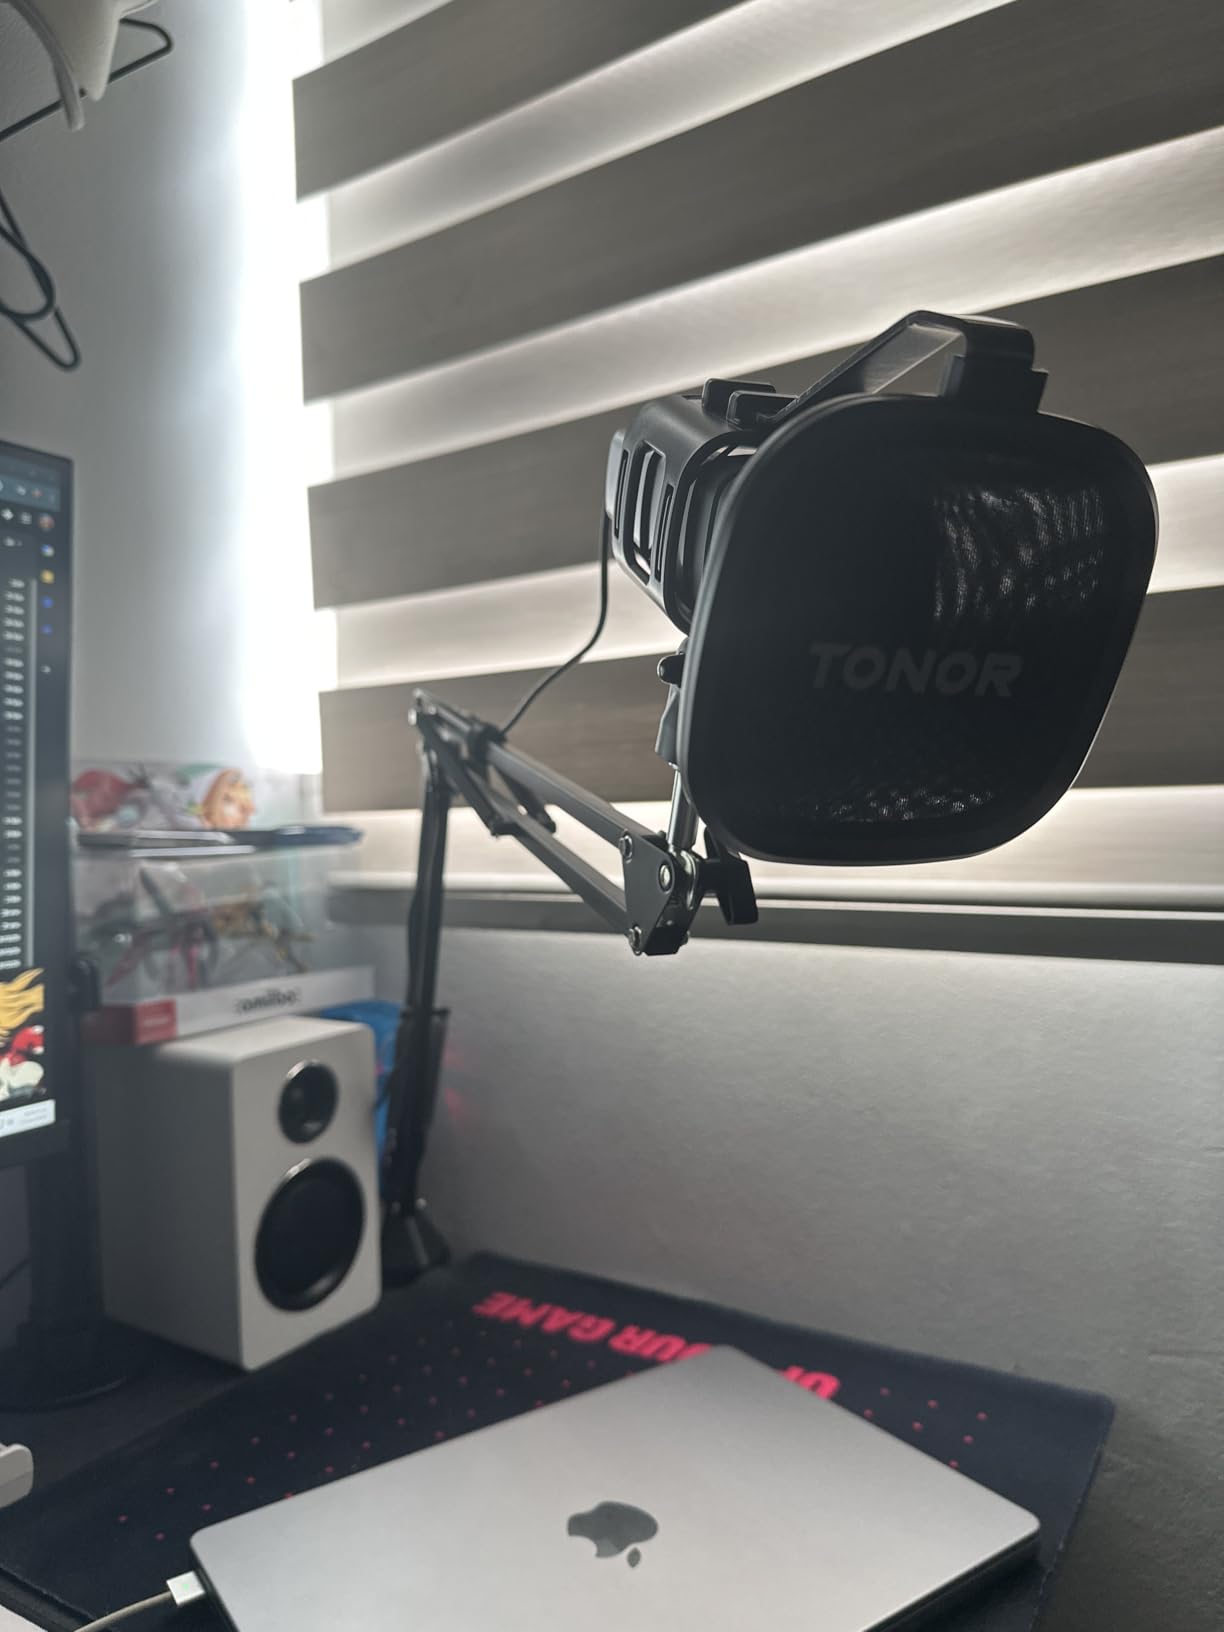
What surprised me was the physical controls. A one-click mute on the body, not buried in software, is genuinely useful when you are on a call and need to stop transmitting for a second.
The 345-gram plastic body is the trade-off. It feels light in the hand, and the non-slip desktop stand has a small enough footprint that it will not crowd a small desk. Just do not expect to mount it on anything without an adapter.
What you get for the least outlay
This is the pick if the only thing standing between you and a first recording is money. The shock mount and pop filter in the box are the two accessories every beginner ends up buying separately within their first month, so buying them bundled removes the first follow-up purchase entirely.
It also works with PlayStation consoles and common calling apps, so the same microphone covers gaming streams and Zoom calls without a second purchase.
Where you will notice the compromise
The plastic chassis and the lowest rating in the group are honest signals. Buyers expecting studio detail or planning to keep this microphone for a decade will feel the difference, and a cardioid condenser still records the room it sits in.
There is no headphone jack, so you cannot monitor live. For a solo podcaster learning to speak to a microphone, that is a limitation worth factoring in before you buy.
3. FIFINE K669B – The Best Compact Mic for a Small Desk
FIFINE K669B USB Microphone, Condenser Recording Mic for Vocals, Meeting
USB Type-A and Type-C
Cardioid condenser, 20Hz-20kHz
Volume knob that mutes
5.6 ounces
Pros
- Owners regularly compare the sound favorably to microphones several times the price
- Compact and light at roughly a quarter the size of the Blue Yeti
- All-metal body with a stable tripod stand
- USB-A and USB-C cable both included
Cons
- No dedicated mute button so muting means turning the volume knob down
- No noise cancellation so it captures room and keyboard noise
- Small size means it must sit close and still needs a pop filter
The other microphones here are heavier, and the smaller body is the reason. A tiny footprint means you can pull it to within a few inches of your mouth on a desk that is already crowded with a laptop, a keyboard and a notebook.
The sound surprised me more than the size did. Owners describe it as slightly warmer than the Blue Yeti, and in a quiet room I got a full, clear voice from a microphone a fraction of the weight. It is powered entirely over USB, so there is no phantom power to think about.
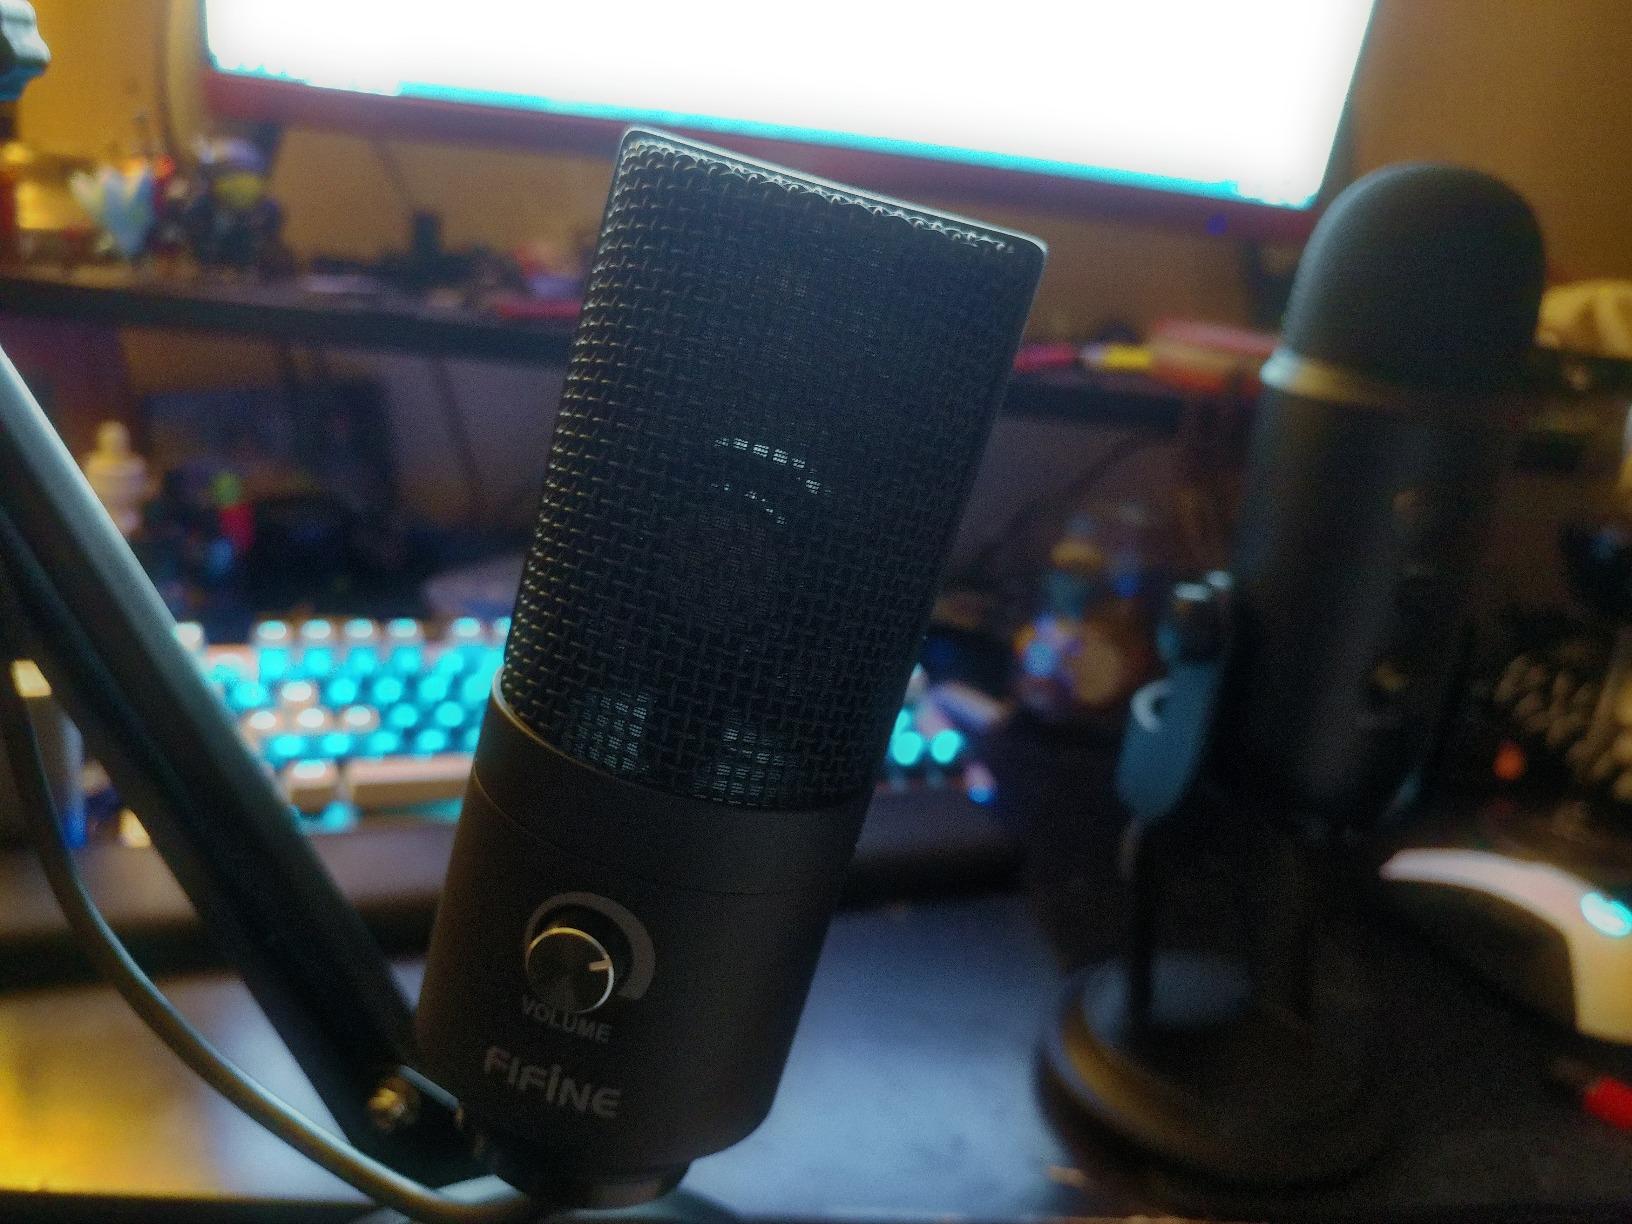
The one ergonomic annoyance is the mute. There is no dedicated button, so muting means twisting the volume knob fully down, which you will do with your eyes closed in a live call. It works, it just does not feel designed for it.
There is also no noise cancellation of any kind. In a room with a fan or a mechanical keyboard, that noise is in the recording and editing it out afterwards is a fight.
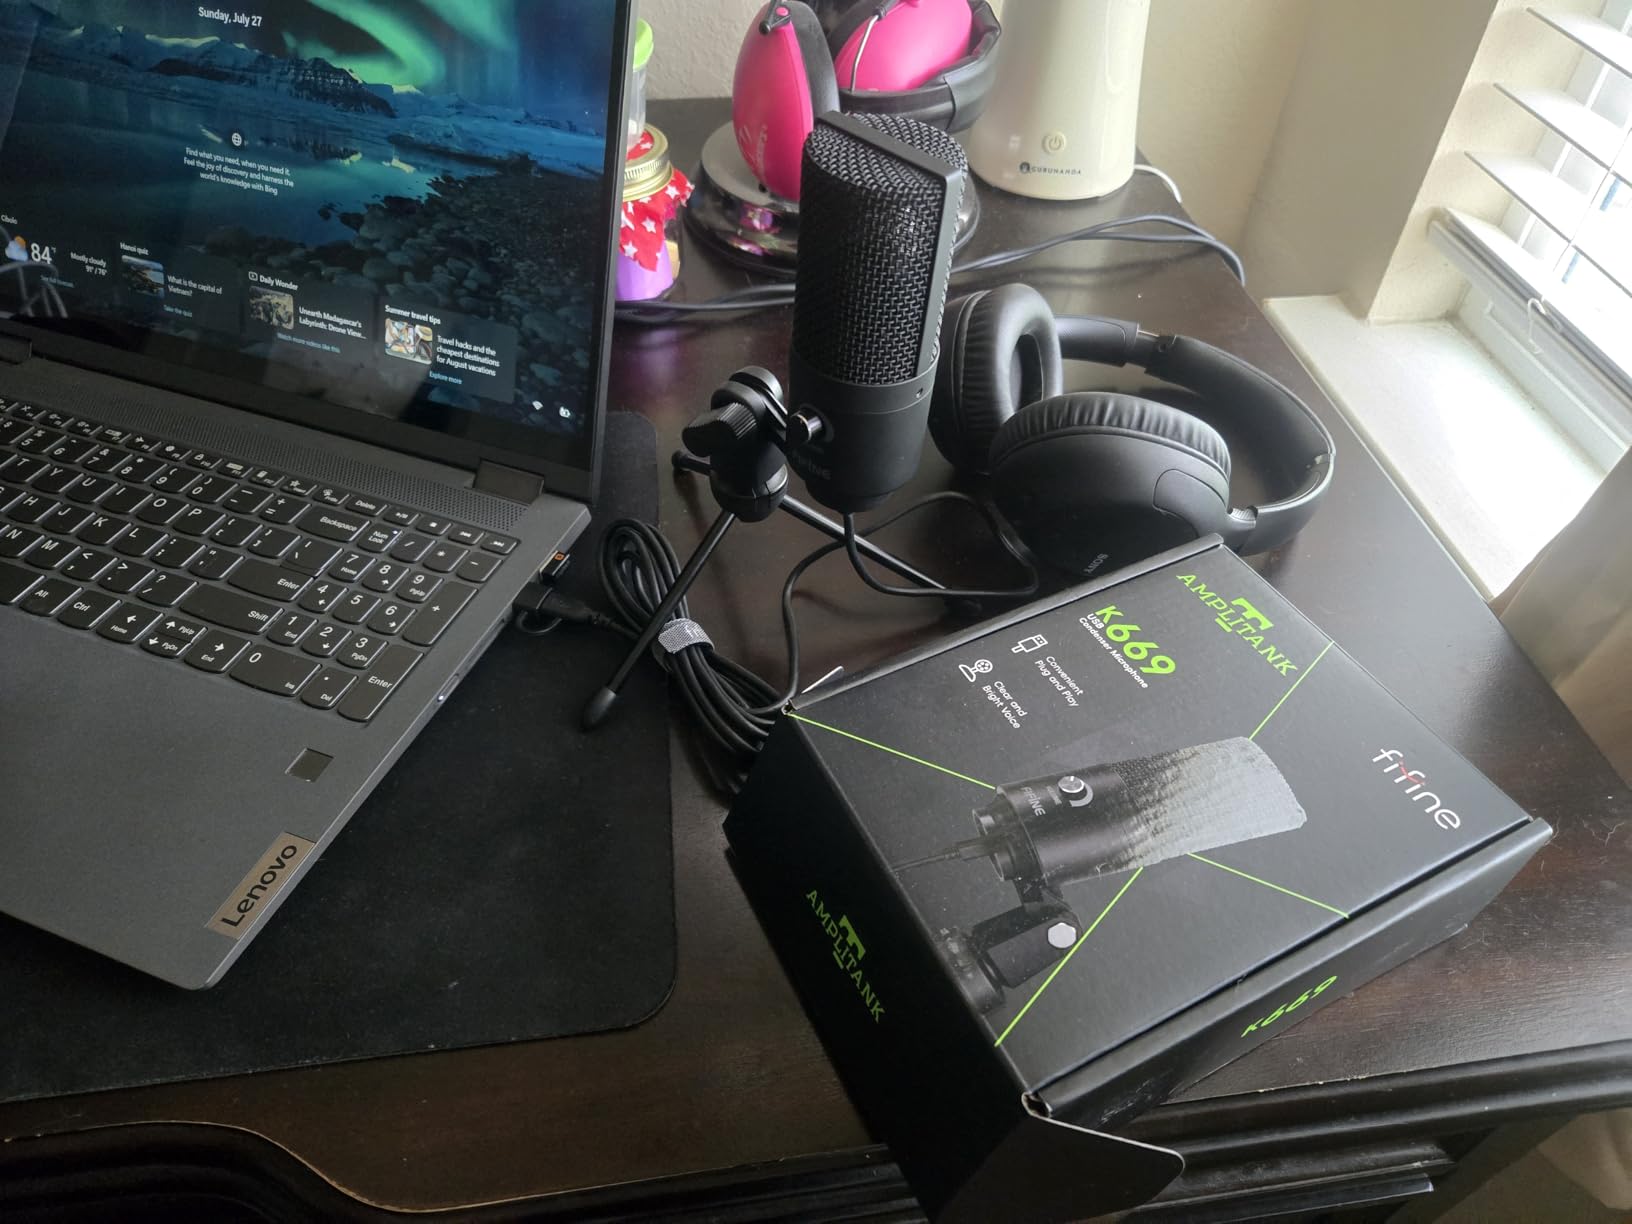
Why desk space should decide this one
If you record from an existing desk rather than a dedicated studio corner, the K669B solves a problem bigger microphones create. Close-mic technique requires proximity, and proximity requires a small body you can actually get close to.
It is also a good first step for anyone moving from laptop or headset microphones, because the leap in clarity is large and the learning curve is nearly zero.
When you need something more
If you plan to grow into interviews, video work or streaming, you will eventually want a headphone jack and a real mute button. The K669B has neither, and its small size also means no room for a shock mount without an adapter.
For pure solo voice work in a reasonably quiet room, though, it delivers more than its position in the list suggests. Nothing else at this weight sounds this full.
4. FIFINE T669 – The Best Complete Kit for a New Podcaster
FIFINE T669 Studio Condenser USB Microphone for Recording Podcasting
USB Type-A and Type-C
192kHz-capable cardioid capsule
All-steel scissor boom arm
Double pop filter and shock mount
Pros
- Complete kit with boom arm shock mount double pop filter and 8.2 foot cable
- Boom arm holds the mic at position without sagging
- Pop filter and windscreen handle plosives and delivery noise well
- C-clamp and detachable desktop mount both included
Cons
- Pop filter grip can twist or slip on the arm
- No hardware mute button so muting means turning the volume knob
- Some reports of the gain knob or arm hardware failing after a year
This is the microphone I recommend when someone asks what to buy with one purchase and no further research. The T669 includes an all-steel scissor boom arm, a C-clamp, a detachable desktop mount, a shock mount, a double pop filter and an 8.2-foot cable. Every gap in a first setup is filled in the box.
The boom arm is the part that matters. A scissor arm of this class holds the microphone at a fixed height instead of slowly drifting downward, which is the single most common annoyance with cheaper bundled arms, and it gets the capsule to mouth height where the cardioid pattern performs.
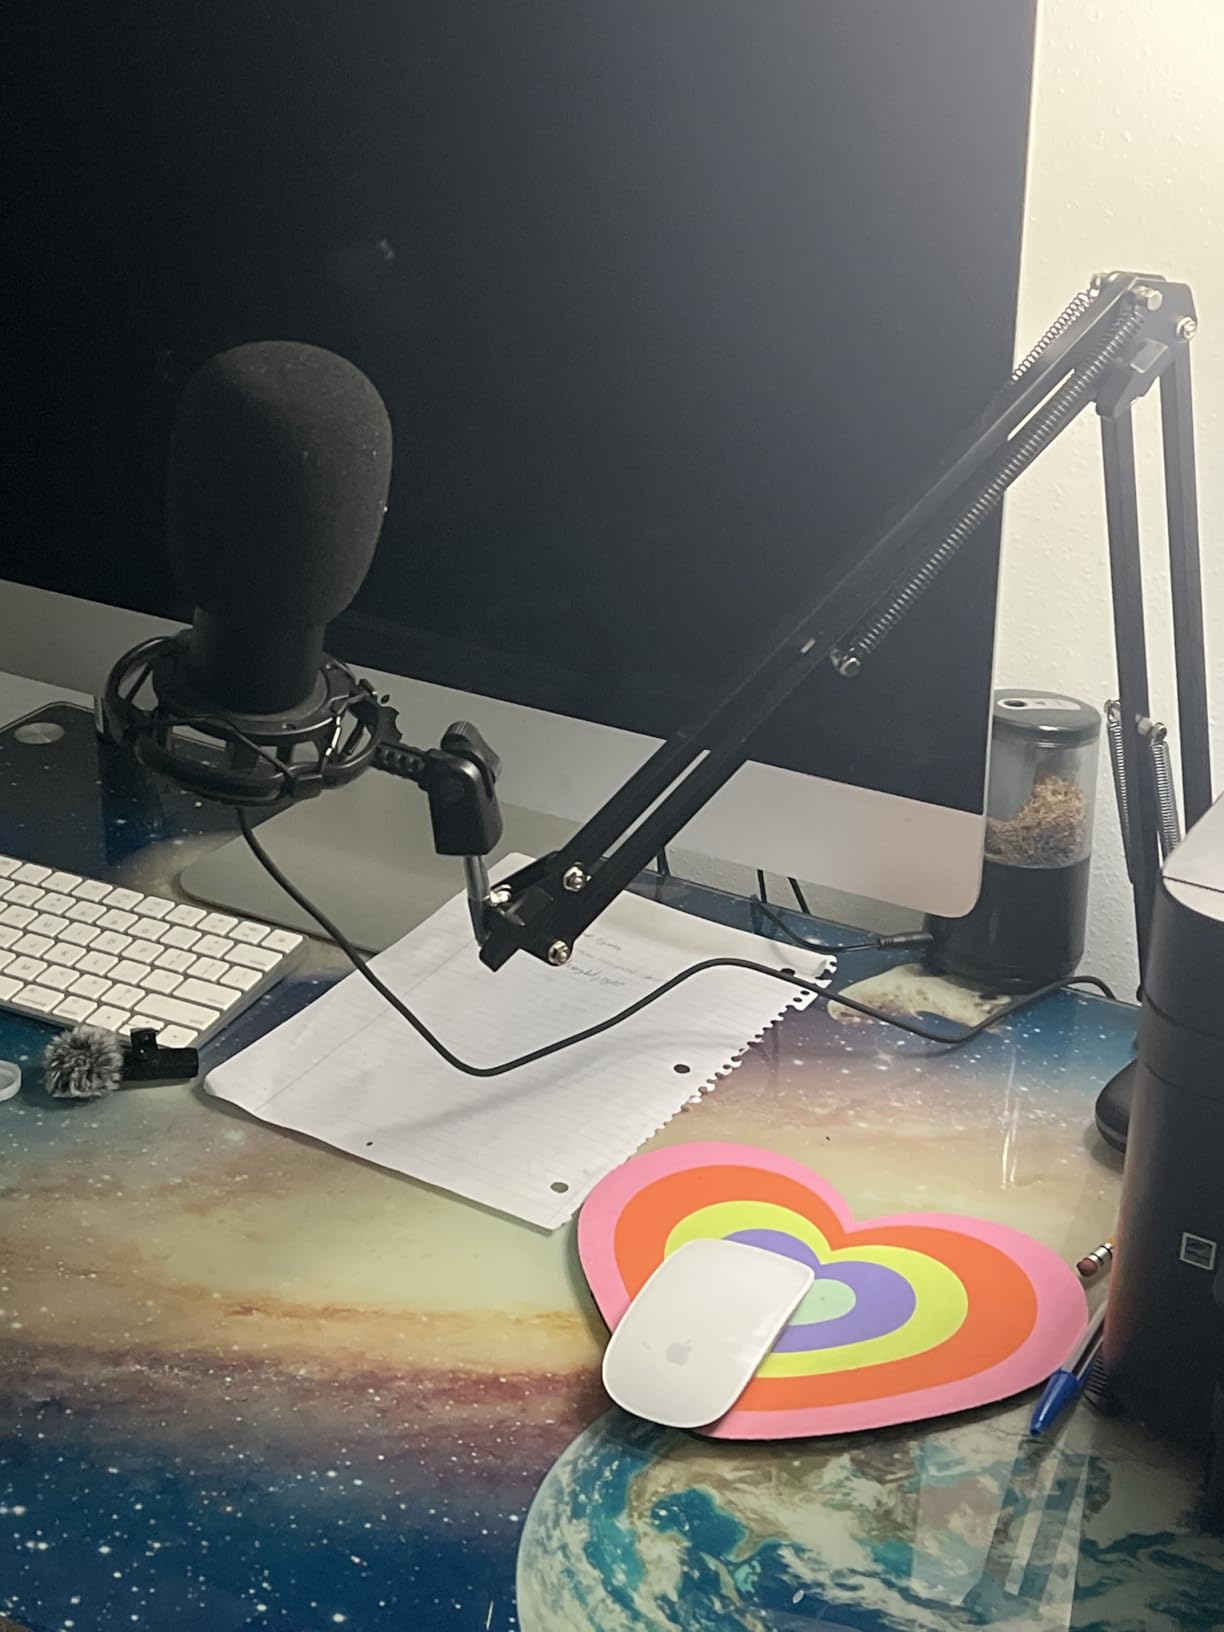
On sound, this is a warm, clear condenser across 20Hz to 20kHz with a gain knob on the body. It is a condenser, so the untreated-room warning still applies, but the included pop filter and shock mount handle the two most common beginner complaints out of the box.
The quality-control issues are worth being straight about. The pop filter grip can slip, and some owners report the gain knob or the arm joint giving out after about a year of daily use. Neither affects the recording quality in the meantime.
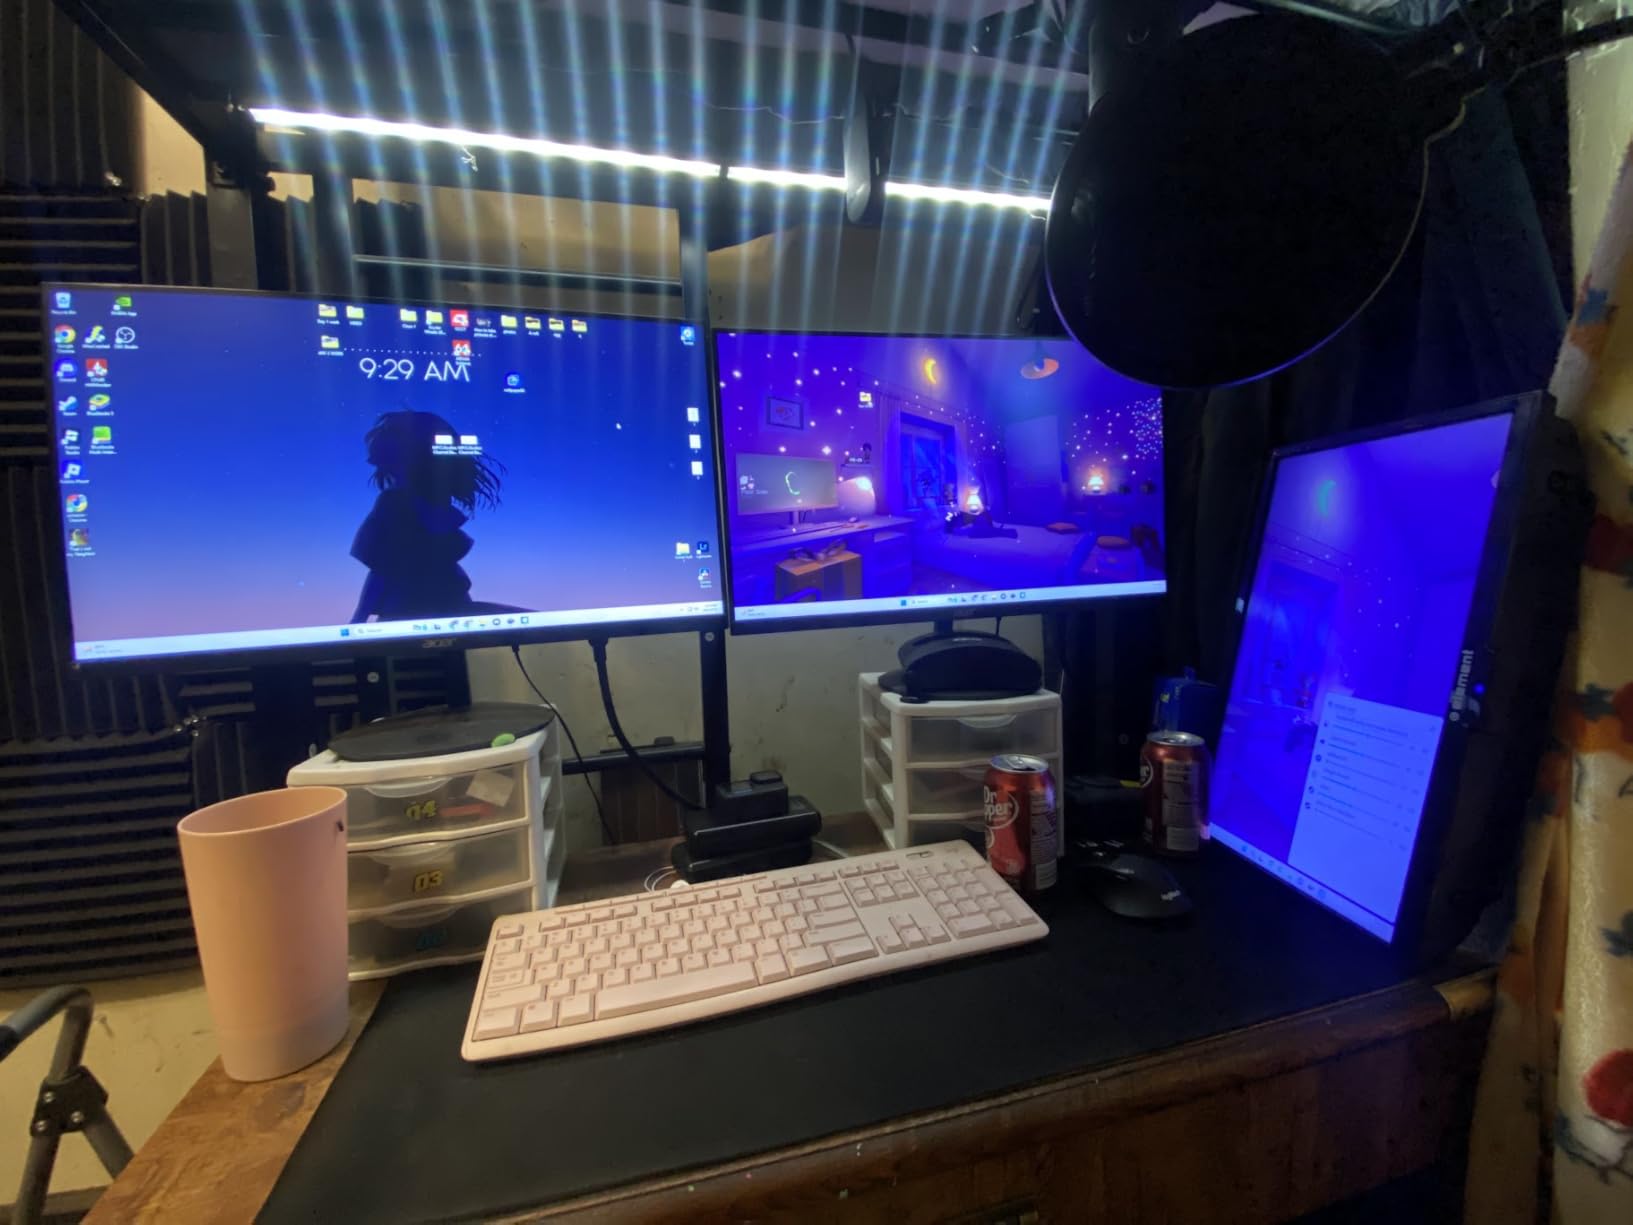
What makes this the best value kit
Add up a comparable boom arm, shock mount, pop filter and long cable and you have spent more than the price of this microphone on accessories alone. For a first-time podcaster who wants one box that works, that arithmetic is the whole argument.
It is equally good as a voiceover and audiobook setup, where close-mounted condenser capture and a pop filter are the two features that matter most. Reviewers with radio and voiceover backgrounds rate it as a legitimate entry into semi-professional work.
Where the kit falls short
There is still no dedicated mute button and no headphone monitoring jack. A podcaster who wants to hear themselves while speaking will need to add a second purchase, and one-touch muting matters if you take live calls.
The arm is also heavier than it looks at 1 kilogram of kit, so it needs a desk edge it can clamp to properly. A lightweight sit-stand desk is not the target.
5. MAONO A04 – The Best Starter Mic for Voiceover and Radio
MAONO A04 USB Microphone, 192kHz/24Bit Condenser Mic Kit for PC Podcast
USB and USB-C
192kHz/24-bit chipset, 30Hz-16kHz
16mm electret capsule
1.35 kg
Pros
- 192kHz 24-bit chipset gives a detailed warm condenser sound
- Full kit with scissor arm shock mount pop filter windscreen and desk clamp
- All-metal build feels more premium than the price suggests
- Plug and play with no drivers on Windows Mac consoles and phones
Cons
- No headphone monitoring port so you cannot check audio live
- No dedicated mute button
- Boom arm joint and windscreen gooseneck reported to break or sag after a year
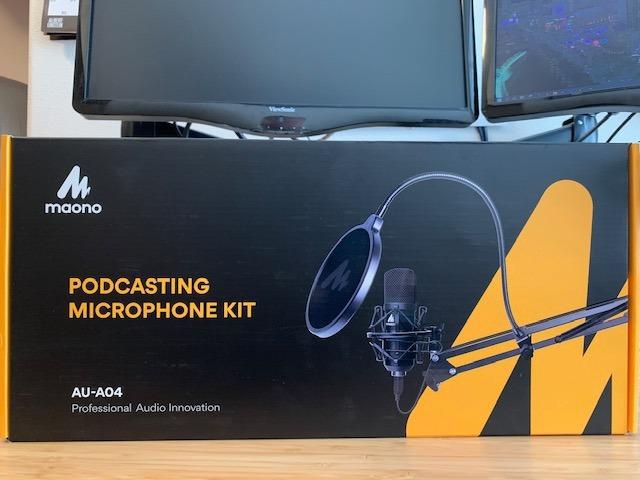
The A04 is the highest-resolution microphone in this group, with a 192kHz 24-bit chipset and a 16mm electret capsule across a 30Hz to 16kHz range. For narration and audiobook work, where extra detail survives the edit, that headroom is a real advantage over the 96kHz and lower alternatives.
The manufacturer specifies a best working range of two to six inches, which is a good sign. It is telling you the truth about how this capsule wants to be used, and following that instruction gets you a full bass response instead of a thin one.
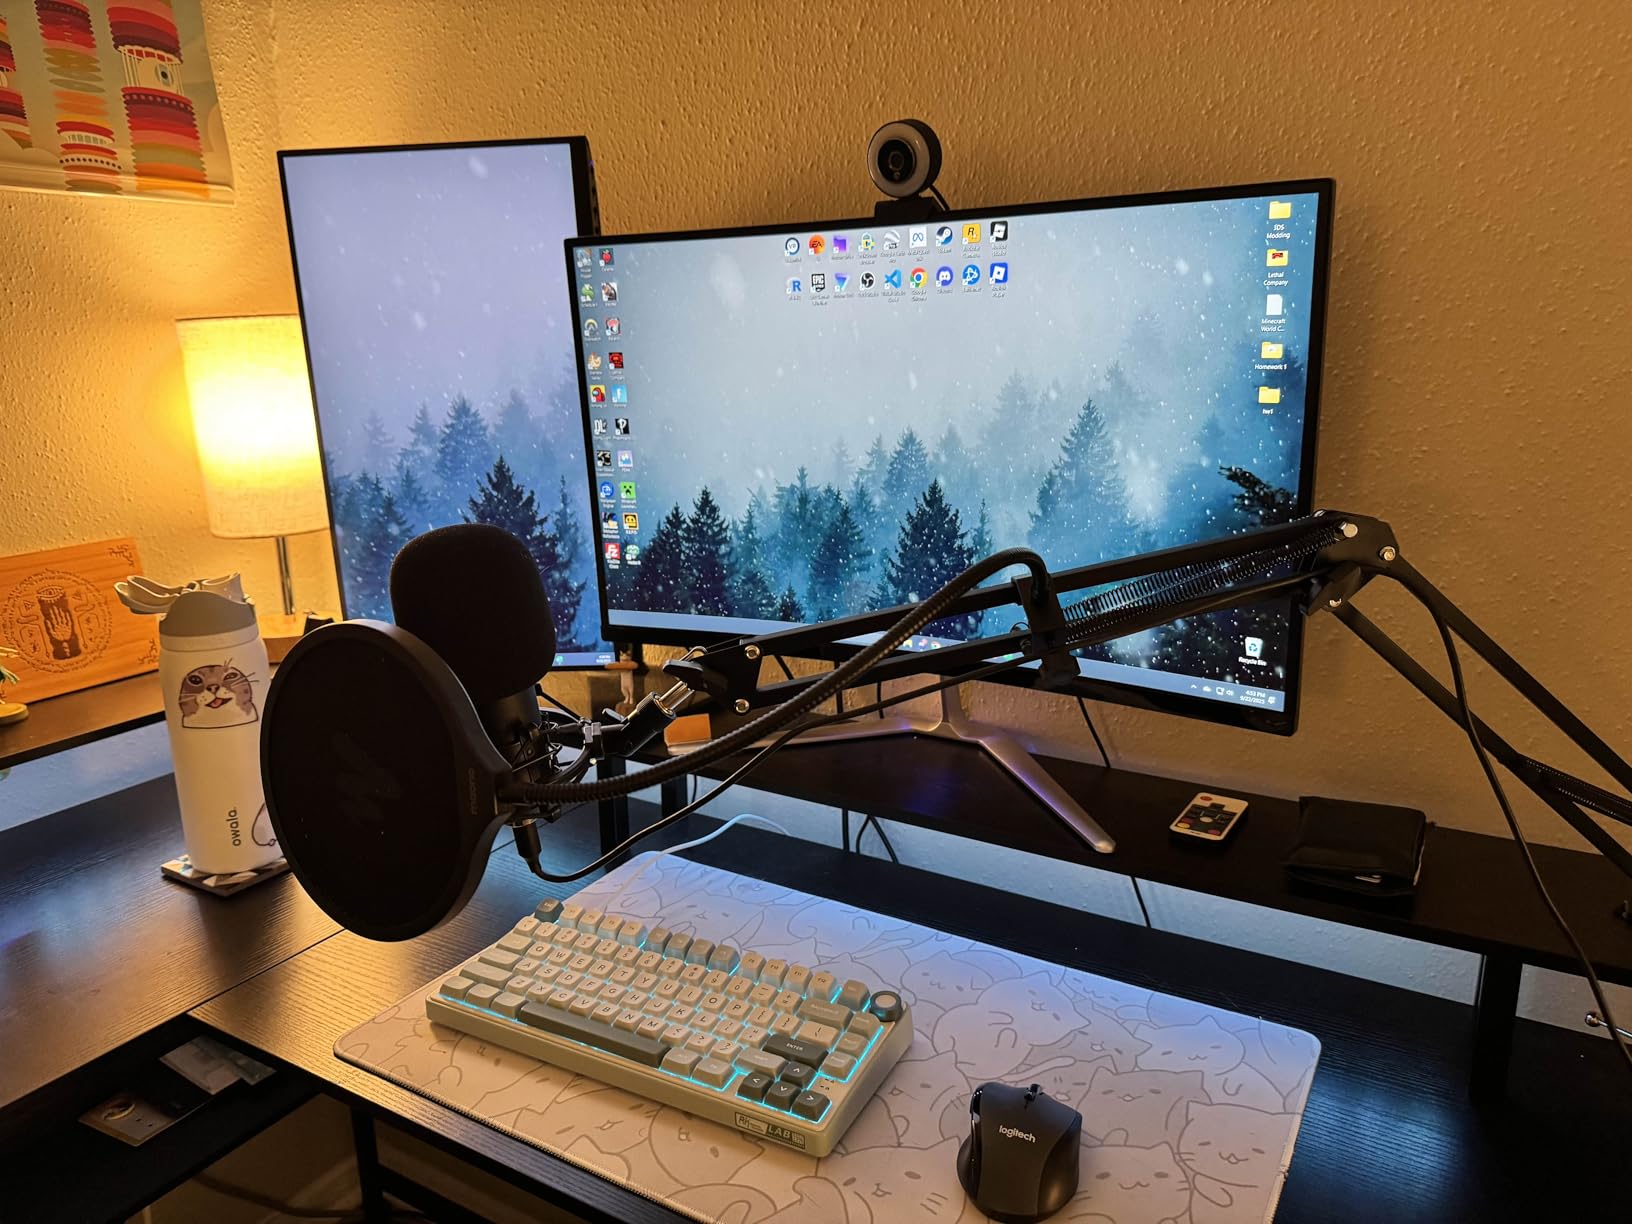
What I like is the magnet ring built into the USB cable, a small detail that reduces electrical interference pickup. The accessory bundle matches the T669, with an adjustable scissor arm, a metal shock mount, a pop filter, a foam windscreen and a desk clamp.
What I would change is the monitoring story. There is no headphone port, so gain and EQ are adjusted in software with no way to hear yourself in real time. For narration that is a workflow preference, but for live calls it is a real limitation.
When the extra resolution is worth having
Choose the A04 if your work involves careful editing. Voiceover, audiobook narration and radio-style reads all benefit from having more captured detail than a 48kHz microphone can preserve, and the accessory kit means nothing else needs buying first.
It is also compatible with PlayStation consoles and mobile phones, which makes it a reasonable shared microphone for someone who also streams and records on the go.
When to choose something else
Skip it if you take live calls or stream with audio monitoring, because there is no headphone output. It is also not compatible with Xbox, and Maono Link software does not support it.
Durability is the other consideration. Owners report the arm joint and the windscreen gooseneck breaking or sagging after about a year, so budget for a replacement arm if this becomes daily-driver equipment.
6. FIFINE AM8 – The Best Dynamic Mic That Upgrades Later
FIFINE AmpliGame AM8 USB/XLR Dynamic Microphone for Gaming Streaming
USB-C and XLR output
Dynamic cardioid, 50Hz-16kHz
Gain knob plus 3.5mm headphone jack
600 grams
Pros
- Dynamic cardioid design rejects keyboard fan and room noise far better than condensers
- USB and XLR in one body gives a free upgrade path to an interface later
- Tap-to-mute with an LED indicator that does not depend on computer software
- Headphone jack plus gain and monitoring knobs are rare at this price
Cons
- RGB lighting is dim and can switch off when the cable is moved
- Mute is a capacitive touch button rather than a physical press
- RGB ring and function keys are disabled entirely in XLR mode
The AM8 is the most frequently volunteered budget recommendation in recent r/podcasting threads, and having used it, I understand why. It is a dynamic microphone, which means it prefers your voice and discards most of the keyboard, the fan and the room behind it. In a normal apartment, that single design decision does more than any amount of software processing.
The USB and XLR outputs in one body are the real headline. You start in USB today with no interface, and when you outgrow it you buy an audio interface and keep the same microphone. For a beginner, that is the cheapest possible upgrade path.
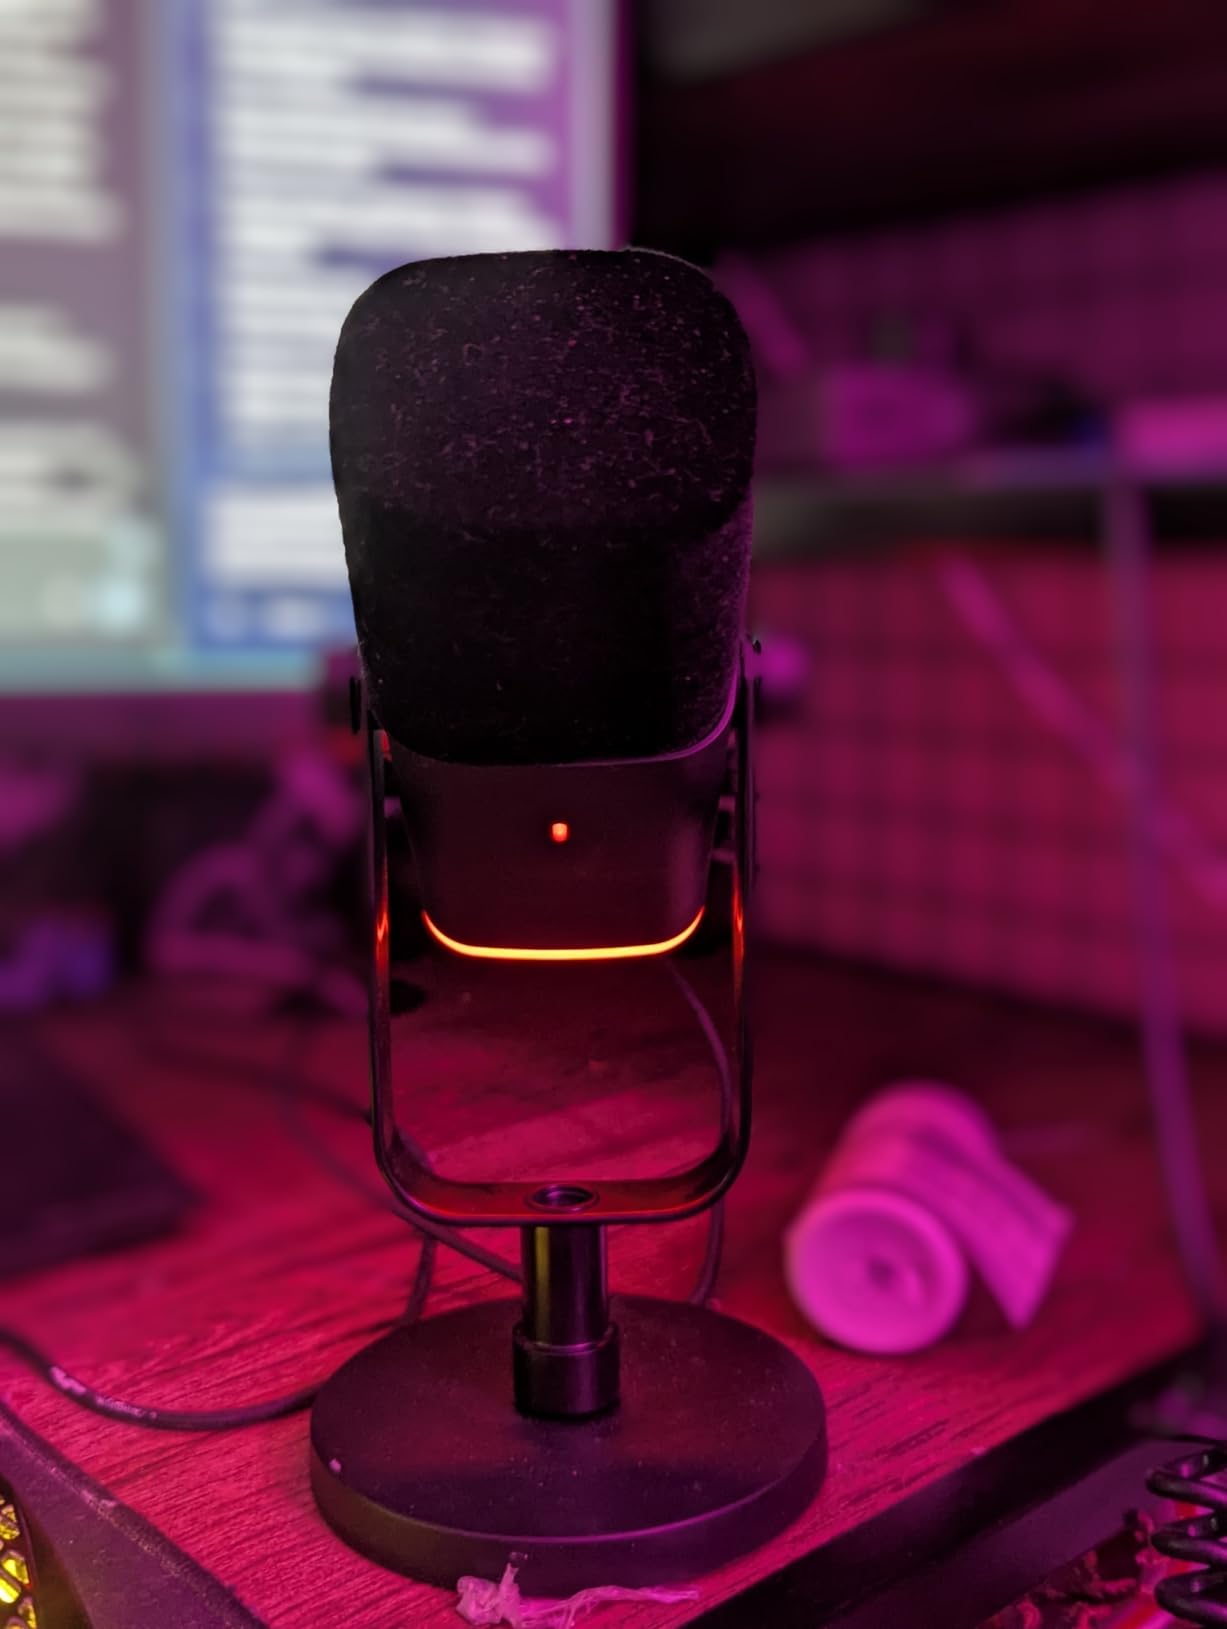
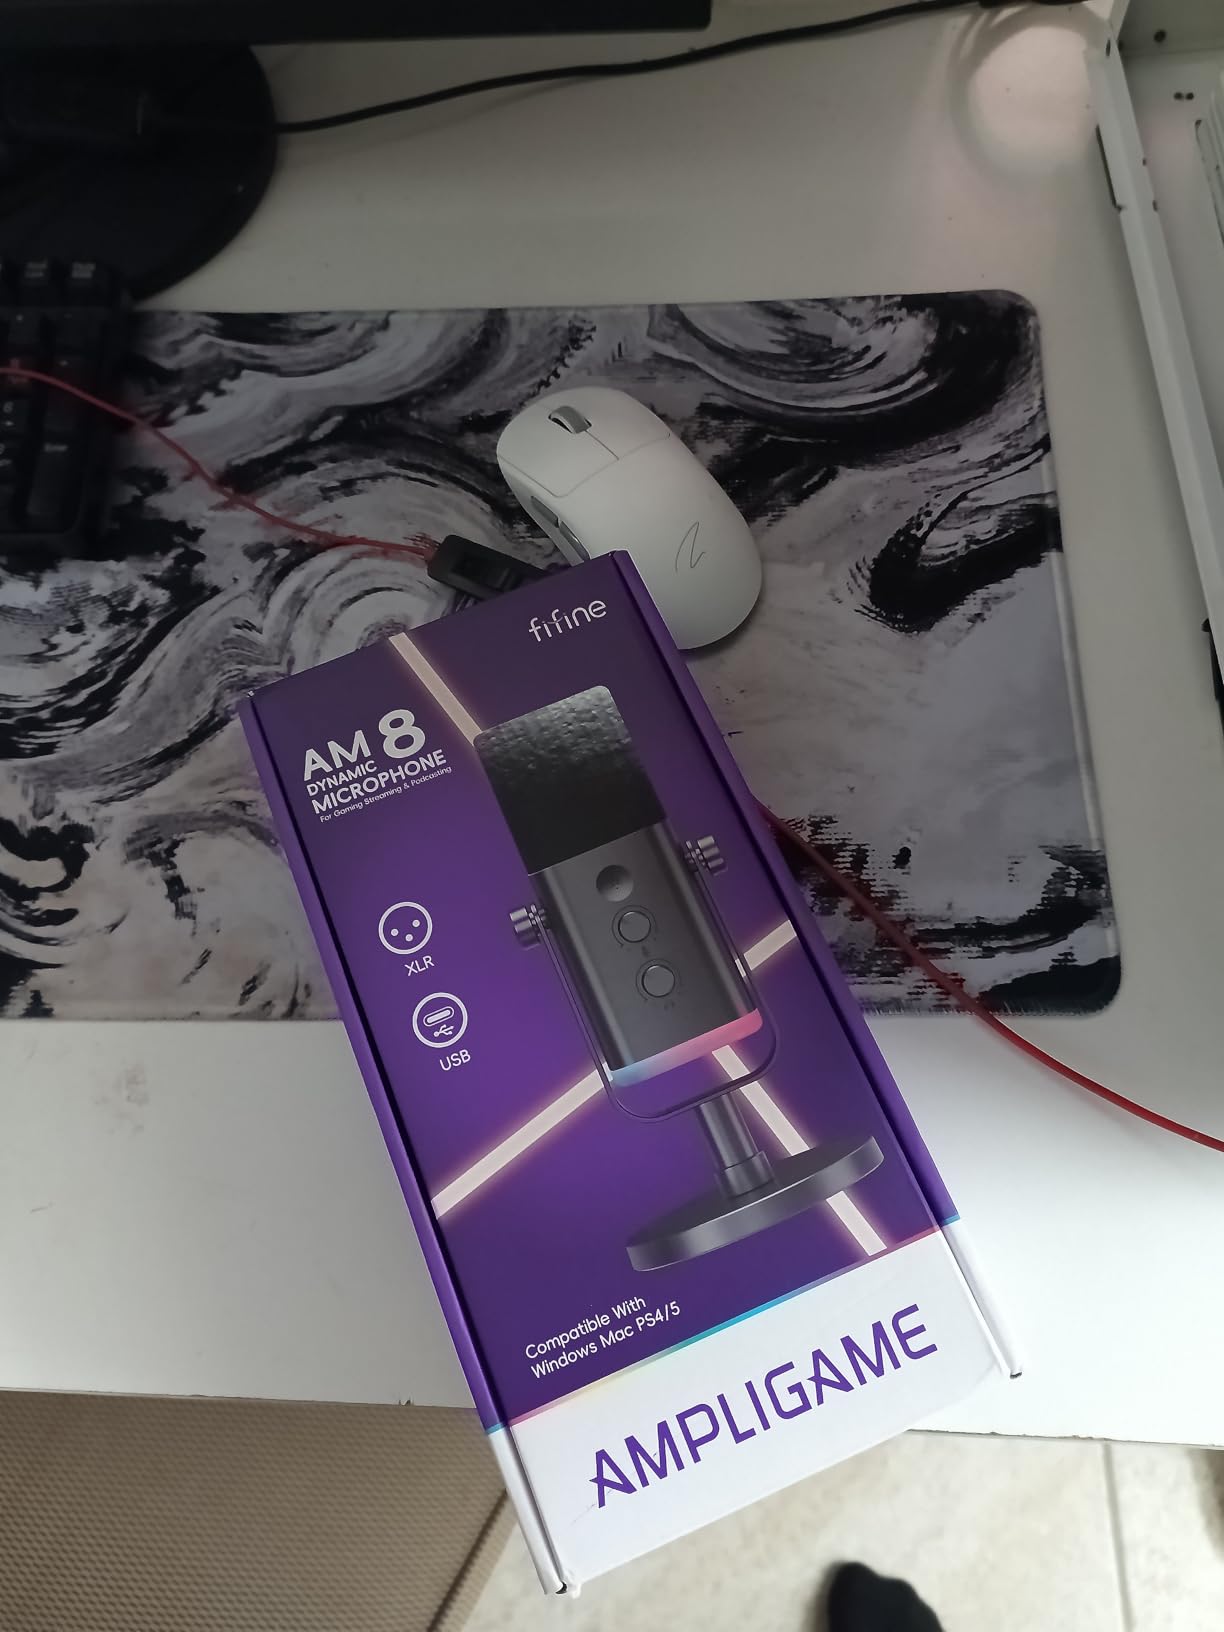
A gain knob, a monitoring volume control and a 3.5mm headphone jack for zero-latency monitoring sit on the body, and a tap-to-mute button with an LED reminder means you can mute without the computer’s software agreeing to do it. That is a feature set I would not expect in this bracket.
The complaints are cosmetic. The RGB ring is dim and can switch off when the cable is moved, the mute is a capacitive touch surface rather than a physical press, and the body is largely plastic. None of it changes what ends up on the track.
What a dynamic microphone fixes for a beginner
The dominant complaint in beginner podcasting is echo and background noise, and a dynamic capsule is the hardware answer to it. Owners moving up from a headset or a condenser report far less room noise and a clear, natural voice for calls, streaming and podcasting alike.
The dual output also means you can record locally over USB and keep the XLR cable for a studio or live venue later, which is why it appears on so many upgrade-path lists.
What you give up to get it
Dynamic capsules have less sensitivity than condensers, so quiet voices need more gain and a dynamic must be spoken to at a distance of roughly 16 inches or less. Getting that distance right takes a few sessions.
The XLR cable and an interface are not included, and the function keys plus the RGB ring do nothing in XLR mode. Bought expecting a studio microphone, it will disappoint. Bought as a USB first step, it is excellent.
7. ZealSound K66 – The Best Mic for Recording to a Phone
ZealSound Podcast Microphone for PC, Noise Cancellation USB Mic with Gain, Volume Adjustment & Mute Button, Monitoring & Echo, for YouTube, TikTok, Podcasting, Streaming, iPhone, iPad, Android, Mac
USB with USB-C and Lightning adapters
Zero-latency 3.5mm monitoring
Gain and echo adjustment knobs
1.1 pounds
Pros
- Physical knobs for gain monitoring level and echo at a budget price point
- Built-in noise reduction mode helps with keyboard and fan noise
- Zero-latency headphone monitoring shows exactly what is captured
- USB-C and Lightning adapters included so phones work out of the box
Cons
- Not really a two-person mic as overlapping speakers produce robotic crosstalk
- Noise reduction mode can clip or cut out on loud speech
- Sibilant sounds come through slightly sharp until tuned in software
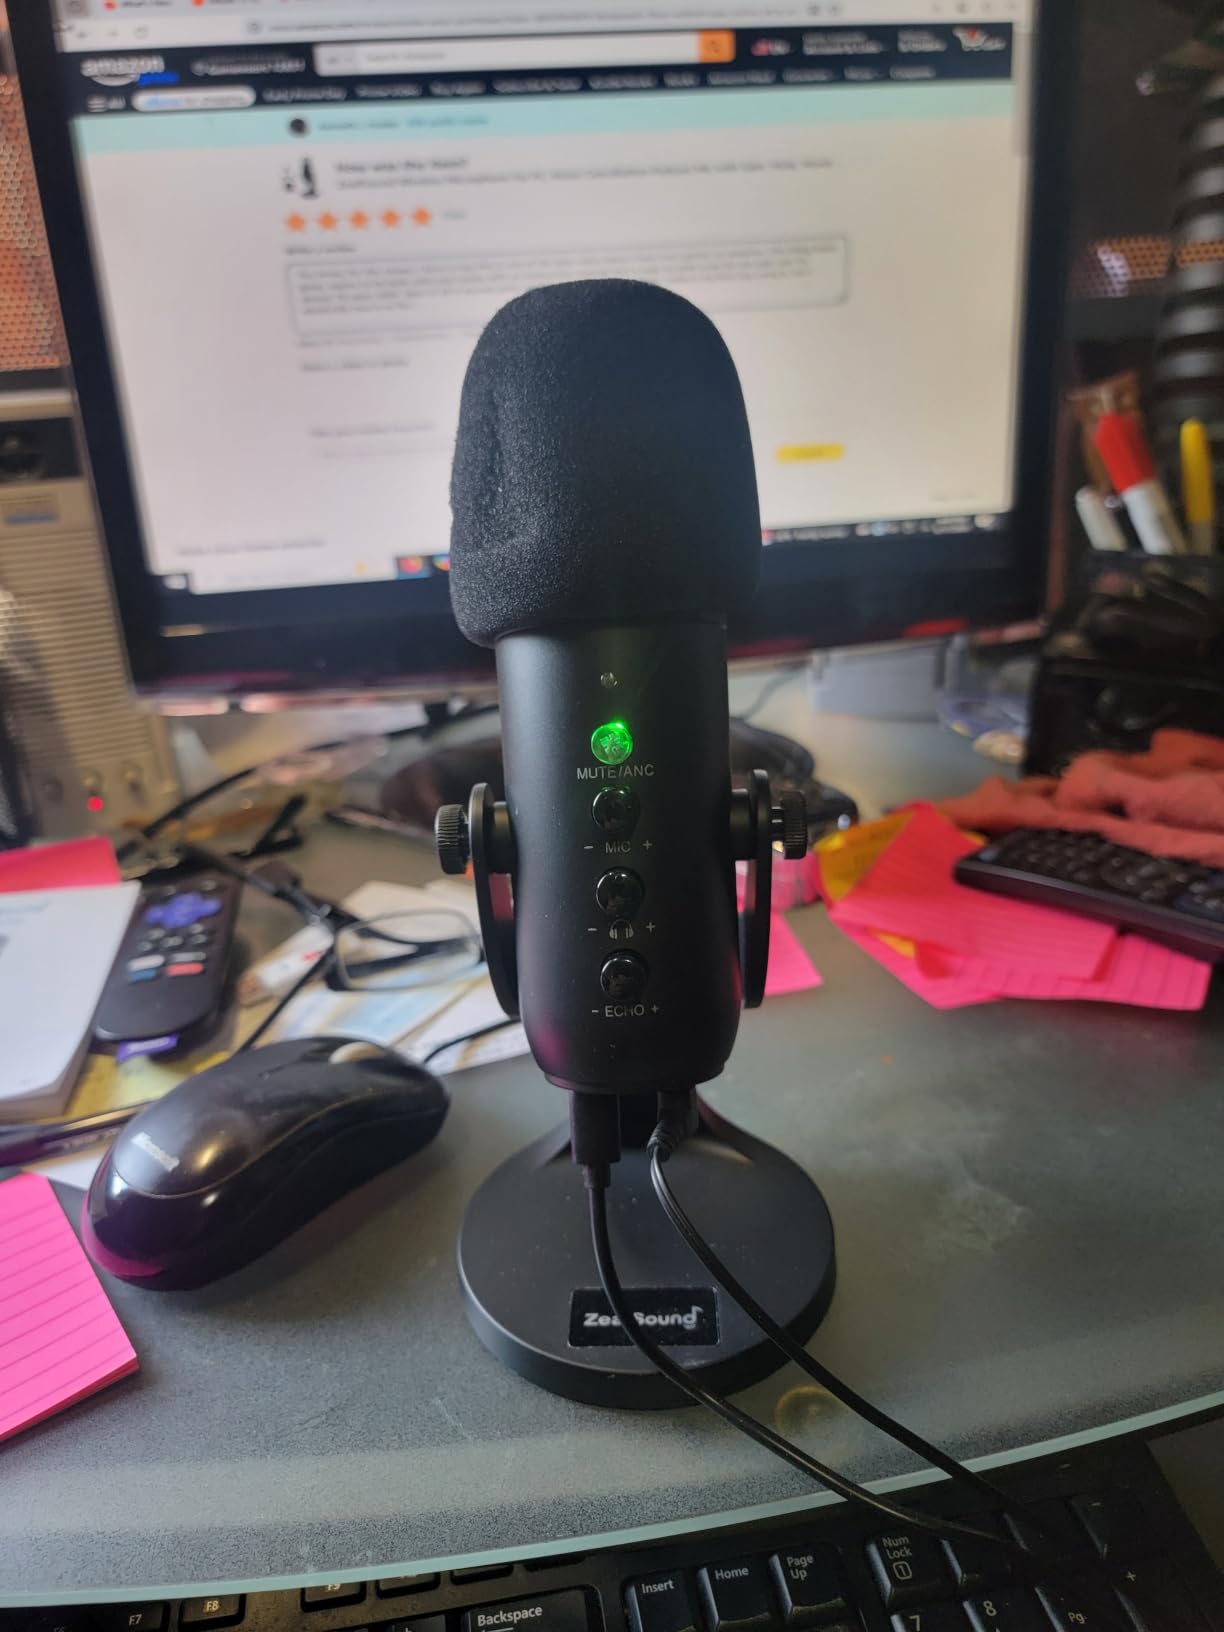
The K66 is unusual because it is a USB microphone designed as if phones were the main target. A 70.87-inch cable plus USB-C and Lightning adapters are included, so you can record to an iPhone or iPad without buying a different adapter or wondering why the phone does not see the input.
Three physical knobs is the feature that owners mention first: separate gain, monitoring volume and echo adjustment. Zero-latency headphone monitoring through the 3.5mm jack means you hear the signal in real time rather than guessing.
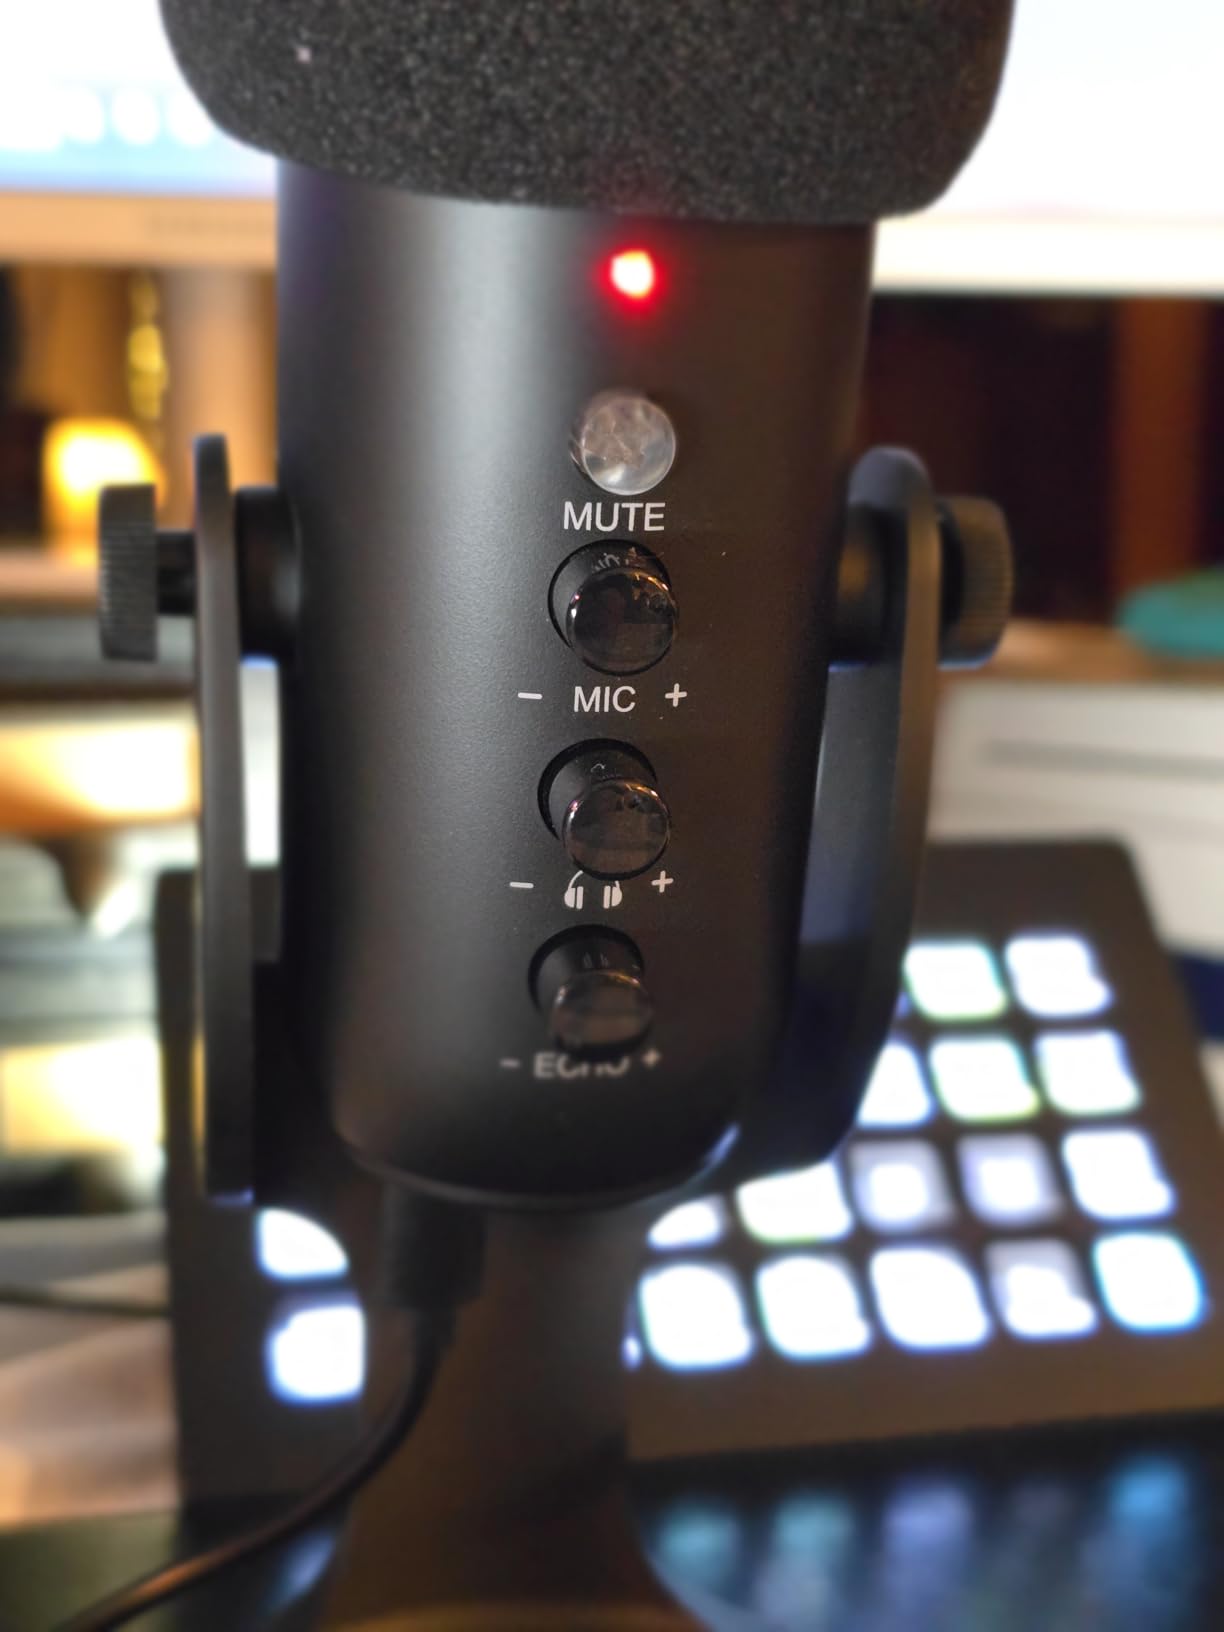
The press-and-hold mute button doubles as the toggle for an on-board noise reduction mode. In my testing it did reduce steady keyboard and fan noise noticeably, which is a real result rather than a marketing claim, though it works by processing the signal after capture.
Because it is a condenser with a cardioid capsule, sibilant sounds arrive slightly sharp until you tune them in software, and the noise reduction can clip or cut out on loud passages.
When a phone workflow is the reason to buy
Pick the K66 if you record on a phone, travel, or want one microphone that covers a laptop, a tablet and a phone without adapters costing extra. The included Lightning adapter is unusual at this price and removes a real first-day frustration.
It is also a good choice for livestreamers who want hardware monitoring without spending on a separate interface, and the 360-degree rotatable body on a weighted metal base stays stable on a crowded desk.
When it is the wrong tool
Do not use it for a two-person conversation in one room. Owners report robotic crosstalk when voices overlap, which makes it a poor choice for the interview format that many beginners plan to start with.
Some owners also report audible boom or mains hum, and the bundled USB-C phone adapter connector is very short. Check your cable length before you commit to mobile recording.
8. Samson Q2U – The Best Value Dynamic for a Noisy Room
Samson Q2U USB/XLR Dynamic Microphone Recording and Podcasting Pack
USB-C and XLR output
Dynamic unidirectional, 50Hz-15kHz
3.5mm headphone jack on the base
11.2 ounces
Pros
- Dynamic design keeps background noise and plosives out better than budget condensers
- USB-C and XLR in one body means the mic works now and in a studio later
- Clear full natural voice that reviewers rate above similarly priced condensers
- Handheld form is the easiest type for a first-time podcaster to use correctly
Cons
- Bundled tripod stand is short and its adjustment screw droops
- Requires speaking directly into the top of the mic which takes practice
- Dynamic capsule is a poor fit for quiet voices in loud rooms without close technique
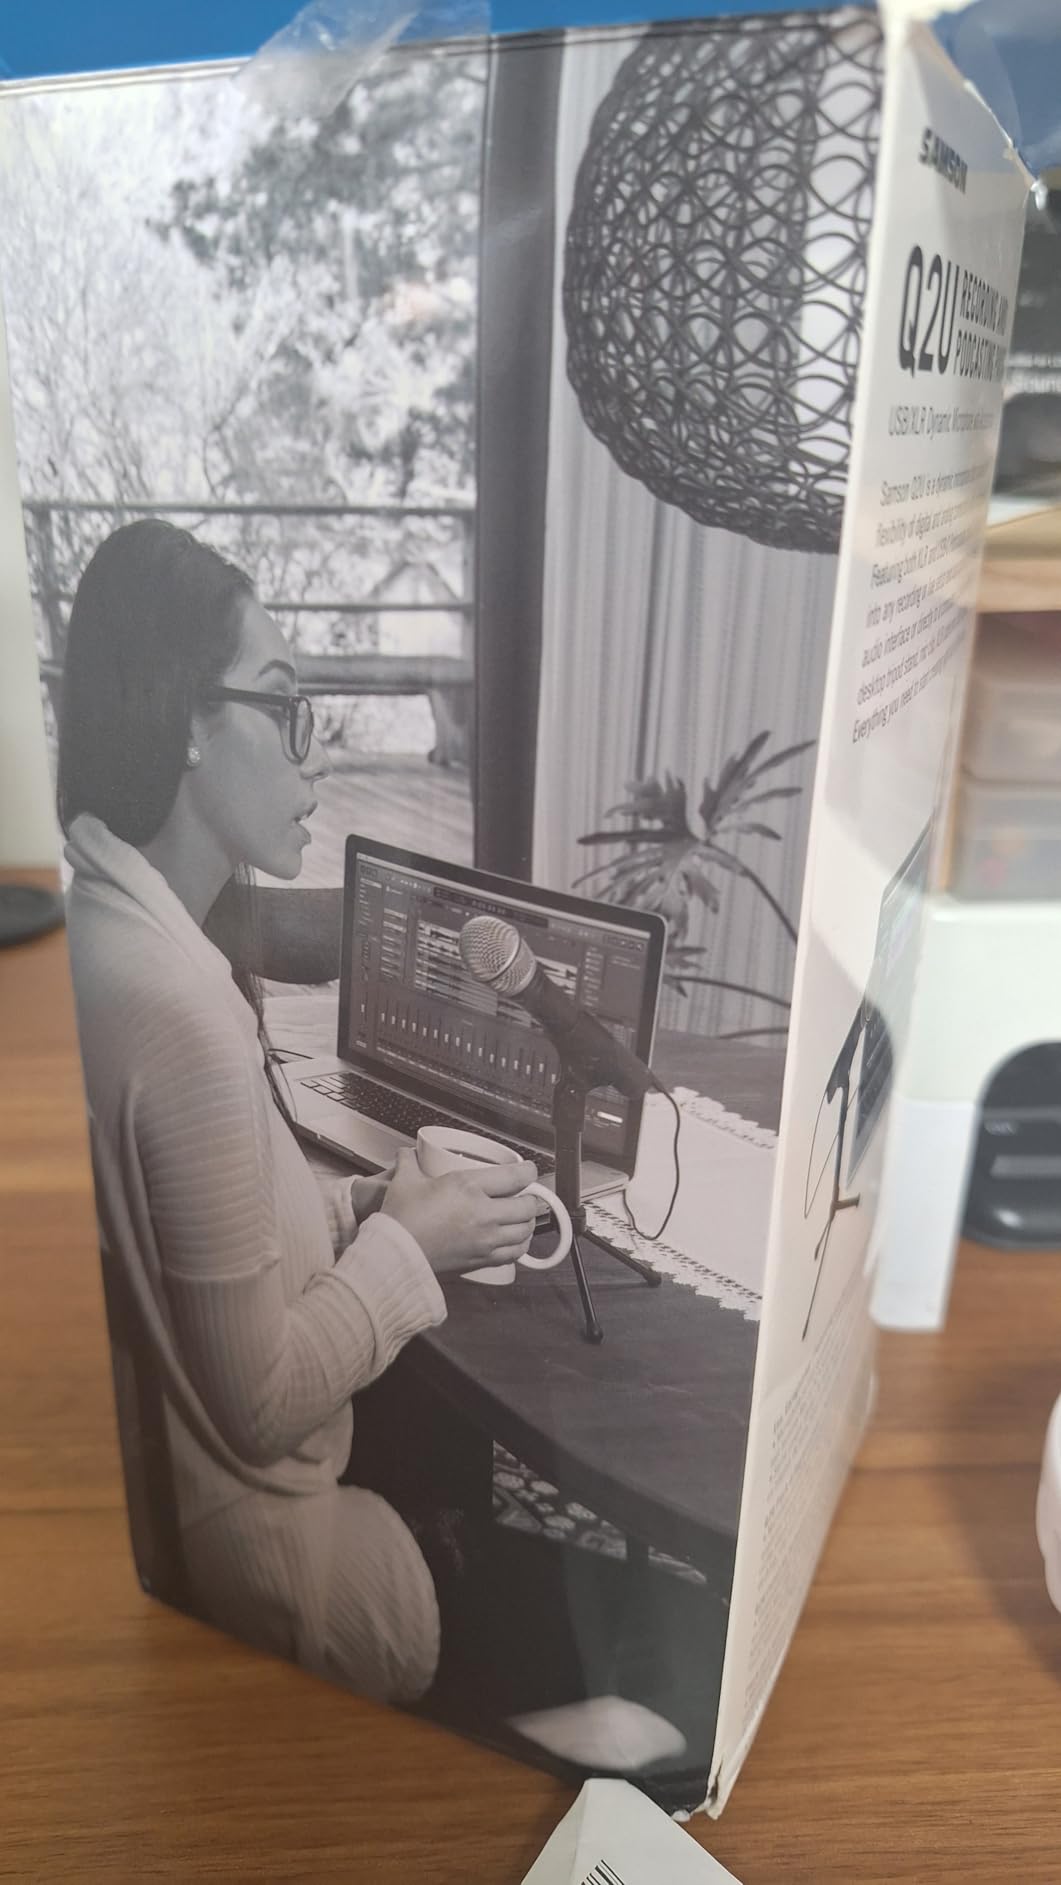
The Q2U is the microphone long-time owners in r/podcasting keep returning to, often with the note that the same model is worth more on a discount. It is a handheld dynamic with both USB-C and XLR output, and it comes with a tripod desk stand, an extension, a mic clip, a foam windscreen and both cables.
Radio professionals and long-time podcasters single it out for speech. The reason is the same as with any dynamic: a 50Hz to 15kHz response tuned for the voice, with the off-axis rejection to keep a noisy room out of the recording.
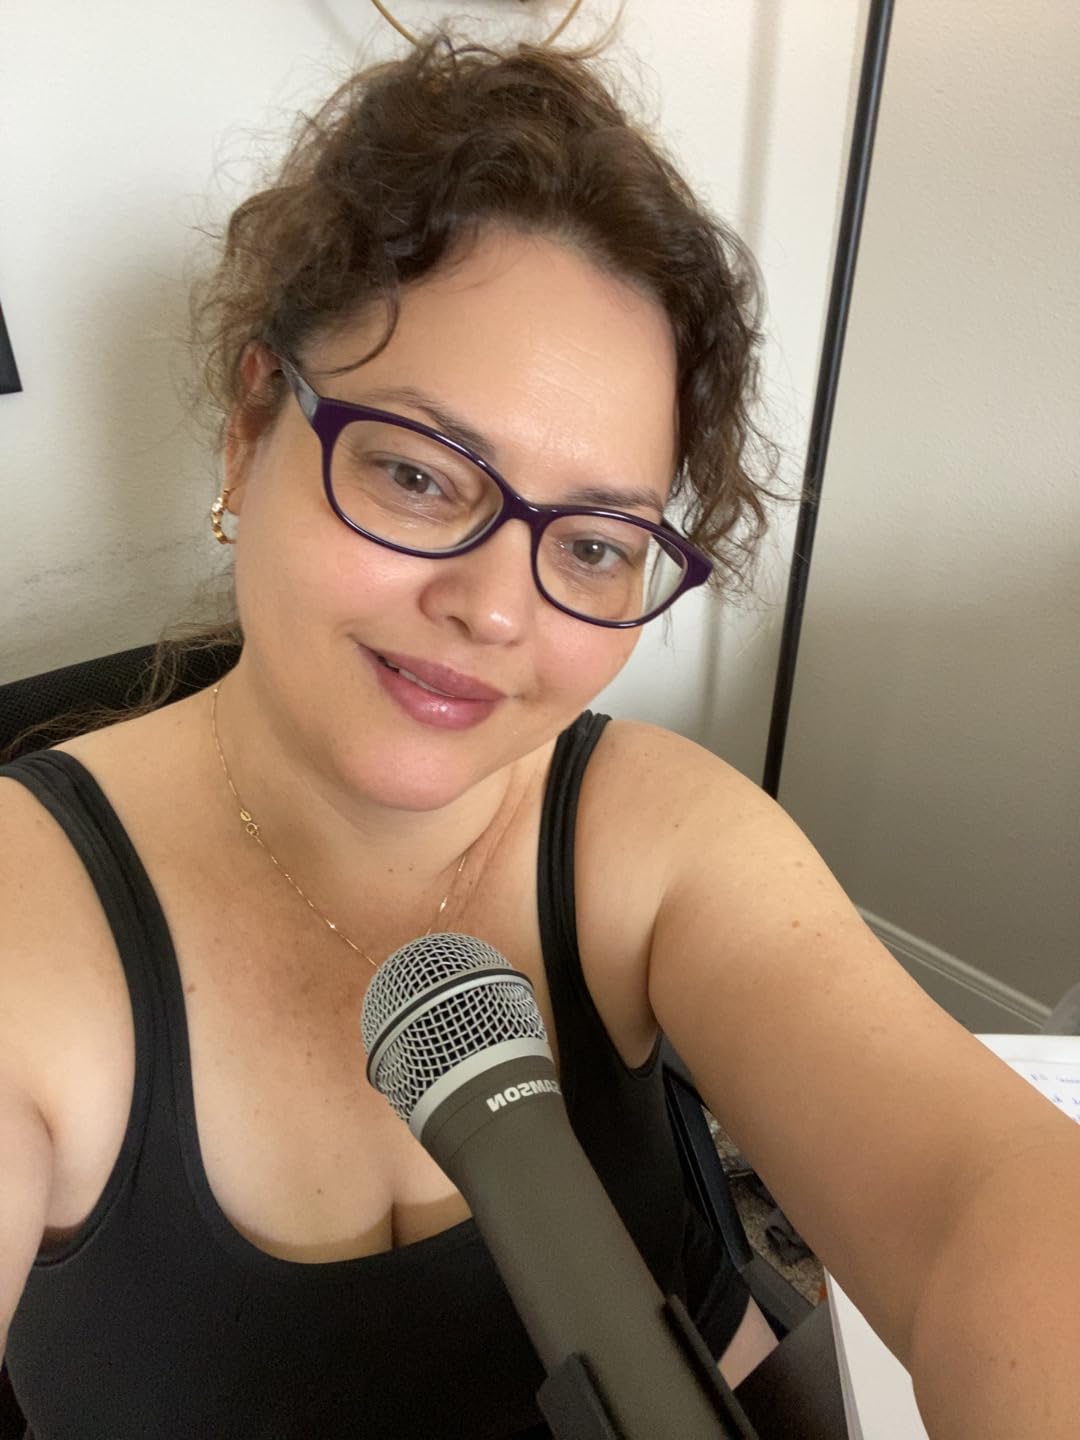
Holding it in your hand and speaking into the top removes a whole category of beginner problems. You cannot pick it up by the body and transmit body noise, and you instinctively keep it a consistent distance from your mouth without being taught.
A 3.5mm headphone jack on the base gives you monitoring without extra hardware, and the metal body survives the travel and drops that a desk-bound microphone does not.
Why long-term owners keep recommending it
Several r/podcasting threads name the Samson Q2U, the ATR2100 or a Scarlett interface as the standard first recommendation, and the community’s default step up is an interface such as a Scarlett 2i2 or a PreSonus AudioBox. The Q2U fits that path because it already speaks both USB and XLR.
For a beginner in an apartment with a washing machine, a laptop fan and an open window, a dynamic that ignores all of that is worth more than a condenser that records it faithfully.
What you need to add
The bundled tripod stand is the weak point. It is short and its adjustment screw is loose, so expect to mount this on an arm or buy a sturdier stand within a few months. The stand also picks up desk noise unless the microphone is moved off the desk surface.
Speak into the top of the capsule, not the side, and get used to a close distance. Some PCs also fail to detect the microphone on boot until a firmware update or a different USB port resolves it.
9. Rode NT-USB Mini – The Best Mic for Real-Time Monitoring
RØDE NT-USB Mini Studio-Quality USB Condenser Microphone
USB-C
Cardioid condenser, 20Hz-20kHz
Zero-latency headphone monitoring
96 kHz maximum sample rate
Pros
- Built-in pop filter handles plosives well for a compact desktop mic
- Headphone amplifier drives higher-impedance headphones cleanly
- Detachable magnetic stand fits any standard boom arm
- Zero-latency monitoring means what you hear is what is recorded
Cons
- Bundled desk stand is very short so most owners buy an arm to get within 6 inches
- Capsule is extremely sensitive so desk vibration is picked up
- Single cardioid pattern only with no stereo or omni option
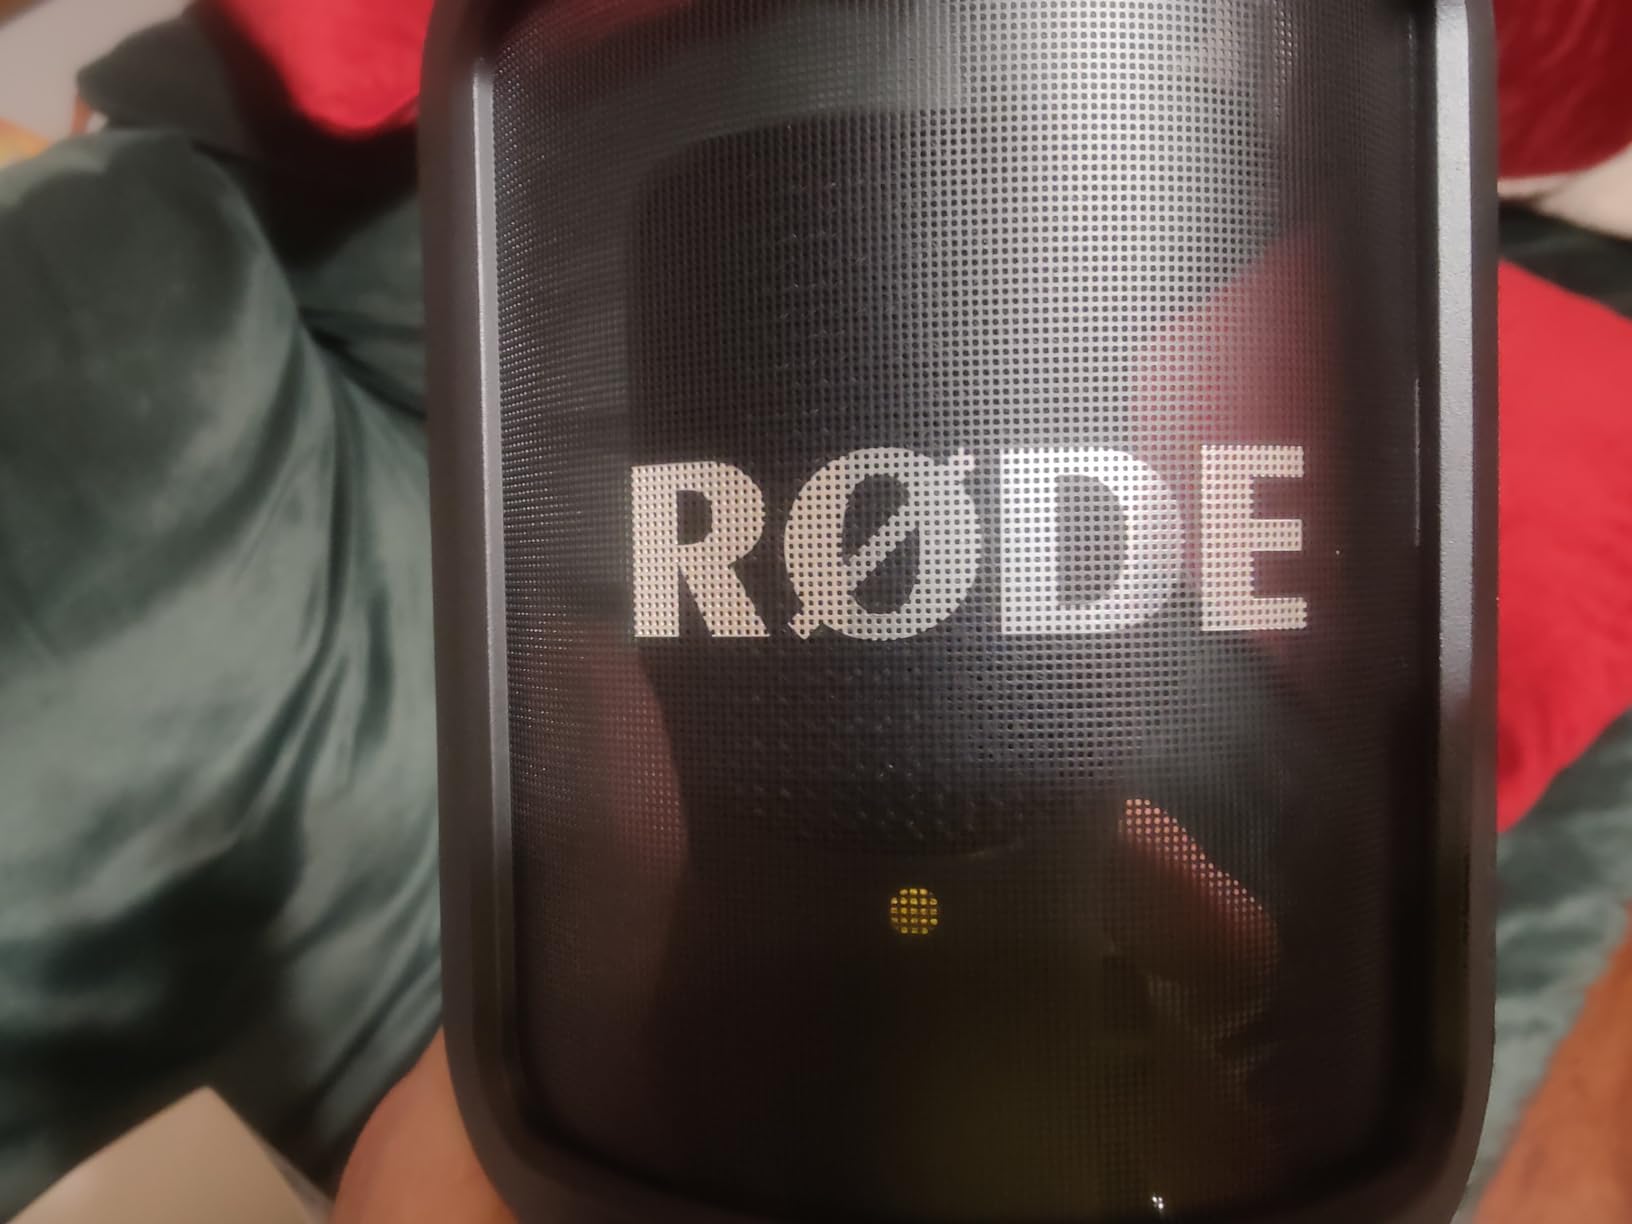
The NT-USB Mini is the microphone I reach for when someone needs to hear themselves properly. The headphone output has a genuinely strong amplifier behind it, and with zero-latency monitoring the signal in your ears is the signal being captured, not a delayed approximation.
It also has a built-in pop filter, which on a compact desktop microphone is a bigger deal than it sounds. Most small mics need one added; this one handles plosives out of the box and stays a clean single object on the desk.
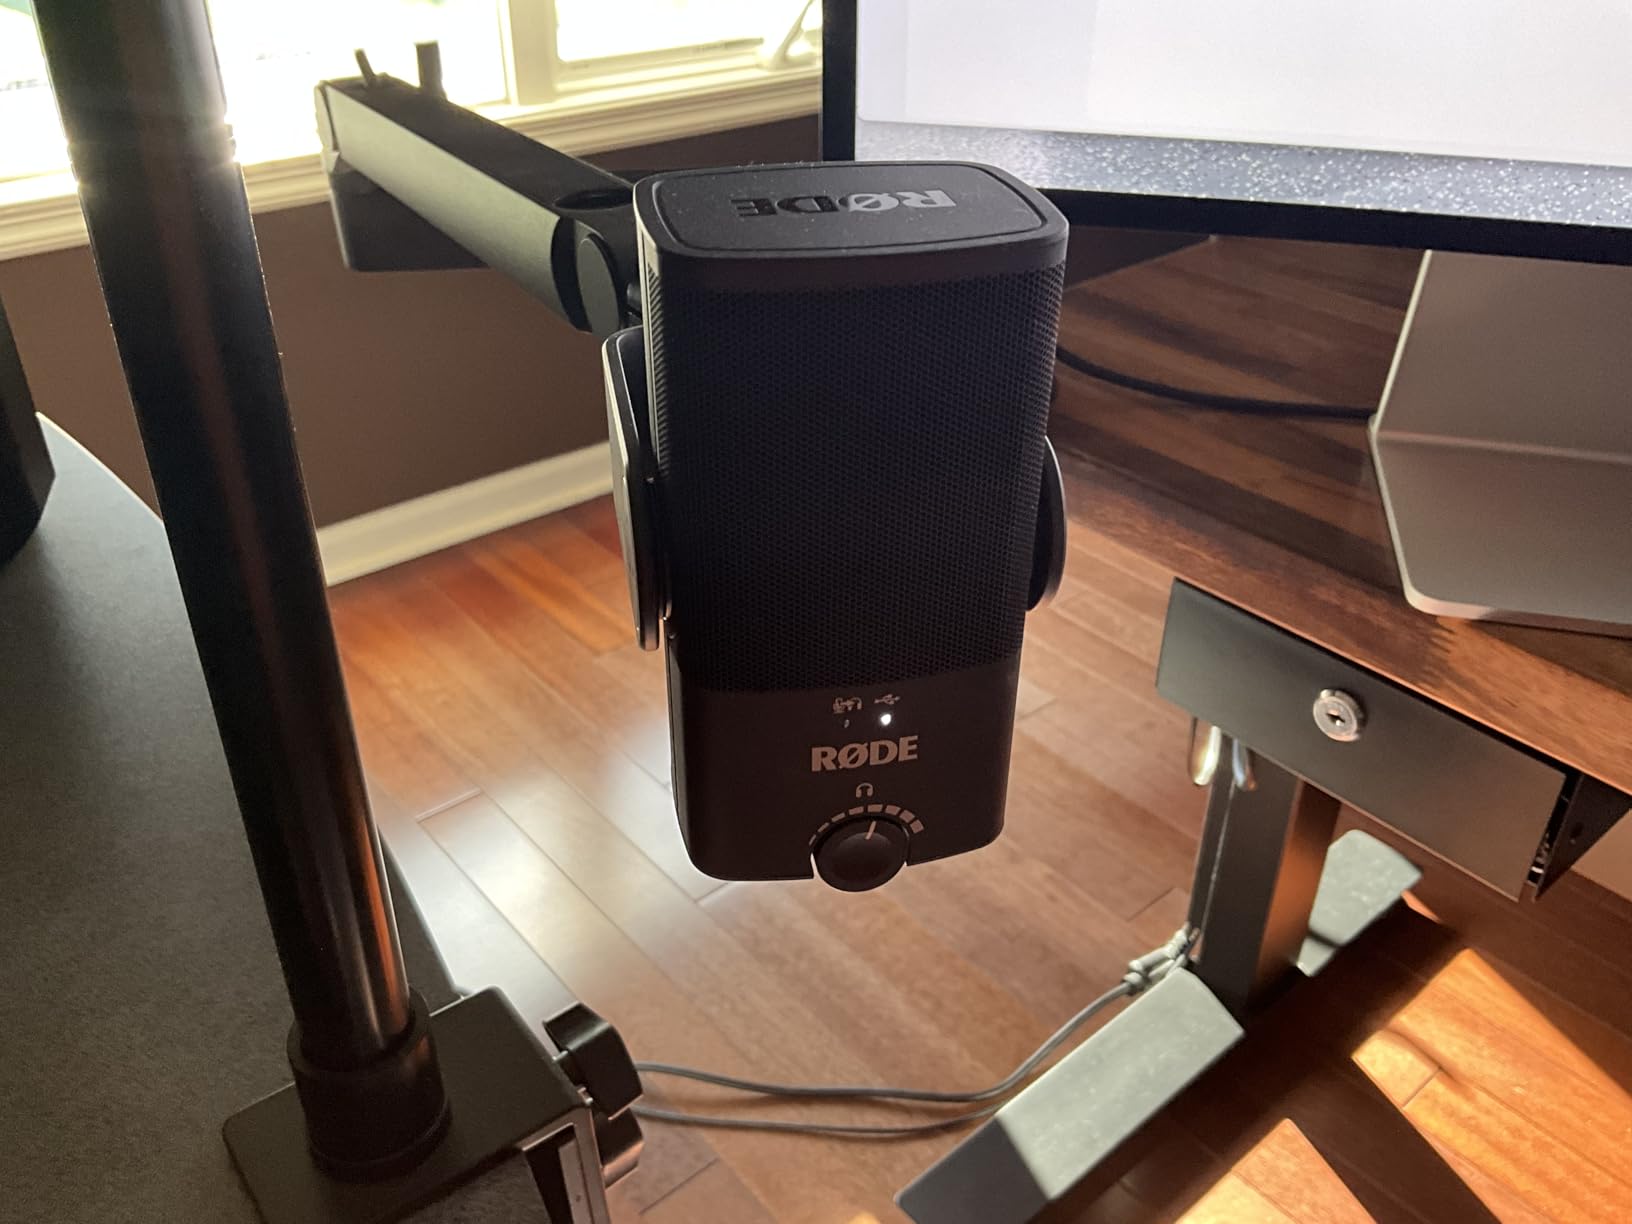
The 20Hz to 20kHz response with an 82 dB signal-to-noise ratio gives a crisp, clear cardioid capture that suits calls, voiceover and acoustic guitar. The nylon and aluminium body feels noticeably more substantial than the price suggests, and USB-C connects to a Mac, a PC or an iPad with no interface.
The stand is the problem to plan for. It detaches magnetically and fits any boom arm, but the bundled one is very short, and owners with broadcast experience almost universally recommend replacing it so the mic can sit close enough to do its job.
What makes the monitoring worth it
For a podcaster learning to control their own voice, hearing yourself clearly changes how you speak. Distances, sibilance and mouth noise are all obvious the moment you can hear them, and impossible to fix on a track you recorded blind.
It is also the compact choice for a shared desk. The magnetic stand removes in a second, so when you are not recording the desk is clear rather than occupied by a microphone tower.
What to watch for
The capsule is extremely sensitive, which means desk vibration gets recorded on an untreated desk. A shock mount is worth adding. Sampling tops out at 96 kHz rather than 192 kHz, and a slightly high noise floor can sound sizzly at higher gain.
It is cardioid only, so there is no stereo or omnidirectional option if you ever want to record ambient sound or a group around one microphone.
10. TONOR TD510 Air – The Best Mic for On-Board Sound Modes
TONOR Dynamic Podcast Microphone for Content Creators, Cardioid XLR/USB Mic
USB and XLR outputs
Dynamic cardioid
Three EQ modes and AI noise reduction
522 grams
Pros
- Dynamic cardioid capsule keeps room noise and keyboard clatter out of the recording
- On-board EQ mode selection lets a beginner tune the voice without opening software
- USB and XLR dual outputs mean no need to replace the mic when upgrading
- Tap-to-mute plus 3.5mm headphone monitoring for real-time checks
Cons
- Review base of just over 3000 ratings is the thinnest of the established dynamic models here
- XLR cable and audio interface are not included
- Desktop stand is basic compared with the bundled arms on condenser kits
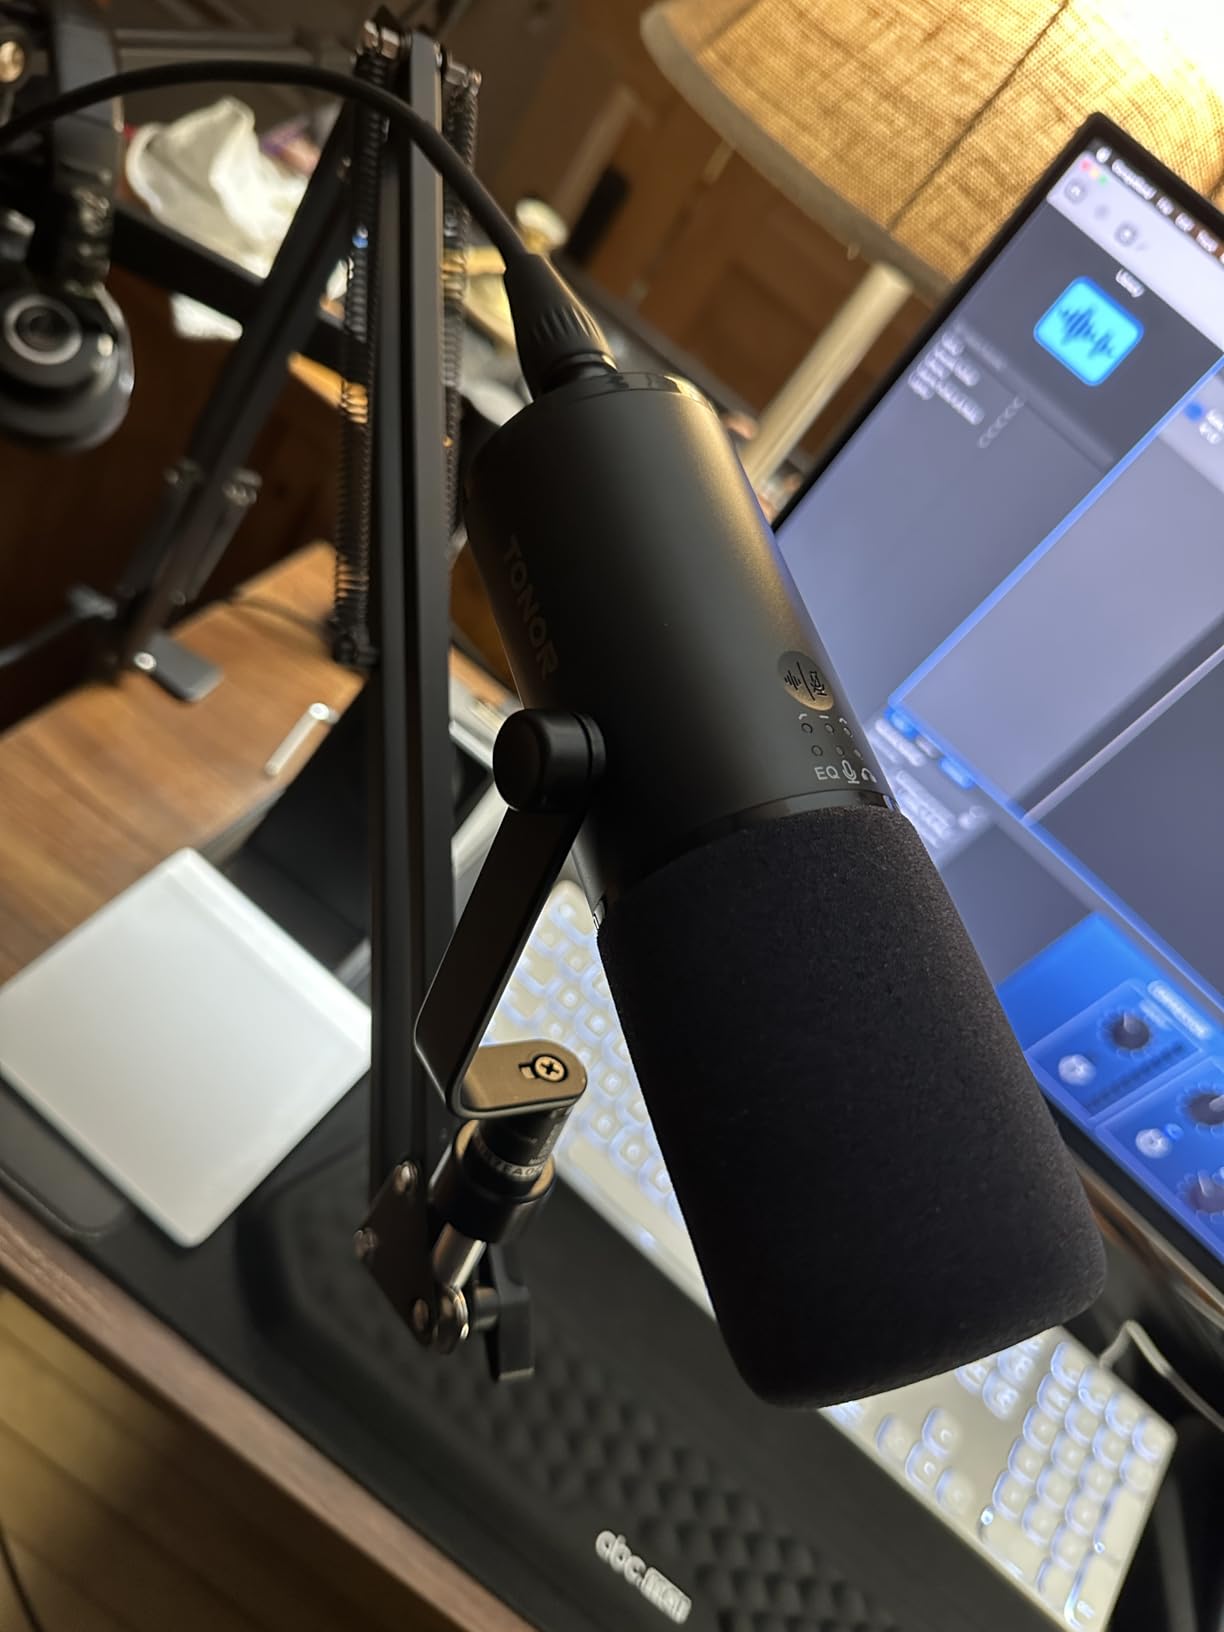
The TD510 Air does something none of the other budget dynamics here do: it puts sound shaping on the microphone. Three selectable modes, bass roll-off, vocal clarity and mid-range emphasis, let you adjust the character of your voice with a button press instead of opening editing software.
Underneath that is a dynamic cardioid capsule with USB and XLR outputs, so it handles a noisy room the way a dynamic should while remaining upgradeable later. An on-board AI noise reduction filter, a tap-to-mute control and a 3.5mm headphone jack with independent volume round out the body.
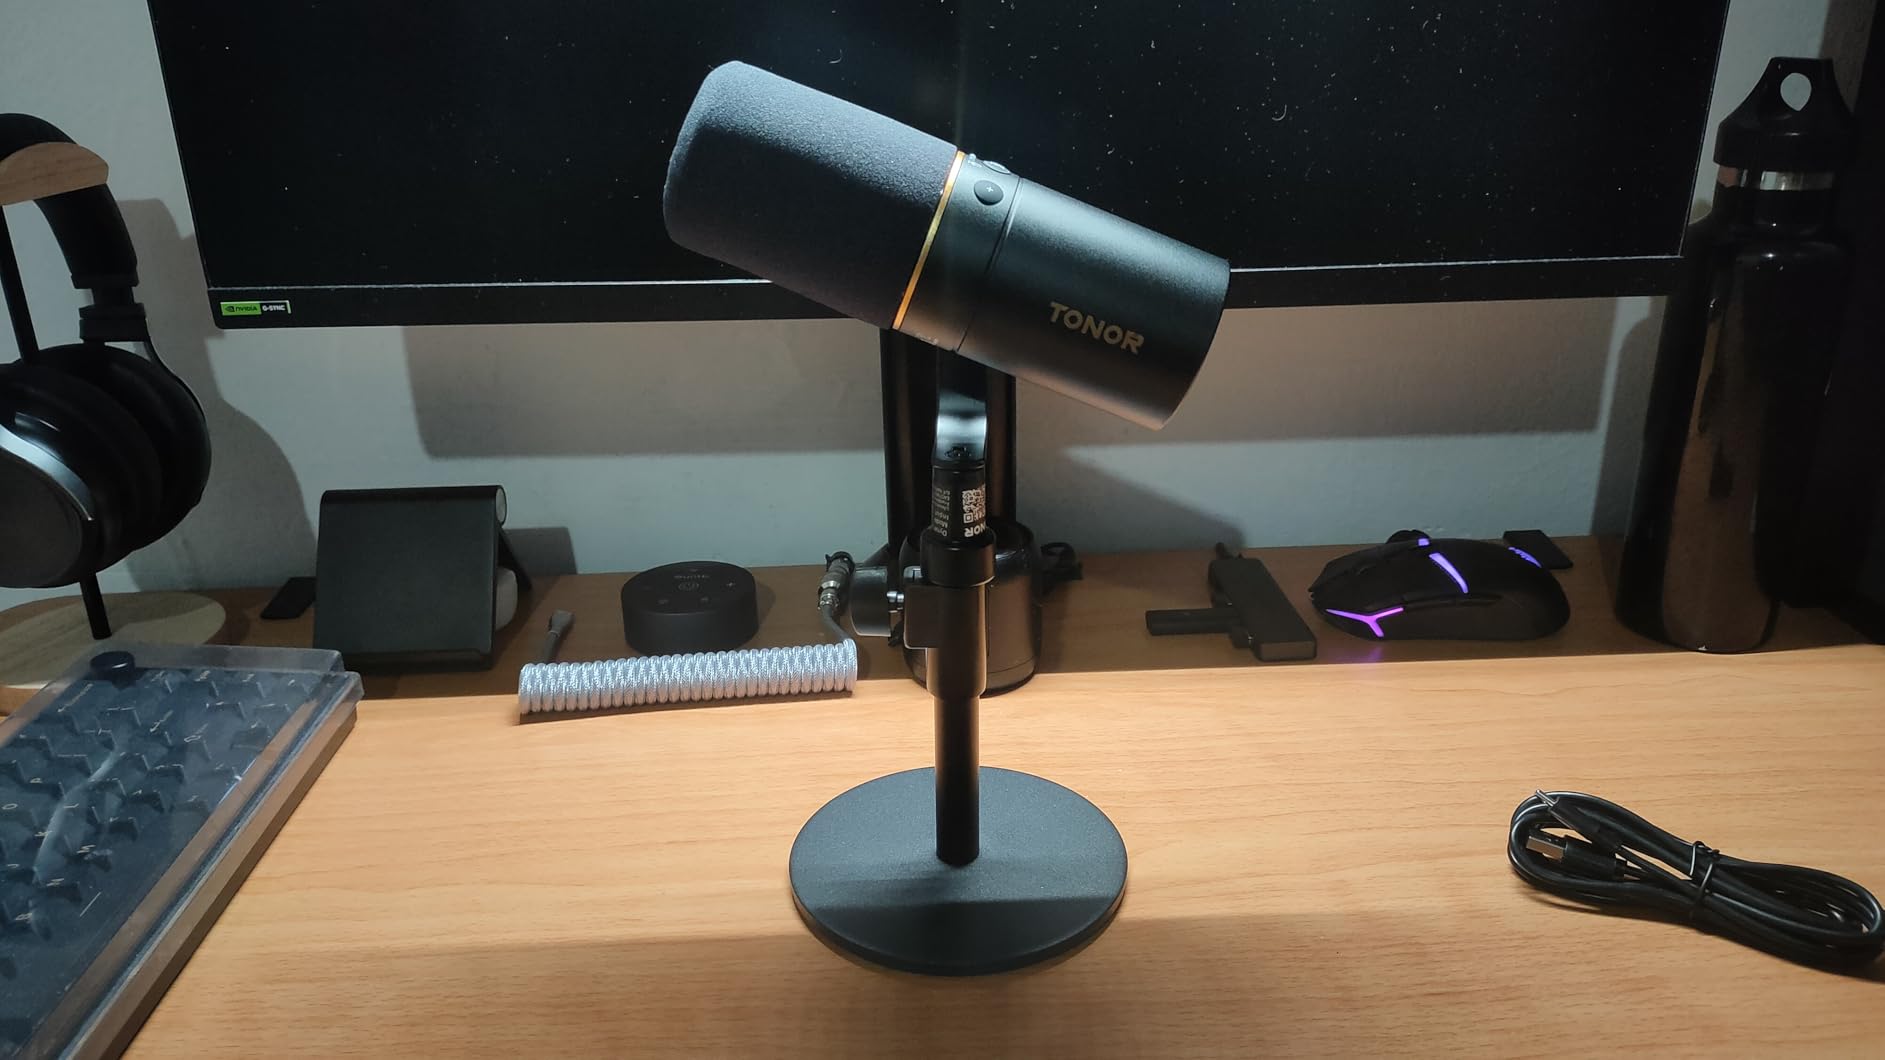
I like the mid-range emphasis mode for a solo show in a reflective room, since it makes a thin voice sit further forward without you having to learn an equalizer. The bass roll-off is useful if you sit close and the proximity effect is making your voice boomy.
The important caveat is the review base. More than 3,000 ratings is a much thinner record than the tens of thousands behind several others in this guide, and buyers comparing it against established models should weight that accordingly.
When on-board EQ genuinely helps
This is for beginners who find software intimidating. Selecting vocal clarity before you record means you capture a more present voice from the start, which is easier to fix in editing than a muddy one.
It is also a good second microphone for a two-person show recorded in the same room, since the dynamic capsule keeps each speaker separated and the USB output means one interface handles both.
What to weigh before buying
Fewer than 3,200 ratings means occasional quality variance is less likely to have been ironed out over time. The XLR cable and interface are not included, and it is not compatible with Xbox.
The desktop stand is basic compared with the arms bundled with condenser kits, so if you want a stable, close-mounted position you will need to add a stand or arm.
11. Amazon Basics Condenser Microphone – The Best Mic for Calls and Meetings
Amazon Basics Condenser Microphone for PC, Cardioid Pickup, USB Mic for Streaming, Recording, and Podcasting, 360° Adjustable Stand, Plug and Play, 5.8″ x 3.4″, Black
USB only
14mm cardioid condenser capsule
One-tap mute button
3.37 x 5.79 inches
Pros
- Clean unmarked design with no distracting RGB that suits on-camera use
- Genuinely plug and play with no drivers on Windows Mac and Linux
- One-tap mute button is genuinely useful for calls and meetings
- Compact and light enough to travel with
Cons
- No built-in pop filter or volume control on the body
- No headphone monitoring jack so you cannot check audio live
- Included USB cable is stiff and thin and has caused connection problems
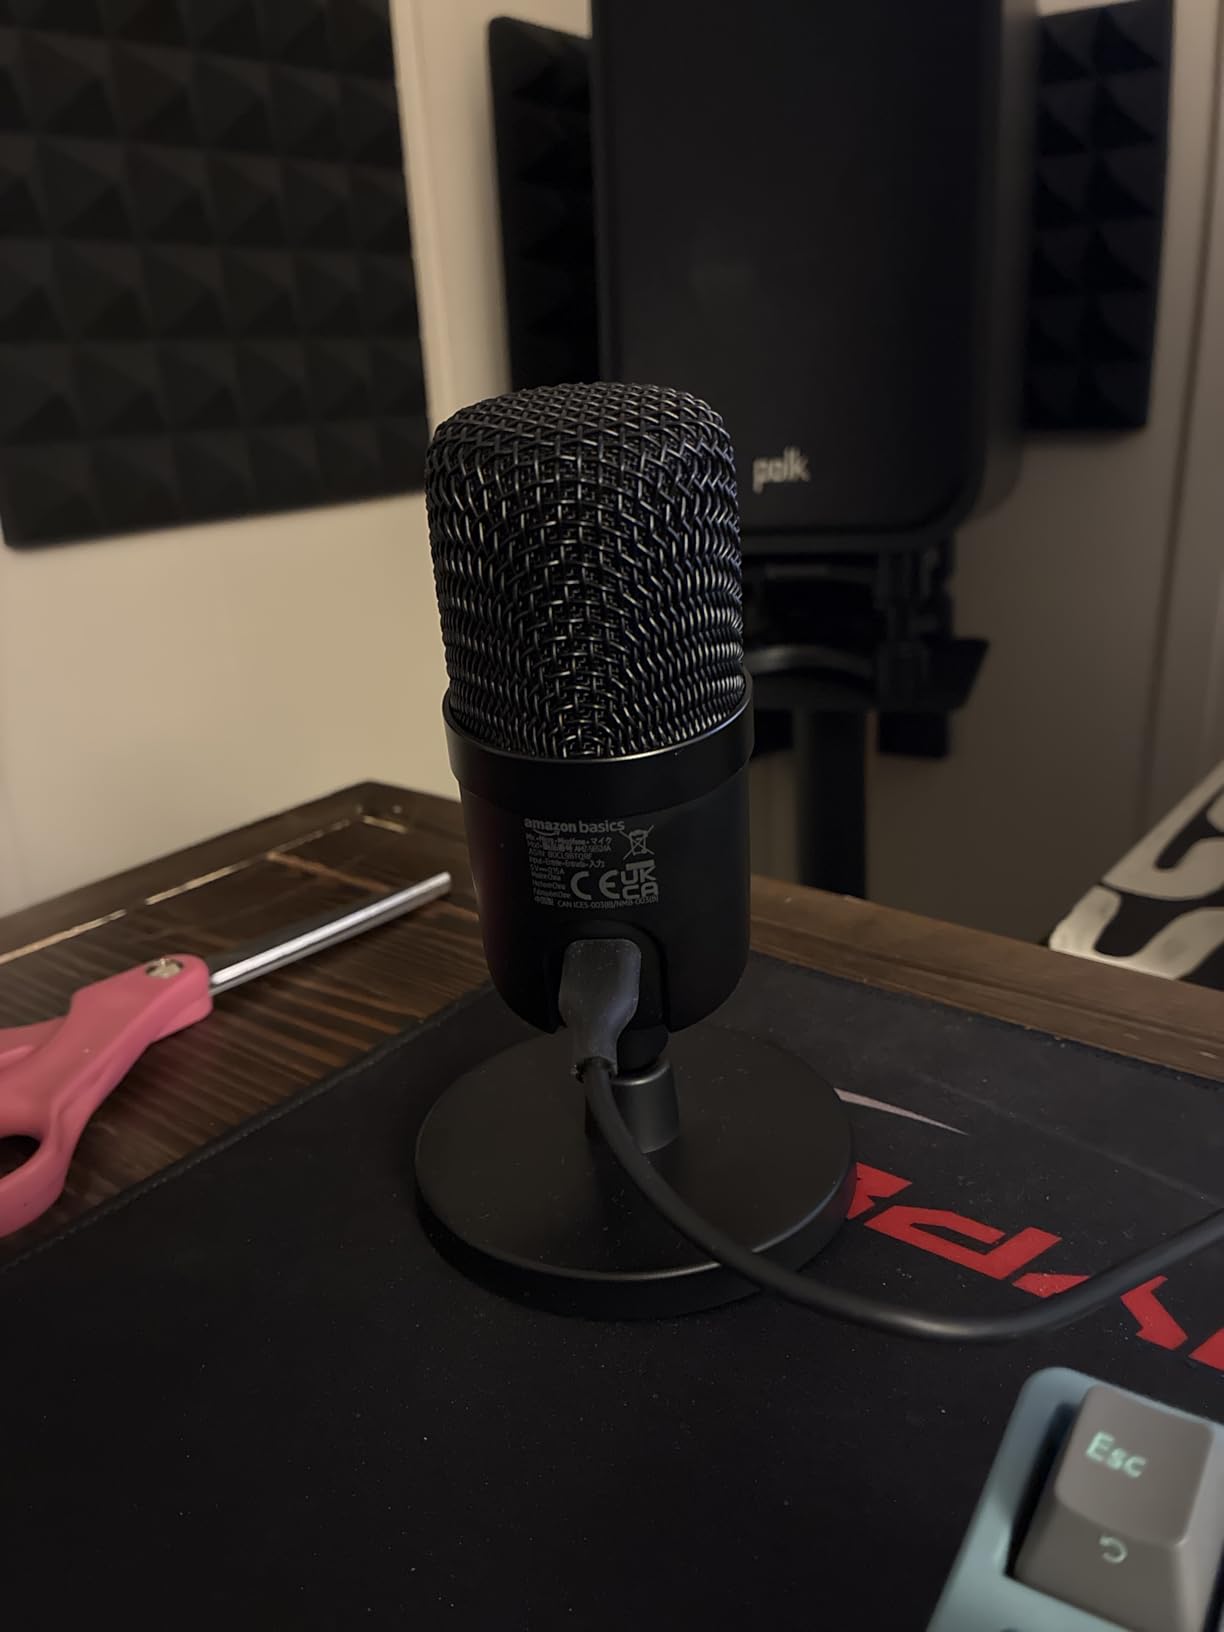
This is the plainest microphone in the guide, and that is the recommendation. There is no RGB ring, no branding and no lighting to distract from a talking head on camera, which is why it works well for video work where the other USB microphones here compete for attention.
Mechanically it is competent. A 14mm diaphragm cardioid capsule covers 20Hz to 20kHz at a 75 dB signal-to-noise ratio, the body rotates a full 360 degrees on its stand, and the mic detaches to fit tripods, boom arms or 5/8 inch mounts.
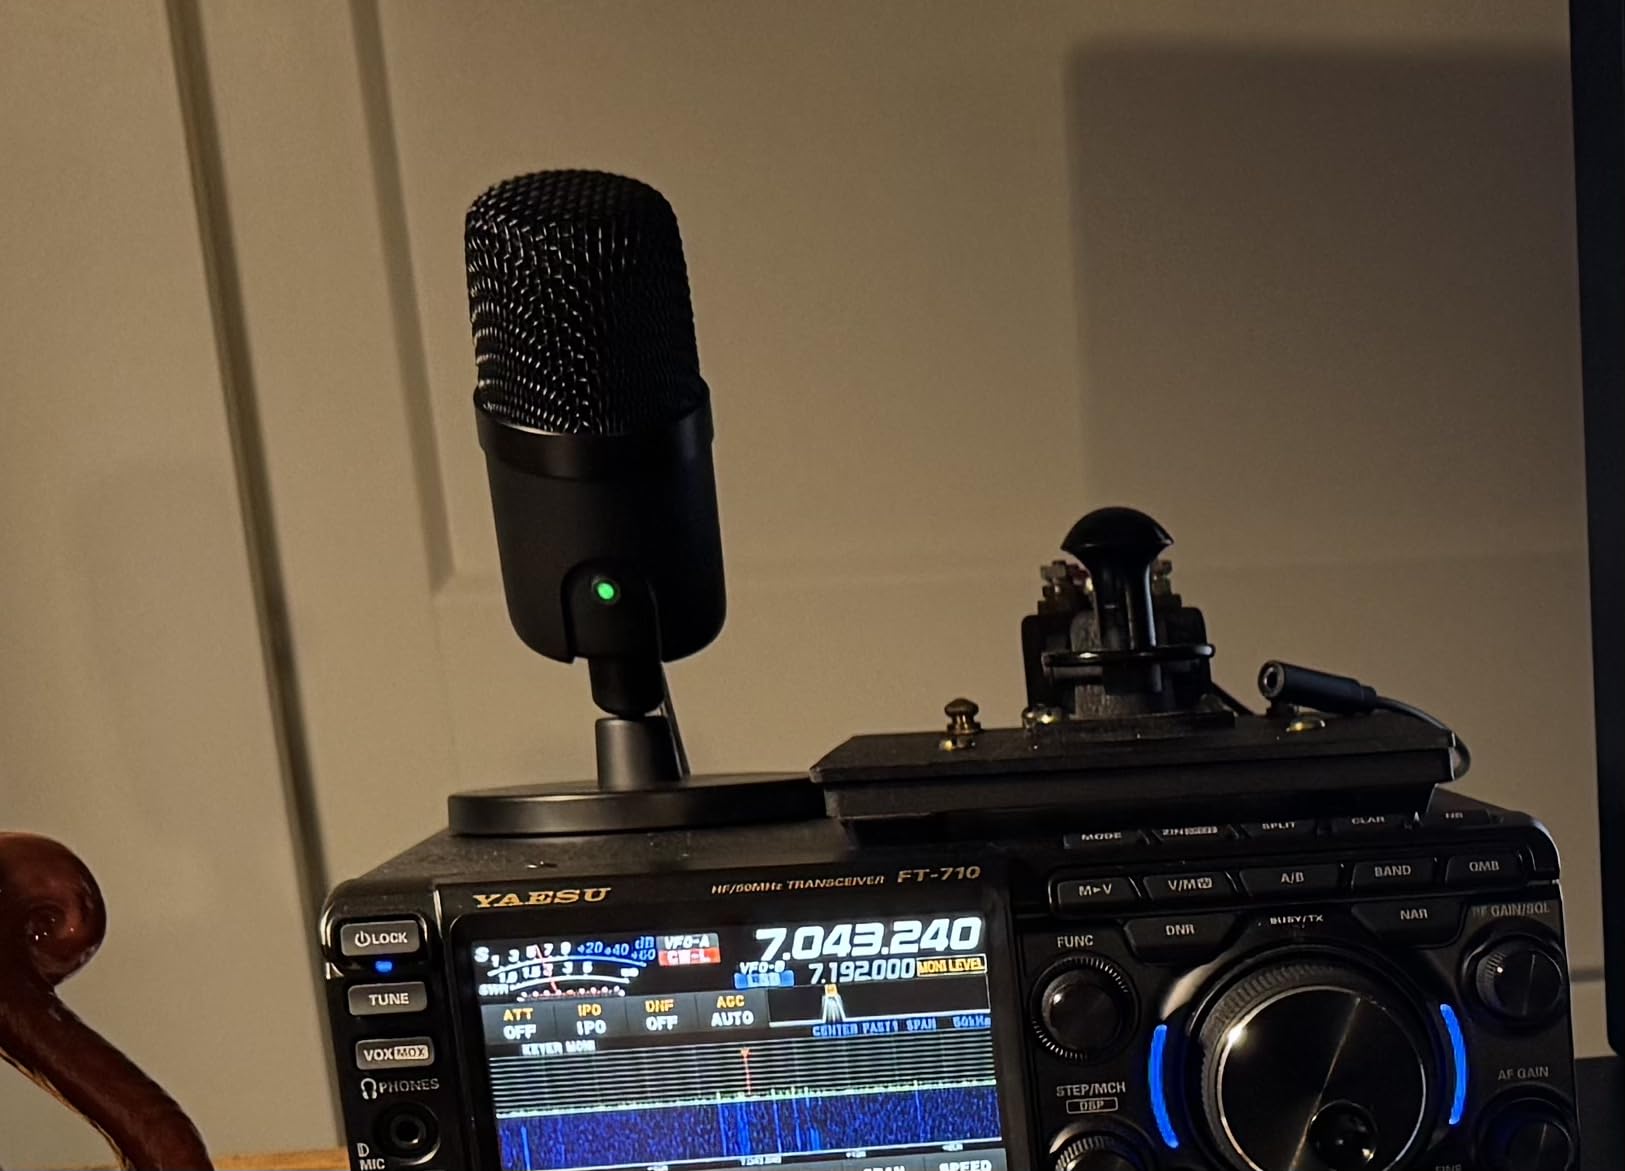
The one-tap mute syncs with the computer, which is the single most useful thing on it for anyone taking regular calls. A built-in shock absorber and a silicone rubber mic boot handle desk knock, and it weighs only 0.2 kilograms so it travels easily.
Owners buying a first USB microphone for calls, streaming and light voice work find the sound clear and the setup instant. The repeated negatives are the cheap included cable and the total absence of volume control, a pop filter and headphone monitoring.
What it does better than pricier microphones
On camera, the unmarked plastic body disappears. If your podcast is a video podcast, that is not a minor cosmetic point, it is the difference between a frame that looks professional and one that does not.
It is also genuinely driver-free across Windows, Mac and Linux, and detaches to any standard mount, so it is a low-commitment way to find out whether you enjoy recording at all before spending more.
Why it falls short as a podcast microphone
There is no headphone jack, so you cannot monitor what you are recording, and no volume control on the body. The included USB cable is stiff and thin and has caused connection problems for some owners, so replace it early.
As a cardioid condenser with a wide capture angle, it has less off-axis rejection than a dynamic and will pick up more ambient noise. For a solo creator in a quiet room, it is fine. For anything noisier, it is not the right tool.
12. Shure MV6 – The Best Microphone for an Untreated Room
Shure MV6 USB Gaming Microphone for Streaming & Recording
USB-C
Dynamic cardioid with Voice Isolation
Zero-latency 3.5mm monitoring
50Hz-15kHz response
Pros
- Dynamic capsule with Voice Isolation cuts keyboard clicks fans and room echo effectively
- Smart DSP handles levels automatically so beginners avoid gain riding
- Zero-latency headphone monitoring straight off the mic
- Stainless steel build with a sturdy included desk stand
Cons
- Tap-to-mute is very sensitive and can be triggered accidentally by brushing the mic
- Included USB cable is short and effectively needs replacing
- Desktop stand included but no boom arm for a mic that wants to sit close
The MV6 is the answer for a beginner whose real problem is the room. Owners describe it as delivering broadcast-level clarity without an XLR setup, and the reason is a combination of a dynamic cardioid capsule with Shure Voice Isolation Technology plus smart DSP that includes an auto level mode, a real-time denoiser and a digital popper stopper.
In plain terms, the microphone handles gain for you and suppresses the steady low-level noise that ruins home recordings, so a first-time creator does not have to learn gain staging to get a usable file. One USB-C cable, no interface, no phantom power, no drivers.
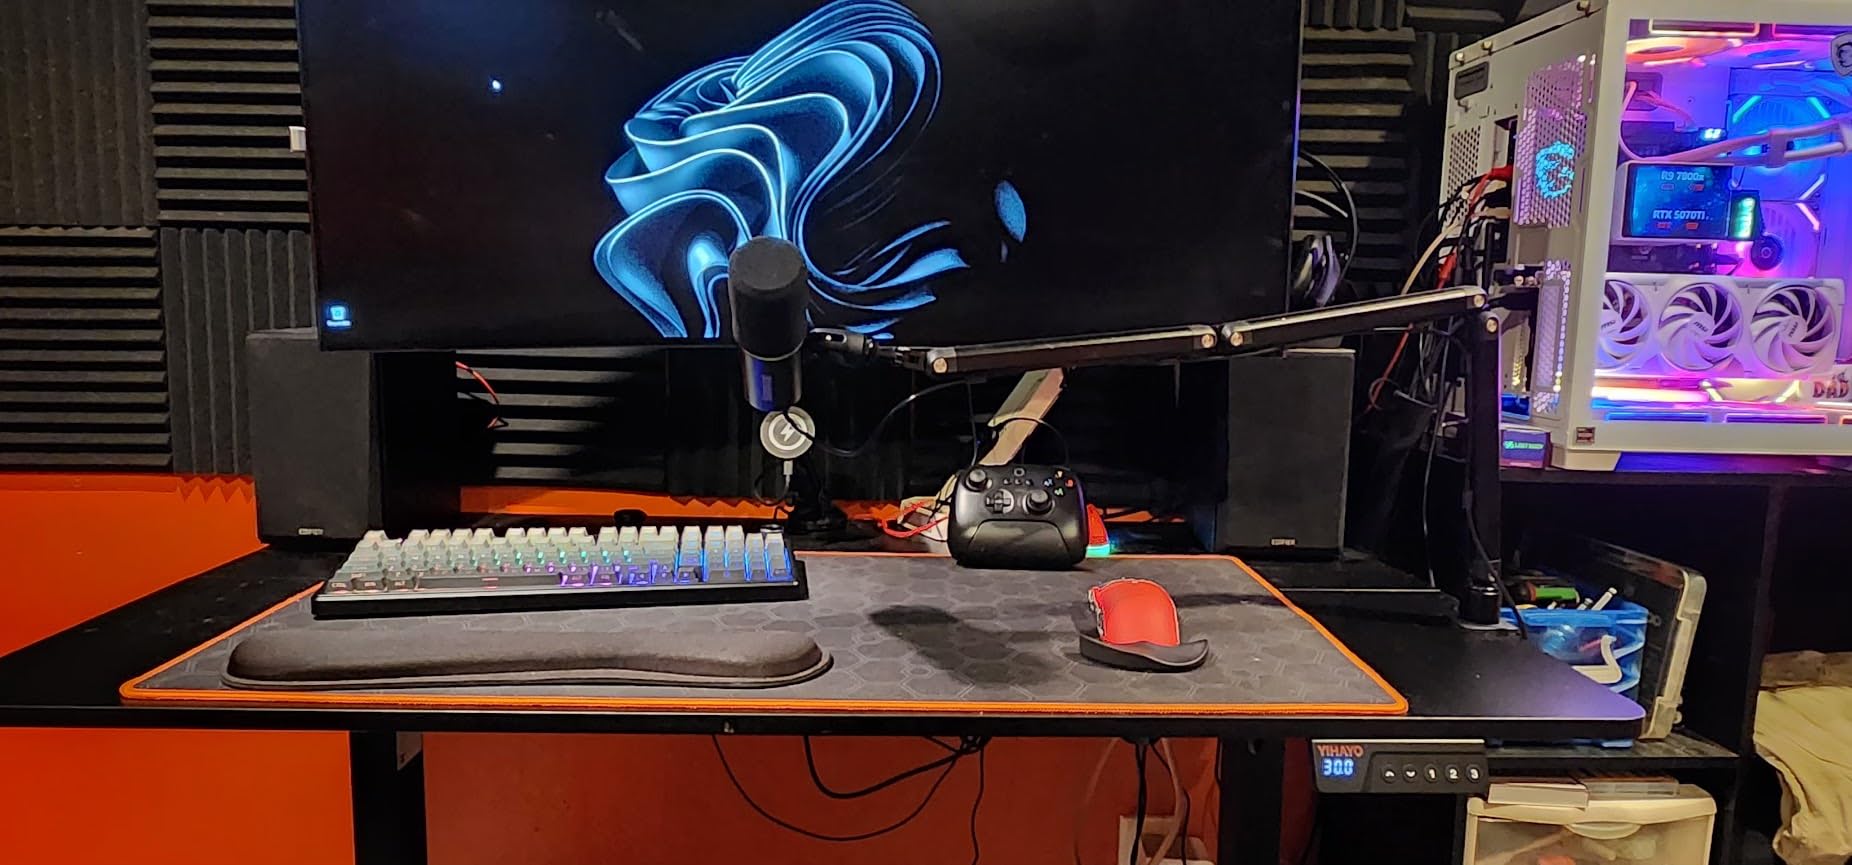
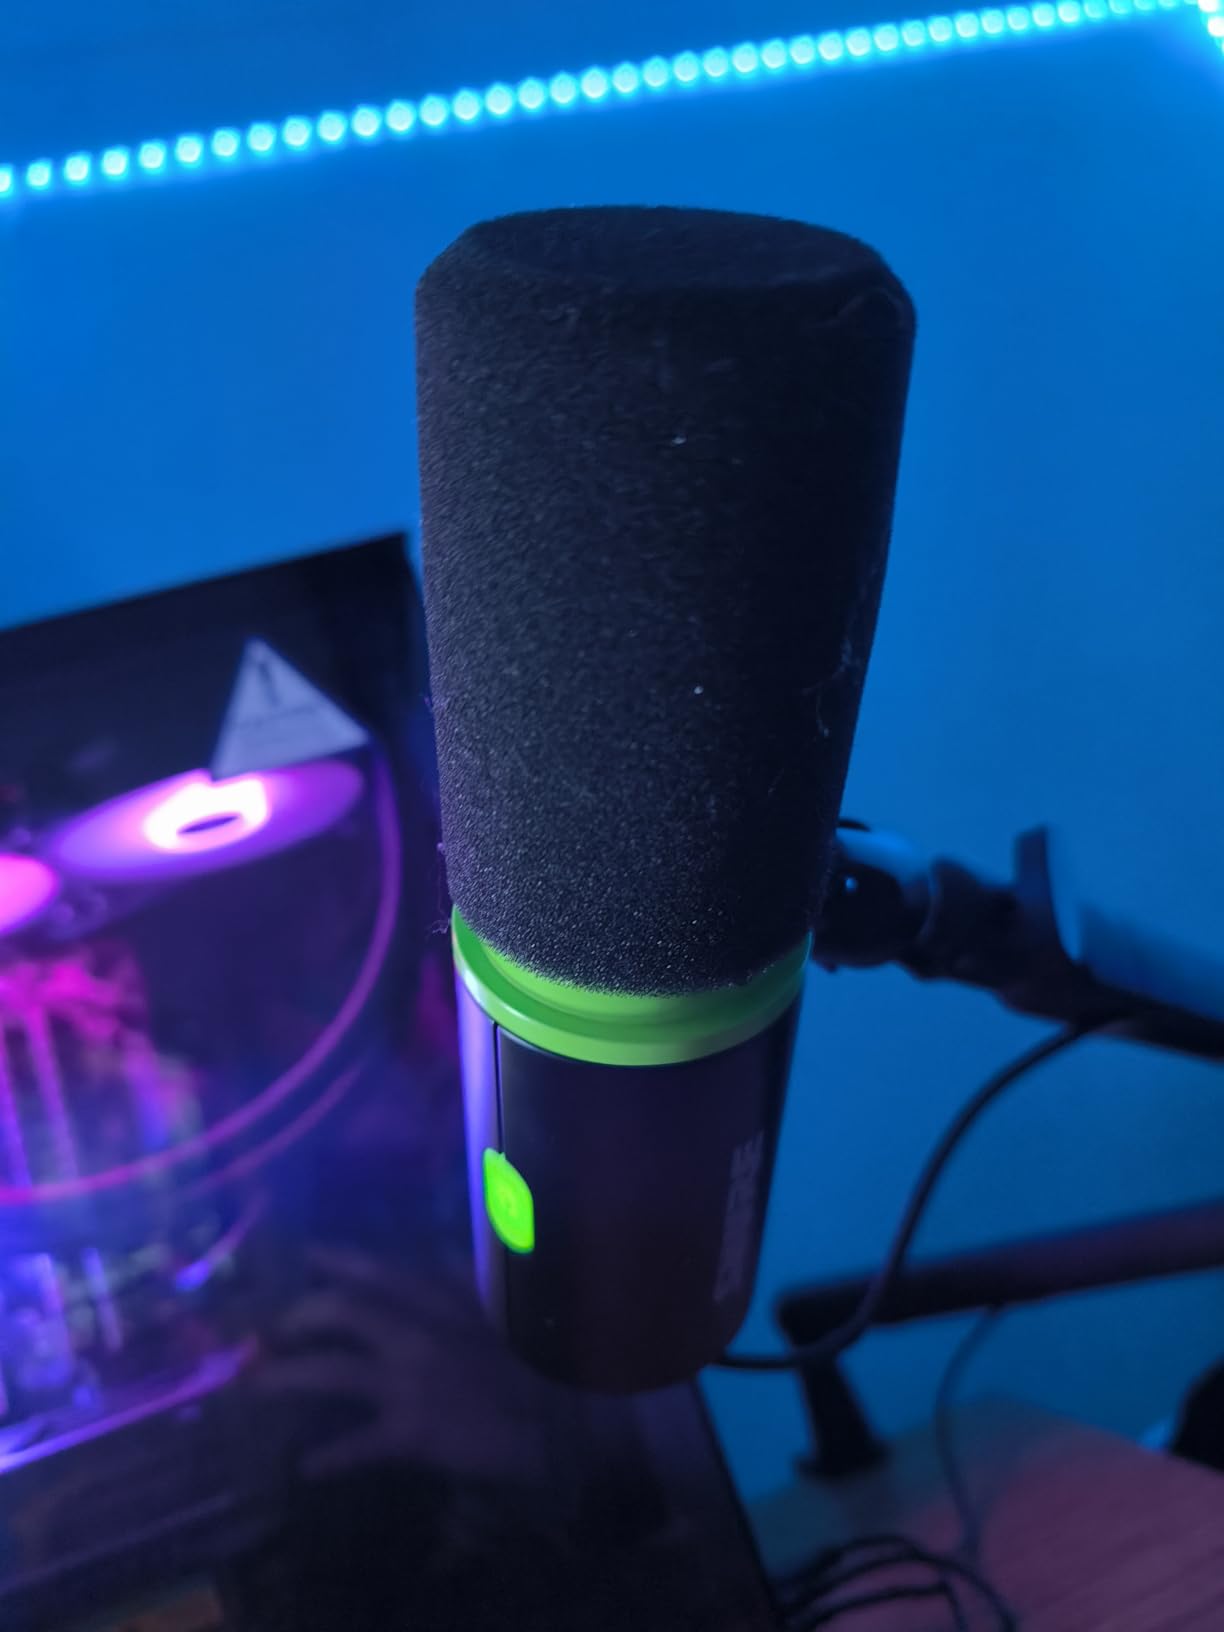
The tap-to-mute control and the zero-latency 3.5mm headphone output are both there, and the stainless steel construction at 1.7 kilograms feels like a piece of studio equipment rather than a desk accessory. The MOTIV Mix desktop app handles the monitor mix and microphone settings.
The mute button is the recurring complaint. It is very sensitive, so brushing the microphone can trigger it, and the LED can end up facing away from you depending on the stand, leaving you unsure whether you are live.
What Voice Isolation actually fixes
Keyboard clicks, case fans, a fridge hum and low-level room rumble are the specific things that make listeners click away from a beginner podcast. Voice Isolation targets exactly that class of sound, which is why this microphone performs well in the untreated rooms where condensers struggle.
Automatic level handling matters just as much. New creators ruin recordings by setting gain wrong, and a dynamic with auto level removes that failure mode entirely.
What you need to work around
A dynamic capsule means speaking to it at a distance of roughly 16 inches or less, and the included USB cable is short enough that most people replace it. The desktop stand is sturdy but you will still want a boom arm to get the microphone close.
It is also the top of the price range in this guide and one of the least-reviewed, with just over 1,200 ratings. Shure MOTIV Mix is a dated app, and if you are on a strict budget the FIFINE AM8 covers a lot of the same ground for less.
How to Choose a Podcast Microphone
Start with the room, not the microphone. Every microphone on this list is a good microphone, and the difference between a usable recording and an unusable one is usually how much of your room that microphone picks up. A bare-walled bedroom with a hard floor reflects every syllable, and a condenser will record all of it. If you cannot change rooms, put a heavy duvet over the bed, hang clothes in front of a wardrobe door, and record from a wardrobe full of coats before you spend anything on hardware.
USB, XLR or both
All 12 microphones here connect to a computer directly, so a total beginner never needs an audio interface. A common beginner failure we see in forum threads is buying an XLR microphone, having nowhere to plug it in, and ending up with a recording so quiet it is unusable.
If you want an XLR microphone later, buy a USB and XLR hybrid now. The Samson Q2U, the FIFINE AM8 and the TONOR TD510 Air all speak both, so you can add an interface in a year without replacing the microphone. If you are confident you will stay on USB, spend the difference on a boom arm and a pop filter instead.
Dynamic or condenser
A condenser is more sensitive and captures more detail, which is why it sounds better in a treated room and worse in an untreated one. A dynamic is less sensitive and naturally rejects sound from the sides and rear, which is why it is the safer choice in a normal home.
Our rule for beginners: condenser if you can treat the room, dynamic if you cannot. If you are unsure, choose a dynamic. The FIFINE AM8 and the Shure MV6 are the two that pair best with a room you are not going to change.
The gain and interface trap
Quiet recordings are almost always a gain problem, not a microphone problem. If a dynamic microphone sounds faint, you need more preamp gain from an interface or from the microphone’s own gain control, and a cheap inline booster does exist for exactly this. A condenser, by contrast, outputs a hotter signal and will usually be too loud instead of too quiet.
Never buy an XLR-only microphone as your first podcast microphone unless an audio interface is part of the same purchase. A Scarlett 2i2 or a PreSonus AudioBox USB 96 is the community’s most common step up, and those two models come up again and again in r/podcasting threads for good reason.
Placement, plosives and one mic per speaker
Position the microphone four to six inches from your mouth, slightly to one side rather than directly in front, which reduces plosives without needing to speak around the mic. The 3 to 1 rule that circulates in audio communities means different things to different people, but the useful version for a beginner is simple: get the microphone about three times closer than the distance to the nearest reflective surface.
In an untreated room, give every speaker their own microphone. Two people sharing one cardioid microphone produce crosstalk that no amount of editing fixes properly. If you are recording remote guests, one microphone each is even more important because their rooms are the least controlled part of your show.
Your first recording, step by step
Connect the microphone with the included USB cable, open Audacity, GarageBand or OBS Studio, select the microphone as your input device, and set your level so your loudest word peaks between -6 dB and -3 dB. Keep the microphone four to six inches away, wear headphones, and record thirty seconds of silence first. If that silence is not silent, the problem is your room, not your microphone.
That thirty seconds is the single most useful diagnostic step for a beginner, and it costs nothing. Continuous background hum means electrical noise, a hum that stops when you switch off a light means mains interference, and audible echo in the silence means you need more soft material in the room.
What to buy first, second and third
Buy the microphone first, then a boom arm or a stable desk stand, then a pop filter or shock mount. Headphones come fourth, but the zero-latency models in this guide already have a jack, so you can start recording before you own a pair. Software is free: Audacity, GarageBand and OBS Studio all record a finished podcast.
What to skip: expensive XLR microphones with no interface, outboard preamps, and anything sold as a noise-cancelling upgrade that is really just a plugin. Several r/podcasting threads push back hard on spending broadcast-microphone money as a beginner, and they are right. A USB dynamic with a good arm and a treated corner will out-perform an expensive microphone in a reflective room every time.
For related gear, our guides to the best condenser microphones for podcasting and the best podcast mixers for beginners cover what to add once your microphone and room are sorted.
Frequently Asked Questions
Which microphone is best for podcasts?
The Logitech Blue Yeti is the best all-round choice for a beginner because it connects over USB with no interface, offers four pickup patterns, and puts gain, mute and headphone volume on the mic itself. If your room is noisy or untreated, the FIFINE AM8 dynamic rejects far more background noise.
What is the best equipment for a beginner to start podcasting?
Five things cover it. First, a USB microphone such as the Blue Yeti, the Samson Q2U or the FIFINE AM8. Second, a boom arm or stable desk stand so the mic sits four to six inches from your mouth. Third, a pop filter or shock mount. Fourth, a pair of headphones for monitoring. Fifth, free recording software: Audacity, GarageBand or OBS Studio.
Do I need an audio interface for a podcast microphone?
No, not if you buy a USB microphone. Every microphone in this guide connects directly to a computer with no interface, no drivers and no phantom power. You only need an interface for an XLR-only microphone, and if you go that route you must buy one at the same time or the microphone has nowhere to plug in.
What is the difference between USB and XLR microphones?
A USB microphone contains its own preamp and converts your voice to digital inside the body, so it plugs straight into a computer. An XLR microphone outputs an unbalanced analogue signal that needs an audio interface to supply gain and convert it. A hybrid such as the Samson Q2U or FIFINE AM8 does both, which is the cheapest upgrade path for a beginner.
How do I stop my podcast mic picking up room noise and echo?
Three fixes do most of the work. Record in the quietest soft-furnished room available, such as a wardrobe full of clothes or a bed with heavy covers. Choose a dynamic microphone such as the FIFINE AM8 or Shure MV6, which reject sound from the sides and rear. Get the microphone within four to six inches of your mouth so the direct voice dominates.
Which Podcast Microphone Should You Buy?
If you want one answer, take the Logitech Blue Yeti. It handles every format, needs no interface, and has the largest body of owner feedback in this guide at more than 57,000 ratings. If your room is the problem rather than your microphone, take the Shure MV6 or the FIFINE AM8, because a dynamic capsule with noise handling will beat a condenser in a reflective space.
If you would rather buy everything once, the FIFINE T669 arrives with a boom arm, shock mount, double pop filter and cable in the box. If you are starting on a very small budget, the TONOR podcast microphone includes a shock mount and pop filter at the bottom of this guide and will get you recording today.
Whatever you choose, get it close, get the room quiet, and record thirty seconds of silence before you record anything that matters. Those two habits will improve your podcast more than any upgrade in this list, and they are free. The best podcast microphones for beginners in 2026 are the ones you actually understand well enough to place correctly.